

AEG EHE642W, EHE642K, EHE642EG, EHE642B User Manual
Bedienungs- und Einbauanleitung für Einbau-
Kochmulden
Operating and Assembly Instructions for Built-in
Hobs
Notice d'utilisation et de montage des tables de
cuisson encastrables
Istruzioni per I'uso il montaggio de piani di
cottura
Gebruiksaanwijzing en inbouwinstructies voor
inbouw-kookplaaten
1
Kombinationsmöglichkeiten
Tabelle für Maßekochmulden
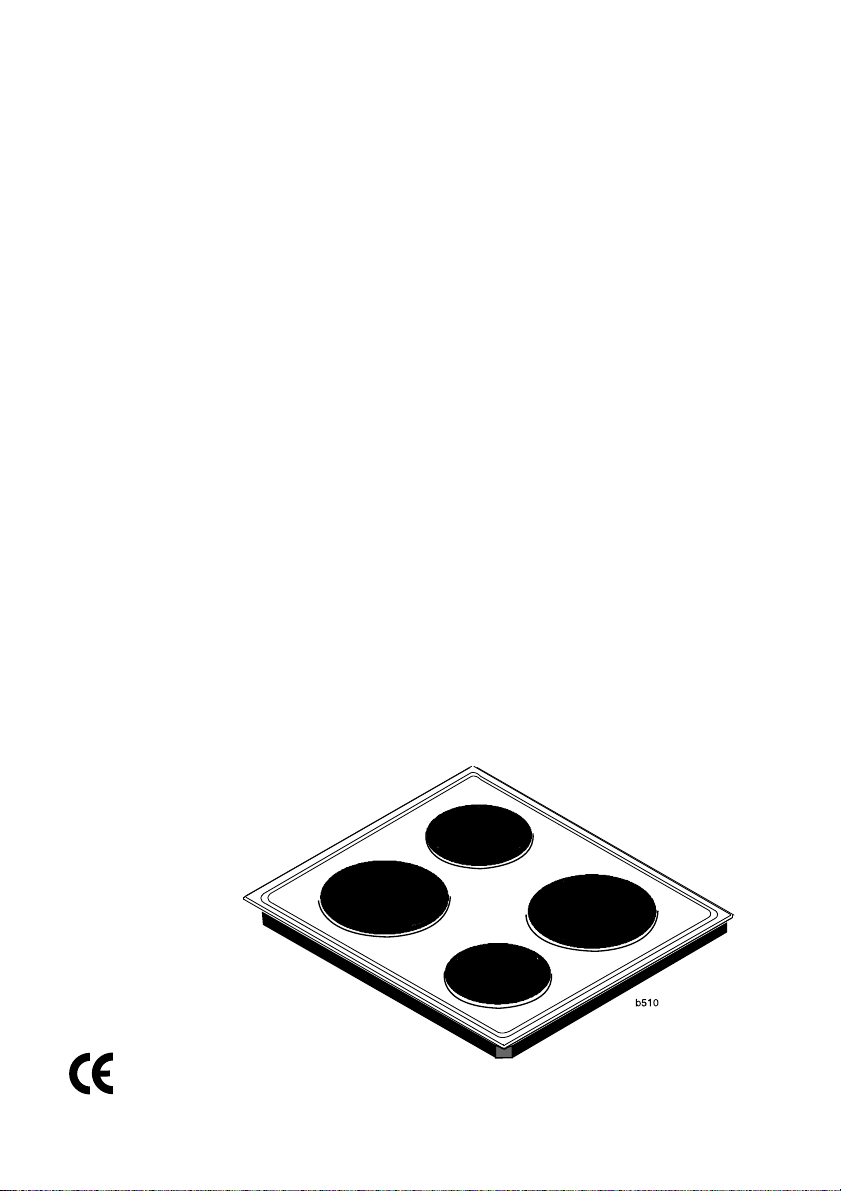
Kochmulden EHE 642 X
Kombinations- EHE 642 W
möglichkeiten: EHE 642 K
Einbauherde EHE 642 B
EHE 642 EG
ALNO AHE 5031 NB X
AHE 5031 NW X
AHE 4071 NB X
AHE 4071 NW X
AHE 4071 NS X
AHE 4071NN X
ELECTROLUX EON 198 X X
EON 198 B X
EON 198 W X
EON 198 K X
EON 398 X X
EON 398 B X
EON 398 W X
EON 398 K X
ZANUSSI HN 212 B X
HN 212 W X
HN 212 S X
HN 212 X X
HM 214 B X
HM 214 W X
HM 214 S X
HM 214 X X
ZANKER ZKH 7012 B X
ZKH 7012 W X
ZKH 7012 S X
ZKH 7012 X X
ZKH 7012 G X
ZKH 7214 B X
ZKH 7214 W X
ZKH 7214 S X
ZKH 7214 X X
2
PNC NR.
941 628 111
941 628 112
941 628 113
941 628 114
941 628 115
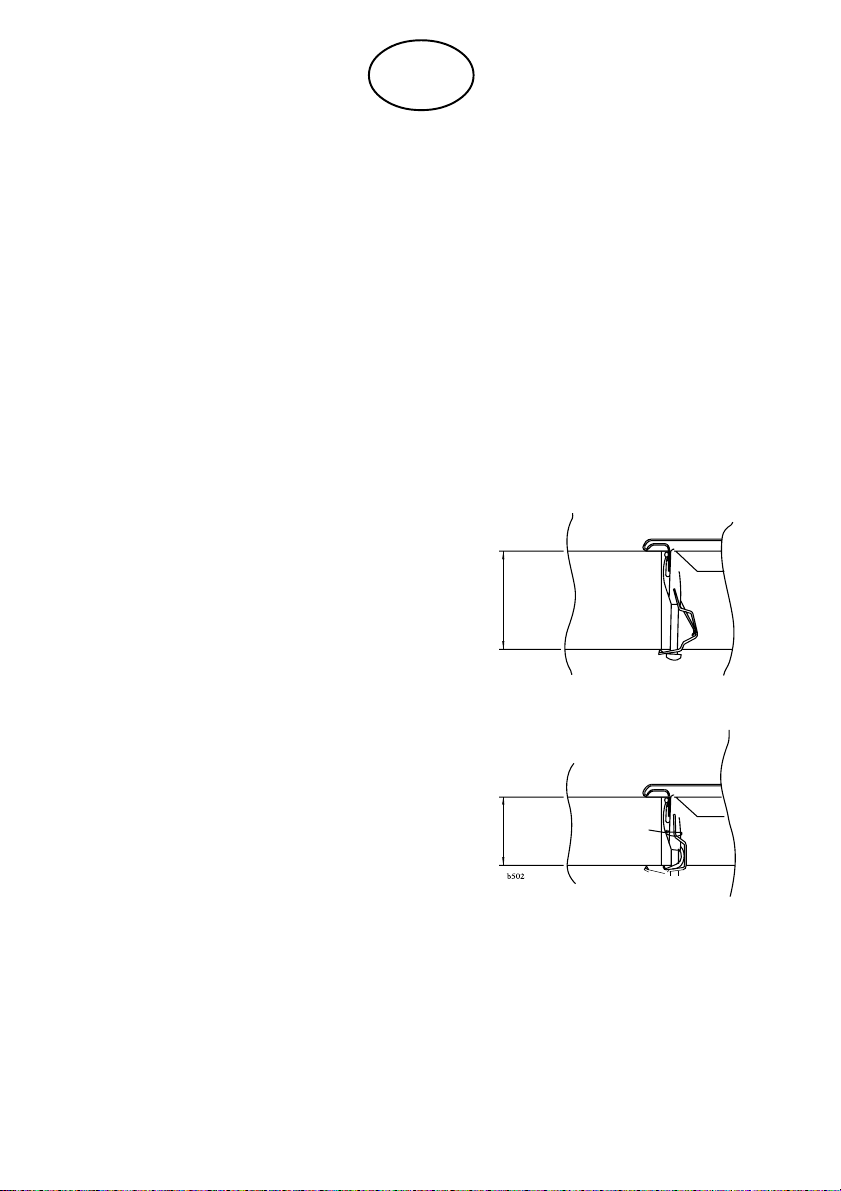
Installing the Hob
Check the hob for transport damage.
Do not install the hob if it shows signs
of damage. Be careful at the installation.
The Built-In-Hob correspond to heat
insulation class Y. In other words, a
kitchen unit taller than the hob unit
may be positioned on one side of it,
but not on both sides. On at least one
side, there must be no unit taller than
the hob unit itself.
Cut the tabletop according to the prescribed dimensions or template (cut
exactly in the lines).
- The cutting measures are shown on
fig. 2.
GB
Fig. 1 40 mm
40
Check that the gasket is placed correctly and in continuity. Place the hob
in the cutout, properly centered.
Use a screwdriver, possibly for crossrecessed screws, for tightening the
fastening screws, starting at the
middle and proceding with the screw
diagonally opposite, tightening evenly
until the edge of the hob is held firmly
against the tabletop. Fig. 1.
28 mm
28
17
 Loading...