

Page 1
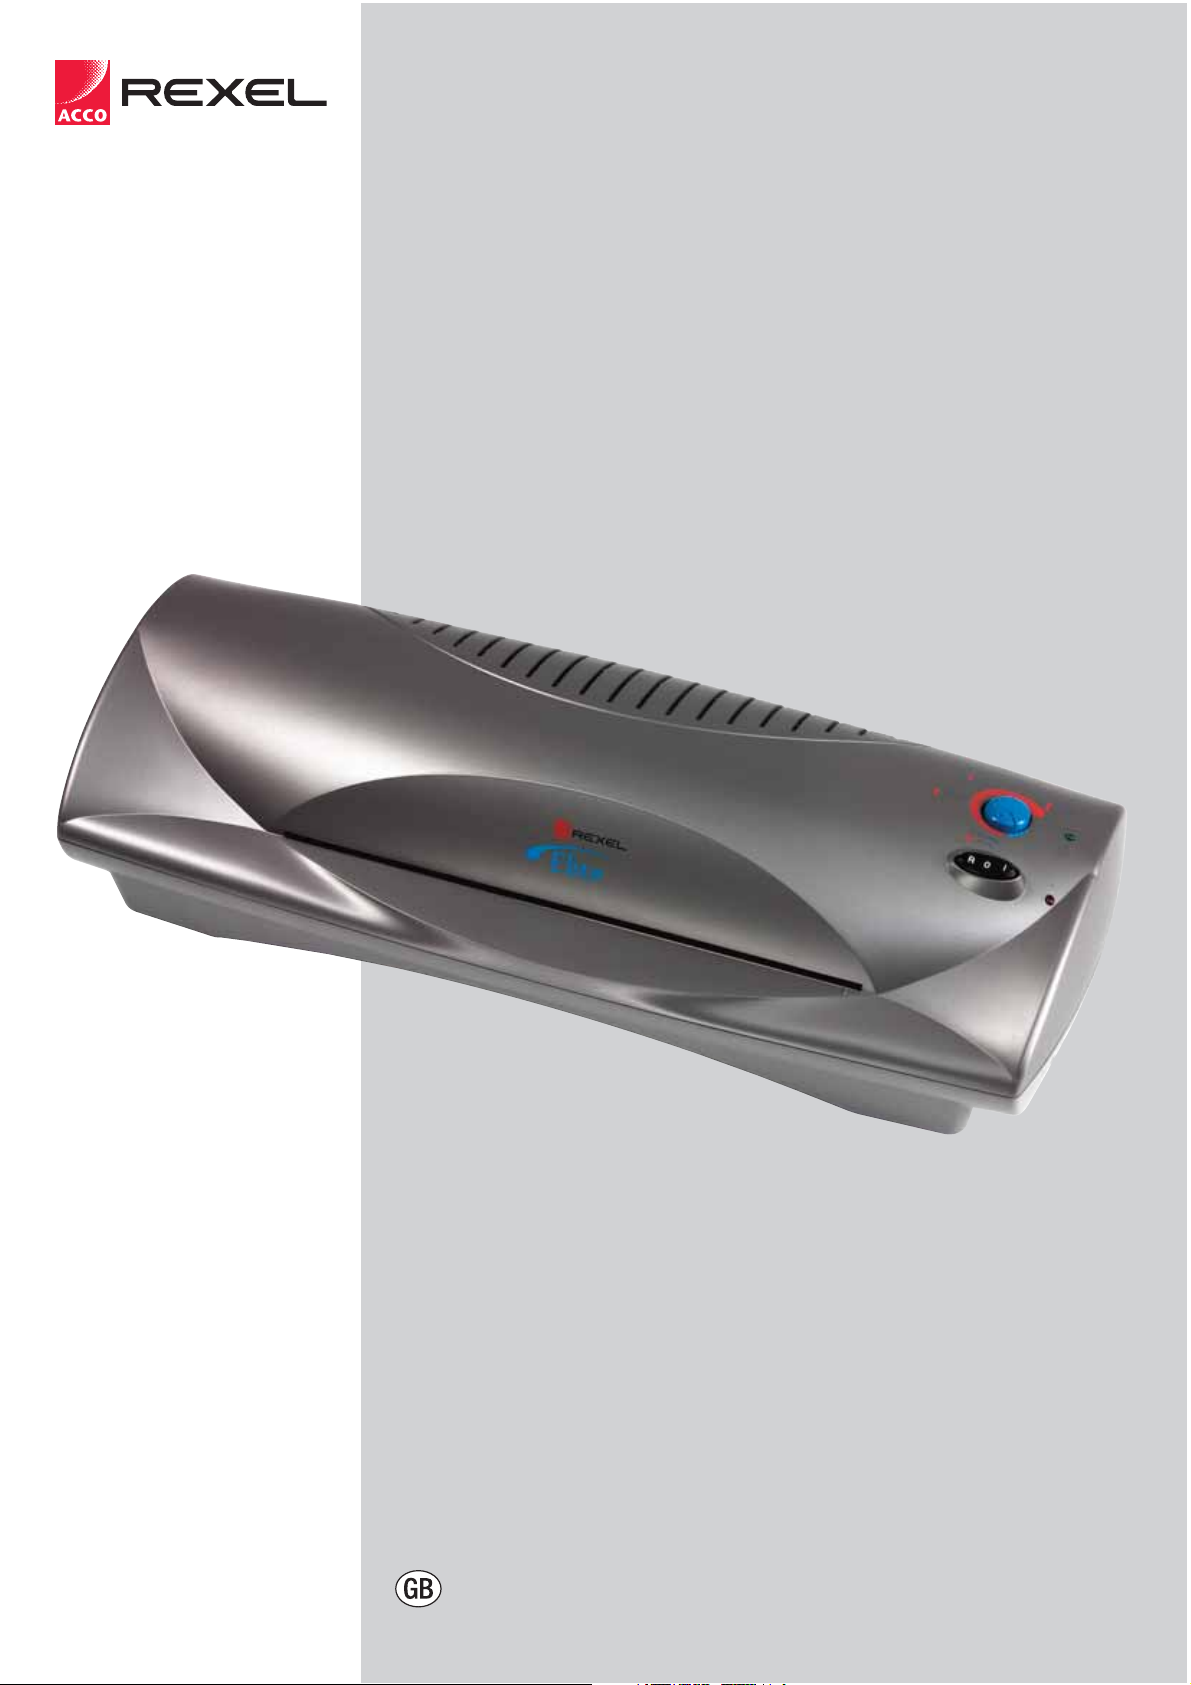
Rexel Elite
A3 Laminator
Operating Instructions
Page 2
E
F
G
A
D
C
B
1
Switch on the power switch (A, position I).
The red light (B) will illuminate to indicate that the power is on.
3
Place the item to be
laminated centrally into
the correct size pouch,
leaving the sealed edge
intact, allowing a border
of 3mm.
2
Select the appropriate temperature/pouch setting (D) according to the
pouch thickness. The laminator will pre-heat for approx. 4 minutes.
4
Place the filled pouch
centrally in the carrier.
5
When the green light (C)
has come on, insert the filled carrier
(stitched edge first) between the entry guides (F) into the front of the
laminator until the carrier engages with the automatic feed rollers.
6
Always turn down the temperature
(D) and switch OFF (A, position O)
the laminator after use.
Page 3

Operating Instructions
Rexel Elite (A3)
THIS MACHINE MUST BE USED WITH
A CARRIER.
A carrier is included with the sample pack
of laminating pouches. The carrier is a folded
piece of siliconised board stitched along one
end. A carrier protects the laminate as it goes
through the machine for best quality results.
A. Power Switch / Reverse Switch
B. ‘On’ light
C. ‘Ready’ light
D. Pouch/temperature setting
E. Entry Slot
F. Entry Guides
G. Exit slot
IMPORTANT SAFEGUARDS
When using electrical appliances, basic
precautions should always be followed to reduce
the risk of electric shock and injury, including the
following:
1. Carefully read all instructions
2. Always unplug the appliance when not in use
or before cleaning.
3. Extreme caution to be taken when appliance
is used by, or near to, children or invalids.
4. To protect against risk of electrical hazards,
do not immerse power cord, plug, or
appliance in water or other liquids.
5. Do not insert any metal objects, e.g. scissors,
or foreign objects into the entry or exit areas
of the machine. Do not laminate metallic
objects.
6. Do not operate the appliance with a damaged
power cord or plug, or after the appliance
malfunctions, has been dropped or is
damaged in any manner.
7. The plug on the power cord is the disconnect
device.
8. The equipment should be installed near the
outlet socket and the socket should be easily
accessible.
9. The machine must not be used outside.
OPERATION
Before you use your Elite Laminating machine for
the first time, it is recommended that you
familiarise yourself with the machine’s operation
and controls. Check the results using a range of
sample sheets of paper before laminating your
valuable original documents.
IMPORTANT
1. It is important to always use a Carrier with
this machine. Not using a carrier will result in
the laminator becoming jammed or failing to
run. This is an operator fault and is not
covered by a manufacturer’s warranty.
2. Do not attempt to laminate items which are
too thick for your laminator i.e. the total
thickness including the carrier must not
exceed 1.5mm.
HOT LAMINATING
1. Plug the laminator into a convenient power
socket.
2. Switch on the power switch ( I ) , the Red
light will illuminate to indicate that the power
is on.
3. Select the appropriate temperature/pouch
setting for the thickness of pouch.
4. The laminator will pre-heat for approximately
4 minutes.
5. Whilst the laminator is pre heating, you can
prepare your item to be laminated by placing
it centrally into the correct sized pouch,
leaving the sealed edge intact. Then place
the pouch in the carrier.
6. When the required temperature is reached the
Green light will come on.
7. Gently insert the filled carrier between the
entry guides into the front of the laminator,
stitched edge first, until it engages with
automatic feed rollers.
8. The carrier will move through the unit and exit
at rear.
9. During the laminating process the Green light
may go off as heat is absorbed by the
laminate. Always wait until the Green light is
on before laminating your next document.
10. Turn temperature to cold and turn your
laminator OFF after use (O).
REVERSE FUNCTION
CAUTION: Do not try to force the carrier
into the laminator or try to pull the carrier out.
This will damage (and could break) the laminator
as well as not allowing for proper processing of
the laminating pouch.
There is a reverse feature included on the on/off
button (A) of the machine. If you need to retrieve
a document during lamination:
1. Press the reverse button.
2. With the other hand gently hold the carrier
and document.
3. If the carrier has gone completely into the
machine and is not sticking out of the front or
back, there is nothing you can do. Do not try
to open the machine. This can be dangerous
and will invalidate the warranty.
PHOTO LAMINATING
1. Photographs have a sealed plastic surface
that does not absorb the adhesive from the
inside of a standard laminating pouch. The
result can be disappointing as the adhesive
will show as bubbles on the surface of the
photograph.
2. Heavily coloured inkjet copies and varnished
printed pages can also present problems.
3. These problems can be avoided by using
Rexel Photo Pouches which have a special
construction.
4. Use Rexel ‘Photo pouches’ (available in
standard photo sizes and A4) and process as
normal.
HELPFUL HINTS
1. The hot lamination process achieves the
required result by bonding into the surface of
your document. Once you have laminated
your document it cannot be retrieved.
2. Do not attempt to hot laminate heat sensitive
documents such as thermal paper, wax
based inks etc.
3. If the laminated document has a milky
appearance, you may need to process it
again at a higher temperature
4. If the laminated document is ridged and hard
it has probably been laminated too hot, and
you should put other laminates through at a
lower setting.
5. If in doubt, start at a lower temperature and if
the laminate does not bond to the document
(appears cloudy) then repeat using a higher
temperature.
6. If air pockets develop during processing, use
a small sharp needle or pin to gently
puncture pockets and process again.
7. Do not handle the inside of the laminating
pouch moisture from your hands could impair
the processing quality.
CARE AND CLEANING
This personal laminator is for medium volume
use only. No servicing other than external
cleaning should be performed on the machine.
Do not immerse in water.
To reduce risk of electric shock, do not
remove the base.
• Never clean with scouring powders or hand
implements.
• Wipe clean with a soft cloth.
SERVICE AND REPAIRS
Do not attempt to repair the machine
yourself as there are no serviceable
components within the machine.
Never open up the machine.
Repair should only be carried out by an
authorised service representative.
TECHNICAL SPECIFICATION
Technical Specifications
Model Rexel Elite
Maximum Pouch Size A3 / 12"
Minimum Pouch Size Credit card size (54x86mm)
Maximum Pouch Pouch sizes up to A7 =
Thickness 2 x180 (360) micron / 7 mil
Maximum Pouch Pouch sizes above A7 =
Thickness 2 x180 (360) micron / 7 mil
Power Supply 230V
Maximum Power 600W
Consumption
Weight 6.4 kg
Packed Weight 7.49 kg
50Hz
WARRANTY
This machine is guaranteed for 24 months from
the date of purchase – Rexel will repair or replace
the laminator at their discretion.
This does not affect your statutory rights.
Please contact your supplier if you experience
any problems.
Page 4

This laminator is guaranteed for a period of two years from the date of original purchase. At Rexel's discretion, the faulty laminator
will be repaired or replaced should breakdown occur as a result of a manufacturing defect. This guarantee specifically excludes
faults or breakdowns occurring as a result of accidental or intentional misuse, damage caused during transit, fair wear and tear,
or failure to operate or maintain the machine in accordance with the manufacturer's instructions. Work carried out as a result of
these actions will be charged at the manufacturer's or approved Service Agent's rates prevailing at the time of repair. This
guarantee does not affect your statutory rights.
ACCO UK SERVICE Tel: 0845 6586600 Fax: 0870 421 5576
www.acco.co.uk/service www.createandlaminate.co.uk
 Loading...