How it Works
Log In / Sign Up
Buy Points
How it Works
FAQ
Contact Us
Questions and Suggestions
Users
3xLOGIC
Loading...
#
3xCLOUD
V
View Lite Smart Device App
VIGIL Client
2
VIGIL Server
2
VISIX Camera
7
VSX-1.3MP-MBIR
VSX-1.3MP-PIR1
VSX-2MP-BIR-RF
2
VSX-2MP-D2-RF
2
VSX-2MP-FE
VSX-2MP-MBIR
VSX-2MP-MVD
VSX-2MP-MVD28
2
VSX-2MP-MVD4
VSX-2MP-MVD40
2
VSX-2MP-OD2-IRFH
VSX-3MP-BIR-RF
2
VSX-3MP-D2RFWDR
2
VSX-3MP-ODIR28
2
VSX-5MP-D2-360
VSX-5MP-D2-RF
2
VSX-OD2-IRFH
VX-2A-B-RIWD
VX-2A-B-RIWDZ
VX-2AD3B-IWD
VX-2AD3-IWD
VX-2A-IMD-X
VX-2M-B-RIA
VX-2M-D2-RIA
3
VX-2M-OD2-RIAH
3
VX-2S-CPIR-W
VX-2S-D3-RIA
VX-2V28-PIN
VX-2VA-B-RIWD
VX-2V-MD-RIWH
VX-3M20-B-RIAWD
VX-3M-AWD
VX-3M-B-RIAWD
2
VX-3M-D2-RIAWD
3
VX-3M-F-AWD
VX-3M-OD2-RIAWD
3
VX-3P28-MB-I
2
VX-3P28-MD-I
2
VX-3P28-MD-IA
2
VX-3P28-MD-IA (DC)
VX-3P28-MD-IAWI
2
VX-3P28-MD-I (DC)
VX-3P28-OD-I
2
VX-3P4-MB-I
VX-3P4-MB-I (DC)
VX-3P4-MD-I
2
VX-3P4-MD-I (DC)
VX-3PV-B-I
VX-3PV-B-I (DC)
Loading...
Loading...
Nothing found
VISIX Camera
User Manual
79 pgs
5.67 Mb
0
User Manual
103 pgs
27.45 Mb
0
User Manual
39 pgs
10.65 Mb
0
User Manual
90 pgs
15.03 Mb
0
User Manual
16 pgs
2.97 Mb
0
User Manual
75 pgs
15.91 Mb
0
User Manual
10 pgs
1.04 Mb
0
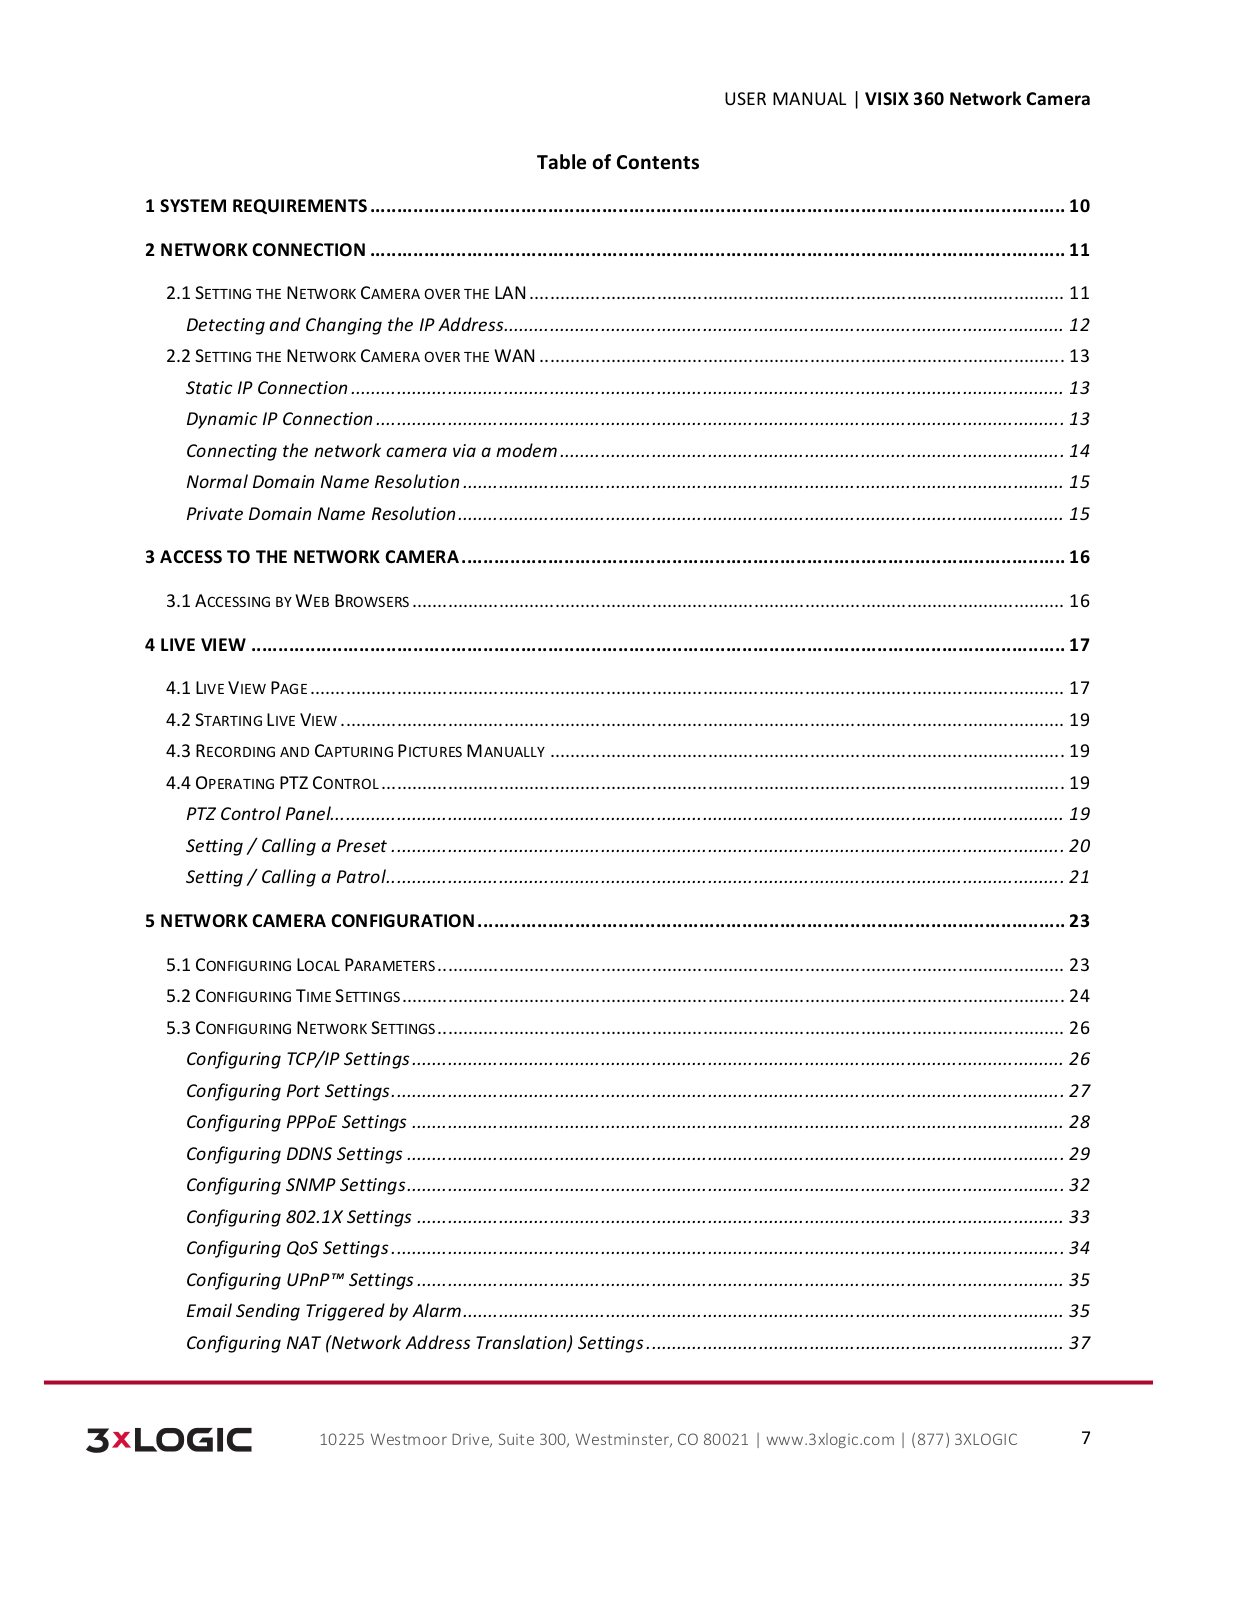
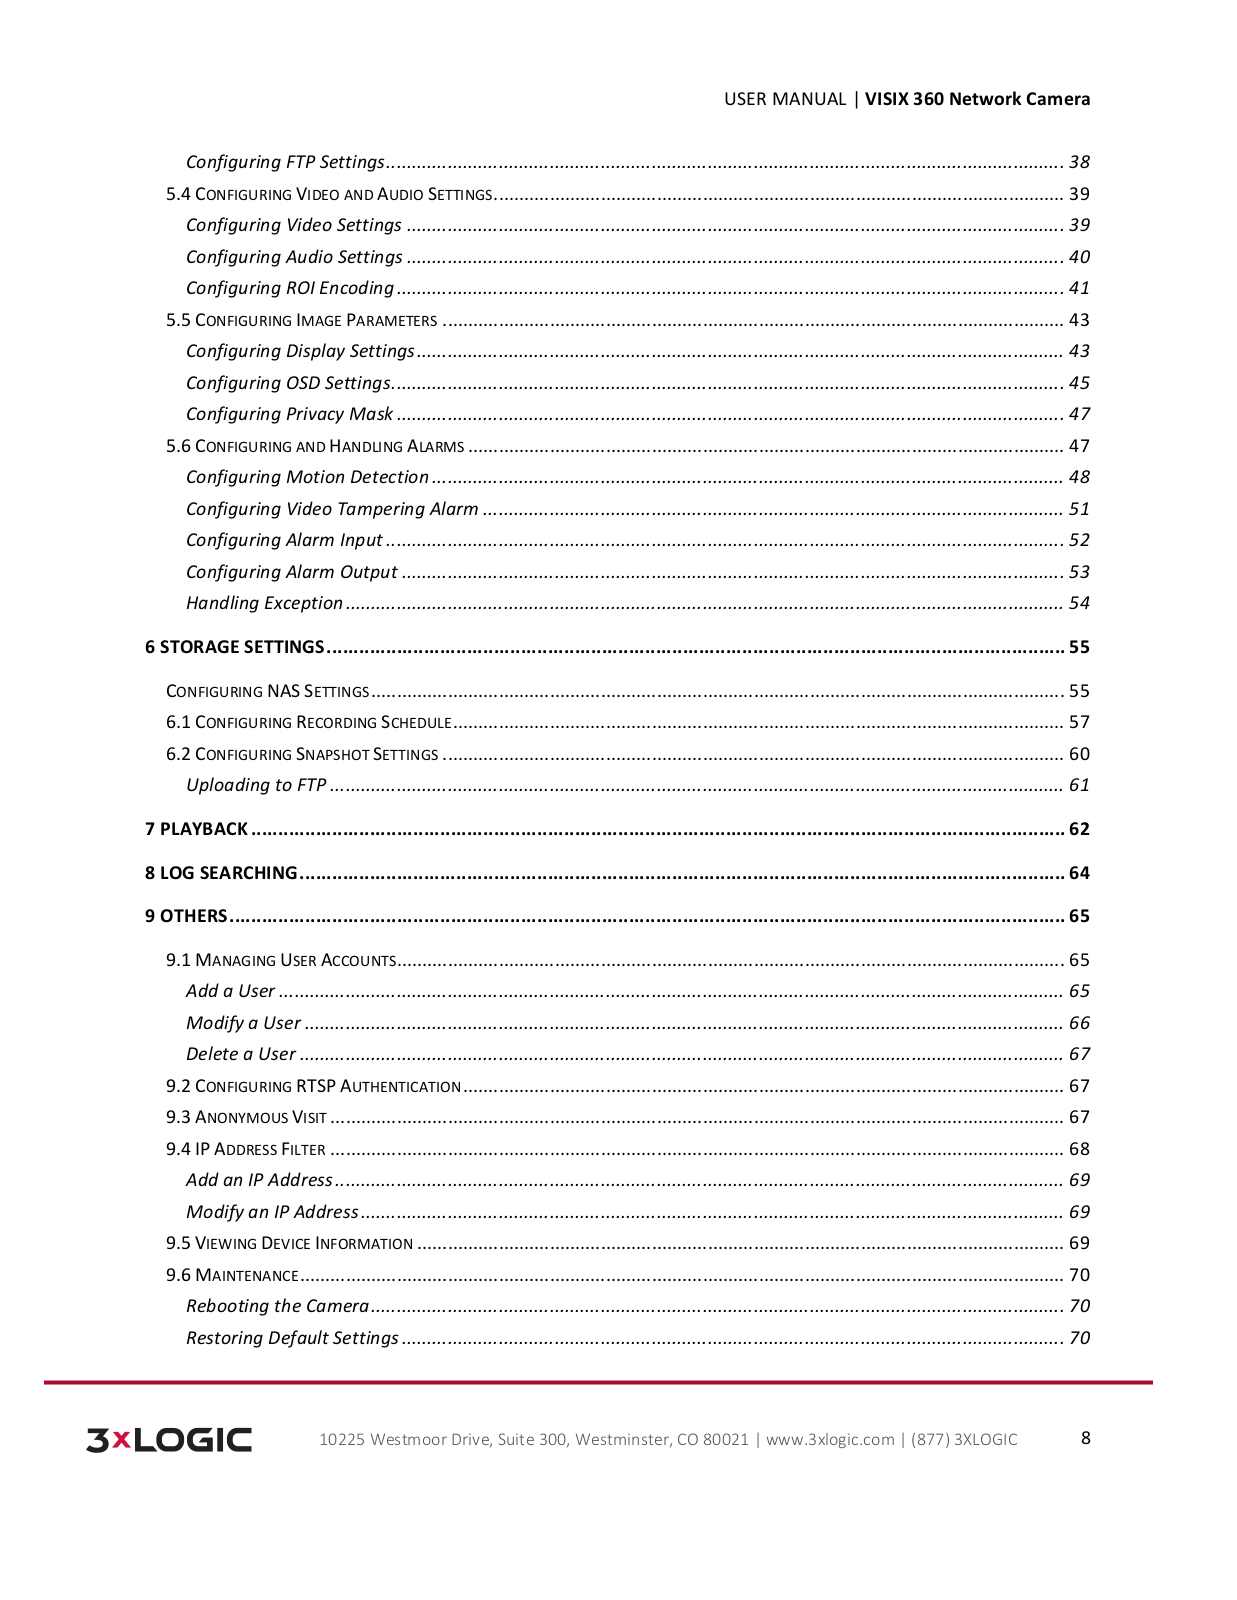
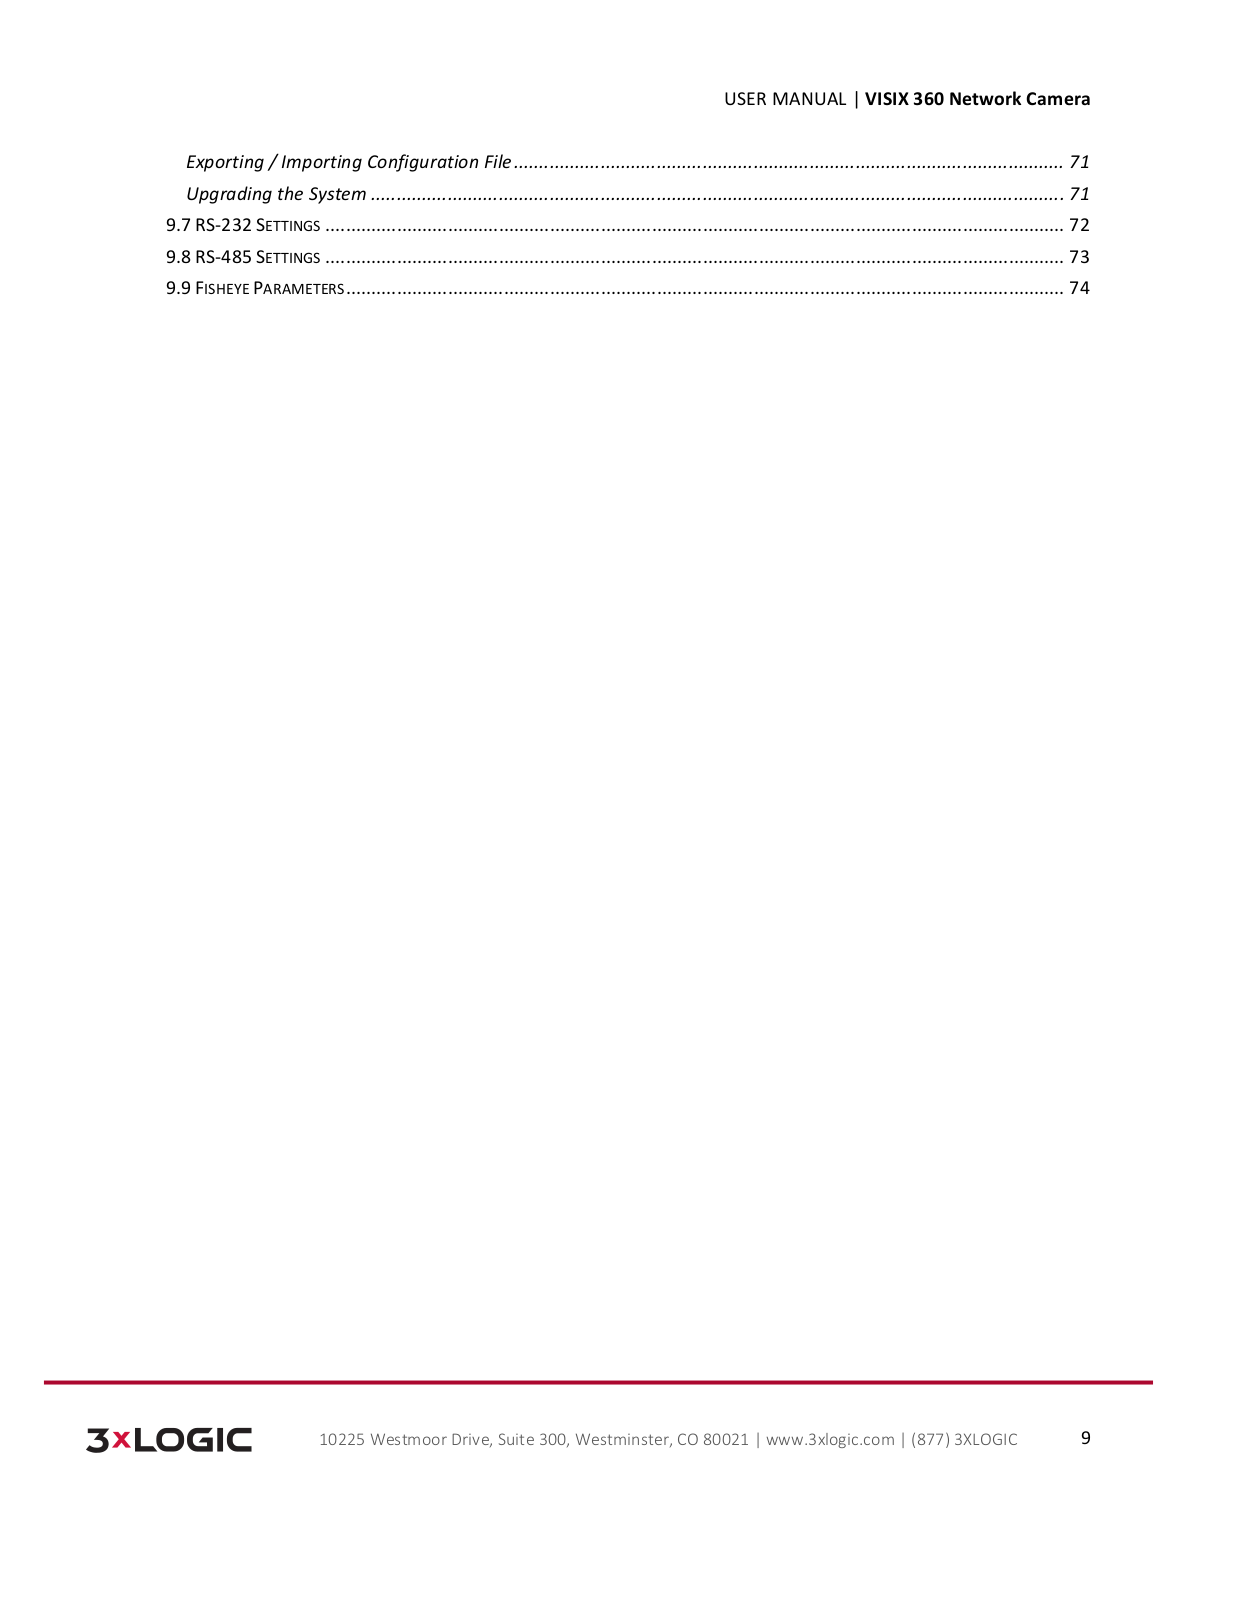
Table of contents
Loading...
3xLOGIC VISIX Camera User Manual
...
3xLOGIC User Manual
Download
Specifications and Main Features
Frequently Asked Questions
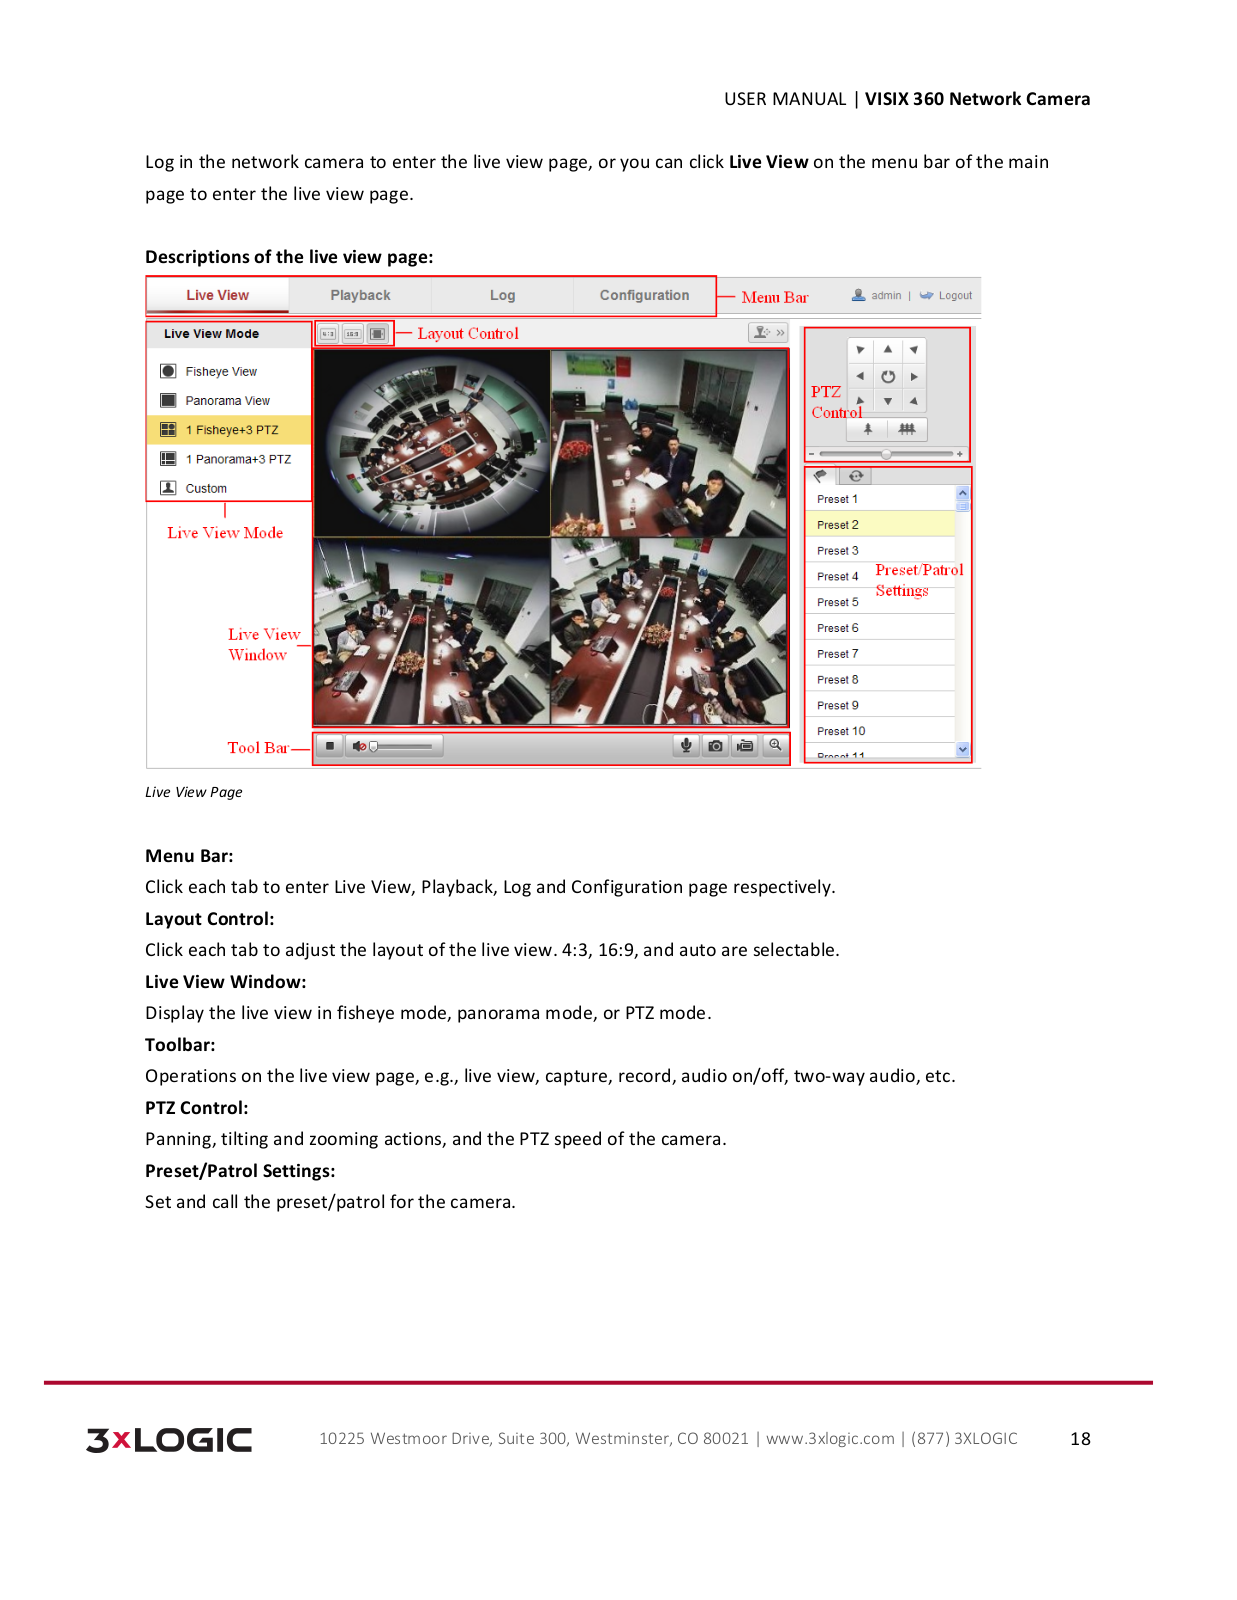
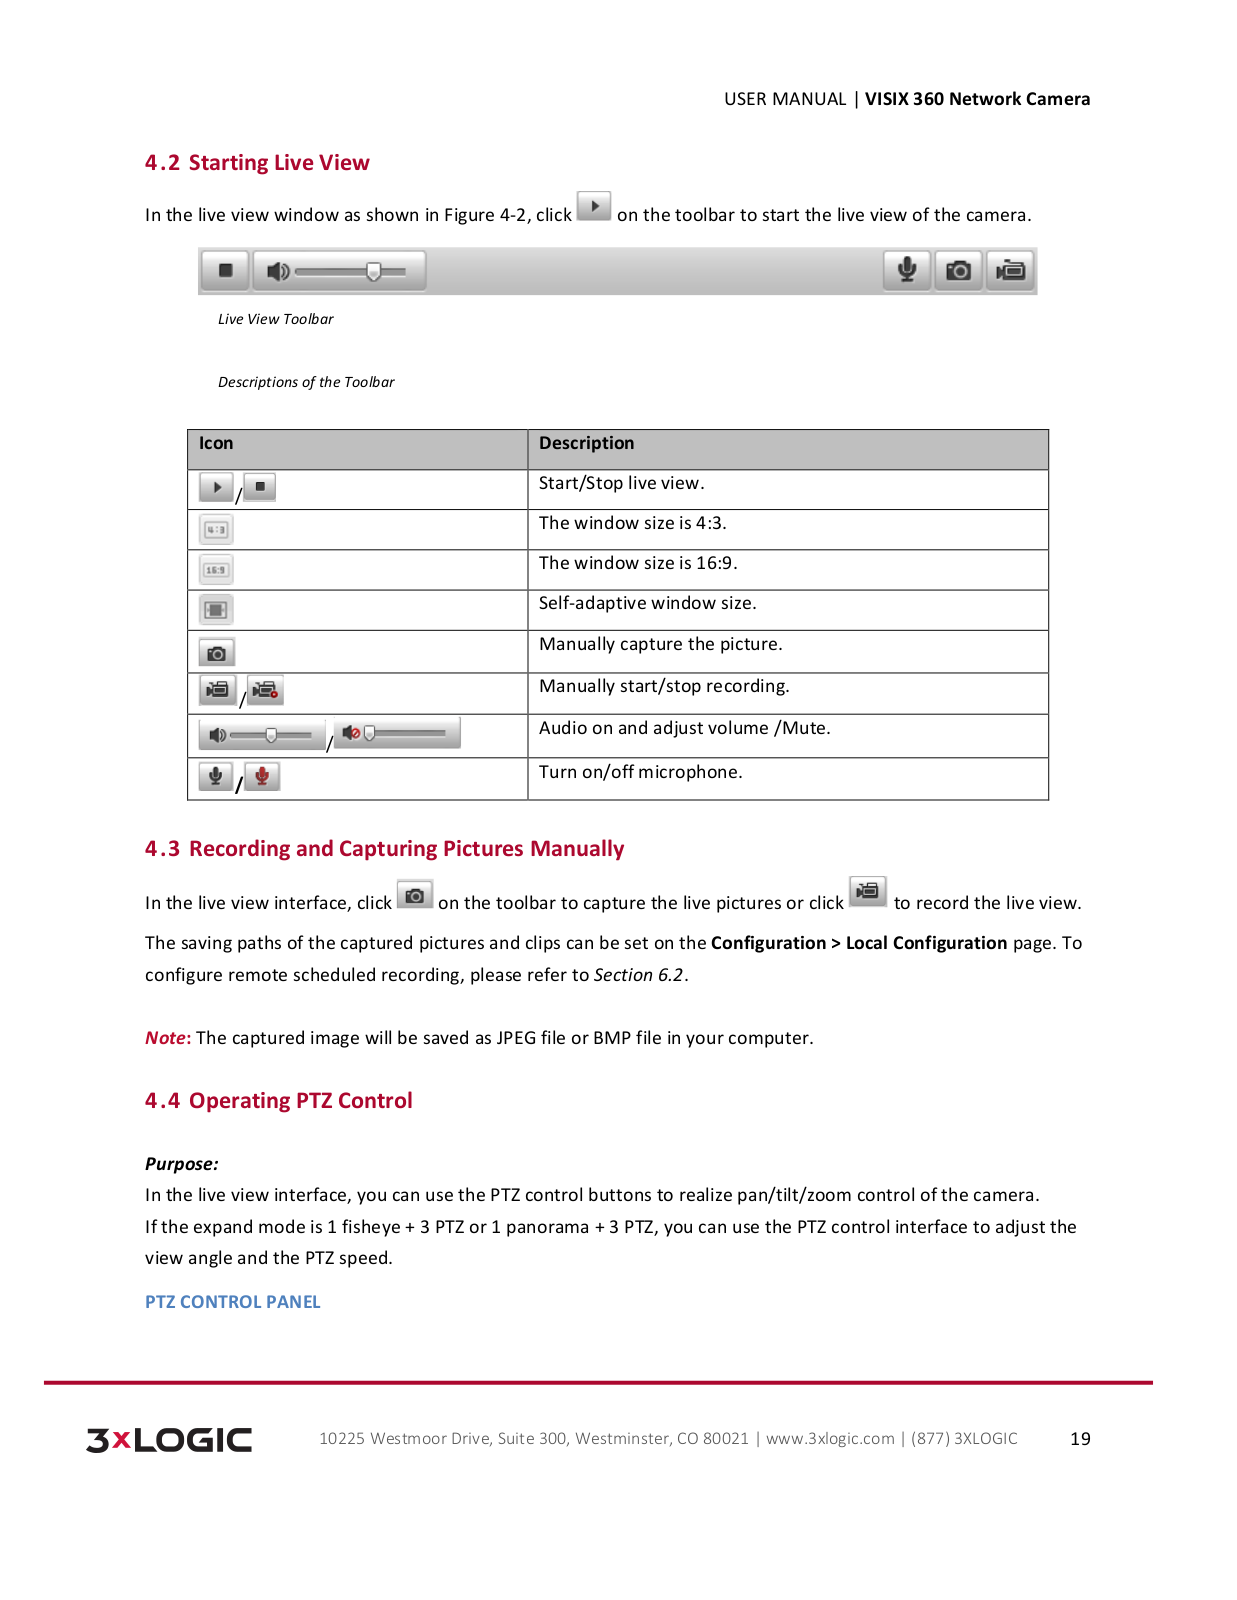
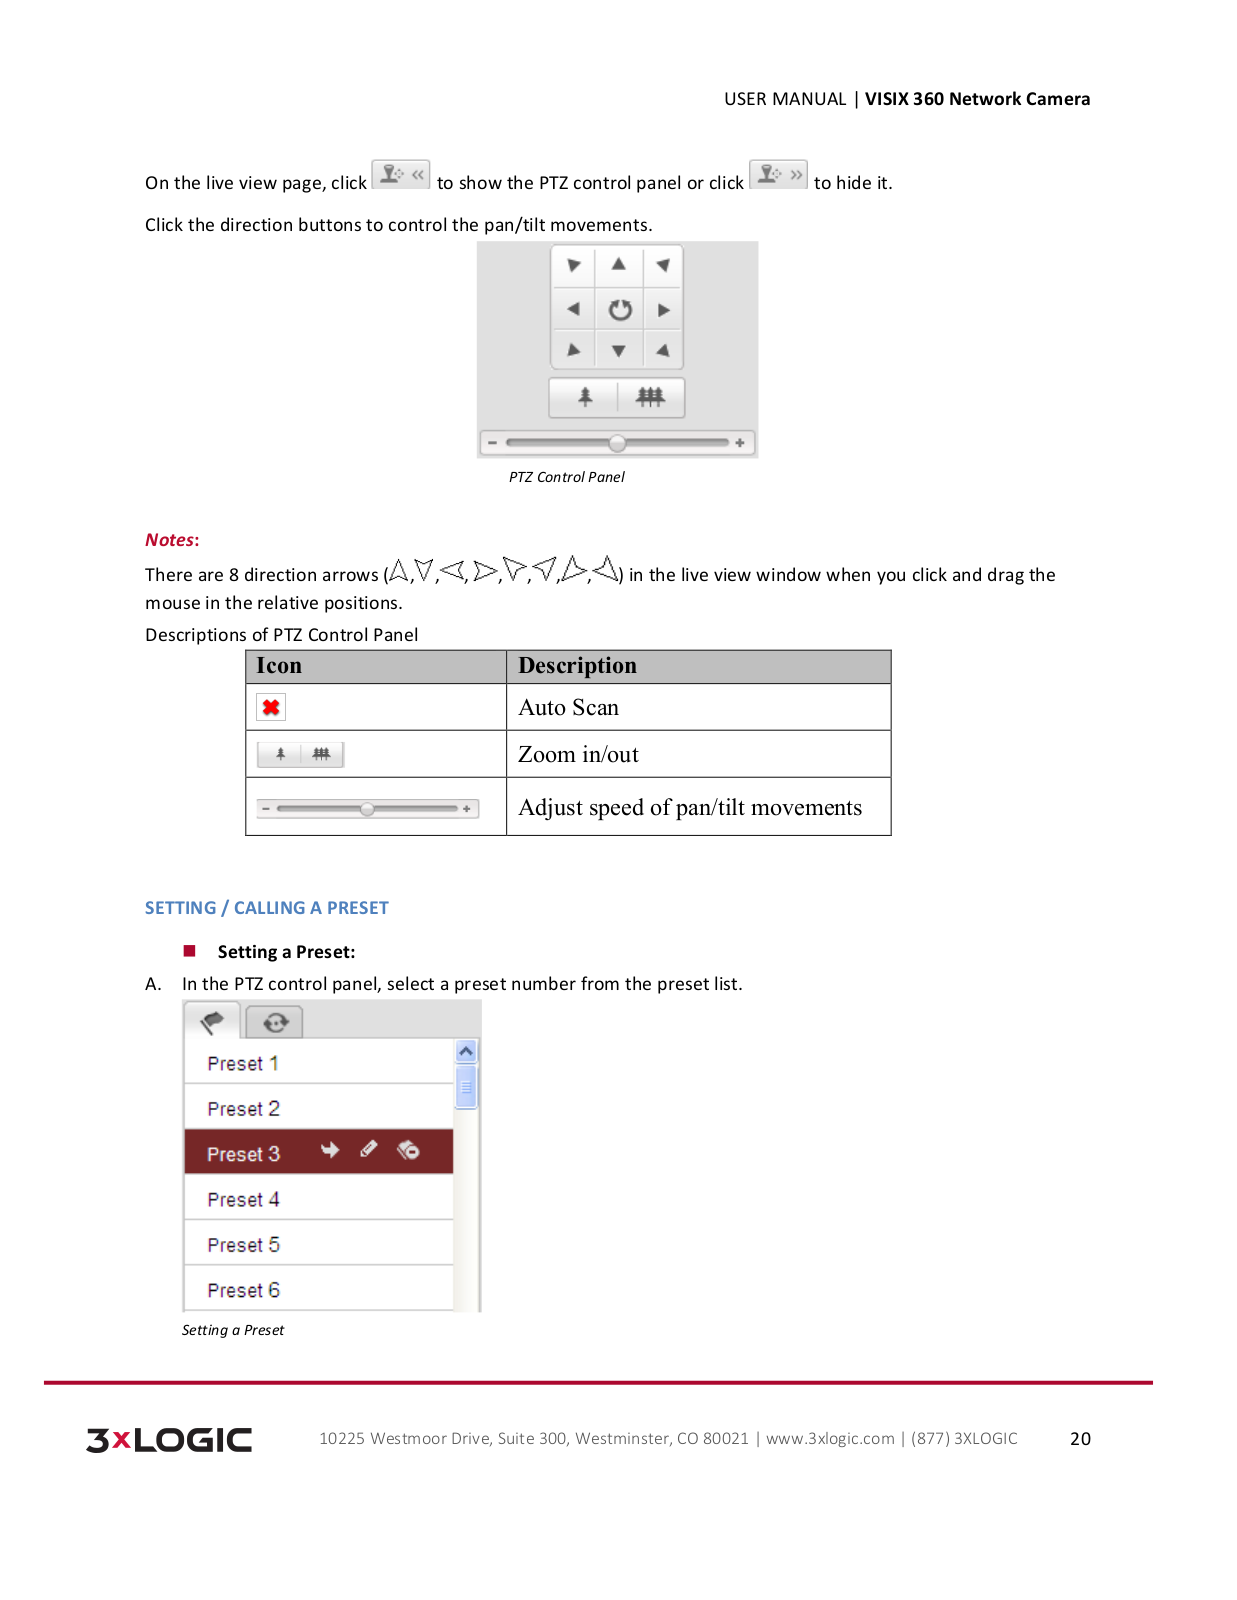
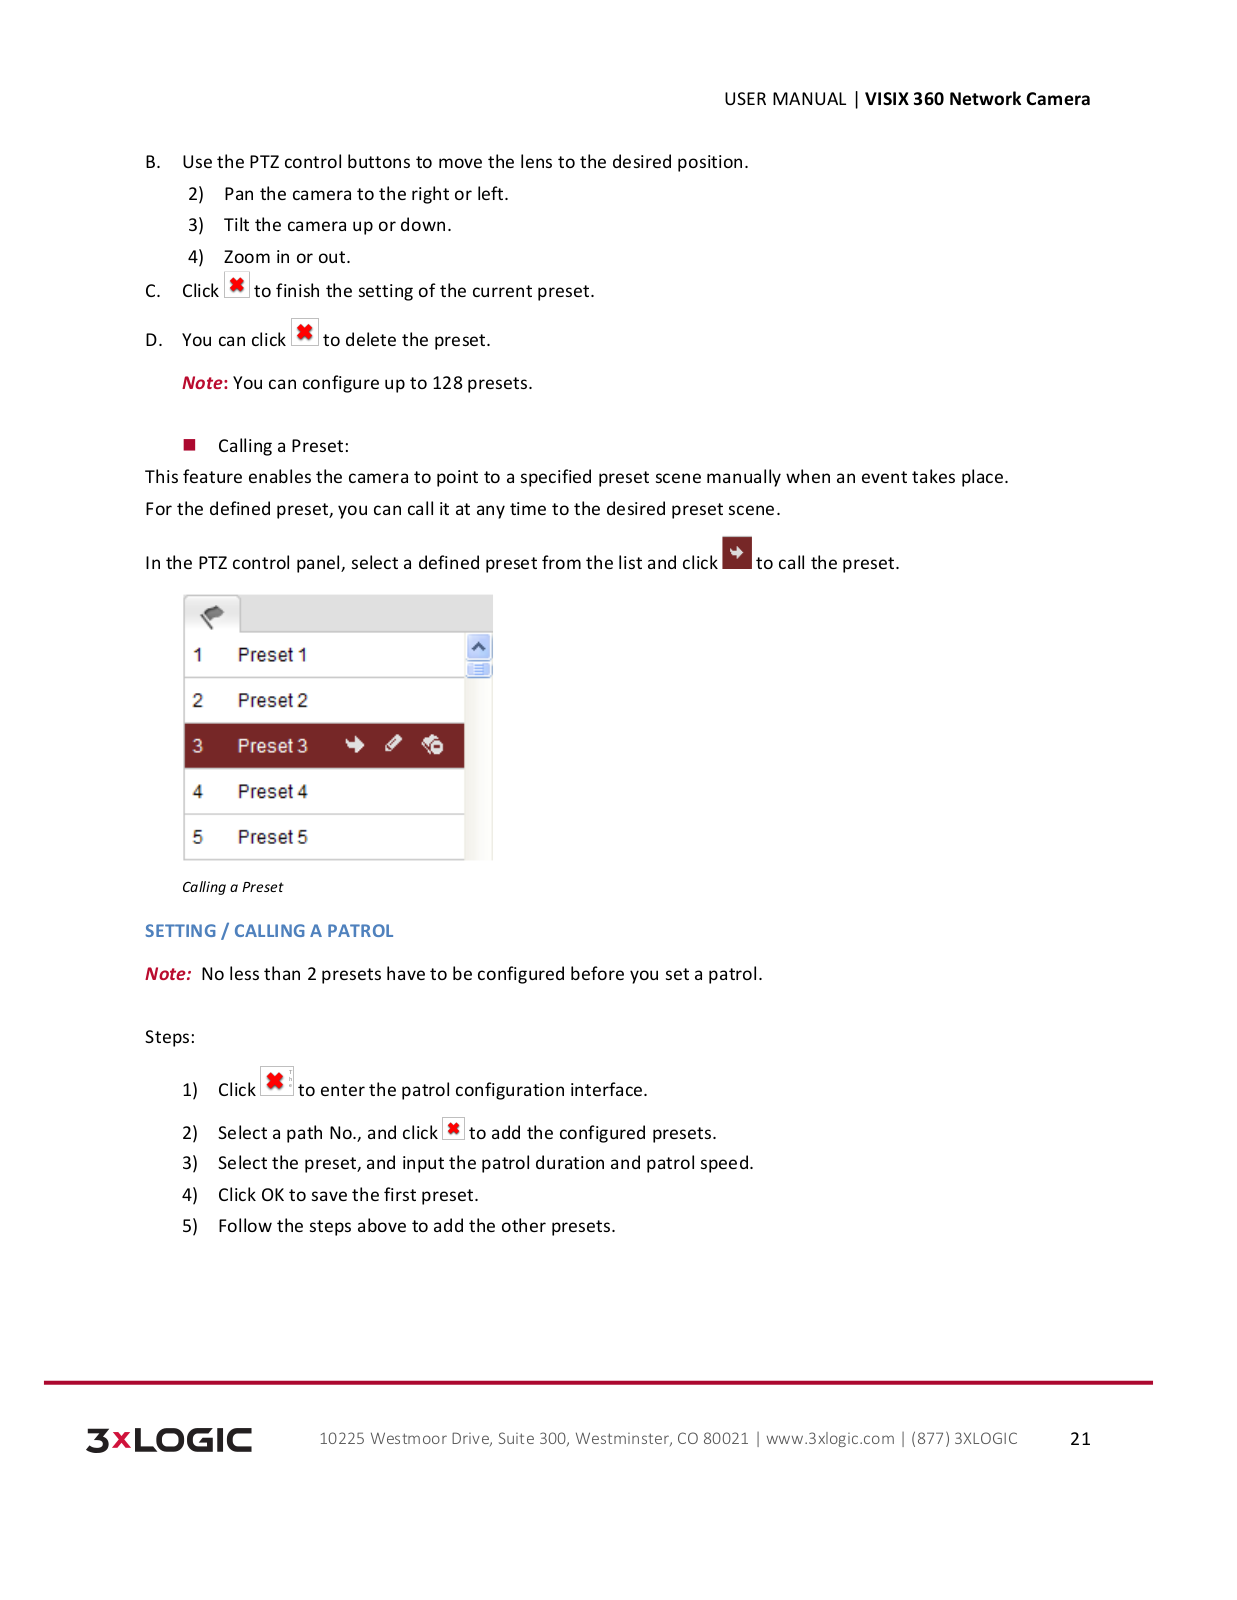
User Manual
Download
Loading...
+
hidden pages
Unhide
You need points to download manuals.
1 point = 1 manual.
You can buy points or you can get point for every manual you upload.
Buy points
Upload your manuals
 Loading...