

Page 1
3B SCIENTIFIC® PHYSICS
Digitalkamera für Mikroskope 1,3 MPixel U30100
Installationsanleitung
08/08 MEC
1. Lieferumfang
1 Digital Kamera für Mikroskope
1 Installationsanleitung
1 Software-CD
2 Mikroskopadapter
2. Systemvoraussetzungen
Windows 98, Windows 2000, Windows ME, Windows
XP, Windows Vista
Intel Pentium III oder ähnlicher Prozessor mit
mind. 600 MHz
mind. 128 MB RAM
100 MB Festplattenspeicher
3. Installation
3.1 Installation der Kamerasoftware
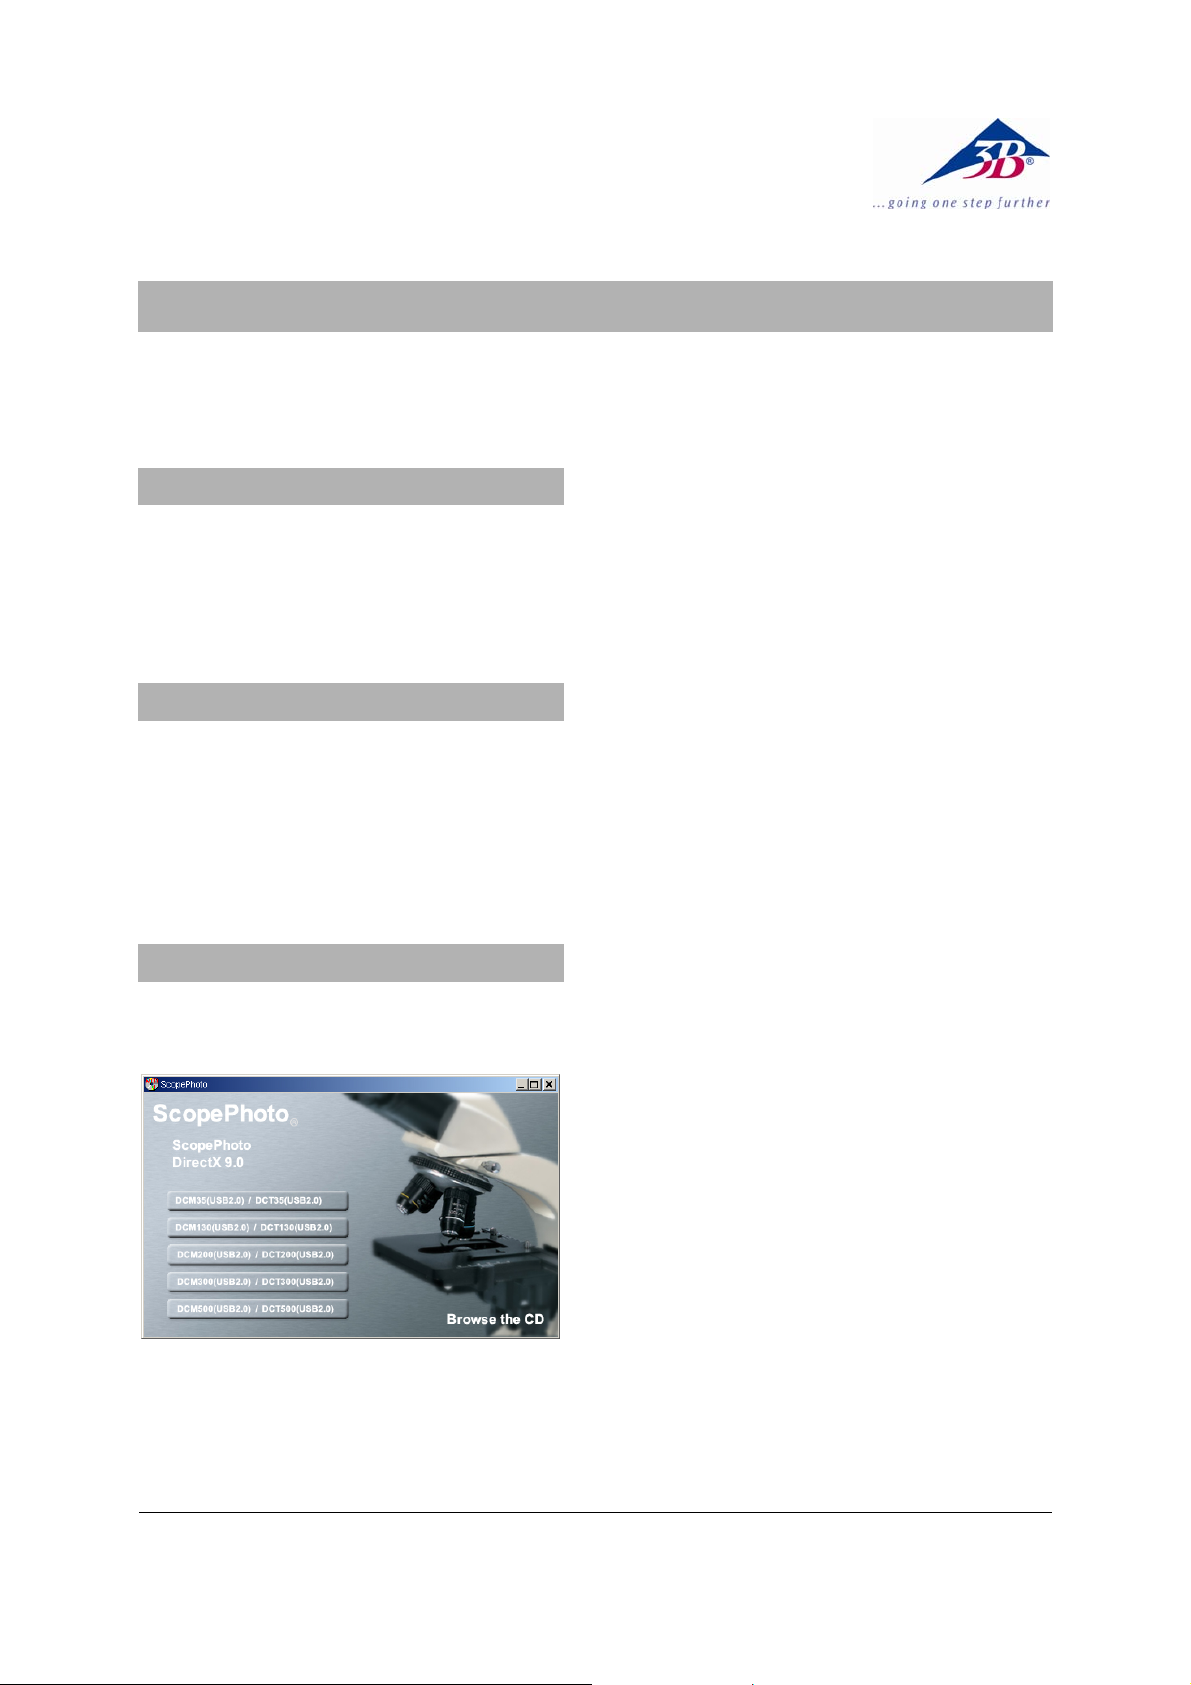
• Die Software-CD ins CD-Rom Fach einlegen.
Es erscheint folgende Oberfläche:
• Auf DCM130 (USB 2.0) klicken und den Anwei-
sungen folgen.
• Für Windows XP Benutzer: Wenn die Meldung
„Windows-Logo-Test nicht bestanden“ erscheint, auf „Installation fortsetzen“ drücken.
• Falls Neustart erforderlich, Rechner neu star-
ten.
3.2 Installation des Treibers
• Die Kamera via USB (2.0) mit dem Computer
verbinden.
Es erscheint die Meldung „Neue Hardware“ gefunden.“
• Den Anweisungen des Hardwareassistenten
folgen.
• Frage „Update im Internet suchen“ mit nein
beantworten.
• Automatische Installation auswählen.
• Für Windows XP Benutzer: Wenn die Meldung
„Windows-Logo-Test nicht bestanden“ erscheint, auf „Installation fortsetzen“ drücken.
• Falls Neustart erforderlich, Rechner neu star-
ten.
Anschließend kann die Kamerasoftware etAMCAP
gestartet werden.
3.3 Installation weiterer Software
• Auf ScopePhoto klicken und den Installations-
anweisungen folgen.
Informationen zur Software ScopePhoto sind den
Online-Hilfen der entsprechenden Software zu
entnehmen.
3.4 Installation von DirectX9.0
• Auf DirectX9.0 klicken und den Installations-
anweisungen folgen.
Falls bereits eine aktuellere Version vorhanden ist,
erscheint eine entsprechende Meldung.
3B Scientific GmbH • Rudorffweg 8 • 21031 Hamburg • Deutschland • www.3bscientific.com
Technische Änderungen vorbehalten
© Copyright 2008 3B Scientific GmbH
Page 2

Page 3
3B SCIENTIFIC® PHYSICS
Digital camera for microscopes 1,3 MPixel U30100
Installation Instruction
08/08 MEC
1. Scopy of delivery
1 Digital camera for microscopes
1 Instruction manual
1 Software-CD
2 Adapters for microscope
2. System requirements
Windows 98, Windows 2000, Windows ME, Windows
XP, Windows Vista
Intel Pentium III or similar processor with at least
600 MHz
At least 128 MB RAM
100 MB Hard disk memory
3. Installation
3.1 Installation of the camera software
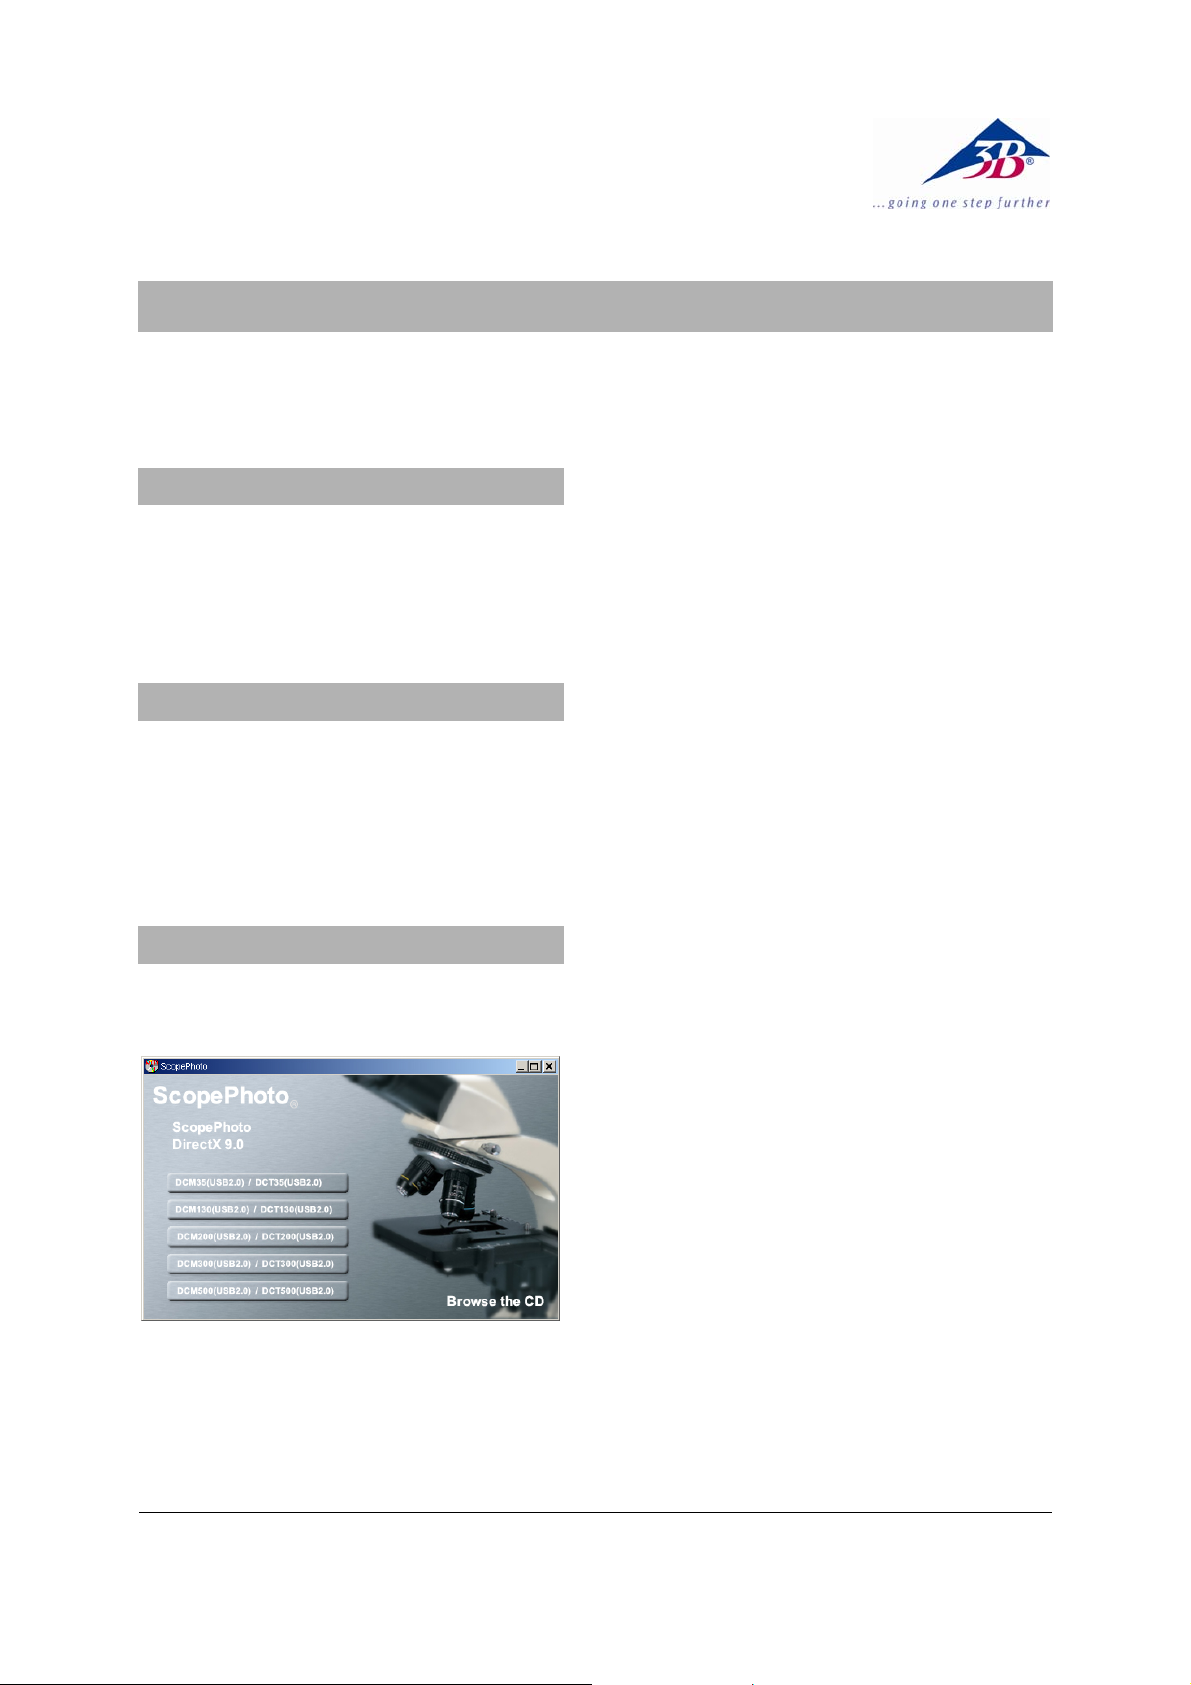
• Insert the software CD into the CD-ROM drive.
The following screen appears:
3.2 Installation of the driver
• Connect the camera to the computer through
the USB port(2.0).
The message “New hardware found” appears.
• Follow the instructions given by the hardware
assistant.
• When the question “Search the Internet for
updates?” appears, answer “no”.
• Choose the automatic installation option.
• For Windows XP users: If the message “Win-
dows logo test failed” appears, click on “Continue installation”.
• If it is necessary to begin again, re-start the
computer.
Afterwards, the camera software program etAMCAP
can be started.
3.3 Installation of extended software
• Click onto ScopePhoto and follow the instruc-
tions.
Special information for ScopePhoto can be found
in their online-helps.
3.4 Installation of DirectX9.0
• Click onto DirectX9.0 and follow the instruc-
tions.
If there is already a higher version installed on the
computer a pop-up-message will appear.
• Mouse-click on DCM130 (USB 2.0) and follow
the instructions.
• For Windows XP users: If the message “Win-
dows logo test failed” appears, click on “Continue installation”.
• If it is necessary to begin again, re-start the
computer.
3B Scientific GmbH • Rudorffweg 8 • 21031 Hamburg • Germany • www.3bscientific.com
Subject to technical amendments
© Copyright 2008 3B Scientific GmbH
Page 4

Page 5

3B SCIENTIFIC® PHYSICS
Appareil photo numérique pour microscopes 1,3 MPixel U30100
Installation
08/08 MEC
1. Matériel fourni
1 appareil photo numérique pour microscopes
1 notice d'installation
1 CD d'installation
2 adaptateur de microscope
2. Conditions système
Windows 98, Windows 2000, Windows ME, Windows
XP, Windows Vista
Minimum Pentium III ou équivalent de min. 600
MHz
min. 128 Mo RAM
Espace disque 100 Mo
3. Installation
3.1 Installation du logiciel de l'appareil photo
• Insérez le CD d'installation dans le lecteur CD.
L'écran suivant s'affiche :
• Cliquez sur DCM130 (USB 2.0) et suivez les
instructions.
• Pour les utilisateurs de Windows XP : lorsque le
système affiche le message que le logiciel n'a
pas réussi le test du logo Windows, cliquez sur
« Poursuivre l'installation ».
• Si un redémarrage est requis, redémarrez
l'ordinateur.
3.2 Installation du pilote
• Reliez l'appareil photo à l'ordinateur via le
port USB (2.0).
Le message « Nouveau matériel trouvé » s'affiche.
• Suivez les instructions de l'assistant à l'écran.
• Répondre par « Non » à la question «
Rechercher une mise à jour sur Internet ».
• Sélectionnez l'installation automatique.
• Pour les utilisateurs de Windows XP : Lorsque
le système affiche le message que le logiciel n'a
pas réussi le test du logo Windows, cliquez sur
« Continuer l'installation ».
• Si un redémarrage est requis, redémarrez
l'ordinateur.
Ensuite, l'appareil photo numérique etAMCAP peut
être démarré.
3.3 Installation d'autres logiciels
• Cliquez sur ScopePhoto et suivez les
instructions d'installation.
Vous trouverez des informations sur le logiciel
ScopePhoto dans leurs aides en ligne respective.
3.4 Installation de DirectX9.0
• Cliquez sur DirectX9.0 et suivez les instructions
d'installation.
Si une version plus récente est disponible, un
message correspondant s'affiche.
3B Scientific GmbH • Rudorffweg 8 • 21031 Hamburg • Allemagne • www.3bscientific.com
Sous réserve de modifications techniques
© Copyright 2008 3B Scientific GmbH
Page 6

Page 7

3B SCIENTIFIC
®
PHYSICS
Videocamera digitale per microscopio 1,3 MPixel U30100
Istruzioni di installazione
08/08 MEC
1. Fornitura
1 Videocamera digitale per microscopio
1 Istruzioni di installazione
1 CD del software
2 Adattatore per microscopio
2. Requisiti del sistema
Windows 98, Windows 2000, Windows ME, Windows
XP, Windows Vista
Processore Intel Pentium III o simile con frequenza
minima di 600 MHz
min. 128 Mb RAM
Disco fisso da 100 Mb
3. Installazione
3.1 Installazione del software della videocamera
• Inserire il CD del software nell'unità CD-ROM.
Viene visualizzata la schermata seguente:
• Cliccare su DCM130 (USB 2.0) e seguire le
indicazioni.
• Per utenti Windows XP: Quando compare
l’avviso “Test del logo Windows non superato”
premere su “continua installazione”.
• Se necessario, riavviare il computer.
3.2 Installazione del driver
• Collegare la videocamera al computer tramite
la porta USB (2.0).
Compare l’avviso “Trovato nuovo hardware“.
• Seguire le istruzioni della guida di installazione
dell'hardware.
• Rispondere no alla domanda “Cercare gli
aggiornamenti in Internet”.
• Selezionare l’installazione automatica.
• Per utenti Windows XP: Quando compare
l’avviso “Test del logo Windows non superato”
premere su “Continua installazione”.
• Se necessario, riavviare il computer.
Al termine dell'installazione è possibile avviare il
software della videocamera etAMCAP.
3.3 Installazione di altri software
• Fare clic su ScopePhoto e seguire le istruzioni
di installazione.
Per informazioni su ScopePhoto consultare le
rispettive guide in linea dei software.
3.4 Installazione delle DirectX9.0
• Fare clic su DirectX9.0 e seguire le istruzioni di
installazione.
Se sul computer è installata una versione più
recente, viene visualizzato un messaggio
corrispondente.
3B Scientific GmbH • Rudorffweg 8 • 21031 Amburgo • Germania • www.3bscientific.com
Con riserva di modifiche tecniche
© Copyright 2008 3B Scientific GmbH
Page 8

Page 9

3B SCIENTIFIC
®
PHYSICS
Cámara digital para Microscopio 1,3 MPixel U30100
Instrucciones de instalación
08/08 MEC
1. Volumen de suministro
1 Cámara digital para microscopio
1 Instrucciones de instalación
1 CD de software
2 Adaptador de microscopio
2. Condiciones del sistema
Windows 98, Windows 2000, Windows ME, Windows
XP, Windows Vista
Intel Pentium III o un procesador similar con
mínimo. 600 MHz
mínimo 128 MB de RAM
100 MB de memoria de disco duro
3. Instalación
3.1 Instalación del Software de la cámara
• El CD del Software se inserta en el
compartimiento para CD-ROM.
Aparece la siguiente pantalla:
• Se hace un clic sobre DCM130 (USB 2.0) y se
siguen las instrucciones.
• Para usuarios de Windows XP: Cuando
aparezca el mensaje “No aprobado el Logo test
de Windows”, se pulsa sobre, “Seguir con la
instalación“.
• Si es necesario un reinicio, se inicia nuevamen-
te el PC.
3.2 Instalación del driver
• Se conecta la cámara con el computador via
USB (2.0).
Aparece el siguiente mensaje “Encontrado un
nuevo Hardware“.
• Se siguen las instrucciones del asistente de
hardware.
• La pregunta “Buscar Update en Internet“ se
conteste con NO.
• Seleccionar instalación automática.
• Para usuarios de Windows XP: Cuando
aparezca el mensaje “No aprobado el Logo test
de Windows”, se pulsa sobre, “Seguir con la
instalación”.
• Si es necesario un reinicio, se inicia
nuevamente el PC.
A continuación se puede poner en marcha el
software de la cámara etAMCAP.
3.3 Instalación de softwares adicionales
• Se hace in clic sobre ScopePhoto y se siguen las
indicaciones de la instalación.
Informaciones sobre el software ScopePhoto se
pueden tomar de la ayuda online del
correspondiente software.
3.4 Instalación de DirectX9.0
• Se hace un clic sobre DirectX9.0 y se siguen las
indicaciones de la instalación.
En caso de que se tenga en el PC una versión más
actual, aparece en pantalla un mensaje
correspondiente.
3B Scientific GmbH • Rudorffweg 8 • 21031 Hamburgo • Alemania • www.3bscientific.com
Se reservan las modificaciones técnicas
© Copyright 2008 3B Scientific GmbH
Page 10

Page 11

3B SCIENTIFIC
®
PHYSICS
Câmera digital para microscópios 1,3 MPixel U30100
Instruções para a instalação
08/08 MEC
1. Fornecimento
1 Câmera digital para microscópios
1 Instruções para a instalação
1 CD com software
2 Adaptador para microscópio
2. Requerimentos de sistema
Windows 98, Windows 2000, Windows ME, Windows
XP, Windows Vista
Windows Vista
Intel Pentium III ou processador semelhante com
no mín. 600 MHz
Mínimo de 128 MB RAM
100 MB de memória no HD
3. Instalação
3.1 Instalação da câmera de software
• Colocar o Software-CD na gaveta do CD-Rom.
Aparecerá a seguinte tela:
• Clicar em DCM130 (USB 2.0) e seguir as
instruções.
• Para usuários do Windows XP: Quando a
mensagem „Windows-Logo-Test não realizada“
aparecer, pressionar „continuar a instalação“.
• Caso seja necessário reiniciar, iniciar
novamente o computador.
3.2 Instalação do Sistema
• Conectar a câmara via USB (2.0) com o
computador.
Vai aparecer a mensagem „novo hardware
encontrado“.
• Seguir as instruções do assistente de hardware.
• Responder a pergunta procurar update na
Internet com não.
• Escolher instalação automática.
• Para usuários do Windows XP: Quando a
mensagem Teste Logo Windows não realizada
aparecer, pressionar „continuar instalação“.
• Caso seja necessário reiniciar, iniciar
novamente o computador.
Em seguida a câmara software etAMCAP pode ser
iniciada.
3.3 Instalação de outros softwares
• Clicar sobre ScopePhoto e seguir as instruções
de instalação.
Encontrará informações sobre o software
ScopePhoto na ajuda online do software
correspondente.
3.4 Instalação do DirectX9.0
• Clicar sobre DirectX9.0 e seguir as instruções de
instalação.
Caso já se encontre instalada a versão atual, surgirá
uma mensagem correspondente.
3B Scientific GmbH • Rudorffweg 8 • 21031 Hamburgo • Alemanha • www.3bscientific.com
Sob reserva de alterações técnicas
© Copyright 2008 3B Scientific GmbH
Page 12

 Loading...