

Page 1

ZyXEL G-220 v3
802.11g Wireless USB Adapter
Quick Start Guide
Copyright © 2008. All rights reserved
CONTENTS
ENGLISH 2
Page 2

ENGLISH
ENGLISH
About Your G-220 v3
The G-220 v3 is a wireless network USB adapter for your
computer.
Installation Requirements
Before installation, make sure you have a computer with the
following:
• Pentium II 300MHz or above
• A minimum of 20 MB available hard disk space
• A minimum of 32 MB RAM
• A CD-ROM drive
• A USB port (with USB1.0/1.1, the G-220 v3 can only transmit
at up to 11Mbps.)
• Windows 98 Second Edition (SE), Windows ME, Windows
2000, Windows XP or Windows Vista
• Windows 98 SE users may need the Windows 98 SE CD.
Note for Windows Vista Users: Some features in the ZyXEL
utility are not available when using Windows Vista. Please
refer to the User’s Guide for more information.
2
Page 3
ENGLISH
" If you have already installed Funk Odyssey
Client software on the computer, uninstall
(remove) it.
1 Installation
The installation procedures are similar for all supported
Windows versions.
" Install the ZyXEL Utility before you insert the G-
220 v3.
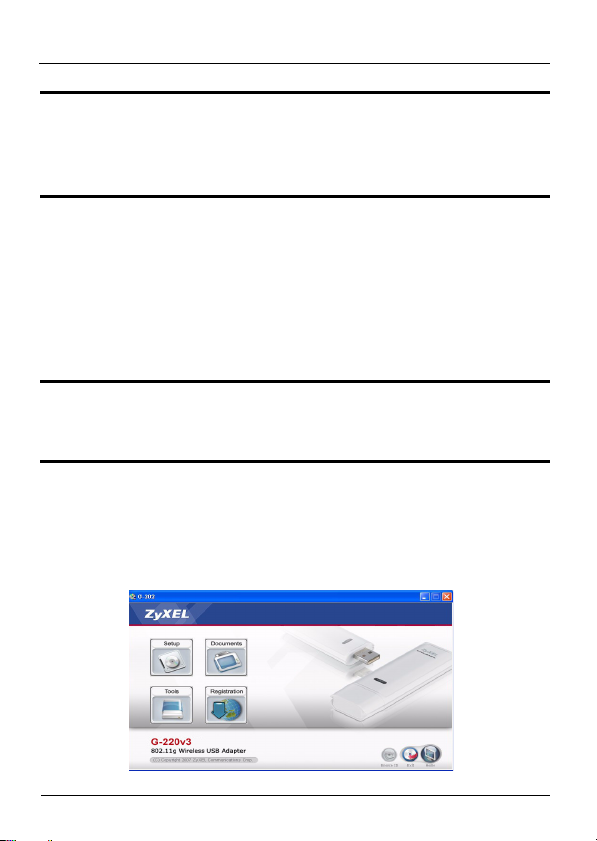
1 Insert the included CD into the CD-ROM drive on your
computer. When the following screen displays, click
Setup. If the screen does not display, locate and doubleclick autorun.exe.
3
Page 4
ENGLISH
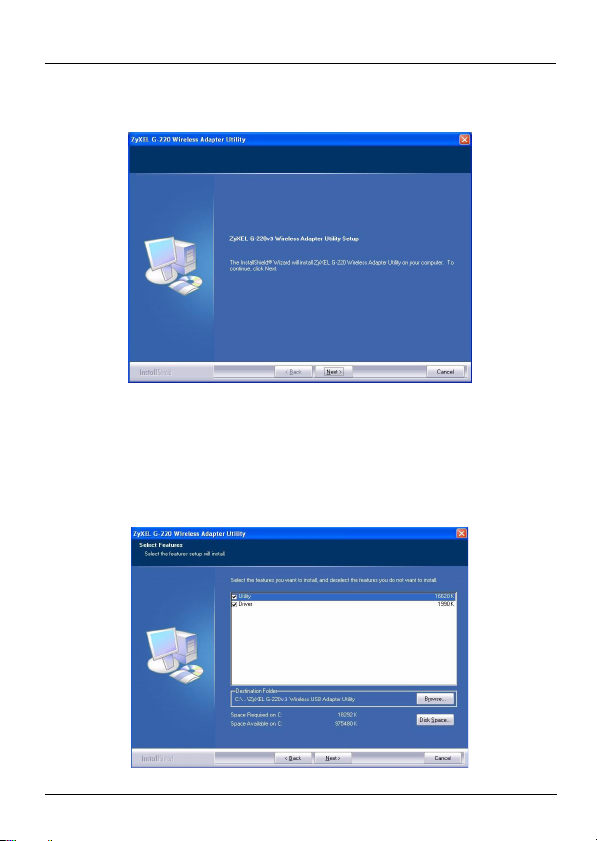
2 Select your language and click OK.
3 The following screen displays. Click Next.
4 Select Driver and Utility to install both ZyXEL utility and
driver on your computer. If you want to install the driver
only and use Wireless Zero Configuration (WZC) with
Windows XP, select Driver only. Click Next to accept the
default file location or click Browse to select an alternate
folder.
4
Page 5

ENGLISH
5 Click Finish to restart the computer.
6 Locate an available USB port on the computer.
7 Remove the protective cap
to expose the USB
connector. Insert the G220 v3 to an available USB
port on the computer. The
G-220 v3’s lights turn on if
it is properly inserted.
" Never bend, force or twist the G-220 v3 into the
port.
After you install the ZyXEL utility and insert the G-220 v3, an
icon appears in the system tray (typically at the bottom of the
desktop).
If the icon color is green and/or you see the following icon
on your desktop, you are already connected to a wireless
network.
2 Connect to a Wireless Network Using WPS
You can use Wi-Fi Protected Setup (WPS) to add your
computer to a wireless network.
5
Page 6

ENGLISH
The G-220 v3 supports two WPS methods for creating a
secure connection:
• Push Button Configuration (recommended) - create a
secure wireless network simply by clicking a button. See
section 2.2.
• PIN Configuration - create a secure wireless network by
entering the G-220 v3’s PIN (Personal Identification Number)
into the configuration screen of an Access Point (AP). See
section 2.3.
2.1 Open the Utility
1 After you install the
ZyXEL utility and
insert the G-220 v3,
an icon appears in the
system tray. Doubleclick the icon.
6
Page 7

ENGLISH
2 The ZyXEL
utility Link
Info screen
displays.
V If the icon does not display, uninstall and re-
install the ZyXEL utility. See the User’s Guide
for how to uninstall the utility.
The G-220 v3 automatically connects to an available wireless
network without security enabled. However, this wireless
network may not be connected to the Internet.
If the icon is green you are already connected to a
wireless network.
If the icon is red, you are not connected to a wireless
network.
3 Click the Adapter tab.
7
Page 8

ENGLISH
2.2 Push Button Configuration
1 Make sure that your wireless AP (Access Point) is turned
on and that it is within range of your computer.
2 In the Adapter screen, select WPS (Wi-Fi Protected
Setup) and PBC (Push Button Configuration).
3 Click Start.
4 Press the WPS button on your wireless AP (ZyXEL’s
NWA570N is shown as an example). It doesn’t matter
8
Page 9

ENGLISH
which button is pressed first. You must press the second
button within two minutes of pressing the first one.
G-220 v3
WPS
AP
Internet
5 The AP and the G-220 v3 establish a secure connection.
This can take up to two minutes.
6 You are now ready to connect to the Internet wirelessly
through your G-220 v3.
Congratulations - you have finished!
2.3 WPS PIN Configuration
This section shows you how to use the WPS PIN method to
connect to an AP.
Do this only if you did not use the push-button WPS method
(see 2.2).
1 In the WPS section of the Adapter screen, select WPS
and PIN. Write down the 8-digit PIN that is displayed in
9
Page 10

ENGLISH
E
the grayed-out text field. You will need to enter this PIN in
the WPS screen of the AP.
2 Launch your AP’s configuration utility, go to the screen
where you can configure the WPS settings and enter the
G-220 v3’s PIN (an example screen from ZyXEL’s
NWA570N is shown).
XAMPLE
3 Click Start in the G-220 v3 Adapter screen and Apply or
Start in the AP’s WPS screen within two minutes.
The AP authenticates the G-220 v3 and sends the proper
configuration settings to the G-220 v3. This may take up to
two minutes. The G-220 v3 is now able to communicate with
the AP securely.
Congratulations - you have finished!
10
Page 11

ENGLISH
Troubleshooting
• If the lights on the G-220 v3 are not on after you installed the
utility and the G-220 v3, make sure the G-220 v3 is properly
inserted.
• If the icon does not display, uninstall and re-install the utility. See the User’s Guide for how to uninstall the utility.
• If your G-220 v3 does not connect to a wireless network,
make sure there is an available wireless network within
range (see your User’s Guide for details about the site survey feature). If wireless security is enabled for that network,
you need to configure security settings in your G-220 v3 (see
the User’s Guide).
Note for Windows XP Users: If you want to use WZC, either
disable the ZyXEL utility (if you already installed it) or just
install the driver.
To disable the ZyXEL utility, right-click the icon and select
Exit. To activate the ZyXEL utility again, double-click the
icon on your desktop or click Start > Programs > ZyXEL G-
220 v3 Wireless Adapter Utility > ZyXEL G-220 v3 Wireless
Adapter Utility.
To install the driver only, select Driver only.
Important Information
Federal Communications Commission (FCC) Interference
Statement
11
Page 12

ENGLISH
The 802.11g Wireless LAN Adapter has been tested to the
FCC exposure requirements (Specific Absorption Rate).
The equipment complies with FCC RF radiation exposure
limits set forth for an uncontrolled environment, under 47 CFR
2.1093 paragraph (d) (2).
This Transmitter must not be co-located or operating in
conjunction with any other antenna or transmitter.
Refer to the User's Guide for general FCC statements.
Procedure to View a Product’s Certification(s)
1 Go to www.zyxel.com.
2 Select your product from the drop-down list box on
the ZyXEL home page to go to that product's page.
3 Select the certification you wish to view from this
page.
12
Page 13

ENGLISH
13
 Loading...