

Zte Sprint Vital User Manual
Get
Started
All you need to know to get going.

Thanks for choosing Sprint. This booklet introduces you to the
basics of getting started with Sprint and your Sprint Vital™.
ReadyNow – For more help in getting up and running with your
new phone, take advantage of exclusive Ready Now resources
at sprint.com/readynow. You can even schedule a one-on-one
appointment at a Sprint Store near you.
For ongoing support and resources, visit sprint.com/support.
There, you’ll find guides, tutorials, and more to help you get the
most out of your phone.
Note: Available applications and services are subject to change at any time.

Using This Guide
Using This Guide
This Get Started guide is designed to help you set up and use your new
Sprint Vital. It’s divided into four sections to help you find the information
you need quickly and easily.
Get Ready − page 1 − Find out what
you need to do before you use your
phone the
first time, including inser
ting a
battery and activating Sprint service
on your phone.
Android Basics − page 4 − Learn some
basics about how to move around on
your phone, use the home screen, and
enter text. If you’re familiar with Android
phones, you can probably skip these
pages (although a refresher course
never hurt anyone).
Use Your Phone − page 12 − Take
advantage of your phone’s features
and Sprint services, from the basics
(making calls) to the more advanced
(using Google Play™, WiFi, and more).
Tools & Resources − page 29 − Find
useful tips for your phone and discover
resources and other helpful Sprint
information. For additional information
including the full User Guide, videos,
tutorials, and community forums, visit
sprint.com/support.
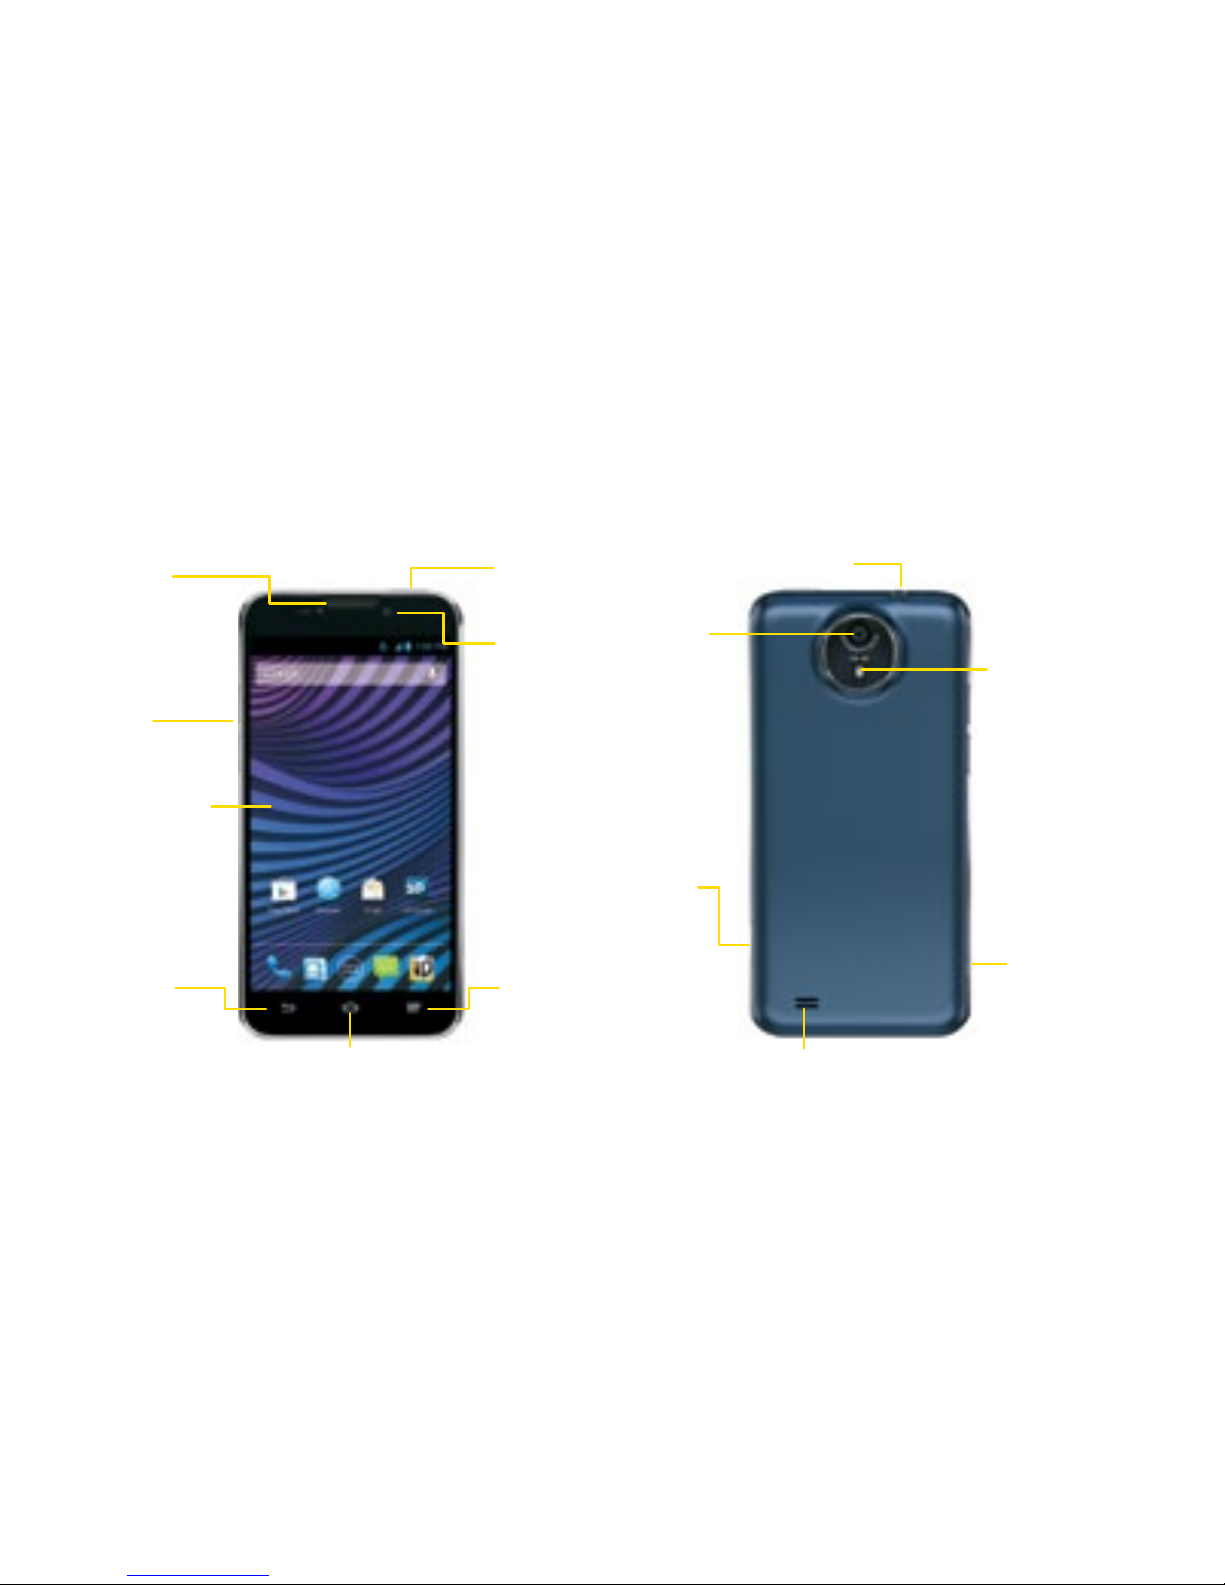
Your Sprint Vital
Volume
Buttons
Camera
Button
Flash
Camera
Lens
Front
Camera
Lens
Power
Button
Back Key Menu Key
Home Key
Earpiece
Headset Jack
Touchscreen
Speaker
Charger/
Accessory
Jack

Get Ready
visit sprint.com/readynow for more information to get your phone up and running 1
Get Your Phone Ready
Install the Battery
1. Insert the battery, contacts end first, and gently
press the battery into place.
2. Replace the back cover.
Charge the Battery
1. Insert the USB cable into the AC adapter.
2. Insert the small end of the USB cable into
the charger/accessory jack on the left side of
the phone.
3. Plug the AC adapter into a standard AC
power outlet.
Before you start: Visit sprint.com/readynow to
learn about transferring contacts, calendars, and
more from your old phone.
Turn the Phone On
• Press and hold the Power button.
Unlock the Screen
• Touch and hold to unlock it.
Turn the Screen On and Off
• To quickly turn the display screen off, press the
power button on top of the phone.
• To turn the screen on and display the unlock
screen, press the power button.
Turn the Phone Off
• Press and hold the power button and then
touch Power off > OK to turn the phone off.
2
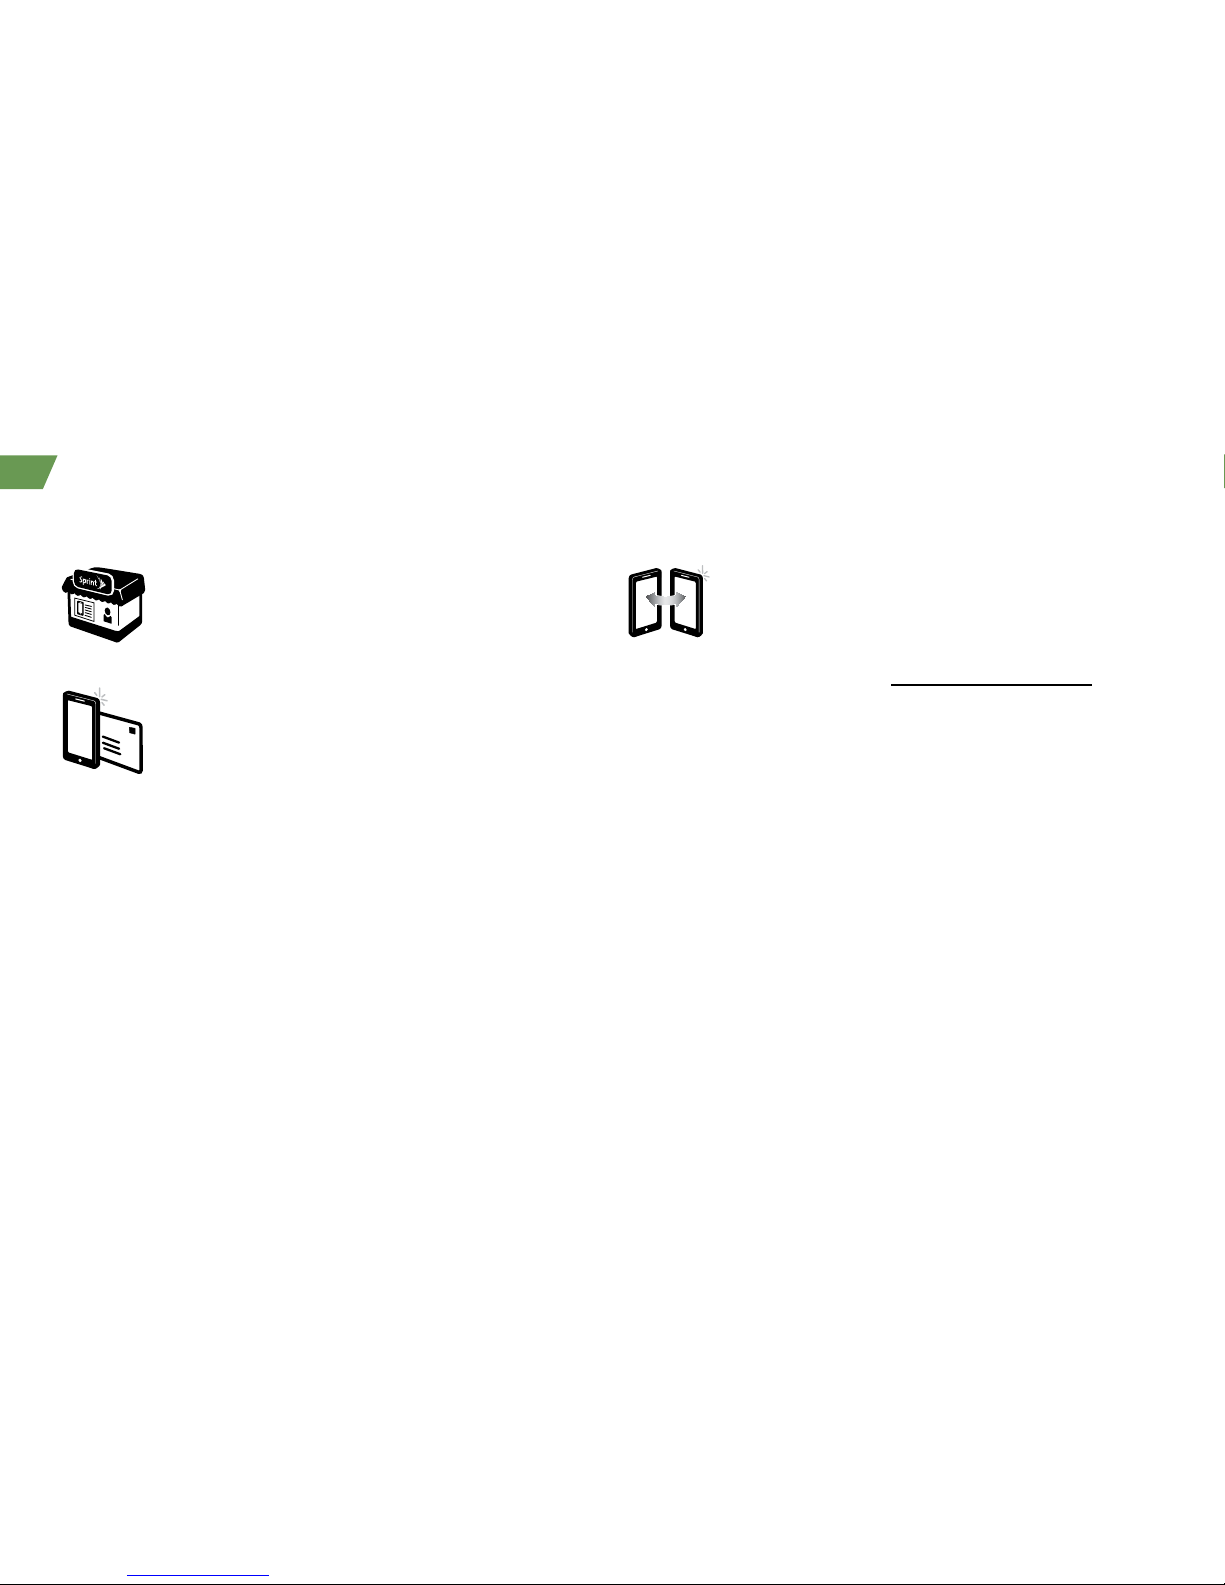
Activate Your Phone
Activate Your Phone
If you purchased your phone at a Sprint
Store, it is probably activated and ready
to use.
If you received your phone in the mail,
and it is a new Sprint account or a new
phone number, your phone is designed
to activate automatically when you first
turn it on. You will see a Hands Free
Activation screen at startup. When it’s
finished, touch OK to continue. To
confirm your activation, make a
phone call.
If you received your phone in the mail
and it is going to be activated on an
existing number (you’re swapping
phones), go to sprint.com/activate and
follow the instructions. When you have
finished, make a phone call to confirm
your activation.
When you have finished, if your phone is still
not activated or you do not have access to the
Internet, contact Sprint Customer Service at
1-888-211-4727 for assistance.

Get Ready
visit sprint.com/readynow for more information to get your phone up and running 3
Phone Basics
These instructions help you set up various
options and applications, including setting up
your Google™ Account.*
Sprint Default
Shortly after activation, you will be prompted to
install the Sprint Default ID. Tap Install to
download now or tap Not Now.
Set Up a Google Account
Setting up a Google Account lets you access
many features of your Android phone. It also
allows you to sync Google contacts and apps
you may previously have used.
1. Touch >
> Settings > Add account >
Google.
2. Follow the prompts to set up a new Google
Account or sign in to an existing Google Account.
* You do not need to sign up for a Google Account
to use your phone; however, to download content
from the Google Play™ Store app, you must link
your phone to a Google Account.

4
Android Basics: Getting Around Your Phone
Move Around Your Phone’s Menus
and Screens
Your phone’s touchscreen lets you control
everything through various types of touches,
or gestures.
Touch: When you want to type using the
onscreen keyboard, select items such as
application and settings icons, or press onscreen
buttons, simply touch them with your finger. A light
touch works best.
Touch and hold: To display the available options
for an item simply touch and hold the item.
Flick: Move your finger in lighter, quicker strokes
than swiping. This finger gesture is always used in
a vertical motion, such as when flicking through
contacts or a message list.
Swipe or slide: Quickly drag your finger vertically
or horizontally across the screen.
Drag: Press and hold your finger with some
pressure before you start to move it. Do not
release your finger until you have reached the
target position.
Rotate: Activate the auto-rotate feature to
automatically change the screen orientation
from portrait to landscape by turning the
phone sideways.
Pinch and Spread: “Pinch” the screen using
your thumb and forefinger to zoom out or
“spread” the screen to zoom in when viewing
a picture or a Web page.
visit sprint.com/support for guides, tutorials and more 5
Android Basics
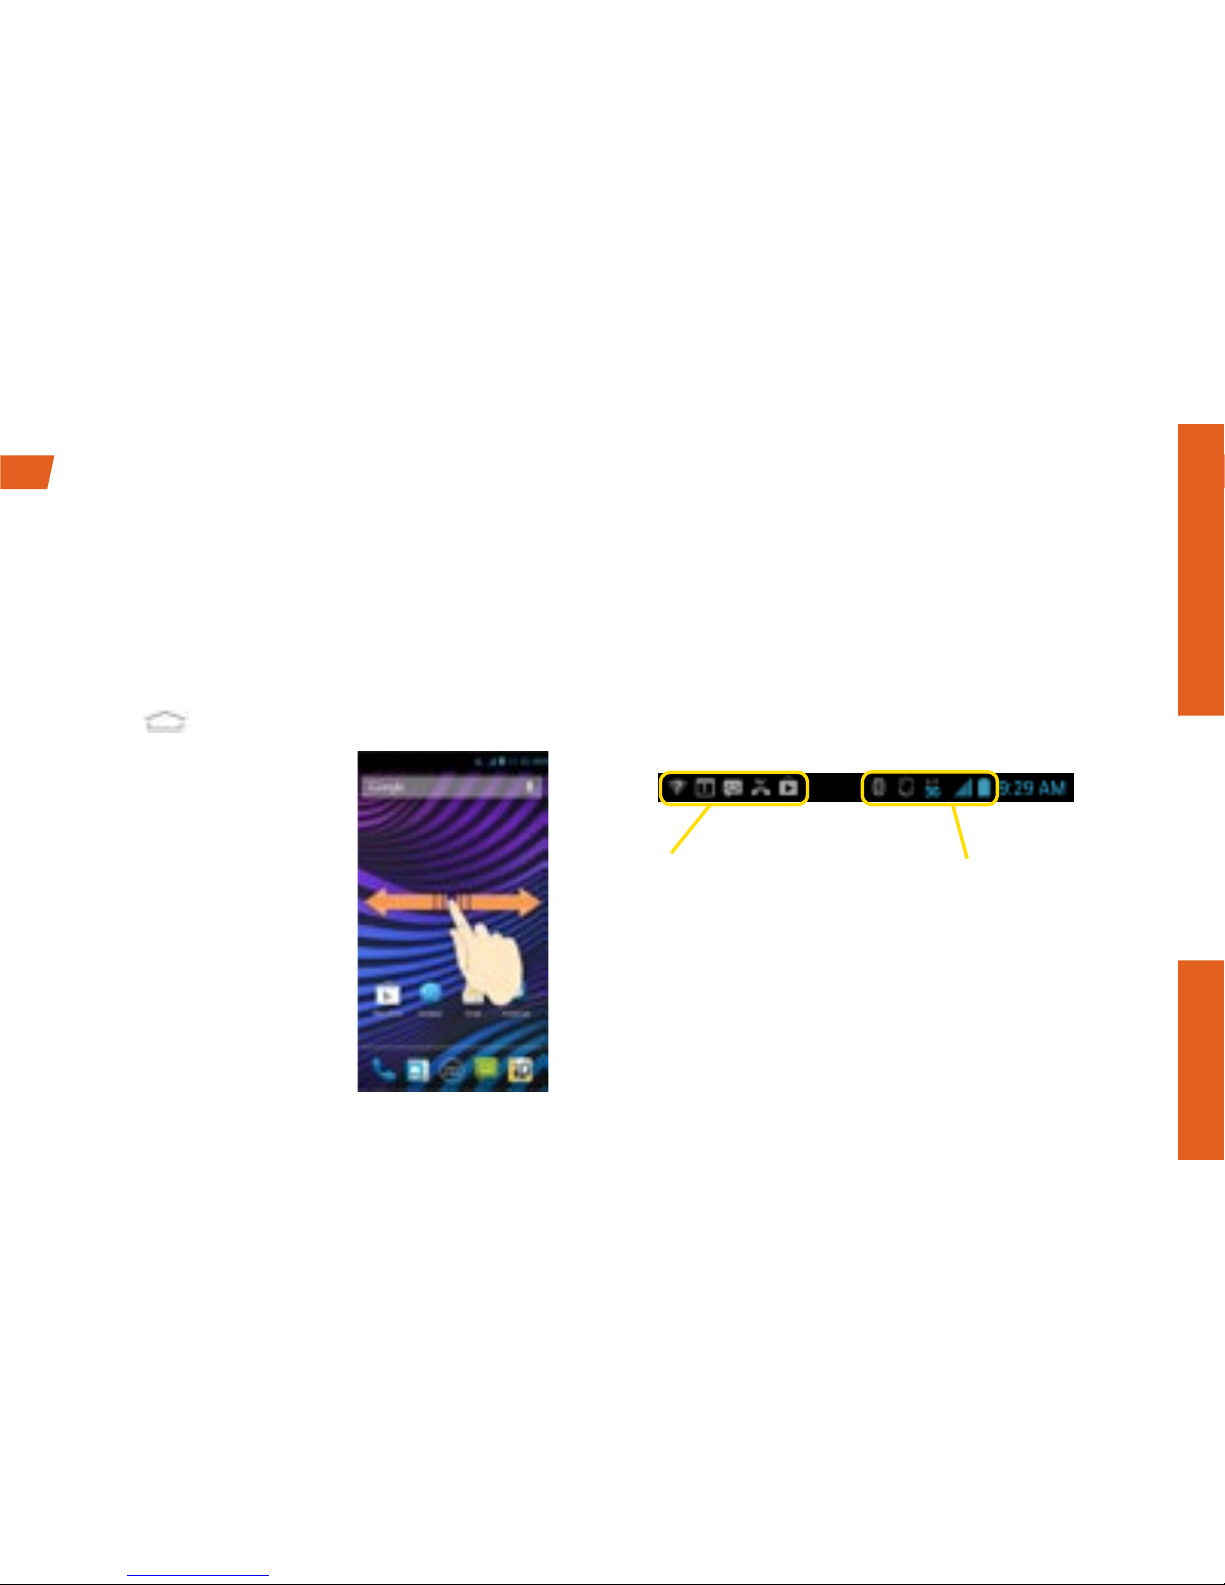
Status Bar
The status bar at the top of the Home screen
lets you quickly see both your phone status
(connections, signal strength, battery) and any
current notifications.
Your Home Screen
Viewing Your Home Screen
Your phone’s Home screen extends horizontally
to five full screens. This gives you room to
customize your phone and put the things you
need front and center, just a swipe away.
• To display the main (center) Home screen,
touch
from any screen.
• To view extended
screens, swipe the
screen left or right.
There are two
additional screens on
each side of the main
Home screen.
Notification
area
Phone
status area

6
Your Home Screen
Notifications Panel
You can expand the notification area to provide
more detailed information about the current
onscreen notification icons.
1. Drag down the notifications panel to see your
notifications.
2. Touch a notification entry to open the associated
application.
Add Items to Your Home Screen
1. Touch and then touch
.
2. To add an app shortcut, touch APPS and then
touch and hold an app icon and drag it to the
home screen. To add a widget, touch WIDGETS
and then touch and hold a widget and drag it to
the Home screen.
visit sprint.com/support for guides, tutorials and more 7
Android Basics
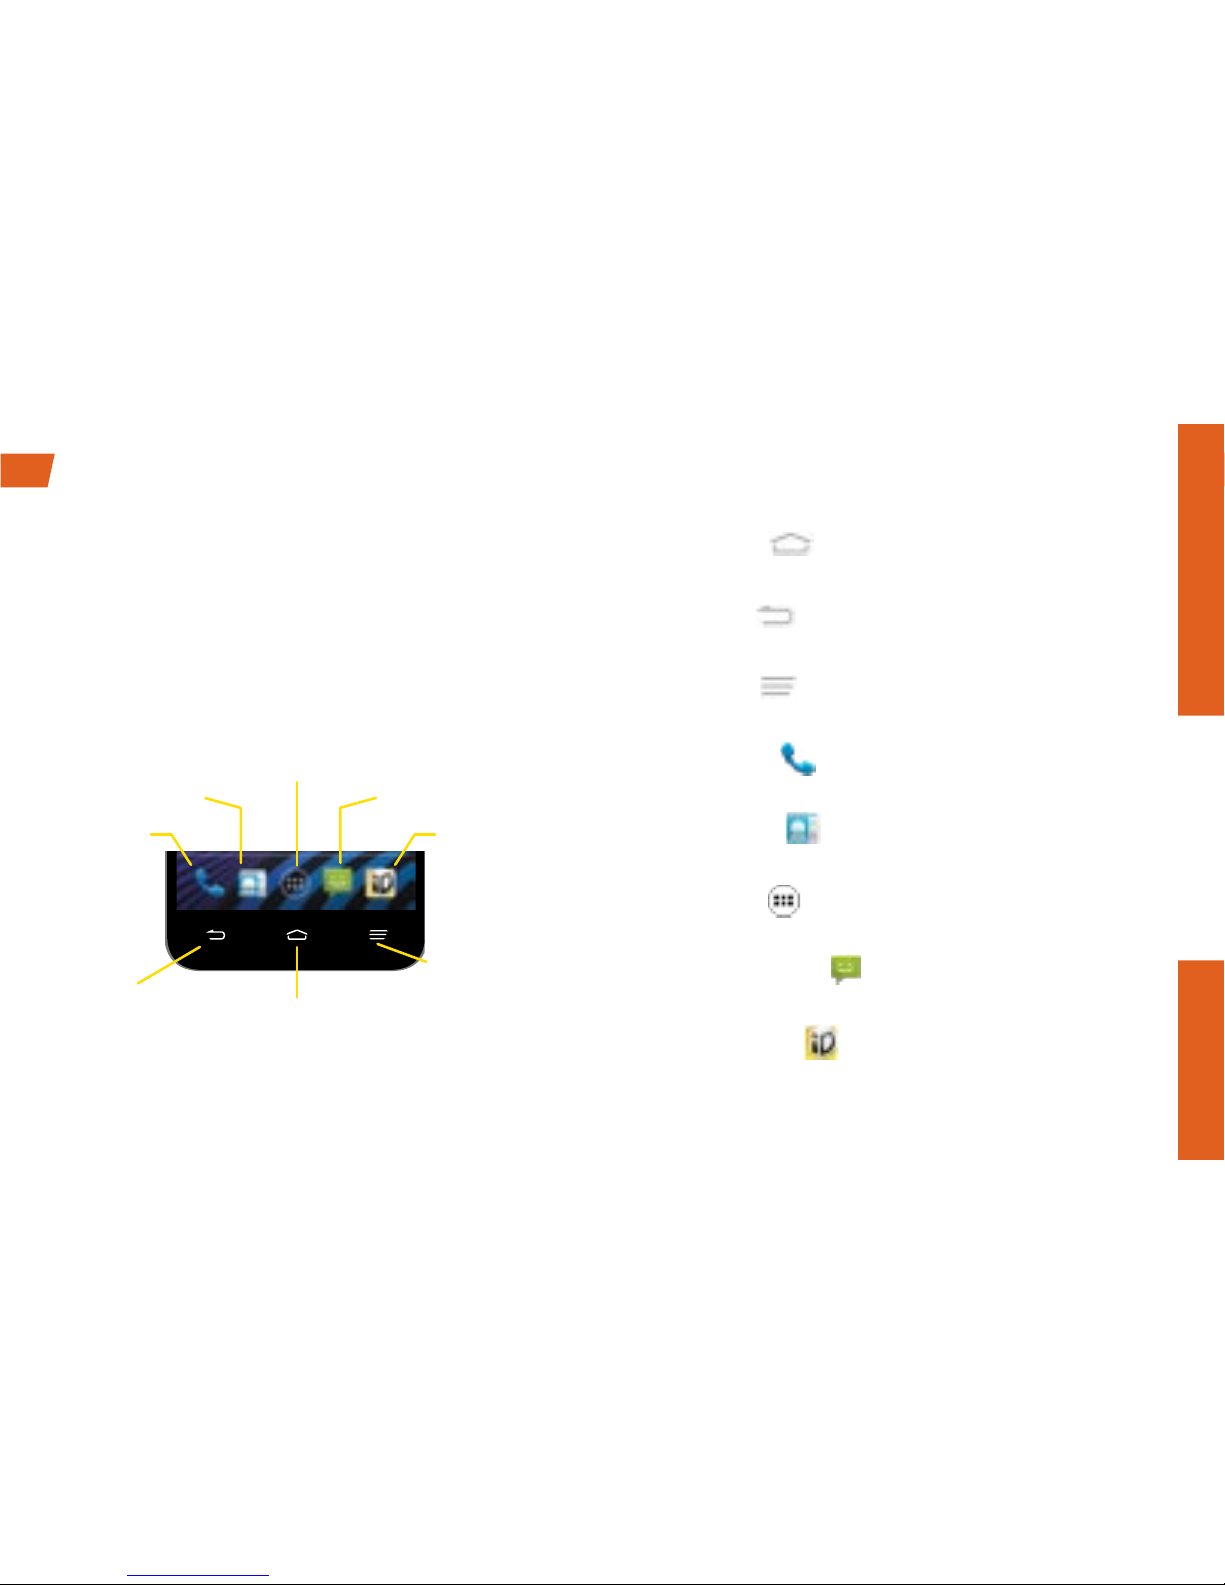
Buttons and Keys
Just below the touchscreen, you’ll find a row of
static keys that let you perform specific functions.
Above this row is a row of program icons that are
available from every Home screen.
Buttons and Keys
• Home Key ( ) – Touch to return to the main
Home screen.
• Back key (
) – Touch to return to the previous
screen view.
• Menu key ( ) – Touch to display a list of the
menu options.
• Phone icon ( ) – Touch to open the phone
screen.
• People icon (
)- Touch to open your
contacts list.
• Apps icon (
) – Touch to display the
applications list.
• Messaging icon ( )- Touch to open the
Messaging app.
• Sprint ID icon (
)- Touch to open the
Sprint ID app.
Phone
Contacts
Messaging
Apps
Back
key
Home key
Menu Key
Sprint ID
8
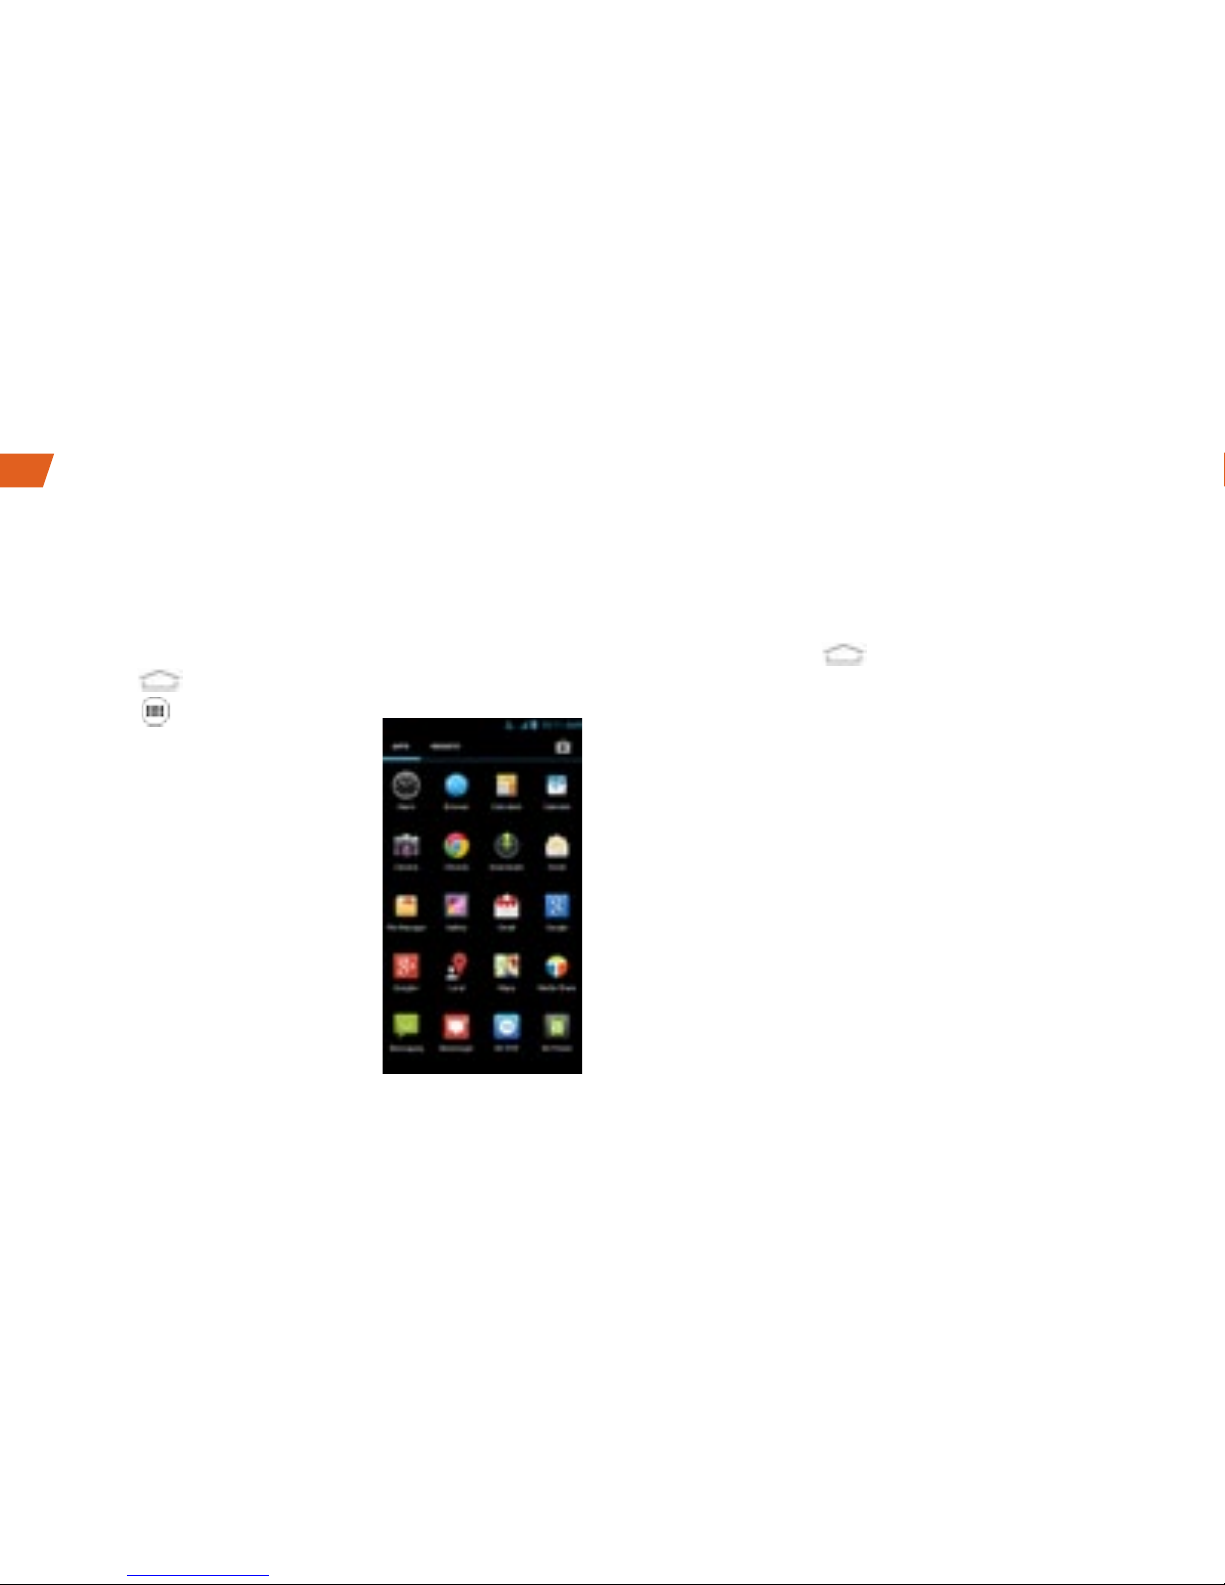
Open Apps
• If an app is on one of your Home screens, just
touch it to open it.
• If an app is not available from your Home screen,
touch (if you’re not already on the Home screen),
touch to display the
apps list, and then touch
the app icon from the
alphabetical list. You may
have to scroll right or left
to find the app you’re
looking for.
Access Recently-Used Apps
Your phone keeps a running list of your most
recently used apps.
1. Touch and hold
to open the recently-used
apps window.
2. Touch an icon to open an app.
Buttons and Keys
 Loading...