

Zoom X5v 1611, X5v 1620, X5v 1613, X5v 1614, X5v 1621 Quick Start Manual
...
Quick Start
USB Cable
X5v ADSL VoIP Gateway &
Global Village
This Quick Start covers instructions for Windows PC users.
Macintosh and Linux users should refer to the User’s Guide on
the CD, which also has additional information for Windows
users. The CD also contains a Glossary of technical terms and
Customer Support information.
Important! Before You Begin
Before installing your X5v, you must have DSL service
enabled on your telephone line. To do this, you need to sign
up with a DSL service provider.
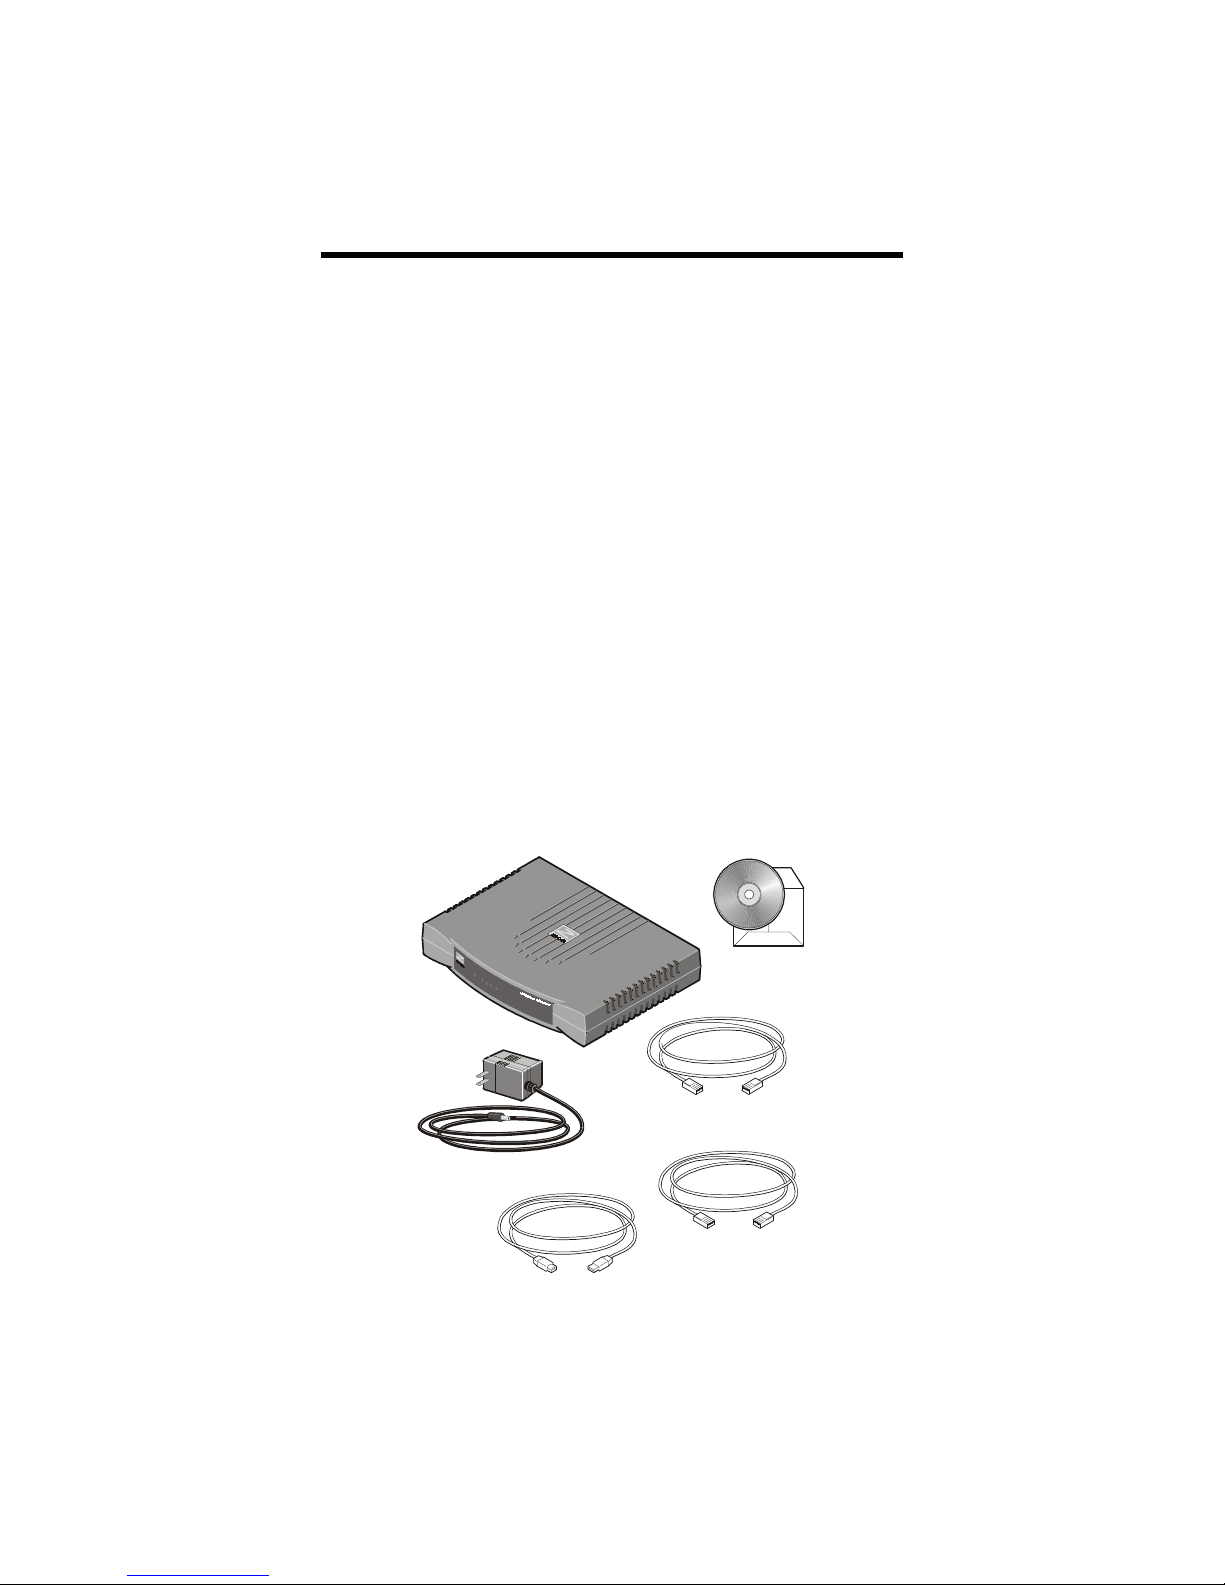
What’s in the Package
™
VoIP Service
Gateway
Software CD-ROM
ADSL Cord
Power Cube
Ethernet Cable

The CD contains the installation software, documentation,
warranty, and Customer Support information.
If anything is missing or damaged, contact Zoom Customer
Support or your retailer or distributor.
In addition, you may have
• Phone-jack adapter to adapt the RJ-11 phone cord to a
different phone jack (certain units only)
• DSL line filter(s) (certain units only).
What You Will Need
•
A Windows PC equipped with a Network Interface Card
(NIC) or a USB port.
Note: If you are using a Macintosh or a Linux computer,
please see the User’s Guide for instructions.
•
An ADSL-enabled telephone jack to plug the X5v unit into.
•
A telephone to plug into the X5v if you plan to use VoIP.
Installing the X5v involves five steps: Installing the Software,
Installing the Hardware, Configuring Internet Explorer,
Configuring ADSL, and Setting Up VoIP Service.
Step 1: Installing the Software
If your computer has an available Ethernet jack, we
recommend that you use that instead of the USB jack to
simplify installation.
If you need to use the X5v’s USB jack, you must remove any
previously installed USB modem drivers on your computer
before installing this software. On the desktop, click the Start
button, point to Settings, and select Control Panel. In Control
Panel, double-click Add/Remove Programs, on the
Install/Uninstall tab, select your old USB modem from the list,
and click Remove. Now continue below.
2 ADSL X5v Quick Start

You MUST install the software BEFORE installing the
hardware.
Your computer must be on. Insert the supplied CD into the
1111
CD-ROM drive. The CD starts automatically and the Main
Menu opens. (Note: If the CD does not start automatically, on
the desktop, click the Start button, click Run, and then type
D:\setup.exe, where D is the letter of your CD-ROM drive.)
2222 Select your language and click the Installation Wizard
button. The software installation proceeds automatically.
3333 When the process is complete, you will be prompted to click
Finish and then shut down your computer so you can
connect the hardware. After shutting down, be sure to remove
the CD from your PC.
Step 2: Installing the Hardware
Important! Unplug or turn off the power to your PC
before proceeding. Remember, you must install the X5v
software before installing the hardware (Step 1).
Note: If you are replacing an older DSL modem with an
X5v, you need to remove the old hardware now.
1111 Connect the hardware from the X5v’s back panel.
LAN 1 2 3 4
ADSL USB
Plug your phone into the PHONE jack.
aaaa
Tip:
If you have a cordless phone with one or more handsets,
plug the base station into the X5v’s PHONE jack.
Note: If RJ-11 phone jacks are not used in your country, you
will need a phone adapter. Plug the adapter into the X5v’s
PHONE jack and plug your phone into the other end.
bbbb
Plug one end of the X5v’s phone cord into the X5v’s ADSL
jack and the other end into the wall telephone jack (the jack on
RESET PWRPHONE
3

the wall where you would normally plug in a standard phone).
This jack must be a jack that has been connected to ADSL
service.
cccc
If possible, connect the X5v using your computer’s
Ethernet port: Plug one end of the included Ethernet cable
into one of the X5v’s LAN jacks (1, 2, 3, or 4) and plug the
other end into the computer’s Ethernet port.
If your computer doesn’t have an available Ethernet port,
you can use your computer’s USB port: Plug one end of the
USB cable into the X5v’s USB jack and the other end into the
computer’s USB port.
Plug the included power cube into a power outlet and then
2222
into the X5v’s power (PWR) jack.
IMPORTANT
Use only the power cube shipped with the X5v. Other power cubes
may damage your hardware.
The front panel LINK light should blink during this step. When
this physical connection step is complete, the LINK light should
change from blinking to solid. If it doesn’t, refer to the
Connection Troubleshooting Tips on page 12.
:
3333 Turn the computer on.
If you are using the USB option, a Found New Hardware box
should display, showing the progress of the installation. Follow the
prompts.
Windows XP users: You may see Hardware Installation
disclaimer boxes regarding Windows logo testing. You can safely
disregard these messages and click Continue Anyway.
Windows 2000 users: You may see a Digital Signature Not
Found dialog box. You can safely disregard this message and click
Yes.
Windows 98/Me users: Restart your computer if you are prompted
to do so.
4444 Phone filters are not absolutely required, but we HIGHLY
RECOMMEND that you install a filter on EVERY phone
4 ADSL X5v Quick Start

that is sharing the DSL phone line. (Do not plug a filter
between the phone wall jack and the X5v.) Phone filters block
the DSL frequencies so that someone making a normal phone
call won’t hear noise on the line. They also keep phone
conversations from interfering with DSL performance.
The X5v phone jack has a filter built-in, so there is no need for a
filter on that phone.
You may have received DSL phone filters with your X5v. If you
did not, or need more filters, they are available at most retail stores
that carry consumer electronics.
For each additional phone, plug the phone’s cord into the filter’s
PHONE end and plug the filter’s LINE end into the wall.
Step 3: Configuring Internet
Explorer
The software that you use to make an Internet connection must be
set for a network connection, not a dial-up connection. The
instructions below are for Internet Explorer, the most popular
Web browser. If you are using Netscape Navigator or another
browser, set it up now to use a network connection (this might be
called a “Local Area Network” or “broadband” connection).
If you use Internet Explorer, you need Version 5 or later. Most
people have the right version. If you don’t, we suggest you get a
free upgrade. If you want to check your version number, open
Internet Explorer, select Help, then About Internet Explorer.
Your version number is right under the Microsoft Internet
Explorer logo. You can ignore all the numbers after the period
following the first digit.
1111 On the desktop, right-click (not left-click) the Internet
Explorer icon, and select Properties.
If you cannot access Internet Explorer:
Windows XP users: From the desktop, click the Start button, then
click Control Panel. In Control Panel, click Network and
Internet Options and then click the Internet Options icon.
5

Windows 98/Me/2000 users: From the desktop, click the Start
button, point to Settings, and then click Control Panel. In
Control Panel, click the Internet Options icon.
2222 In the Internet Properties dialog box, click the Connections
tab.
3333 On the Connections tab, click Setup.
Windows XP users: In the Welcome to the New Connection
4444
Wizard dialog box, click Next.
If you see a Location Information dialog box, click Cancel to
return to the Welcome dialog box, and click Next again.
In the Network Connection Type dialog box, click Connect to
the Internet.
In the Getting Ready dialog box, click “Set up my connection
manually,” and then click Next.
In the Internet Connection dialog box, click “Connect using a
broadband connection that is always on,” and click Next.
Windows 98/Me/2000 users: In the Internet Connection
5555
Wizard dialog box, select “I want to set up my Internet
connection manually, or I want to connect through a local
area network (LAN)”, and click Next.
In the Setting up your Internet connection dialog box, change
the selection to “I connect through a local area network
(LAN)” and click Next.
In the Local area network Internet configuration dialog box,
uncheck “Automatic discovery of proxy server”. Click Next.
A dialog box asks if you want to set up an email account. Click No
and then Next.
6666 When the configuration process is done, you will see a
Completing the Internet Connection Wizard dialog box.
Windows 98/Me/2000 users: Be sure to uncheck the box that says
“To connect to the Internet immediately, select this box….”
6 ADSL X5v Quick Start
7777 Click Finish.
8888 Windows XP users: Close Control Panel.
Windows 98/Me/2000 users: If Internet Explorer should
open, close it before going to the next step of the installation.
Step 4: Configuring ADSL
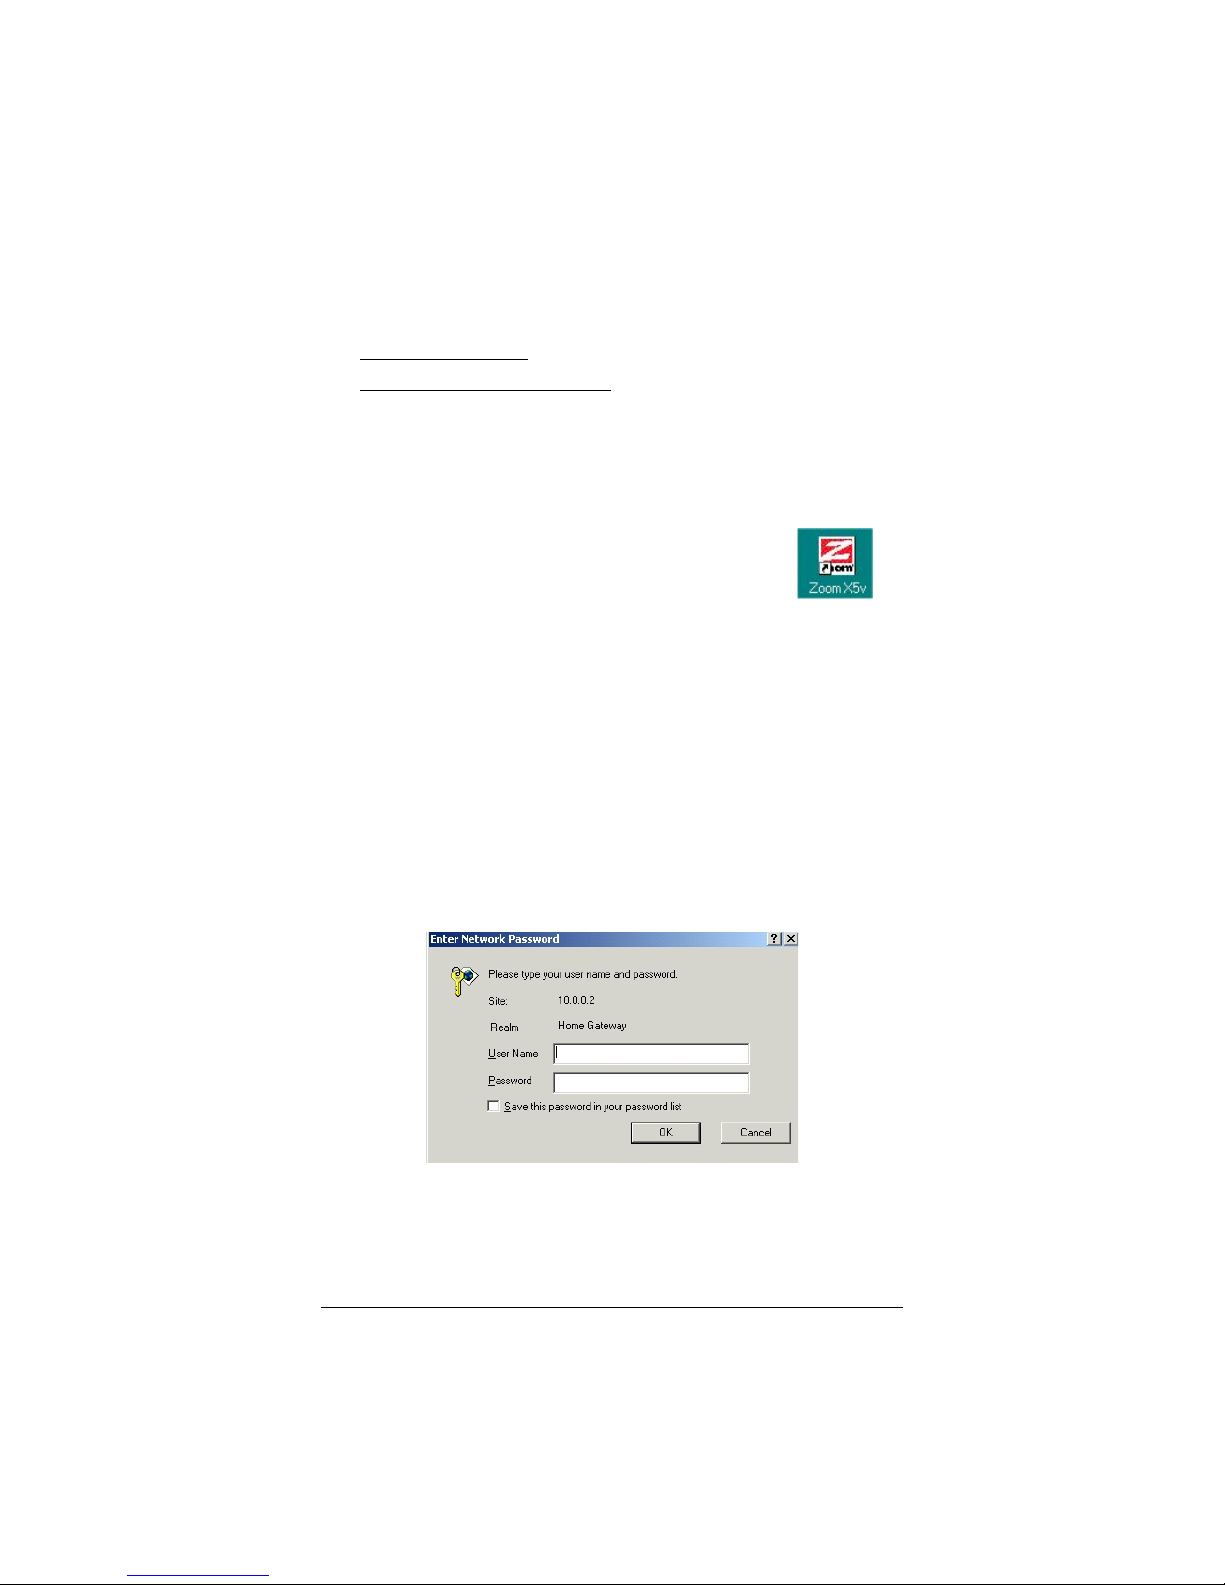
1111 You should have a Zoom icon on your desktop
that looks like this. You must double-click this
icon to open up the Zoom DSL VoIP
Gateway Web-Console. (If you do not have
an icon, open your Web browser, type
http://10.0.0.2 and press Enter to display the
Network Password box.)
2222 Log in by typing the following information in lower-case
letters. (You will need this user name and password each time
you want to open up the Zoom DSL VoIP Gateway Web-
Console.)
User Name:
Password:
admin
zoomvoip
3333 The Basic Setup page displays.
7
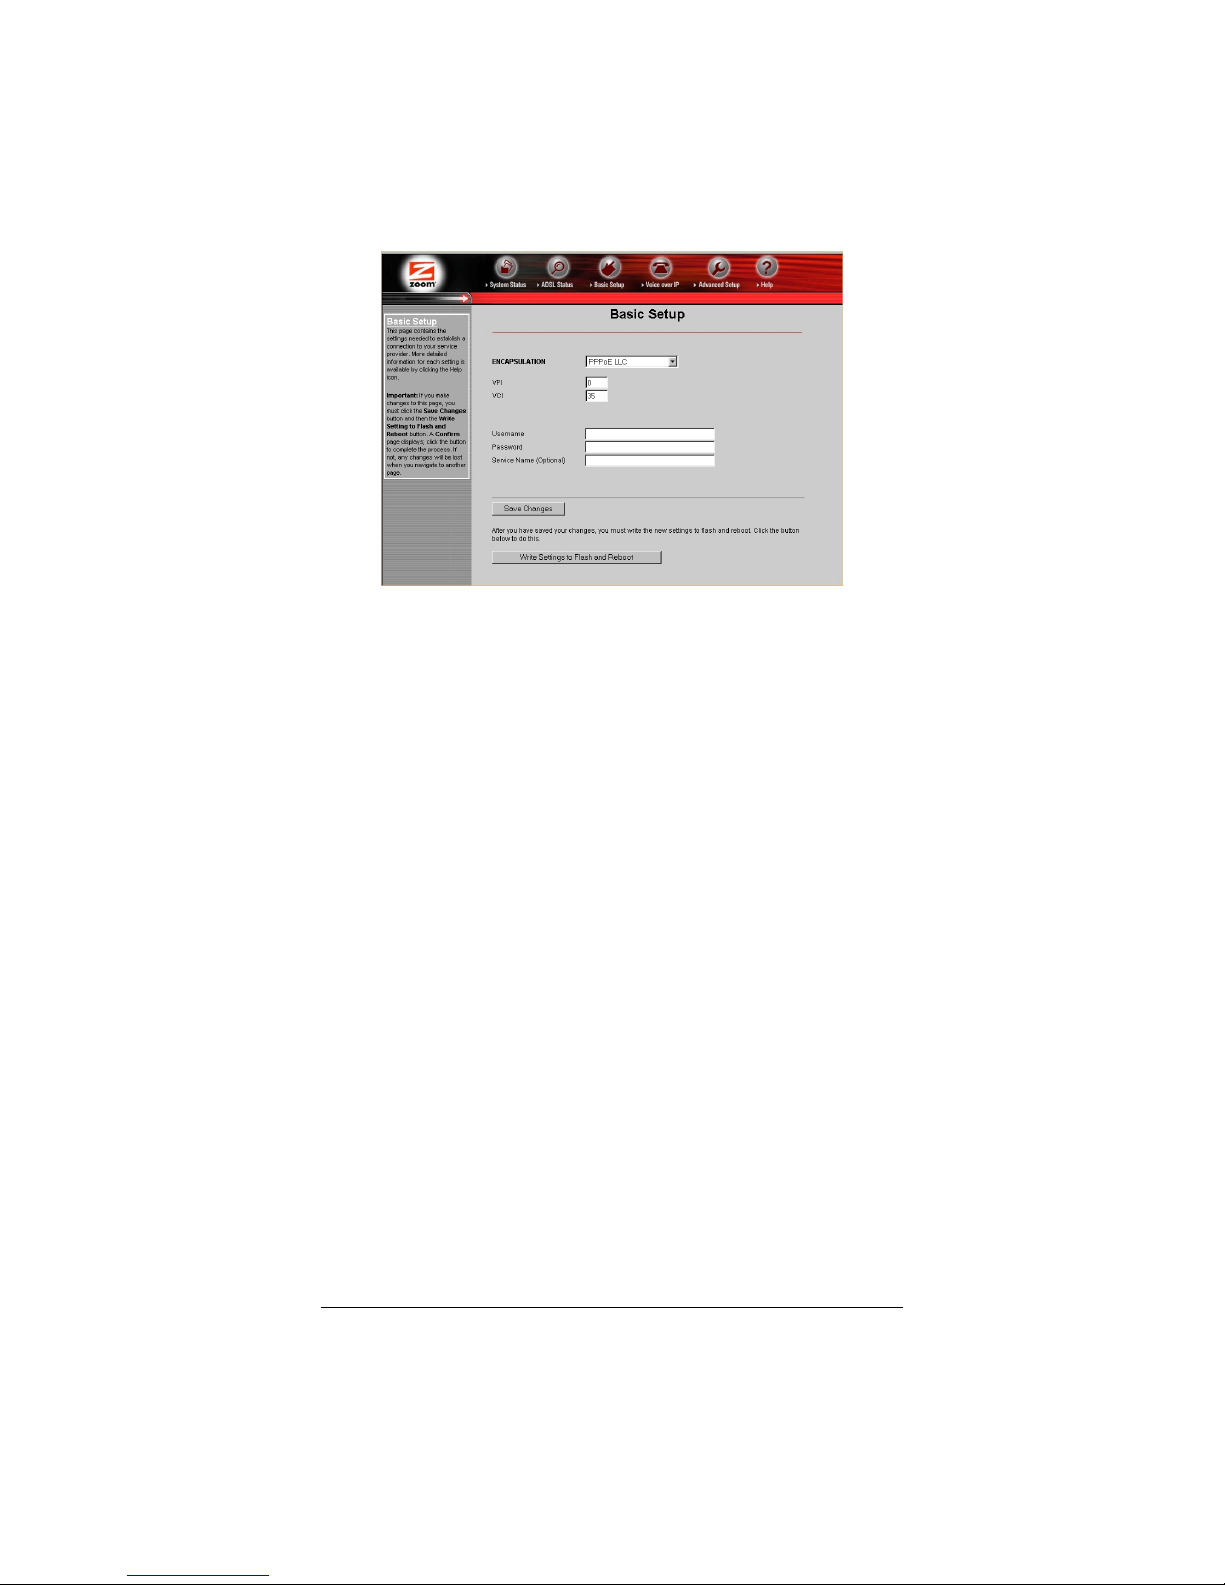
You need to fill in at least three of these boxes: VPI, VCI, and
Encapsulation. Your service provider may have given you these
settings, although most do not. If you have them, it will make
installation a little faster and easier, but don’t worry if you don’t
have them. We’ll tell you how to figure them out.
If Your Service Provider Gave You
VPI, VCI, and Encapsulation
(Most Users Will Not Have
Settings
These)
These)
These)These)
If you have this information (VPI, VCI, and Encapsulation),
1111
enter it now in the appropriate boxes. The screen may
change slightly, depending on the Encapsulation you select.
If you are using PPP, your service provider should also have
given you a username (usually your email address or the
characters preceding the @ sign in your email address) and a
password. These are NOT the username and password that
you used to get into the Basic Setup menu.) If you cannot
remember or cannot find your username and password, call
your service provider and tell them you have misplaced your
username and password. Then enter them as well.
(Most Users Will Not Have
(Most Users Will Not Have (Most Users Will Not Have
2222 Click Save Changes.
8 ADSL X5v Quick Start

3333 If the Encapsulation setting that you entered starts with
either PPPoE or PPPoA: Click Write Settings to Flash and
Reboot and Confirm. Once the process is complete, the
X5V’s LINK light should remain on steady (this should take
about 15 seconds). If it doesn’t, go to the Troubleshooting
Tips on page 12.
If the Encapsulation setting that you entered starts with
either 1483 Bridged or 1483 Routed: You must check now to
make sure that your IP Addressing is correctly set. See Setting
IP Addressing on page 11.
4444 Go to your Web browser (i.e., Internet Explorer or Netscape
Navigator) and try to connect to a familiar Web address.
5555 If you connect successfully, your installation is complete
and you’re ready to browse the web! Continue with Step 5:
Setting Up VoIP Service on page 13
If you do not connect successfully, refer to the
Troubleshooting Tips on page 12.
If You Do Not Have VPI, VCI, and
Encapsulation Settings from Your
Service Provider
If you do not have the settings from your service provider, the
tables beginning on page 26 show the settings for the most
commonly encountered service providers in the USA and many
other countries. If there is more than one setting for your service
provider, the most common is labeled (1), the next (2), and so on.
1111 Go to the Tables on page 26 and find your service provider
on the list. If you are in the USA and your service provider is
not on the list, follow the instructions using the settings for
Service Provider Not Shown at the bottom of the table.
2222 Now enter the corresponding VPI, VCI, and
Encapsulation settings in the appropriate boxes in the Basic
Setup menu. The screen may change slightly, depending on
9

the Encapsulation you select. If you are using PPP, your
service provider should have given you a username (usually
your email address or the characters preceding the @ sign in
your email address) and a password. These are NOT the
username and password that you used to get into the Basic
Setup menu.) If you cannot remember or cannot find your
username and password, call your service provider and tell
them you have misplaced your username and password. Then
enter them as well.
Click Save Changes.
3333
4444 If the Encapsulation setting that you entered starts with
either PPPoE or PPPoA: Click Write Settings to Flash and
Reboot and Confirm. Once the process is complete, the
X5V’s LINK light should remain on steady (this should take
about 15 seconds). If it doesn’t, go to the Troubleshooting
Tips on page 12.
If the Encapsulation setting that you entered starts with
either 1483 Bridged or 1483 Routed: You must check now to
make sure that your IP Addressing is correctly set. Go to
Setting IP Addressing below.
5555 Go to your Web Browser (i.e., Internet Explorer or Netscape
Navigator) and try to connect to a familiar Web address.
6666 If you connect successfully, your installation is complete
and you’re ready to browse the web! Continue with Step 5:
Setting Up VoIP Service on page 13
If you do not connect successfully, continue with the next step
below.
7777 Go back to the tables on page 26 and enter the next most
frequently used settings—those labeled (2) if you just
entered (1), or (3) if you just entered (2). Click Save Changes,
Write Settings to Flash and Reboot, and Confirm. Once the
process is complete, the X5V’s LINK light should remain on
steady (this should take about 15 seconds). Remember, if you
are entering either 1483 Bridged or 1483 Routed for your
10 ADSL X5v Quick Start
 Loading...