

Page 1
Bolero ND Cleaner
ZX
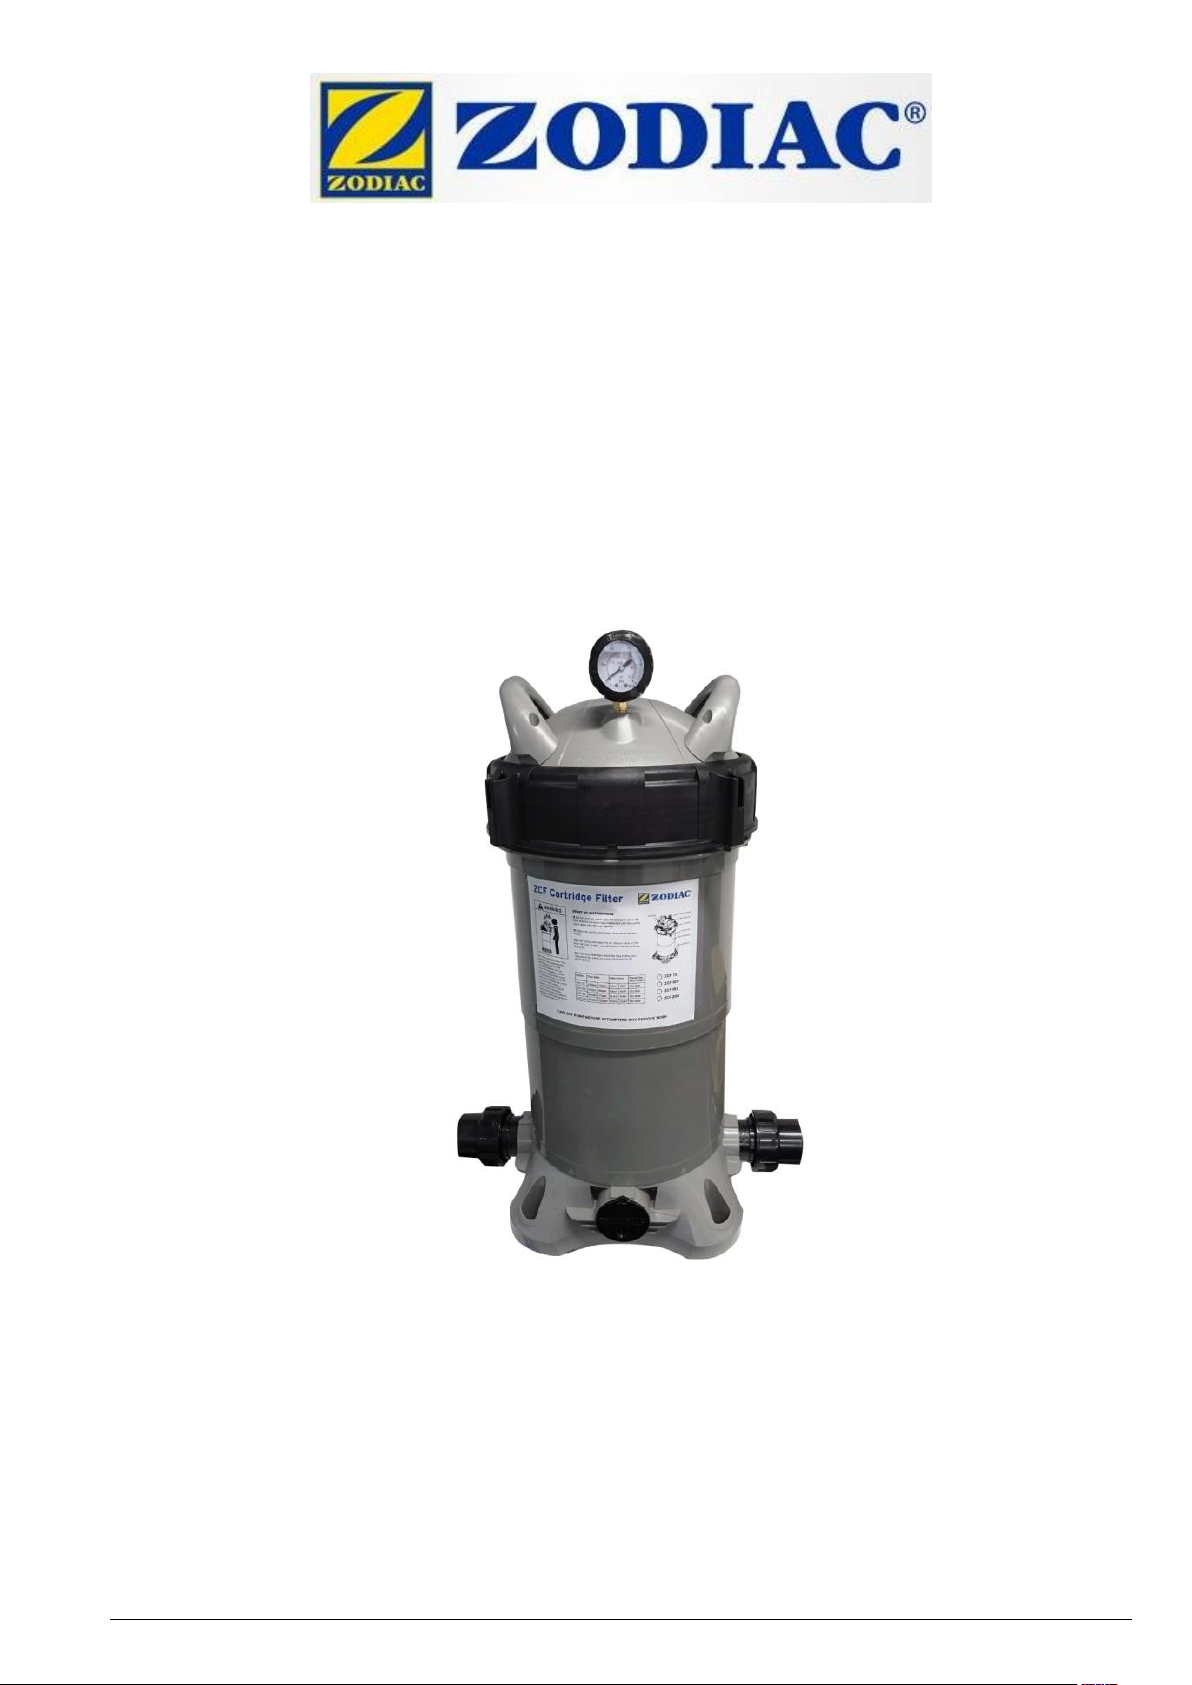
ZCF CARTRIDGE FILTER
INSTALLATION AND
OPERATING INSTRUCTIONS
Page 2

2
H0656600 REVA
Page 3

3
INTRODUCTION
Congratulations on the purchase of your ZODIAC ZCF series cartridge filter.
The ZCF series filters are made to last by utilising the best quality materials available. The tank is made from high
quality ABS plastics, capable of withstanding the harshest of conditions.
INSTALLATION OF ZCF SERIES
1. Ensure cartridge filter is located on a clean, stable and level base.
2. The ZCF series filter has three inlet ports (from pump) and one outlet port (to pool/spa). Glue one of the 50mm slip
tails supplied into one of the inlets and second slip tail supplied into the outlet of the filter that suits the plumbing
configuration.
3. Glue in the supplied blanking cap and drain plug cap into the two remaining inlets. Allow a minimum of one hour
for glue to dry before subjecting filter to system pressures.
4. Glue water connection pipes from pump and pool return to 50mm tails supplied. (Ensure locking nut is placed on
pipe before gluing on tails.
5. Apply Teflon tape (not included) to the pressure gauge and screw into lid where indicated.
START UP INSTRUCTIONS
1. Before starting up your ZCF filter, make sure the cartridge is in the filter and the lid and lock ring are in place and
tightened.
2. Open the suction and return line valves (when fitted).
3. Start pump and open the air release valve on the filter lid 2 to 3 turns – air will begin to be forced from the tank.
Once water begins to flow from the valve, tighten to close. Check there is a good flow of water back into the pool.
4. Clean the cartridge when the flow to the pool reduces or the pressure gauge increases by 15 – 20 kPa.
PUMP PRIMING
1. With the pump OFF, remove the lid from the pump strainer and fill with water to the top of the lit pot.
2. Replace and tighten lid on pump.
3. If valve has been installed on the pump suction line, close before filling strainer. Open again after lid has been
securely fastened in place. Any valves on the return lines should be open. The pump should not need to be reprimed unless the pump has been drained for servicing, or winterizing (refer to complete pump operations manual
provided with pump).
TO CLEAN FILTER CARTRIDGE ON ZCF SERIES
1. Stop pump-close valves on the suction and return lines.
2. Open the air bleed valve on the lid.
3. Proceed to loosen locking ring on filter. As you turn the locking ring, the lid of the filter will be lifted out of the
body. Once lid is free of the body, lift lid and locking ring together and place in a clean location. You can now
remove the cartridge.
4. Clean the cartridge by soaking it in a mild solution of chlorine and warm water for 15 minutes and then hose off
with water. Alternatively, special formulated element cleaning solutions can be purchased from most pool
professionals. (Note: do not use high powered water jets to clean – this may cause damage to the element)
5. Replace the cartridge; ensure correct location on the bottom spigot.
6. Insert the top locating spigot into the element.
7. Clean the lid, locking ring and lid ‘o’ ring. These should be rinsed with clean water to ensure not grit or grime has
deposited into the threads. Replace the lid and locking ring onto the top of the filter tank, ensuring correct
alignment with the locating spigot..
8. Commence tightening the lid lock ring – the lid will begin to be pulled down into the filter tank. Continue to tighten
the lock ring until safety catch locks into place. DO NOT OVERTIGHTEN LOCKING RING AS THIS MAY CAUSE
THE FILTER TO LEAK..
9. Open the valves – start the pump.
NEVER LOOSEN THE LOCK RING WHEN THE PUMP IS WORKING
H0656600 REVA
Page 4

4
FILTER SPECIFICATIONS
MODEL
ELEMENT
PART
NO.
FILTER
AREA
FLOW
RATE
L/Hr
FLOW
RATE
L/M
4 HR
TURN
OVER
6 HR
TURN
OVER
PUMP
SIZE
SHIP
KG’S
CUBIC
MEASURE
ZCF75
R0846300
75sq ft
7.00m2
17,400
290
70,000
104,000
550w
1100w
7.8 kg
0.075m3
ZCF100
R0846400
100sq ft
9.40m2
22,500
375
90,000
135,000
750w
1100w
9.6 kg
0.101m3
ZCF150
R0846500
150sq ft
14.00m2
28,500
445
106,800
160,200
750w
1500w
9.9 kg
0.101m3
ZCF200
R0846600
200sq ft
19.00m2
29,400
490
117,600
176.,400
750w
1500w
11.8 kg
0.127m3
Timing
Maintenance Check
Service action (if required)
Fortnightly
Check pressure gauge - If pressure increase is
greater than 20kPa cleaning may be required
In accordance with instructions, clean
elements with a high pressure cleaner or
purpose element cleaner
Three Monthly
Check inlet/outlet o’rings for leaks
Check operation of pressure gauge – salt water
can prematurely reduce the life of a gauge
Isolate Pump, turn power off, clean and
grease O rings or replace if necessary
Replace gauge if required
Annually
Compare operating pressure of a cleaned filter
to initial pressure (when new). Also check for
signs of damage to elements
If pressure is more than 30 – 40 kPa
different from cleaned elements to new
filter, replace elements
MAINTENANCE OF YOUR FILTER
Your new product incorporates moving parts and withstands high velocity water with chemicals in it. It is important to note
that over time some of these parts will wear in the normal course of use and require regular checks, maintenance and
possible replacement.
Performing the maintenance checks below will help to identify parts that have worn and require repair/replacement before
further serious damage is sustained. Please note that repair/replacement of moving parts due to regular wear and tear are
the responsibility of the pool owner(s) and are not deemed to be covered under warranty. A small amount of regular care
and attention to your pool equipment will help ensure long life and trouble free performance.
Maintenance Schedule:
Important note: Regular maintenance is important to ensure long life and trouble free performance of your pool
equipment. If unable to perform the maintenance yourself, contact your local poolshop for a quote to arrange a trained
service technician to perform the maintenance for you..
H0656600 REVA
Page 5

5
SPARE PARTS OF YOUR FILTER
H0656600 REVA
Page 6

6
ITEM No
DESCRIPTION
PART NUMBER
QTY
1
COMPLETE LID
ASSEMBLY
SP7820502
1
2
FILTER ELEMENT - 75
78096
1 2 FILTER ELEMENT – 100
78097
1 2 FILTER ELEMENT - 150
78098
1 2 FILTER ELEMENT 200
78099
1 3 FILTER BODY 50/75
SP7821110
1 3 FILTER BODY – 100/150
SP7821210
1 3 FILTER BODY 200/250
SP7821310
1 4 DRIAN PLUG O-RINGo
78103
1
5
DRAIN PLUG
78705
1
6
PRESSURE GAUGE
WITH COVERS
75043
1
7
LID O-RING
78105
1
NOT
SHOWN
BLANKING CAP
BLANKING CAP WITH
DRAIN
78214
78218
1
1 8 GLUE IN THREADED
PIPE FITTING
950923
2
9
O RING
70003
2
10
2” GLUE IN UNION
TAIL
950920
2
10
1 ½” GLUE IN UNION
TAIL
950918
2
11
LOCK NUT
950919
NOT
SHOWN
LID SPIGOT
78203
1
NOT
SHOWN
LID HANDLES
7820202
2
NOT
SHOWN
HANDLE SCREWS
40218
4
NOT
SHOWN
GLUE IN UNION TAIL
ASSEMBLY
ORING 2” TAIL, GLUE
IN THREADED TAIL,
LOCK NUT
10650
1
NOT
SHOWN
INSTRUCTION
MANUAL
INST475
1
NOT
SHOWN
FILTER LABEL
LABEL577
1
NOT
SHOWN
COMPONENT BAG
78328
1
H0656600 REVA
Page 7

7
H0656600 REVA
Page 8
8
Record your Equipment details here for quick reference:
Model No.: ____________________________
Serial No.: ____________________________
ull warranty terms and conditions and to register your warranty,
simply visit www.zodiac.com.au/warranty and complete your
details. Or scan the QR code and be taken directly to the
registration page
Zodiac is a registered trademark of Fluidra Group Australia Pty Ltd
ABN 87 002 641 965
Fluidra Group Australia
219 Woodpark Rd, Smithfield,
NSW. 2164 Australia
Tel; 1300 763 021
Fax; 1300 781 688
Email; apac.aftersales@zodiac.com
www.zodiac.com.au
Due to constant develpments and improvements,
specifications may change without notice.
Improper use could affect performance and void warranty
©Copyright Zodiac Australia Ltd 2016
H0656600 REVA
 Loading...