


2008
OWNER’S SERVICE MANUAL
MANUEL D’ATELIER DU
PROPRIETAIRE
FAHRER- UND
WARTUNGSHANDBUCH
MANUALE DI SERVIZIO DEL
PROPRIETARI
O
YZ125(X)/X1
1C3-28199-33


YZ125(X)/X1
1C3-28199-33-E0
2008
OWNER’S SERVICE MANUAL


YZ125 (X)/X1
OWNER'S SERVICE MANUAL
©2007 by Yamaha Motor Co., Ltd.
1st Edition, June 2007
All rights reserved. Any reprinting or
unauthorized use without the written
permission of Yamaha Motor Co., Ltd.
is expressly prohibited.
Printed in Japan

FOREWORD
INTRODUCTION
Congratulations on your purchase of
a Yamaha YZ series. This model is
the culmination of Yamaha's vast experience in the production of pacesetting racing machines. It represents
the highest grade of craftsmanship
and reliability that have made Yamaha a leader.
This manual explains operation, inspection, basic maintenance and tuning of your machine. If you have any
questions about this manual or your
machine, please contact your Yamaha dealer.
Yamaha continually seeks advancements in product design and quality.
Therefore, while this manual contains
the most current product information
available at the time of printing, there
may be minor discrepancies between
your machine and this manual. If you
have any questions concerning this
manual, please consult your Yamaha
dealer.
PLEASE READ THIS MANUAL
CAREFULLY AND COMPLETELY
BEFORE OPERATING THIS MACHINE. DO NOT ATTEMPT TO OPERATE THIS MACHINE UNTIL YOU
HAVE ATTAINED A SATISFACTORY KNOWLEDGE OF ITS CONTROLS AND OPERATING
FEATURES AND UNTIL YOU HAVE
BEEN TRAINED IN SAFE AND
PROPER RIDING TECHNIQUES.
REGULAR INSPECTIONS AND
CAREFUL MAINTENANCE,
ALONG WITH GOOD RIDING
SKILLS, WILL ENSURE THAT YOU
SAFETY ENJOY THE CAPABILITIES AND THE RELIABILITY OF
THIS MACHINE.
PARTICULARLY IMPORTANT
INFORMATION
The Safety Alert Symbol means ATTENTION! BECOME ALERT! YOUR
SAFETY IS INVOLVED!
Failure to follow WARNING instructions could result in severe injury or
death to the machine operator, a bystander, or a person inspecting or repairing the machine.
A CAUTION indicates special precautions that must be taken to avoid
damage to the machine.
A NOTE provides key information to
make procedures easier or clearer.
IMPORTANT NOTICE
THIS MACHINE IS DESIGNED
STRICTLY FOR COMPETITION
USE, ONLY ON A CLOSED
COURSE. It is illegal for this machine
to be operated on any public street,
road, or highway. Off-road use on
public lands may be illegal. Please
check local regulations before riding.
1. THIS MACHINE IS TO BE OPERATED BY AN EXPERIENCED RIDER ONLY.
Do not attempt to operate this
machine at maximum power
until you are totally familiar
with its characteristics.
2. THIS MACHINE IS DESIGNED
TO BE RIDDEN BY THE OPERATOR ONLY.
Do not carry passengers on
this machine.
3. ALWAYS WEAR PROTECTIVE APPAREL.
When operating this machine, always wear an approved helmet with goggles
or a face shield. Also wear
heavy boots, gloves, and protective clothing. Always wear
proper fitting clothing that
will not be caught in any of
the moving parts or controls
of the machine.
4. ALWAYS MAINTAIN YOUR
MACHINE IN PROPER
WORKING ORDER.
For safety and reliability, the
machine must be properly
maintained. Always perform
the pre-operation checks indicated in this manual. Correcting a mechanical problem
before you ride may prevent
an accident.
5. GASOLINE IS HIGHLY FLAMMABLE.
Always turn off the engine
while refueling. Take care to
not spill any gasoline on the
engine or exhaust system.
Never refuel in the vicinity of
an open flame, or while
smoking.
6. GASOLINE CAN CAUSE INJURY.
If you should swallow some
gasoline, inhale excess gasoline vapors, or allow any gasoline to get into your eyes,
contact a doctor immediately.
If any gasoline spills onto
your skin or clothing, immediately wash skin areas with
soap and water, and change
your clothes.
7. ONLY OPERATE THE MACHINE IN AN AREA WITH ADEQUATE VENTILATION.
Never start the engine or let it
run for any length of time in
an enclosed area. Exhaust
fumes are poisonous. These
fumes contain carbon monoxide, which by itself is odorless and colorless. Carbon
monoxide is a dangerous gas
which can cause unconsciousness or can be lethal.
8. PARK THE MACHINE CAREFULLY; TURN OFF THE ENGINE.
Always turn off the engine if
you are going to leave the
machine. Do not park the machine on a slope or soft
ground as it may fall over.
9. PROPERLY SECURE THE
MACHINE BEFORE TRANSPORTING IT.
When transporting the machine in another vehicle, always be sure it is properly
secured and in an upright position and that the fuel cock is
in the "OFF" position. Otherwise, fuel may leak out of the
carburetor or fuel tank.
TO THE NEW OWNER
This manual will provide you with a
good basic understanding of features, operation, and basic maintenance and inspection items of this
machine. Please read this manual
carefully and completely before operating your new machine. If you have
any questions regarding the operation or maintenance of your machine,
please consult your Yamaha dealer.
This manual should be considered a
permanent part of this machine and
should remain with it even if the machine is subsequently sold.
NOTICE
Some data in this manual may become outdated due to improvements made to this model in the
future. If there is any question you
have regarding this manual or your
machine, please consult your
Yamaha dealer.
F.I.M. MACHINE WEIGHTS
Weights of machines without fuel
The minimum weights for motocross
machines are:
for the class 125 cc:
minimum 88 kg (194 lb)
for the class 250 cc:
minimum 98 kg (216 lb)
for the class 500 cc:
minimum 102 kg (225 lb)
In modifying your machine (e.g., for
weight reduction), take note of the
above limits of weight.
HOW TO USE THIS MANUAL
FINDING THE REQUIRED PAGE
1. This manual consists of seven
chapters; "General Information",
"Specifications", "Regular inspection and adjustments", "Engine",
"Chassis", "Electrical" and "Tuning"
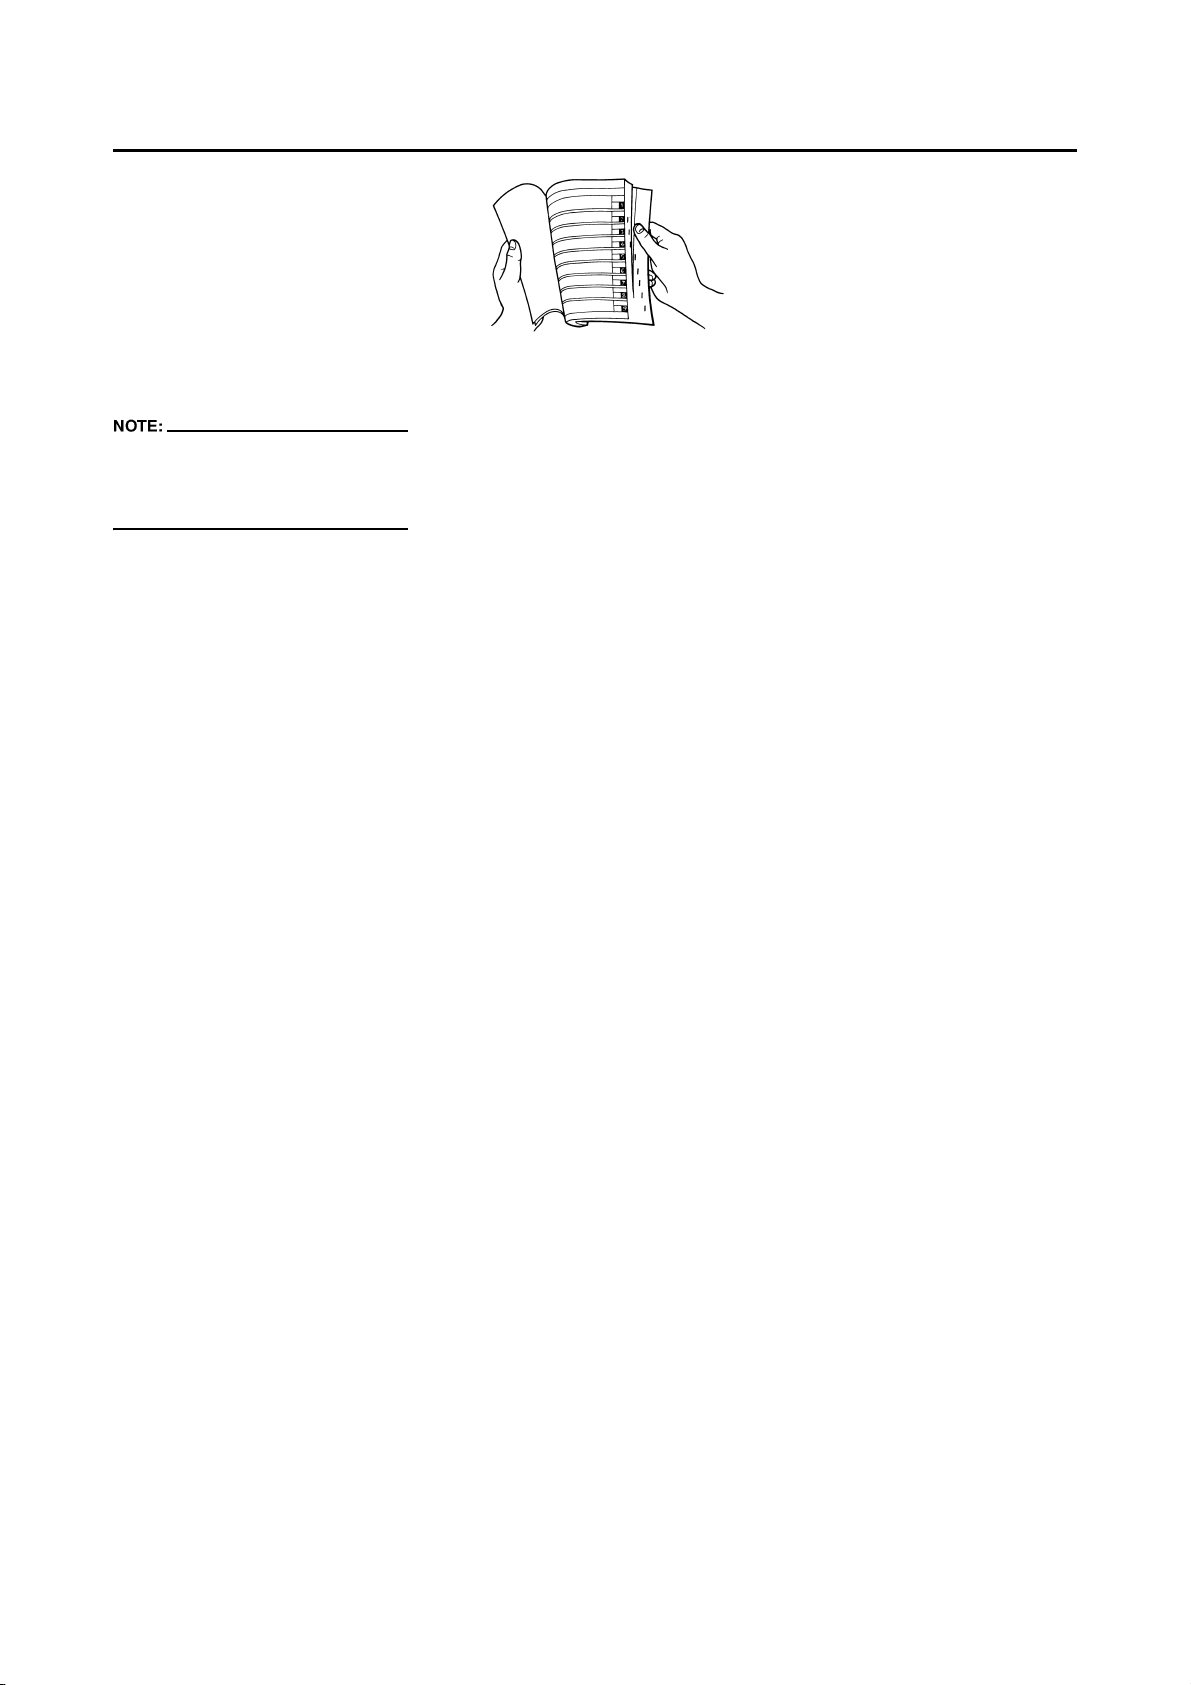
2. The table of contents is at the beginning of the manual. Look over
the general layout of the book before finding then required chapter
and item.
Bend the book at its edge, as
shown, to find the required fore
edge symbol mark and go to a
page for required item and description.
MANUAL FORMAT
All of the procedures in this manual
are organized in a sequential, stepby-step format. The information has
been complied to provide the mechanic with an easy to read, handy
reference that contains comprehensive explanations of all disassembly,
repair, assembly, and inspection operations.
In this revised format, the condition of
a faulty component will precede an
arrow symbol and the course of action required will follow the symbol,
e.g.,
• Bearings
Pitting/damage
→ Replace.
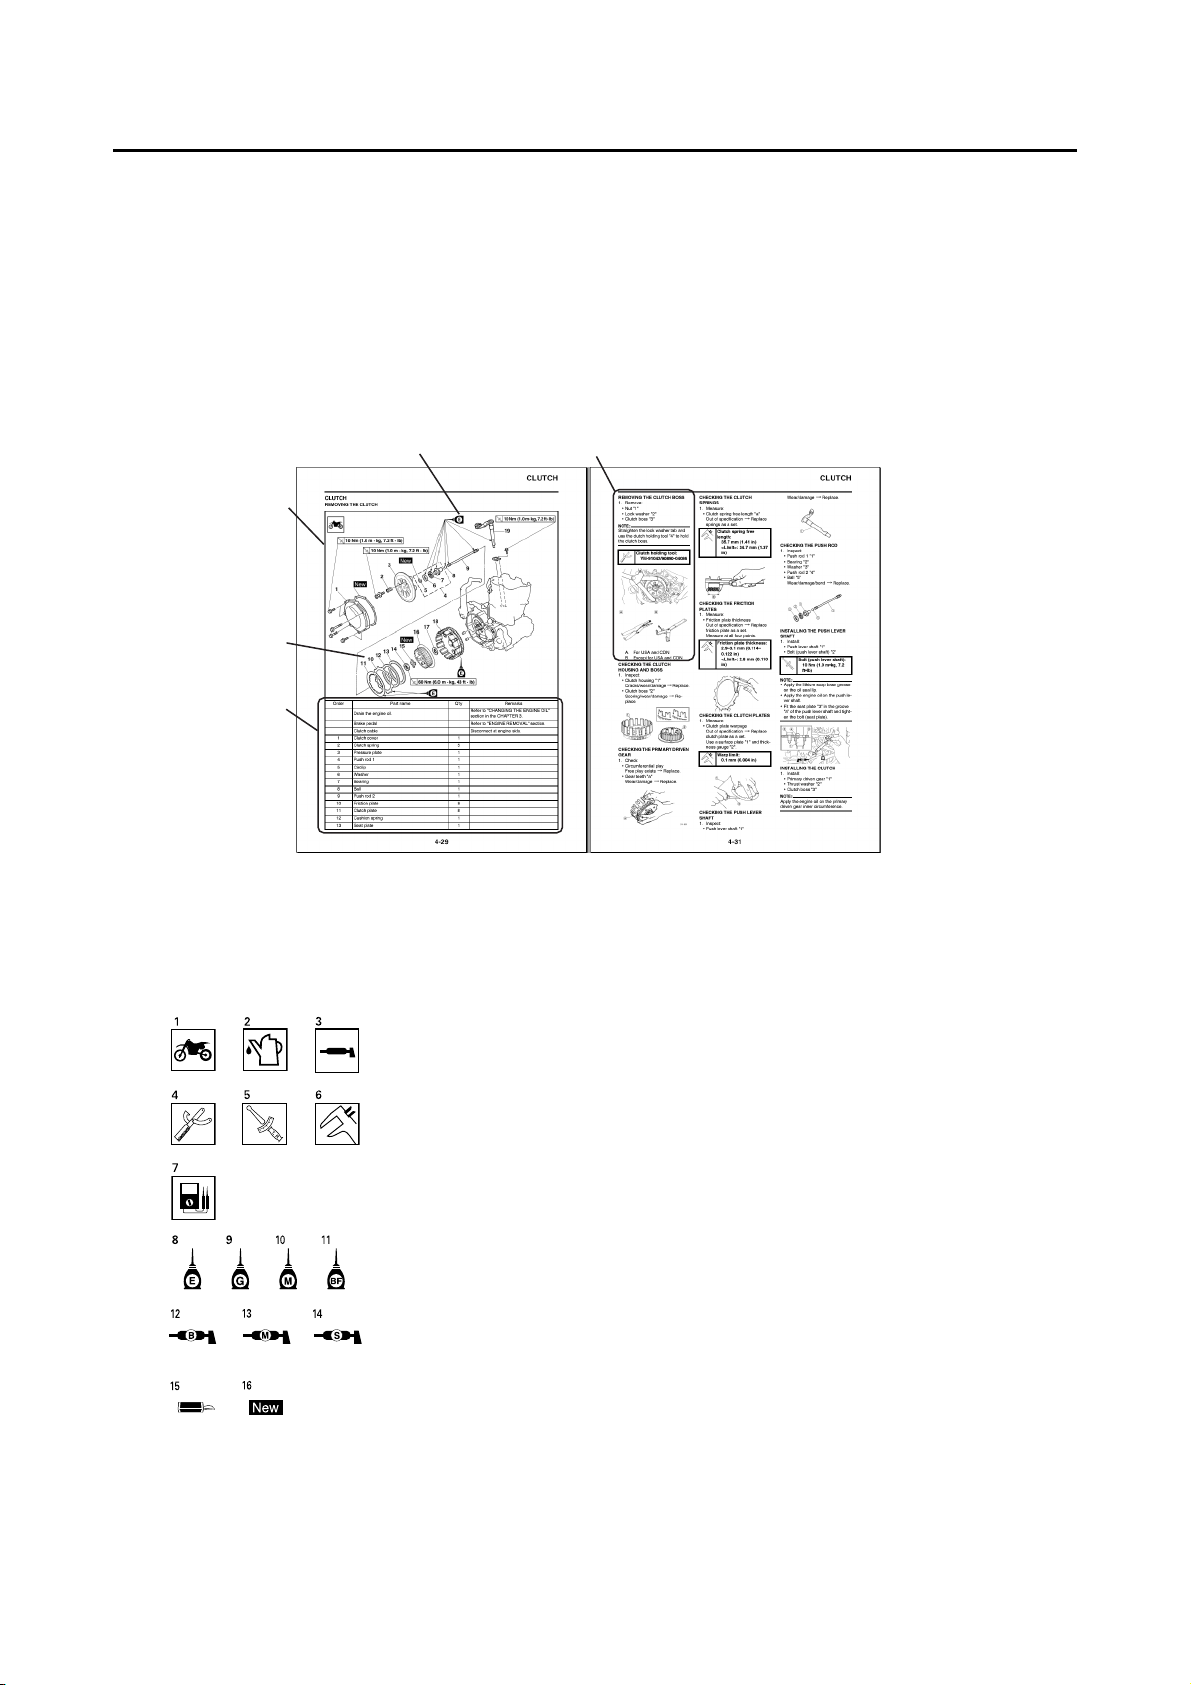
HOW TO READ DESCRIPTIONS
To help identify parts and clarify procedure steps, there are exploded diagrams at the start of each removal
and disassembly section.
1. An easy-to-see exploded diagram
"1" is provided for removal and
disassembly jobs.
2. Numbers "2" are given in the or-
der of the jobs in the exploded diagram. A number that is enclosed
by a circle indicates a disassembly step.
3. An explanation of jobs and notes
is presented in an easy-to-read
way by the use of symbol marks
"3". The meanings of the symbol
marks are given on the next page.
4. A job instruction chart "4" accompanies the exploded diagram,
providing the order of jobs, names
of parts, notes in jobs, etc.
5. For jobs requiring more information, the step-by-step format supplements "5" are given in addition
to the exploded diagram and job
instruction chart.
1
2
4
ILLUSTRATED SYMBOLS (Refer to
the illustration)
3
Illustrated symbols "1" to "7" are used
to identify the specifications appearing in the text.
1. With engine mounted
2. Filling fluid
3. Lubricant
4. Special tool
5. Tightening
6. Specified value, Service limit
7. Resistance (
Electric current (A)
Illustrated symbols "8" to "14" in the
exploded diagrams indicate grade of
lubricant and location of lubrication
point.
8. Apply engine mixing oil
9. Apply transmission oil
10. Apply molybdenum disulfide oil
11. Apply brake fluid
12. Apply lightweight lithium-soap
base grease
13. Apply molybdenum disulfide
grease
14. Apply silicone grease
5
Ω), Voltage (V),
Illustrated symbols "15" to "16" in the
exploded diagrams indicate where to
apply a locking agent and where to install new parts.
15. Apply locking agent (LOC-
16. Use new one
TITE
®
)

TABLE OF CONTENTS
GENERAL INFORMATION
SPECIFICATIONS
REGULAR INSPECTION AND
ADJUSTMENTS
ENGINE
CHASSIS
1
2
3
4
5
ELECTRICAL
TUNING
6
7
 Loading...