

Xerox 6100BD - Phaser Color Laser Printer, 6100DN - Phaser Color Laser Printer, 6180DN - Phaser Color Laser Printer, 6180N - Phaser Color Laser Printer, PrInteract Remote Services User Manual
Page 1

Xerox FreeFlow Print Server
PrInteract Remote Services
Versions 60.xx
User Guide
701P47393
September 2007
Page 2

Prepared by:
Xerox Corporation
Global Knowledge and Language Services
800 Phillips Road 218-01A
Webster, New York 14580
©2007 by Xerox Corporation. All rights reserved.
Copyright protection claimed includes all forms and matters of copyrightable
material and information now allowed by statutory judicial law or hereinafter
granted, including without limitation, material generated from the software
programs which are displayed on the screen such as icons, screen displays,
looks, etc.
Printed in the United States of America.
XEROX® and all Xerox product names mentioned in this publication are
trademarks of XEROX CORPORATION.
One or more of the fonts listed within this document may be a registered
trademark of Morisawa & Company, Ltd. or DYNALAB, Inc.
Changes are periodically made to this document.
Changes, technical inaccuracies, and typographic errors
will be corrected in subsequent editions.
Page 3

Table of contents
1 What is PrInteract Remote Services?
Benefits of Remote Services . . . . . . . . . . . . . . . . . . . . . . . . . . . . . . . . . . . . . . . . . . . . . . . . . . . . . 1
2 How do I start using Remote Service s?
Remote Services network configuration . . . . . . . . . . . . . . . . . . . . . . . . . . . . . . . . . . . . . . . . . . . . . 3
User access . . . . . . . . . . . . . . . . . . . . . . . . . . . . . . . . . . . . . . . . . . . . . . . . . . . . . . . . . . . . . . . . . . 4
Launching the Remote Services application . . . . . . . . . . . . . . . . . . . . . . . . . . . . . . . . . . . . . . . . . 4
Home page navigation . . . . . . . . . . . . . . . . . . . . . . . . . . . . . . . . . . . . . . . . . . . . . . . . . . . . . . . . . . 5
3 How can I customize application preferences?
Enable or disable application features . . . . . . . . . . . . . . . . . . . . . . . . . . . . . . . . . . . . . . . . . . . . . . 7
Customize settings for data capture and transfer . . . . . . . . . . . . . . . . . . . . . . . . . . . . . . . . . . . . . . 8
Modify proxy server settings . . . . . . . . . . . . . . . . . . . . . . . . . . . . . . . . . . . . . . . . . . . . . . . . . . . . . 10
4 How do I request Xerox support?
Accept a Xerox request to enable desktop sharing . . . . . . . . . . . . . . . . . . . . . . . . . . . . . . . . . . . 11
Email Contact . . . . . . . . . . . . . . . . . . . . . . . . . . . . . . . . . . . . . . . . . . . . . . . . . . . . . . . . . . . . . . . . 12
5 How does Xerox ensure quality support?
Remote Monitoring (RM) . . . . . . . . . . . . . . . . . . . . . . . . . . . . . . . . . . . . . . . . . . . . . . . . . . . . . . . 14
Data Capture & Transfer . . . . . . . . . . . . . . . . . . . . . . . . . . . . . . . . . . . . . . . . . . . . . . . . . . . . . . . 14
Update Attributes . . . . . . . . . . . . . . . . . . . . . . . . . . . . . . . . . . . . . . . . . . . . . . . . . . . . . . . . . . . . . 14
Execute Script . . . . . . . . . . . . . . . . . . . . . . . . . . . . . . . . . . . . . . . . . . . . . . . . . . . . . . . . . . . . . . . 14
Download and Execute Script . . . . . . . . . . . . . . . . . . . . . . . . . . . . . . . . . . . . . . . . . . . . . . . . . . . 15
Software Updates . . . . . . . . . . . . . . . . . . . . . . . . . . . . . . . . . . . . . . . . . . . . . . . . . . . . . . . . . . . . . 15
6 How are problems identified and reported?
Capture . . . . . . . . . . . . . . . . . . . . . . . . . . . . . . . . . . . . . . . . . . . . . . . . . . . . . . . . . . . . . . . . . . . . . 17
Transfer . . . . . . . . . . . . . . . . . . . . . . . . . . . . . . . . . . . . . . . . . . . . . . . . . . . . . . . . . . . . . . . . . . . . 19
Capture & Transfer . . . . . . . . . . . . . . . . . . . . . . . . . . . . . . . . . . . . . . . . . . . . . . . . . . . . . . . . . . . . 20
Files Ready for Transfer . . . . . . . . . . . . . . . . . . . . . . . . . . . . . . . . . . . . . . . . . . . . . . . . . . . . . . . . 21
File Cleanup . . . . . . . . . . . . . . . . . . . . . . . . . . . . . . . . . . . . . . . . . . . . . . . . . . . . . . . . . . . . . . . . . 21
7 Can I automatically submit meter readings?
MeterAssistant . . . . . . . . . . . . . . . . . . . . . . . . . . . . . . . . . . . . . . . . . . . . . . . . . . . . . . . . . . . . . . . 23
8 Is an activity history available?
Information provided on History page . . . . . . . . . . . . . . . . . . . . . . . . . . . . . . . . . . . . . . . . . . . . . 25
User Guide i
Page 4

Table of contents
9 How are software updates delivered?
Types of software updates . . . . . . . . . . . . . . . . . . . . . . . . . . . . . . . . . . . . . . . . . . . . . . . . . . . . . . 27
ii User Guide
Page 5

1 What is PrInteract Remote Services?
PrInteract Remote Services is a W eb-based application that
enables remote communication and support with Xerox.
Whenever you have service-related questio ns o r your pr inting
environment is not running as smoothly as you want, Remot e
Services can be used by you and Xerox to more quickly diagnose
problems and deliver solutions.
Benefits of Remote Services
Remote Services allows you to:
• Provide data to the Xerox Customer Support personnel and
Xerox engineering personnel on-demand or automatically, to
facilitate rapid probl em analysis and resolution.
• Share either view-only access to your desktop or share the
control of your Remote Services cursor and desktop with
Xerox Support. Desktop sharing enables Xerox to
troubleshoot problems and remotely install software updates
for you. This also allows Xerox to present remot e
demonstrations of new application features.
• Use automated system Remote Monitoring: This feature Xerox
personnel may proactively access and analyze dat a on the
Xerox server and allow solutions to be more quickly delivered.
• Download software updates.
• Receive new product and application infor mation.
Remote Services features translate to benchmark productivity
opportunities and machine up time.
User Gui de 1
Page 6

What is PrInteract Remote Services?
2 User Guide
Page 7

2 How do I start using Remote
Services?
After your Xerox customer representative installs and configures
Remote Services, you can immediately access the Home page.
The Home page provides links to all application features included
within Remote Services.
NOTE: For Remote Services registration informat ion, please r efer
to the Remote Services Setup Guide.
You can use the following links to access topics discussed in this
section:
Remote Services network configuration
User access
Launching the Remote Services application
Home page navigation
Remote Services network configuration
Before Remote Services is ready to provide full service, settings
for your network configuration need to be verified by your Xerox
customer service representat ive. If your system uses a proxy
server, settings to enable the network connection are defined as
follows:
1. Open the [Remote Services Home: Setup: Network
Settings] page.
2. Enter the HTTP Proxy Server, HTTP Proxy Port, user name
and password.
3. Click [Apply New Settings].
Additionally, your customer service representative must verif y
settings for IP Address, Netmask, Gateway and DNS Host on the
[Remote Services Home: Setup: Network Settings] page. As
these settings are read-only in the Remote Services application,
the settings are edited through FreeFlo w Print Server Setup.
Once these settings are configured, Remote Services is ready to
provide full network service.
Or, click Restore Settings if you do not want to modify the
capture settings and you want to restore the settings that were
saved last.
User Gui de 3
Page 8
How do I start using Remote Services?
User access
There are four types of users who have access to the FreeFlow
Print Server. Each type of user has different access privileges for
Remote Services. The following list presents the default settings
for each user.
• User: Allowed access to Support Access, History and
Contacts.
• Operator: Access to all the features of a User and access to
Problem Reporting and Support Requests.
• CSE (Customer Service Engineer): Acces s to all system
features, except the ability to enable and disable features.
• System Administrator: Access to all system features.
Launching the Remote Services application
All features included within Remote Services are accessible
through the Home page.
To open the Remote Services Home page:
1. Place your cursor outside the FreeFlow Print Server GUI. You
may have to minimize the FreeFlow Print Server GUI screen.
2. Press the <Help> key on your keyboard.
The Remote Services Home page opens.
OR
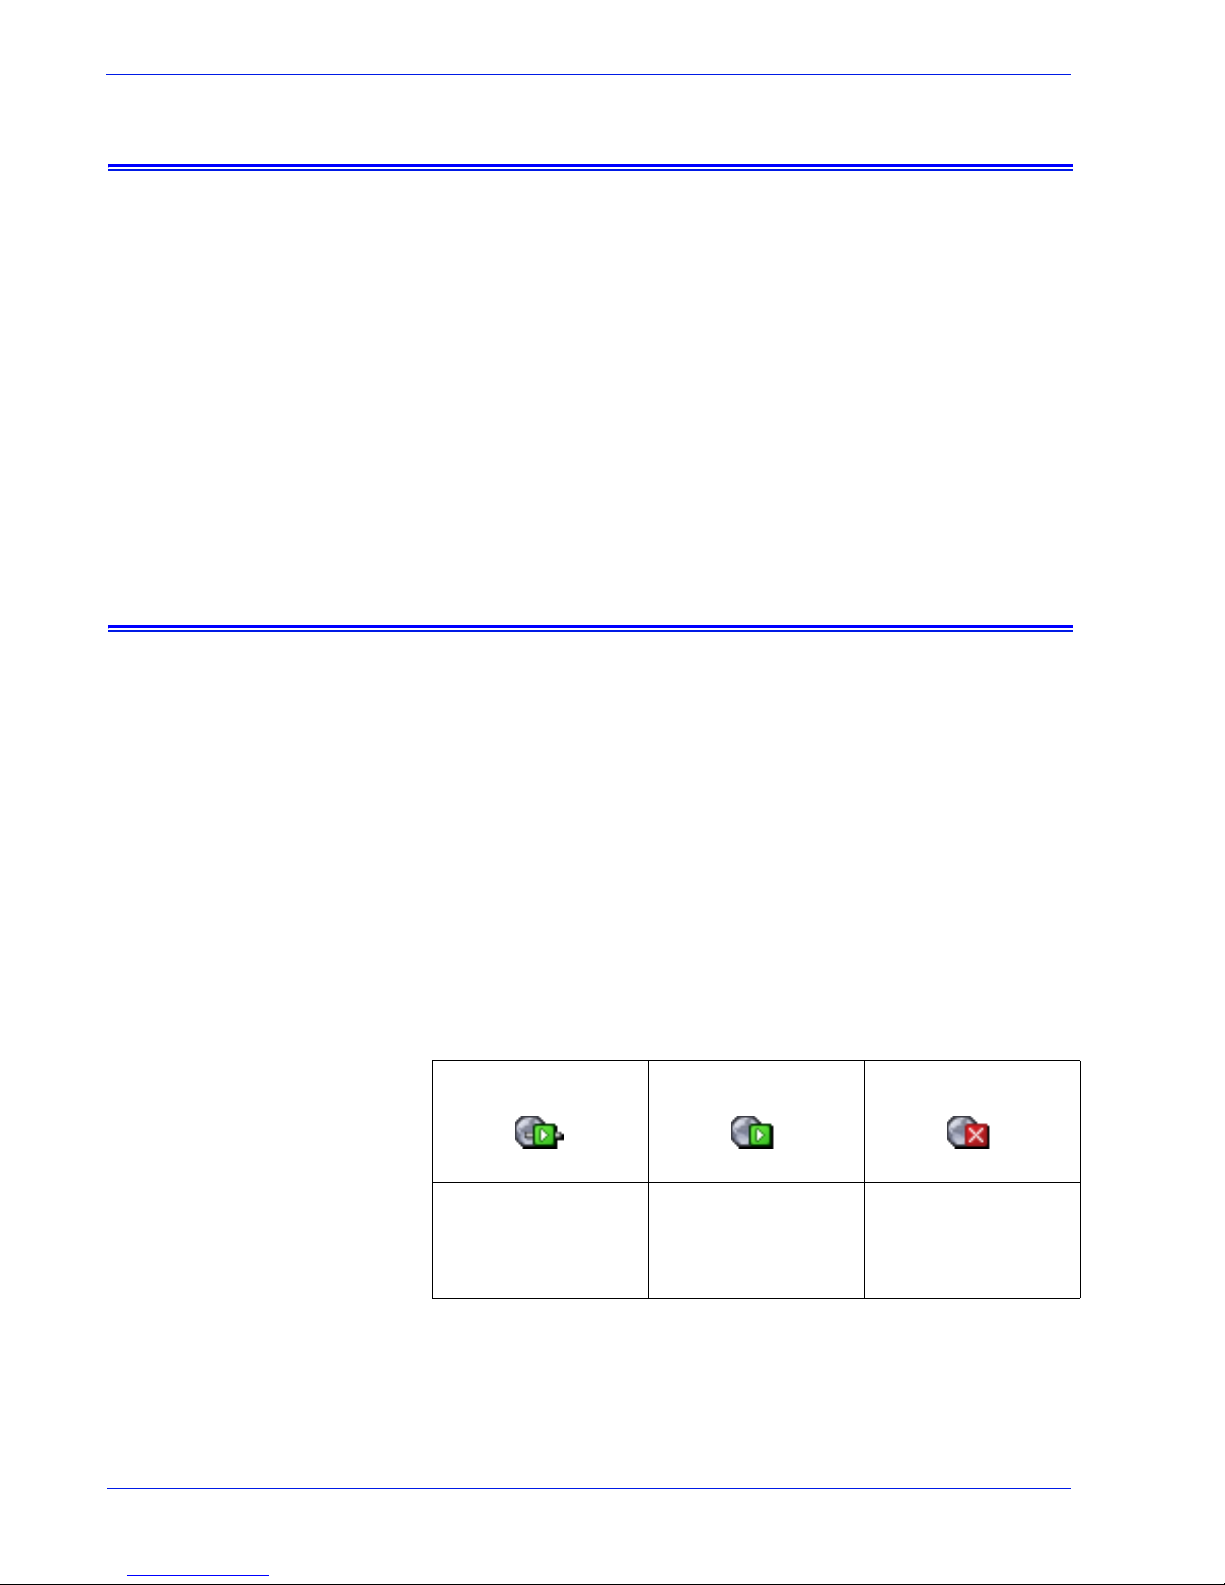
1. From the, upper right corner, FreeFlow Print Server GUI select
the Remote Se rv ic e s IC O N.
Remote Services
Installed, Running
and Connected
Remote Services
Installed, Running
and Not Connected
Remote Services
Not Installed or
Installed but not
Running
4 User Guide
NOTE: Remote Services must be installed and running to launch
the application.
Page 9

Home page navigation
How do I start using Remote Services?
The table that follows identifies each link located on the Home
page and describes when to use each link.
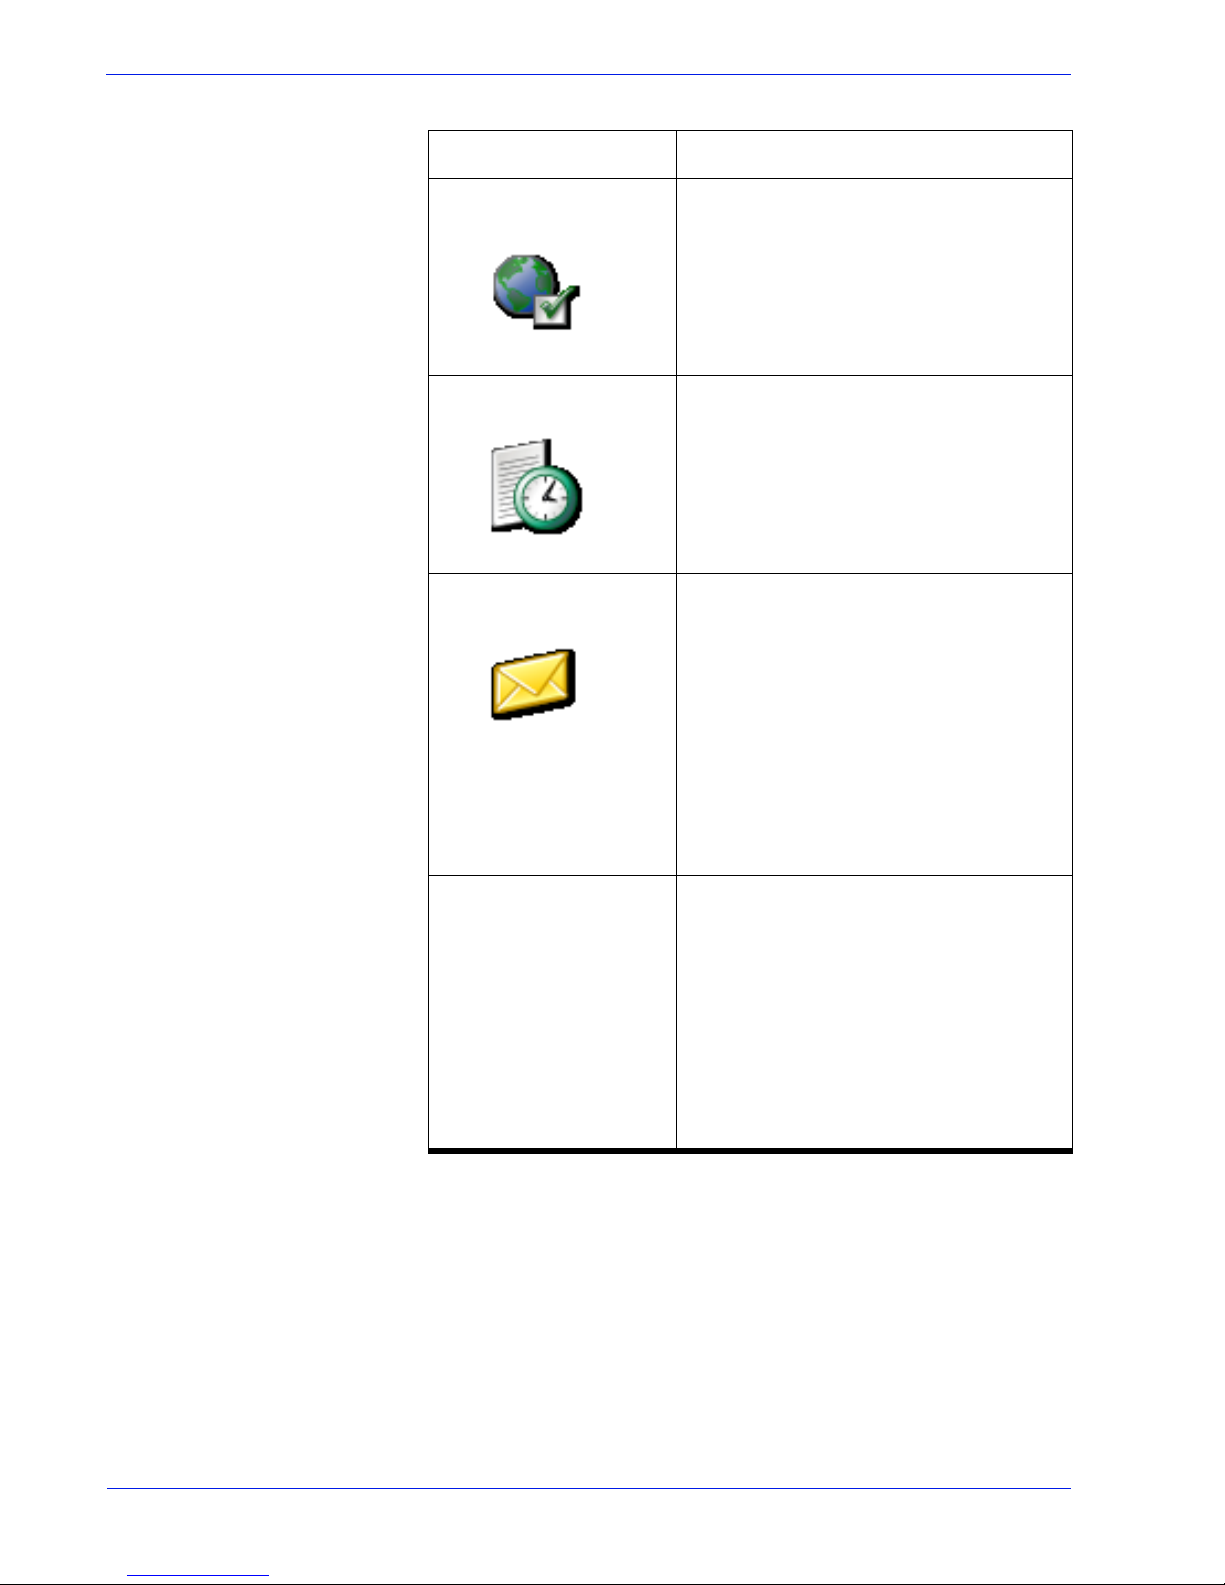
Link Description
Problem Reporting Click [Problem Reporting] to displ a y
options for capturing and transferring
job and/or machine data. Data capt ure
and transfer is usually necessary after
Xerox conducts a preliminary
investigation of your environment and
needs additional data for further
analysis.
Support Requests Click [ Suppor t Requests] to display a
table of requests Xerox Support has
forwarded to you. Execution of these
requests helps to ensure optim um
operability of your print environment.
Different types of support requests
you may receive are:
• Remote Monitoring
• Data Capture and Transfer
• Update Attributes
• Execute Script
• Download and Execute Script
• Software Updates
Support Access Click [Support Access] to accept a
verbal request from Xerox Support to
activate two-way, online
communication. The Support Access
page is used to communicate with
Xerox using a dynamic chat window
and to enable permission-based
desktop sharing with either desktop
control or view-only privileges.
MeterAssistant Click [MeterAssistant] to view a
statistical summary table of automatic
meter readings. This feature is
available on monochrome and
highlight color printers, only.
User Guide 5
Page 10
How do I start using Remote Services?
Setup Click [Setup] to verify settings for the
History Click [History] to view a status table
Contact Click [Contact Information] to view
Link Description
Remote Services proxy server and
network settings.
listing all service tasks you have
received from Xerox Support.
the information; Customer Address,
FreeFlow Print Server Version, Print
Engine Serial Number , Host ID, and IP
Address.
On this page click [Contact Xerox] to
open an automatically addressed
email message you can send to Xerox
Support.
Software Updates Click [Software Updates] to
download operating system patches,
Remote Service patches, and
FreeFlow Print Server patches. This
link appears on the Home page only
when software updates are available.
Alternately, you can access the
Software Updates page via the
Software Updates tab on the [Home:
Support Requests] page.
6 User Guide
Page 11

3 How can I customize application
preferences?
There are a number of default settings you may customize. You
may specify which application features are enabled or di sabled.
You may specify default settings for data capture and transfer, as
well as network settings for your proxy server.
• Enable or disable application features through the [Home:
Setup: General] page.
• Customize settings for data capture and tr ansfer as well as the
timing of data transfer through the [Home: Problem
Reporting: Settings] page.
• Modify proxy server settings through the [Home: Setup:
Network Settings] page.
Enable or disable application features
To specify which features in Remote Services are enabled:
1. Select [Home: Setup].
2. Select the [General Settings] tab.
A list of features you may ei ther enable or disable ar e listed on
the page. To enable a feature, place a checkmark in the
feature box. Clear the check mark to disable a feature. The
features listed are:
• Problem Reporting–options for capturing and t ransferring
job and machine data to Xerox Support.
• Support Requests / Sof tware Updates–accept d ownload
requests Xerox Support has forwarded to you. Download
operating system patches, Remote Service p atches, and
FreeFlow Print Server patches. Execution of these
requests helps to ensure optimum operability of your print
environment.
• Support Access–communicate with Xerox using a
dynamic chat window and to enable permission-based
desktop sharing with either control or view-only privileges.
• MeterAssistant–statistical summary table of automatic
meter readings.
User Gui de 7
You can also manage the following options:
• Select a UI Language from the pull-down menu.
Page 12

How can I customize application preferences?
• Automatic Synchronization with Xerox Support Server
is enabled by default.
• You can enter or edit the Print Engine Serial Number.
NOTE: Changing the serial number is not recommended, and
should only be performed in special cases by the CSE or if
Xerox specifically asks for the change to occur.
3. Click [Apply New Settings].
Or, click Restore Settings if you do not want to modify the
capture settings and you want to restore t he settings that were
saved last.
Customize settings for data capture and transfer
The [Problem Reporting: Settings] page has an option that you
can select to automatically delet e ca ptured data after it is
transferred.
To specify settings for captured files
1. Select [Home: Problem Reporting: Settings].
2. Select the Capture tab.
3. If you want to delete the captured files from your system after
they are transferred to Xerox, check the [Remove Capture
Data after Transfer] checkbox. This eliminates the redundant
storage of the files on your system. Or if you want to save the
captured files clear the checkbox.
4. Enable Job Data Capture is enabled by default. If the
selection box is not marked, the Job and Machine & Job data
types cannot be selected on the Capture or Capture &
Transfer pages. To disable this feature, remove the mark f rom
the checkbox.
5. Note the directory location of the captured files. This field is
read-only. You can verify this location when you select files to
transfer to Xer o x .
6. Click [Apply New Settings] to save the settings.
Or, click [Restore Settings] if you do not want to modify the
capture settings and you want to restore t he settings that were
saved last.
8 User Guide
To specify options for transferring data files
1. Select [Home: Problem Reporting: Settings].
2. Select the Transfer tab.
Page 13

How can I customize application prefer ences?
3. If you want to enable the periodic capture and transfer of
systems Remote Services log data, check the [ Enable
Remote Monitoring] option. Selecting the infor m ation icon
opens a window that presents remote monitoring details.
4. If you want to specify the time that files will automatically be
transferred, use the Transfer Time selection arrows. The first
field indicates the hour , t he second field indicates minutes, and
the third field indicates AM or PM.
5. Specify the default delivery location of transferred files.
Options available are:
• Xerox Support Server: Data transmitted to the Xerox
Support Server must be associated to a log number before
data transmission. This number is provided by Xerox
Support.
• Save to CD: If desired, the operator may store captured
data using CD writer when one is available.
• FTP Server: If your system is functioning on a priv ate
network, the operator may install the Remote Services
Proxy agent which allows data communication between a
private network and a Xerox FTP site. If FTP Server is
chosen select the FTP Sett ings tab and follow the
instructions.
6. Click Apply New Settings to save the settings.
Or, click Restore Settings if you do not want to modify the
settings and you want to restore the settings that were saved
last.
To specify FTP Settings
1. Select Home: Problem Reporting: Settings.
2. Select the FTP Settings tab.
a. Enter the URL of the FTP server.
b. Enter the path of the shared directory on the FTP server.
c. Enter the server user name.
d. Enter the server password which will automatically enabl e
system login.
If necessary enter the FTP Proxy Server information for
(SOCK 4 or 5 only)
3. Select Verify Connections after the information is entered.
4. Select Apply New Settings to make your changes
User Guide 9
Or, click Restore Settings if you do not want to modify the
settings and you want to restore the settings that were saved
last. By default the Server Address, Share Path, Username,
and Password are blank.
Page 14

How can I customize application preferences?
Modify proxy server settings
To modify proxy server settings:
1. Select [Home: Setup: Network Settings] page.
2. System administrators can modify the system settings of the
HTTP proxy server:
• HTTP Proxy Server
• HTTP Proxy Port
• Username (distinct usernames may be utilized for HTTP
Proxy and FTP Proxy)
• Password (distinct passwords may be utilized for HTTP
Proxy and FTP Proxy)
• Connectivity information can be viewed and is read only.
3. Select Verify Connections after the information is entered.
4. Click [Apply New Settings].
Or, click Restore Settings if you do not want to modify the
capture settings and you want to restore t he settings that were
saved last.
10 User Guide
Page 15

4 How do I request Xerox support?
When you want to request assistance from Xerox Support, you
can call the Xerox Support Hotline through st andard support
procedures. If Xerox Hotline support is unable to immediately
resolve your issue or concern, you will be asked to click the
[Home: Support Access] link to enable remote desktop sharing.
Desktop sharing enables Xerox t o remotely troubleshoot pr oblems
quickly in real-time.
You can also send Xerox an email message that describes your
questions or comments through Remote Services .
Accept a Xerox request to enable desktop sharing
To enable desktop sharing:
1. Click [Home: Support Access].
A support dialog box opens.
2. Enter your name, contact inf ormation and a descript ion of your
question or issue.
User Gui de 11
Page 16

How do I request Xerox support?
3. Click [Submit].
Your request is placed in a queue.Your queue displays in the
eCare Support dialog window.
When Xerox Support responds to queue, a two-way dynamic
chat window opens. Use this chat window for an instant, text
based conversation with Xerox Support.
If Xerox Support wants to view your des ktop, you will rece ive a
Invite Observe or Invite Control request in the chat window.
• If Xerox Support needs to control your mouse an d desktop,
you will receive a Invite Control message. You may either
accept or reject this invitation.
Invite Control enables Xerox Support to direct you to
specific screen or menu locations or to directly resolve
operational issues.
• If Xerox Support wants to share your desktop with view-
only rights, you will receive an Invite Observe message.
You may also accept or reject this invitation.
Email Contact
Invite Observe enables Xerox Support to remotely
present training demonstrations.
When you want to communicate with Xerox Support without
enabling desktop sharing, you may send Xerox an email message
from the Remote Services Home page.
To send a message to Xerox Support:
1. Click [Contact In formation] to view t he information; Customer
Address, FreeFlow Print Server Version, Print Engine Serial
Number , Host I D, a nd IP Addres s. Then cli ck [ Contact Xerox]
to open an automatically addressed email message you can
send to Xerox Support.
2. Enter a description of your issue into the Subject fiel d.
3. Enter your text message.
4. Click [Send].
12 User Guide
Or, if you want to close the message window without sending
the message, click [Close Window].
Page 17

5 How does Xerox ensure quality
support?
To ensure and maintain optimum operability of your print
environment, Xerox Support may ask you to perform a specific
task or action. T hese reques t s ar e call ed Suppo rt Requests. Each
time Xerox sends you a Support Request, a link to download the
request is placed on the Home page. Click this link to open the
Support Requests page.
You may either accept or reject any Support Request. Support
Requests you accept are downl oaded to your system where Xerox
Support can connect to your system and execute the request.
Different types of Support Requests that you may receive are:
• Remote Monitoring (RM)
• Data Capture & Transf er
• Update Attributes
• Execute Script
• Download and Execute Script
• Software Updates
Information included on the Support Requests page includes:
• Support Request ID–identifies the tr acking number assigned .
click an ID link to pop open additional detail s.
• Type–classifies requests by OS or patch.
• Status–indi cates whether you have accepted, completed, or
rejected the request.
• Data/Time–indicates the date you received the request.
To accept or reject a request, perform the following:
• To accept and install an update, click the desi red row and click
the [Accept] button.
• To reject an update and remove a support request from the
available list, click the desired row and cl ick the [Reject]
button. A rejected update may be accepted at a later ti me.
By default, Remote Services checks for new Support Requests on
startup, and then every 15 minutes. To manually check the Xerox
Support Server for new Support Requests, click the [Get New]
button. New Support Requests may take a few minutes to arrive.
To refresh the display to include Support Requests that have just
arrived, click the [Refresh Table] button. New entries are
highlighted as New! under the Refresh column.
User Gui de 13
Page 18

How does Xerox ensure quality support?
Remote Monitoring (RM)
Remote Monitoring is a timer-based script that automatically
captures and transmits machine data to Xerox Support. Job data
is not captured using Remote Monitoring. Collected machine data
is transmitted to Xerox Support at regular intervals. Xerox uses
this information to identif y and resolve issues . When you receive a
Remote Monitoring Support Request, you only need to accept the
request once. The scheduled data c oll ecti on and tra nsfer will then
occur automatically.
NOTE: To protect your privacy, Job data is not transmitted to
Xerox at regular intervals. Job data is transmitted only if a Job
Capture is performed directly via the Capture or Capture &
Transfer page.
Data Capture & Transfer
Update Attributes
Execute Script
Data Capture & Transfer is a script that customers are asked
to execute when additional job and machine data is required.
When Xerox Support needs additional data, you will receive a
Support Request.
The Update Attributes Support Request enables the Xerox
Support team to remotely update device attributes. Examples
of device attributes typically included within this type of
Support Request include enabled or disabled logging, the
frequency of Remote Monitoring (RM), or the canceling of a
Support Request.
The Execute Script Support Request enables the Xerox
Support team to execute an installed script. For example, you
may be asked to execute a script that restores machinery to
the factory settings.
14 User Guide
Page 19

Download and Execute Script
This Support Request enables the Xerox Support team to
remotely load an additional script on a device and immediately
initiate script execution.
Software Updates
Each time the Remote Services application opens, the system
checks for software updates from the Xerox Support Server.
Software updates can be accepted or rejected. For additional
information, see: How are software updates delivered?
User Gui de 15
Page 20

How does Xerox ensure quality support?
16 User Guide
Page 21

How are problems identified and reported?
6 How are problems identified and
reported?
Xerox Support may identify and resolve most of your operational
issues when you grant permission to observe or control your
mouse and desktop through the [Home: Support Access] page.
Sometimes, however, Xerox Support may need additional
machine and/or job data to more fully analyze your system.
The [Home: Problem Reporting] page enables you to capture
machine and/or job data and then automaticall y transmit the
additional data to Xerox Support.
You may either capture and transfer data to Xerox as it is being
recorded or capture dat a at one poi nt in ti me, and then tr ansfer the
data file at another time. Data may be transferred directly to your
Xerox Support Server, to a local FTP site, or to a CD writer.
Capture
The Problem Reporting page display s the fol lowing options:
• Capture
• Transfer
• Captur e & Trans fer
• Files Ready fo r Transfe r
• File Cleanup
NOTE: For information on the Capture and Transfer setup
process, see: Customize settings for data capture and transfer
If your system is not always connected to the network, your site
operator may store the data file on a local drive or CD. When a
network connection is established your operator can then use the
Transfer feature to transmit the captured data.
NOTE: Only one process per service may run at a time.
User Guide 17
This procedure explains how to capture machine and/or job data.
This procedure assumes you will transfer your machine an d/or job
data to Xerox Support at a future time.
Page 22

How are problems identified and reported?
To capture machine and/or job data
1. Select [Problem Reporting: Capture]. Once the Capture
window opens, you are informed that the DFE must not be
ripping or printing while a Data Capture is in progress.
2. Select a Data Type option:
• Machine
• Job
• Remote Monitoring
If you select Machine or Machine & Job, the foll owing Machine
capture options are available by expanding the Advanced
Machine Data Type Settings menu:
• Capture DFE Data Only
• Capture IOT Data Only
• Capture DFE & IOT Data
NOTE: The Advanced Machine Data Type Settings menu is
grayed out if Job is the Data Type option selected.
3. If the Data Type option you select is Job or Machine & Job,
you can select a Job Type and a Job ID from the drop-lists.
These menus are unavailable if you select Machine as the
Data Type.
4. Enter a Call Log ID number. This field is blank by default.
NOTE: The Call Log ID facilitates transmission tracking. This
information is provided by Xerox Support.
5. Enter a Fault Code. The Fault Code is the status or error
message number provided by the FreeFlow Print Server
interface. This field is optional and is blank by default.
6. Type in a description of the current issue that requires data
capture. The information you enter allows Xerox to better
understand the issue. This fie ld i s required and the capture
process does not proceed until a problem description is
entered.
7. Click the [Start Capture] button.
The dialog refreshes and shows the status of the capture
process. The status bar indicates the following states:
• Preparing D a ta
18 User Guide
• Capturing DFE Data (if applicable)
• Capturing IOT Data (if applicable)
• Capture Completed Successfully
8. If you want to terminate the capture process before
completion, click the [Cancel Capture] button.
Page 23

Transfer
How are problems identified and reported?
The Transfer utility enables your site operator to transmit
previously captured data as described in the topic, Capture.
There are several differe nt ways to transfer captured data. Data
may be transferred directly to:
• Xerox Support Server
• FTP site
• CD writer
NOTE: The destination is set via the Problem Reporting: Settings
page: Transfer tab.
To transfer machine and/or job data to Xerox
1. Select either [Problem Reporting: Transfer] or the [Files
Ready to Transfer] link.
The Files to Transf er t able opens. This t ab le has four co lumns
of information–the Call Log I D, T ype, Capture Date, and S tatus
columns. The Status column indicates whether the file is Not
Transferred, In-Progress, or Completed.
2. Select the file you want to transfer.
3. If desired, you may click the arrow positioned before the File
ID. This expands the view and displays additional file
information.
4. Click the [Start Transfer] button.
If the system needs additional inf ormati on, a d ialog box o pens
asking for additional informat ion.
The system validates the transfer ID provided by Xerox
Support and then transfers the files to either your Xerox
Support Server, an FTP site, or to a CD writer as specified on
the Problem Reporting: File Clean up page: Transfer tab. If the
files you want to transfer are more than 400 MB, you are
prompted to transfer the files to a CD writer.
5. Once the transfer is completed, you can choose to perform a
New Capture, New Transfer or Close Window by selecting
that option.
User Guide 19
Page 24

How are problems identified and reported?
Capture & Transfer
To capture and transfer data to Xerox in a single step
1. Select [Problem Reporting: Capture & Transfer]. Once the
Capture & Transfe r window opens, you are informed that the
DFE must not be ripping or printing while a Data Capture is in
progress.
NOTE: Required information fields are designat ed with an aster isk
2. Select a Data Type option:
• Machine
• Job
• Machine & Job
If you select Machine or Machine & Job, the foll owing Machine
capture options are available by expanding the Advanced
Machine Data Types menu:
• Capture DFE Data Only
• Capture IOT Data Only
• Capture DFE & IOT Data
NOTE: The Advanced Machine Data Type menu is grayed out
if Job is the Data Type option selected.
3. If the Data Type option you select is Job or Machine & Job,
you can select a Job Type and a Job ID from the drop-lists.
These menus are unavailable if you select Machine as the
Data Type.
4. Enter a Call Log ID number. This field is blank by default.
NOTE: The Call Log ID facilitates transmission tracking. This
information is provided by Xerox Support.
5. Enter a Fault Code. The Fault Code is the status or error
message number provided by the FreeFlow Print Server
interface. This field is optional and is blank by default.
6. Type in a description of the current issue that requires data
capture. The information you enter allows Xerox to better
understand the issue. This fie ld i s required and the capture
process will not proceed until a problem descri ption is ent ered .
20 User Guide
7. Click the [Start Capture & Transfer] button.
The dialog refreshes and shows the status of the capture
process. The status bar indicates the following states:
• Preparing D a ta
• Capturing DFE Data (if applicable)
Page 25

8. If you want to terminate the capture process before
Files Ready for Transfer
Each time the system successfully captures machine and/or job
data, a link titled Files Ready for Transfer displays on the Home
page. Click this link to open the Files to Transfer table.
To transfer files listed in this table, follow steps 2 through 4 in the
topic; Transfer.
• Capturing IOT Data (if applicable)
• Capture Completed Successfully
completion, click the [Cancel Capture] button.
When the capture process is complete, file transmissi on
begins automatically. The machine and/or job data files is
transferred to either your Xerox Support Server, an FTP site,
or to a CD writer as specified on the Problem Reporting: File
Cleanup page. If the files you want to transfer are more than
400 MB, you are prompted to transfer the files to a CD writer.
A status bar displays and notifies you when the files have
successfully been transferred.
To verify the successful transfer of data, you can view the
[Home: History] page.
File Cleanup
Each time you capture and save machine and/or job data, a
redundant copy of the files is stored on your system.
To delete these duplicate files:
1. Select [Home: Problem Reporting: File Cleanup].
The File Cleanup page lists all captured files currently stored
in the Data Capture Location Path directory specified on the
[Home: Problem Reporting: Settings: Capture] page.
The File Cleanup page has four columns of information: Call
Log ID, T ype, Capture Date and Status. The table entries are
displayed by Capture Date, which indicates the date of the
attempted file transfer. The most recent file transfer is located
at the top of the column.
2. To display file details, click the expansion arrow.
3. The Status column indicates the progress of the file
transmission as either Transferred, Not Transferred ,
Canceled, or Tr ansmission Error.
4. Delete files by performing one of the following:
User Gui de 21
Page 26

How are problems identified and reported?
• To delete a single file highlight the row and click Delete.
• To delete all files listed in the table, click Delete All.
22 User Guide
Page 27

MeterAssistant
7 Can I automatically submit meter
readings?
Remote Services includes the feature, MeterAssistant. When this
feature is enabled, all meters are automatically read and
transmitted to Xerox and you do not need to call in your meter
readings. You can enable or disable the MeterAssist ant f eature on
the [Home: Settings: General] page.
NOTE: MeterAssistant is available on monochrome and highlight
color printers , o n ly.
Once MeterAssistant is enabled, you can visit the MeterAssistant
page to verify the name and reading of each meter through the
[Home: MeterAssistant] page. This page will provide the
following information:
• Last Meter Reading –The date and time of the last
transmitted meter reading and status of submissi on (success
or failed) displays at the top of the page.
• Meter Description – lists the names of each machine meter.
• Meters Transmi tt ed – displ ays the value of the last
transmitted meter reading.
• Current Meters – displays the current meter value.
To update the current meter value reading, click the [Update]
button. The MeterAssist ant billing table is read-only.
You will be able to visit the [Home: Hist ory] page to verify:
• Meter readings have been successfully transmitted to
Xerox
• Current meters have been read successfully
User Gui de 23
Page 28

Can I automatically submit meter readings?
24 User Guide
Page 29

8 Is an activity history available?
Information provided on History page
The Remote Services History page contains a list of activities that
have been performed. To open the History page, click the
[History] link located on the Home page.
• Capture & Tr ansfer–capture and transfer of machine and/or
job data to Xerox
• Remote Monitoring–if enabled, presents periodic capture
and transfer of systems Remote Services log data
• File Cleanup–deletion of captured files after they are
transmitted to Xerox
• Support Requests (formerly called Service Request
Accepted)–status of Support Requests received
• Remote Services Installati on–software updates installed
• Support Access–sessions of interactive su pport and desktop
sharing
• MeterAssistant (formerly called Billing)–if enabled from the
MeterAssistant feature on the Home: Setup: General
Settings tab page, presents transmission detail s of automated
meter readings and current meter readings
NOTE: MeterAssistant is available on monochrome and
highlight color printers, only.
• Setup–identifies features of Remote Services t hat are enabled
or disabled
• Contact–email communication sent to Xerox Support.
The status of each task may be either Completed, In Progress, or
Canceled. Each task is give a Date/Time Stamp, which identifies
the date and time you first received the task request.
To view recent updates to the History table, click the [Refresh]
button.
To clear the history log and refresh the table to its empty state,
click the [Clear] button.
User Gui de 25
Page 30

Is an activity history available?
26 User Guide
Page 31

9 How are software updates delivered?
Each time the Remote Services application opens, the system
checks for software updates from the Xerox Support Server. The
Remote Services Home page provides a link to softwa re updates
whenever they become available. Alternately, you can access the
Software Updates page via the Software Updates tab on the
[Home: Support Requests] page.
Types of software updates
Software updates include:
• Operating System (OS) patches
• Remote Services (RS) patches
How are software updates delivered?
• FreeFlow Print Server patches
When a system search is complete, a list of updates display. The
search filters the list to ensure comp atibility with your site
configuration.
Information provided with each update patch include:
•Patch ID
• Patch type
• Installation status
• Data/Time stamp
You may accept, install, or reject any update.
• To manually check the Xerox Support Server for new Software
Updates, click the [Get New] button. New Software Updates
may take a few min u tes to arrive.
• To accept and download an update: Click the patch ID to
highlight the row and then click the [Accept] button. The
software automatically downloads to your system. With your
permission, Xerox Support will remotely install the patch.
• To reject an update and remove it from the list: Click the patch
ID to highlight the row and then click the [Reject] button. A
rejected update may be accepted at a later time.
User Guide 27
• To refresh the display to include Software Updates that have
just arrived, click the [Refresh Table] button.
Page 32

How are software updates delivered?
28 User Guide
 Loading...