

Xerox Document Centre 240, Document Centre 255, Document Centre 265, Document Centre 265 LP, Document Centre 265 ST Supplementary Manual
Page 1

Page 1
What you need to know about your Document Centre 240/255/265 LP/ST
1. Power Cord connection
2. Card Cage Ports Panel
3. Ethernet Port (RJ45)
4. Optional Token Ring Interface (if your printer is so
equipped, a short cable with an RJ45 connector attached
will connect here)
5. Active Phone Line Port
1. Bypass Tray (Tray 5) and High Capacity Feeder (Tray 6)
2. User Interface (see Details on the back of this card)
3. Document Feeder (ST model ONLY, with scanner glass
underneath)
4. Power Switch (you will use this during network installation)
5. Finisher (for stapling and offset collation)
6. Paper Trays 1-4
FRONT VIEW BACK VIEW
1
2 3
56
4
1
2
3
4
5
Page 2
Page 2
What you need to know about your Document Centre 240/255/265 LP/ST
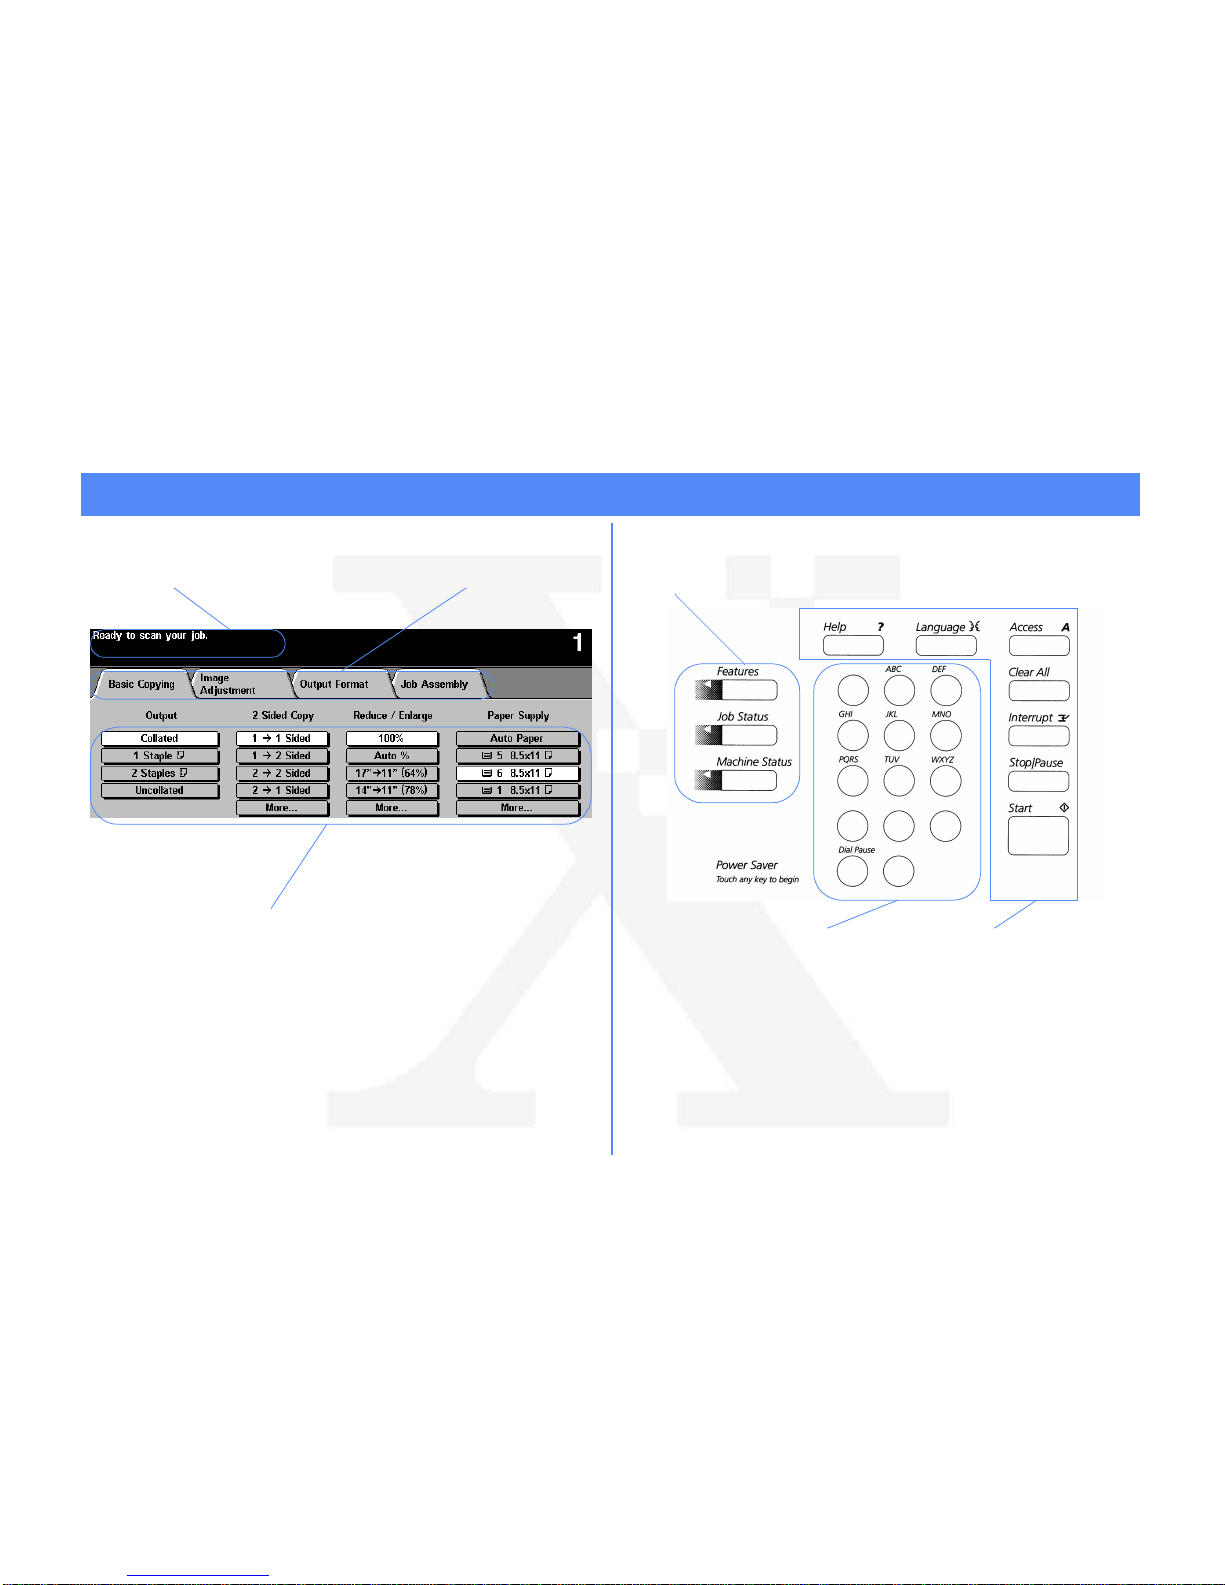
1. Pathway Buttons (to select what is displayed in the touch
screen)
2. Keypad (for numeric data entry)
3. Feature Buttons (to start and stop copier/printer functions, get
help, change the display language, and the Access button
which will be used to access the administrator Tools menu)
1. System Message Area (3 Lines of information)
2. Tool Bar Area (to change how your copy job is built and
output)
3. Programming Area (to select specific copy job features)
TOUCH SCREEN
1
3
2
PATHWAY, KEYPAD and FEATURE BUTTONS
1
2 3
 Loading...