

Page 1
7+('2&80(17&203$1<
DC230LP Windows NT® 4.0 TCP/IP Quick Install
Installati on Requirem ents:
To install the DC230LP in a DHCP environment,
exclude the addresses assigned to the
DC230LP at the DHCP server.
Before Installation:
Record the following information for use during
setup at the DC230LP:
TCP/IP Address:________________________
Gateway Address: _________________ ___ __
Subnet Mask: __________________________
Broadcast Address: _____________________
Host Name:____________________________
This installation procedure assumes that you
know how to navigate through the menu system
on the DC230LP Control Panel. Refer to the
quick reference card,
(701P96834) for assistance.
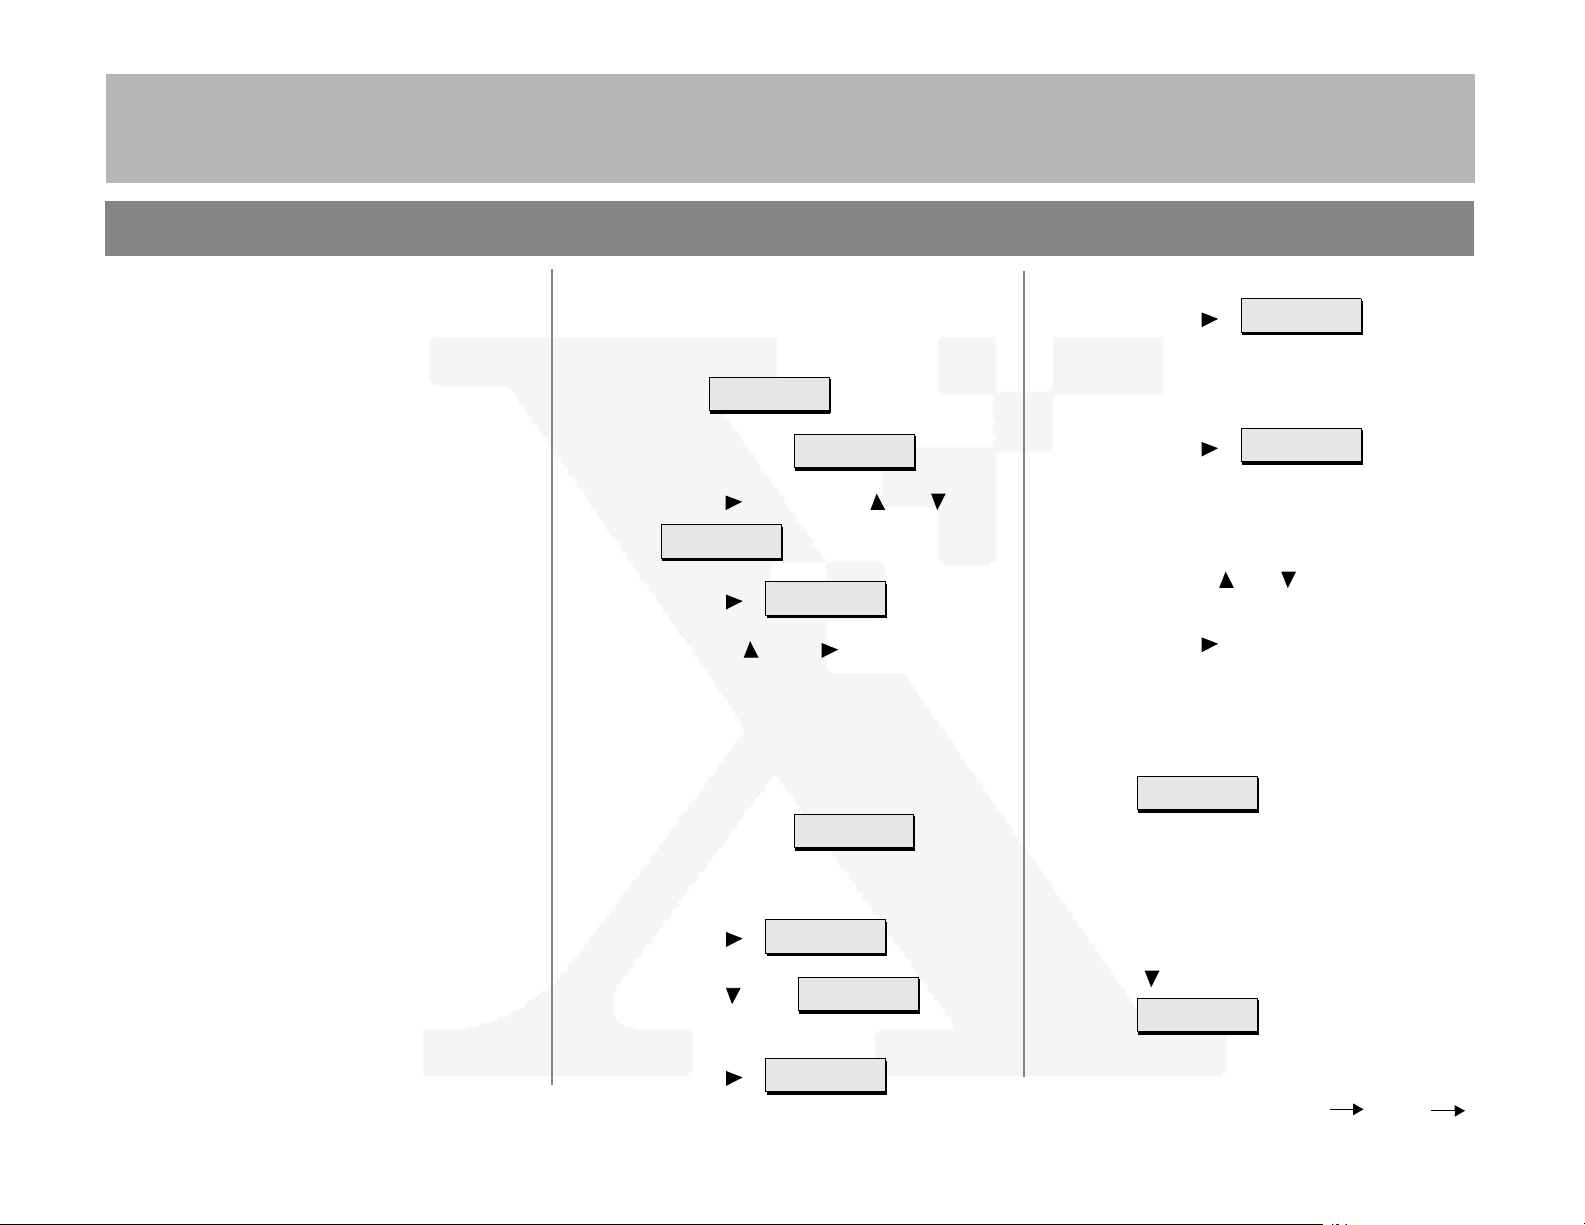
Using the Menu System,
1. Connect the DC230LP to your network
outlet or cable.
2. Access the System Administration menus:
a)
Press [Online] to take the printer off
Printer Off Line
line. displays.
b)
Press [Menu]. displ ays.
c)
Press [], then press [] or [] until
System
Administration
d)
Press []. displays.
e)
Use the [] and [] keys to enter
[2222].
Note: 2222 is the factory default password and
may be changed to suit your needs. Refer to the
DC230LP System Administration Guide,
Network Installation and Troubleshooting
f)
Press [Enter]. displays.
Main Menu
>
displays.
Enter Password
System Admin
>
>
.
>
3. Access the TCP/IP menus:
a)
Press []. displays.
b)
Press [] until
displays.
Port Setup
Network Setup
>
>
d)
Press []. displays.
IP Address
(current entry)
>
4. IP Address Setup (skip this step if using
RARP):
a)
Press []. displays.
Note: Use zeros to supplement each address
segment if fewer than 3 digits are used; e.g.,
13.252.25.08 = 013.252.025.008.
b)
Use the [] or [] key to enter the
first digit of the IP Address.
c)
Press [] to move to the next digit.
Repeat this procedure to enter the
entire IP Address.
d)
Press [Enter]. **SAVED** disp lays
momentarily, followed by
IP Address
(your entry)
IP Address =
(current entry) *
>
.
5. RARP Setup:
Note: If you used a static IP Address, leave the
RARP setting at
a)
To change the RARP setting, press
[] until the current setting displays
Disabled
RARP
(current entry)
.
>
.
c)
Press []. displays.
For assistance, contact your local Xerox Customer Support Center:
USA: 1-800-821-2797 Canada: 1-800-939-3769
TCP/IP
Page 1 of 4
>
Over
Page 2
7+('2&80(17&203$1<
RARP =
(current entry) *
RARP =
(required entry)
RARP
(your entry)
>
Default Gateway
(current entry)
>
Default Gateway =
(current entry)
DC230LP Windows NT® 4.0 TCP/IP Quick Install
b)
Press []. displays.
c)
Press [] until the required setting
displays .
d)
Press [Enter]. **SAVED** displays
momentarily, followed by
.
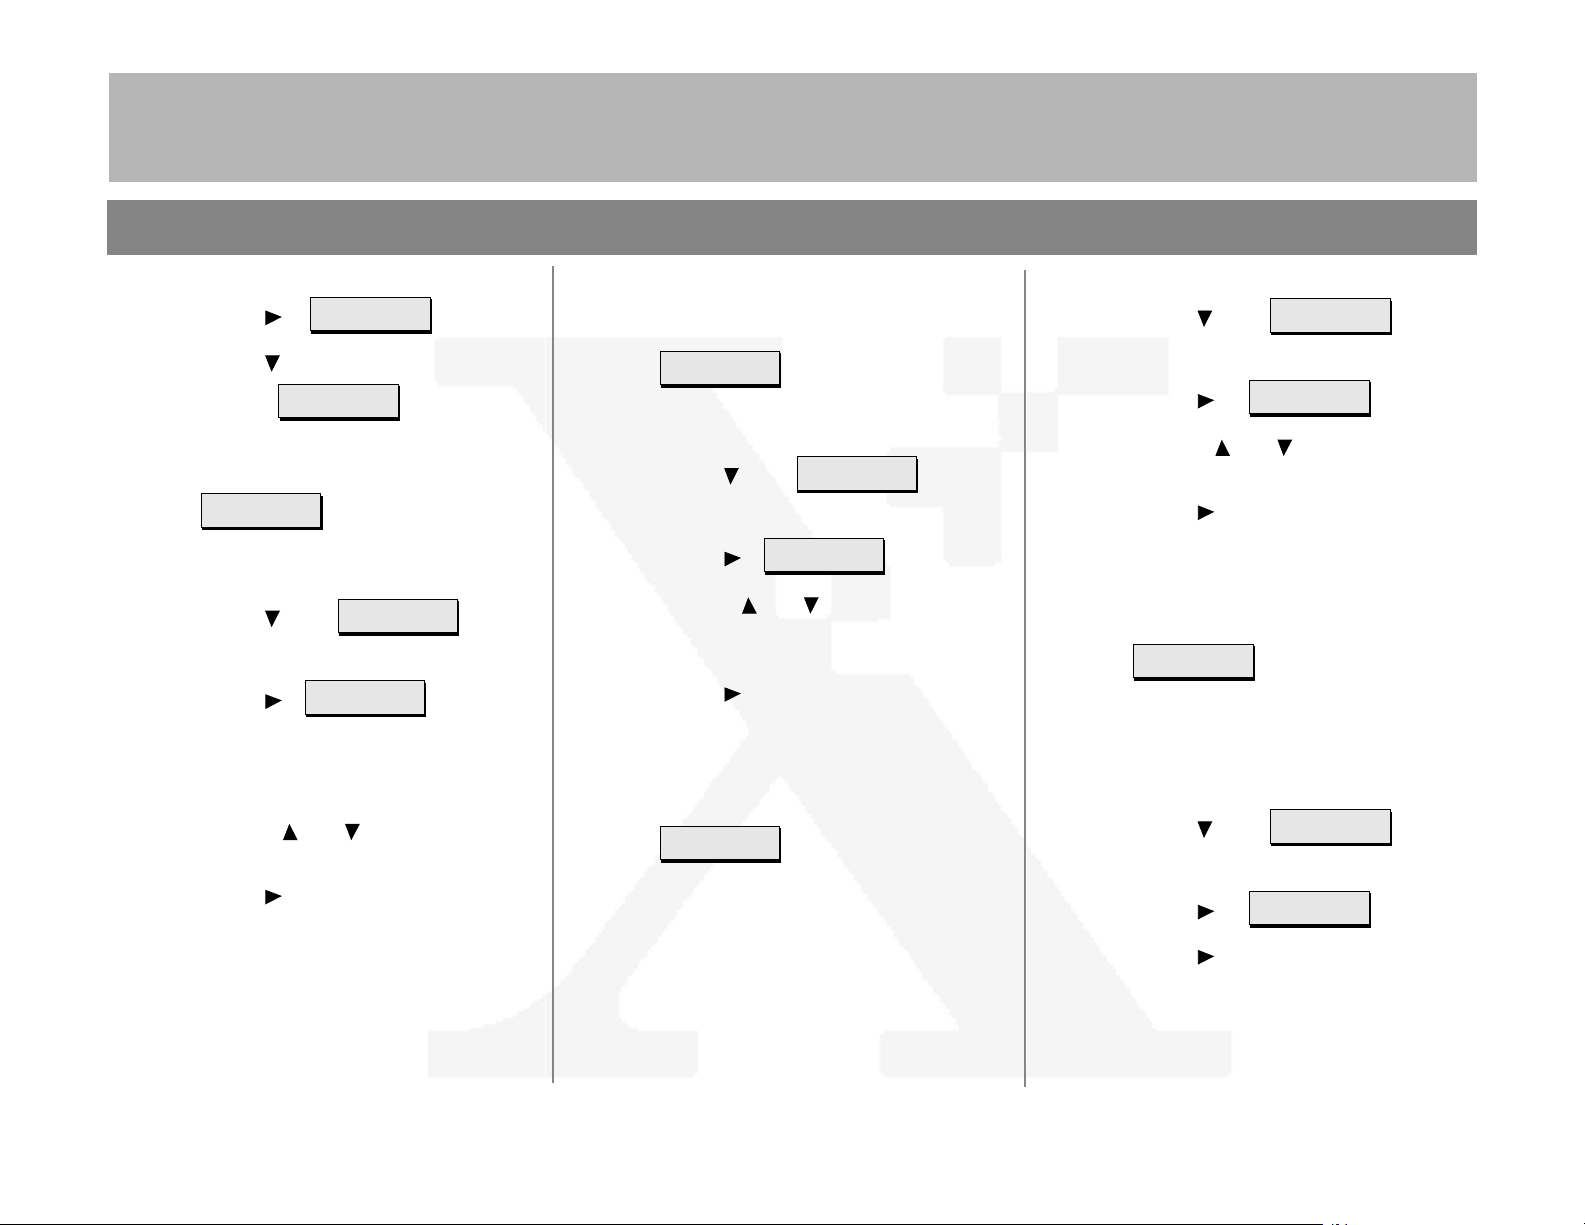
6. Enter the Gateway Address:
a)
Press [] until
displays.
b)
Press []. displays.
Note: Use zeros to supplement each address
segment if fewer than 3 digits are used; e.g.,
13.252.25.08 = 013.252.025.008.
c)
Use the [] or [] key to select the
first digit in the Gateway Address.
e)
Press [Enter]. **SAVED** displays
momentarily, followed by
Default Gateway
(your entry)
>
.
7. Enter the Subnet Mask:
a)
Press [] until
displays.
b)
Press []. displays.
c)
Use the [] or [] key to select the
first digit of the Subnet Mask for your
network.
d)
Press [] to move to the next digit.
Repeat this procedure to enter the
entire Subnet Mask.
e)
Press [Enter]. **SAVED** displays
momentarily, followed by
Subnet Mask
(your entry)
Subnet Mask
(current entry)
Subnet Mask =
(current entry)
>
.
a)
Press [] until
Broadcast Addr
(current entry)
>
displays.
b)
Press []. displays.
c)
>
Use the [] or [] key to select the
first digit in the Broadcast Address.
d)
Press [] to move to the next digit.
Broadcast Addr =
(current entry)
Repeat procedure to enter the entire
Broadcast Address.
e)
Press [Enter]. **SAVED** displays
momentarily, followed by
Broadcast Addr
(your entry)
>
.
9. Enter the Printer (Host) Name:
Note: It is recommended that the Printer (Host)
Name be the same as your Share Name.
a)
Press [] until
Printer Name
(current entry)
displays.
>
d)
Press [] to move to the next digit.
Repeat this procedure to enter the
entire Gateway Address.
8. Enter the Broadcast Address:
Note: Broadcast Address is where all the host
bits are set to either zeros (0) or ones (1).
b)
Press []. displays.
c)
Press [] repeatedly until the cursor
Printer Name =
(current entry)
reaches the last character. A tone
sounds indicating when the last
character has been reached.
Page 2 of 4
Page 3
DC230LP Windows NT® 4.0 TCP/IP Quick Install
Printer Name
(your entry)
>
TCP/IP
-
>
Line Printer
Daemon
>
Enablement
(current entry)
>
Enablement =
(current entry)
*
Enablement =
Enabled
d)
Press [] repeatedly to delete the
current entry.
e)
Use the [] or [] key to select the
first character in the Printer Name.
f)
Press [] to move to the next charac-
ter. Repeat this procedure to enter the
entire Printer Name.
g)
Press [Enter]. **SAVED** displays
momentarily, followed by
.
10.Enable the Line Printer Daemon (LPD):
a)
Press [Escape] to move back a level
in the menu system.
displays.
b)
Press [] until
displays.
7+('2&80(17&203$1<
f)
Press [Enter]. **SAVED** displays
momentarily, followed by
Enablement
Enabled
Note: The next menu at this level,
has a fixed setting for the LPD (515) and can not
be changed.
>
.
Port Setting
11. Save all settings:
a)
Press [Online].
displays.
b)
Press [Enter].
displays. The DC230LP will reboot,
save the settings entered, and print a
Configuration Report in approximately
3 minutes.
Reset Required
Press ENTER key
Warming Up
Please Wait . . .
>
12.Check the settings on the Configuration
Report against those entered to be sure
they are correct.
13.At the client, install print drivers and map
the printer in the usual manner. Refer to
the CentreWare
,
with Print and Fax Services
information.
®
manual,
Getting Started
, for additional
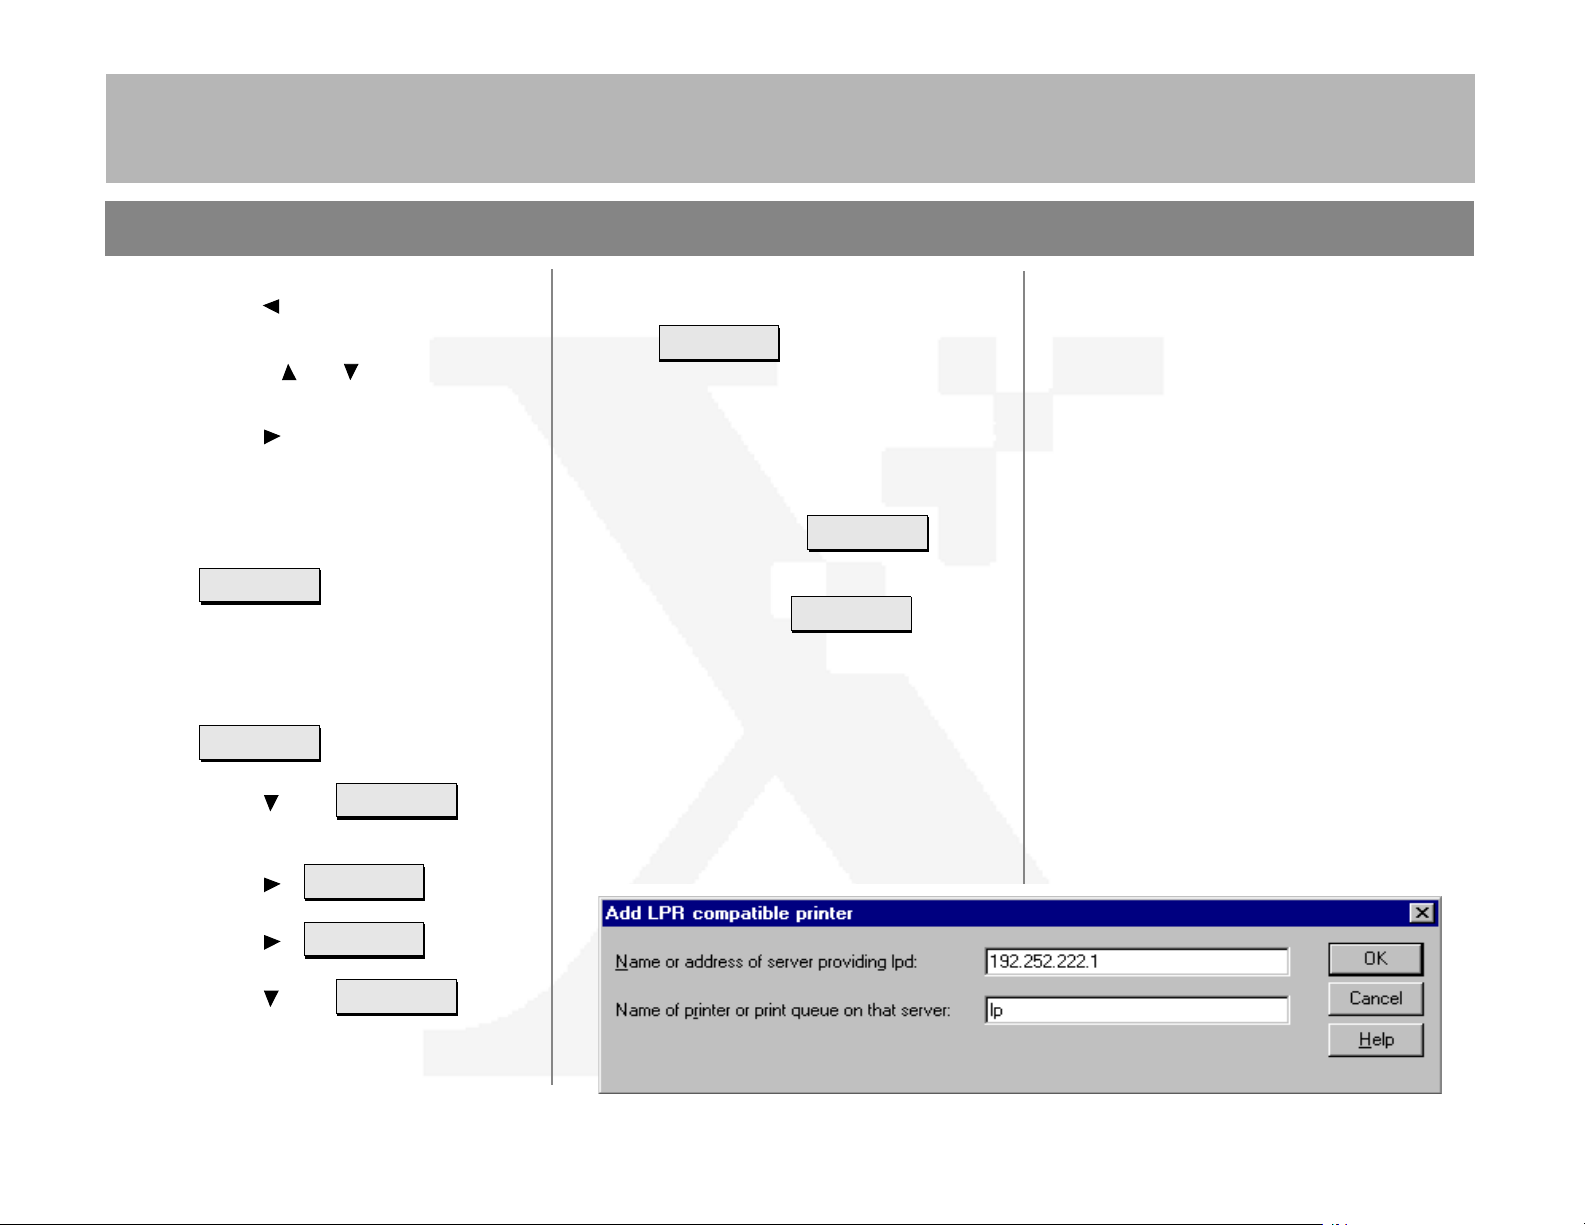
14.TCP/IP protocol and TCP/IP print services
must be installed on the NT Server and the
printer name must be set to [lp] (lower
case) when configuring the LPR port.
Refer to the screen sample below.
Additional information on the Windows NT
TCP/IP setup can be found in the
System Administration Guide, Network Installation and Troubleshoot ing
.
DC230LP
c)
Press []. displays.
d)
Press []. displays.
e)
Press [] until
displays.
Page 3 of 4
Page 4

7+('2&80(17&203$1<
DC230LP Windows NT® 4.0 TCP/IP Quick Install
Page 4 of 4
©1998 Xerox Corporation
701P98454 Version 1.0, 5-98
 Loading...