


Blue
Jeans
‘
Machine
WHITE
BEWINQ
MACHINE
CONTENTS
1. |
NAMES OF PARTS |
2 |
2. |
ACCESSORIES |
3 |
3. |
BEFORE SEWING |
4 |
|
Detaching Extension Table |
4 |
|
Connecting Foot Controller and Power Cord |
5 |
|
Changing Needle |
6 |
|
Changing Foot |
7 |
|
Bobbin Winding |
8 |
|
Inserting Bobbin |
11 |
|
Adjusting Lower Tension |
12 |
|
Drop Feed Lever |
12 |
|
Threading Upper Thread |
13 |
|
Twin Needle Threading |
14 |
|
Decorative Tucks or Designs |
14 |
|
Drawing Up Lower Thread |
15 |
|
Foot Pressure |
15 |
|
Fabric, Thread and Needle Table |
16 |
|
Pattern Setting |
17 |
4. |
STRAIGHT SEWING |
18 |
|
Pattern Selection Dial |
18 |
|
Stitch Length Dial |
18 |
|
Starting to Sew |
19 |
|
Double Presser Foot Lifter |
19 |
|
Cloth Guide |
20 |
|
Adjusting Thread Tension |
20 |
|
Applications of Straight Stitch |
21 |
5. |
ZIGZAG SEWING |
22 |
|
Zigzag Width Control |
22 |
|
Thread Tension for Zigzag Stitch |
22 |
6. |
MAKING BUTTONHOLES |
23 |
|
Determine Length |
23 |
|
Determine Width |
23 |
|
Buttonhole Density Adjustment |
25 |
|
Cutting Buttonholes |
26 |
7. |
SEWING ON BUTTONS |
27 |
8. |
OVERCASTING |
28 |
9. |
OVERLOCKING |
29 |
|
Application of Rick-Rack |
31 |
|
Application of Decorative Fun Patterns |
32 |
10. |
STRAIGHT STRETCH STITCH |
30 |
|
Adjusting Stretch Stitch Balance |
30 |
11. |
BLIND HEM STITCH |
33 |
|
Elastic Blind Hem Stitch |
34 |
12. |
STRETCH SEAM |
35 |
13. |
ZIPPER SEWING |
36 |
14. |
SHELL STITCHING |
38 |
15. |
PIN TUCKING |
|
16. |
QUILTING |
39 |
17. |
MENDING |
40 |
|
Patching |
40 |
|
40 |
|
|
Mending a Rip |
|
18. |
DARNING |
41 |
19. |
APPLIQUE WORK |
42 |
20. |
MAINTENANCE |
44 |
|
Cleaning |
44 |
|
Oiling |
|
21. |
TROUBLE CHART |
47 |
|
Changing Light Bulb |
0 |
CD |
|
M |
N) |
N) |
N) |
|
0) |
01 |
|
c.) |
N) |
C..) N)-. 0 |
* |
|
|
|
|
|
|
|
|
|
|
I
1. NAMES OF PARTS
1.Thread guide for bobbin winding
2.Foot pressure regulator
3.Upper thread tension dial
4.Face cover
5.Thread guide for upper threading
6.Presser foot thumb screw
7.Presser foot
8.Shuttle cover
9.Top cover
10.Bobbin winding spindle
11.Screw hole for extra spool pin
12.Zigzag width control
13.Special buttonhole adjustment
14.Stitch length dial
15.Reverse sewing lever
16.Pattern selection dial
17.Free arm
18.Drop feed lever
19.Handwheel
20.Stop motion knob
21.Socket
22.Handle
23.Presser foot lifter
24.Feed dog
25.Needle plate
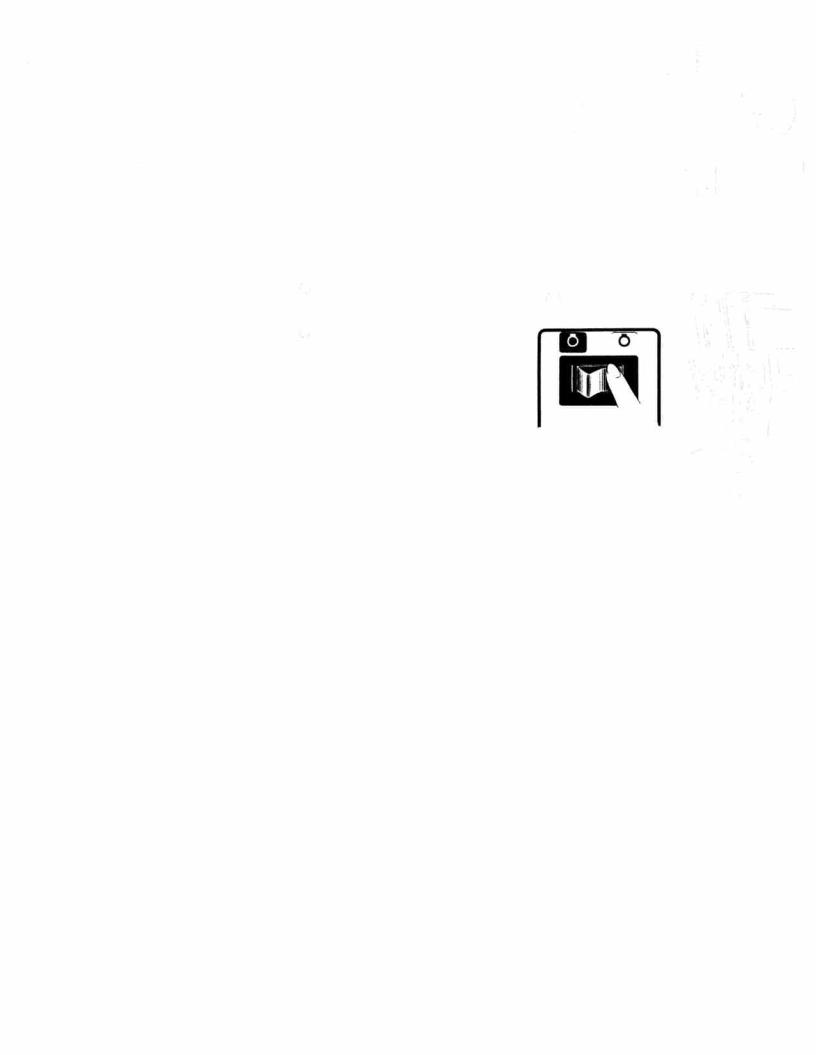
26.Switch *
*Specifications vary from country to country.
—2—
2. ACCESSORIES
,—
Felts (2 pcs.)
c
Buttonhole foot
Button sewing foot
N
‘J (
Zipper foot
Darning foot
(
Quilting guide
Cloth guide
Buttonhole cutter
—3—
Bobbins (3
Needles
Ordinary needles (3 pcs.)
Bail point needle (1 pc.)
Twin needle (1 pc.)
Extra spool pin (For twin needle sewing).
Spool cover
Oiler
Screw drivers
(small)
(large)
3.
BEFORE
SEWING
Machine is stored which makes your ordinary sewing.
in flat-bed style work easier for
Detaching
Extension
Table
Slide as a
off, and free-arm
the machine model.
is
used
J
To open top cover of accessory push open, as illustrated.
box,
Do vice-versa of above tach extension table.
steps
to
at
Free-arm is convenient to sew or embroider; trousers, sleeves, cuffs,
T-shirts,
blouses,
etc.
I
—4—

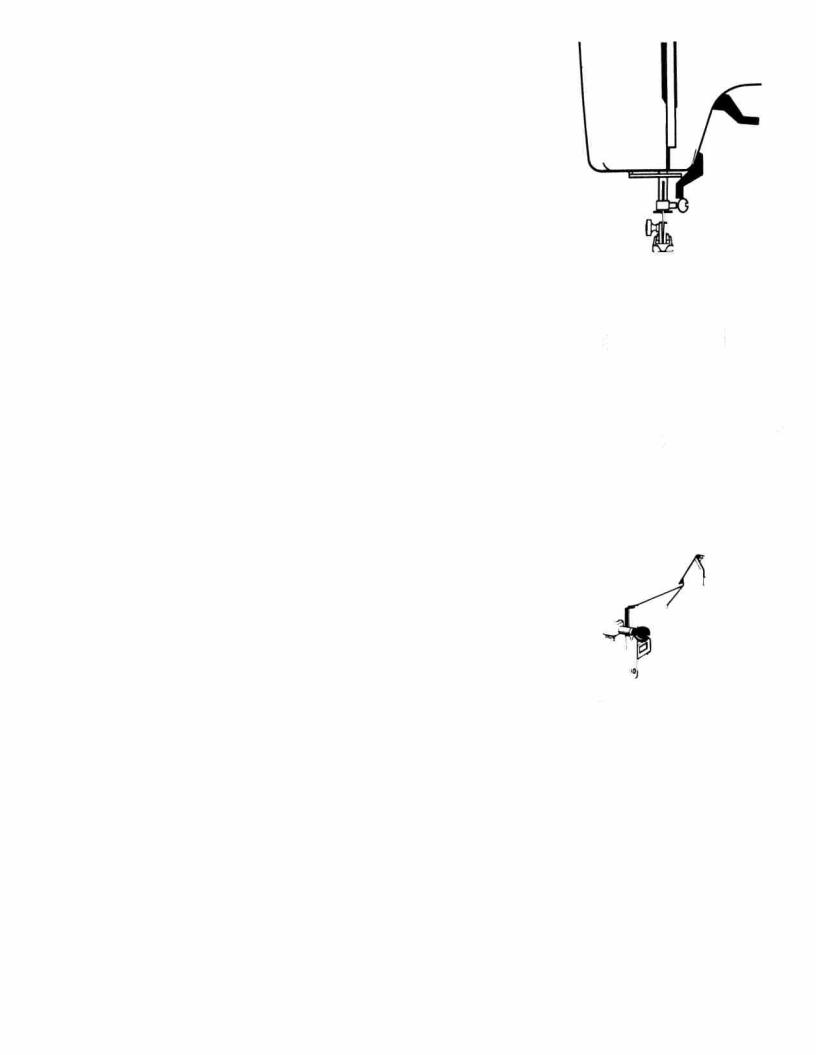
Changing
Foot
Raise
presser
foot
lifter.
Set
needle
in
the
highest
position
by
turning haridwheel towards
you.
(1)
Push
button
of
holder towards
you
and
foot
will
come
off.
(2)
Position
a
new
foot
by
aligning
holding foot.
groove
of
shank
with
pin
of
(3) Lower presser foot lifter so that holder catches presser foot.
Jr
—7—

Push back to fold handle.
Open top cover.
Put a spooi on spool pin. |
|
4 |
|
|
Draw thread from spool pin through |
© |
© |
||
thread guide and pretension device, |
||||
|
|
|||
following numbers |
and, |
|
|
|
Caution:
Spool should be put on spool pin in the manner of its thread being drawn from under side of spool.
Wind thread clockwise around bob bin several times.
Push bobbin onto spindle.
Holding handwheel with your left hand disengage handwheel by unscrewing stop motion knob.
—9—
Push bobbin to right and press down foot controller.
Machine stops automatically when bobbin is full.
Push bobbin to left, to disengage from wheel.
1
Take off bobbin from spindle and cut thread.
Retighten stop motion knob.
If bobbin is wound unevenly as shown, open top cover and use screw driver to adjust the guide for
bobbin winding.
,—
trouble 4c
correction
—10—

r
__j
Adjusting Lower Tension
To test bobbin tension, hang and shake bobbin case as shown.
At proper tension bobbin case will gradually drop a small amount.
To adjust tension, turn adjusting screw with small screwdriver.
Raise needle to highest position.
Leave end of thread of about 10 cm (4”) from bobbin case.
Take hold of latch and push bobbin case into hook.
Release latch when bobbin case is fully inserted.
J
|
Drop Feed Lever |
|
The lever is in the right side of |
|
shuttle cover. For normal sewing, |
|
move the lever to AAA position. |
v: 1/ |
To lower feed dog, move the lever |
to II position. |
|
|
This position is used for button |
|
sewing, darning and embroidery. |
‘—
—12—

 Loading...