

Whirlpool PVWC600LY0, PVWM600JY0, PVWN600JW0, PVWC600JY0, PVWM600LY0 Use & Care Manual
...
Q
PersonalV'aletTM
CLOTHES VITALIZING SYSTEM
How to get the most out of your clothes vitalizing system
For questions about features, operation/performance, parts, accessories or service, call 1-866-MYVALET
or visit our website at www.personalvalet.com
8527278
A NOTE TO YOU ................................................................ 3
CLOTHES VITALIZER SAFETY .......................................... 4
Electrical Requirements ................................................ 6
GETTING TO KNOW YOUR CLOTHES VITALIZER .......... 7
START-UP OVERVIEW ...................................................... 9
FABRICS NOT RECOMMENDED .................................... 10
ACCESSORIES ................................................................ 11
Hanging Accessories .................................................. 11
Tensioning Accessories .............................................. 12
Optional Accessories .................................................. 13
Optional Accessory Kits ............................................ 14
LOADING .......................................................................... 15
Suit Coat & Jacket ...................................................... 16
Pants & Slacks .......................................................... 17
Shirts - Button Up ...................................................... 18
Polo Shirts & Knits - Non-button Up ........................ 19
Blouses - Non-button Up .......................................... 20
Skirts .......................................................................... 21
Dresses or Long Skirts .............................................. 22
Sweaters .................................................................... 23
Shorts ........................................................................ 24
FORMULA ........................................................................ 25
CYCLE SELECTION .......................................................... 27
MAINTENANCE ................................................................ 29
FREQUENTLY ASKED QUESTIONS ................................ 30
TROUBLESHOOTING ...................................................... 32
ASSISTANCE OR SERVICE ............................................ 34
WARRANTY ...................................................................... 35
TABLE OF CONTENTS
2
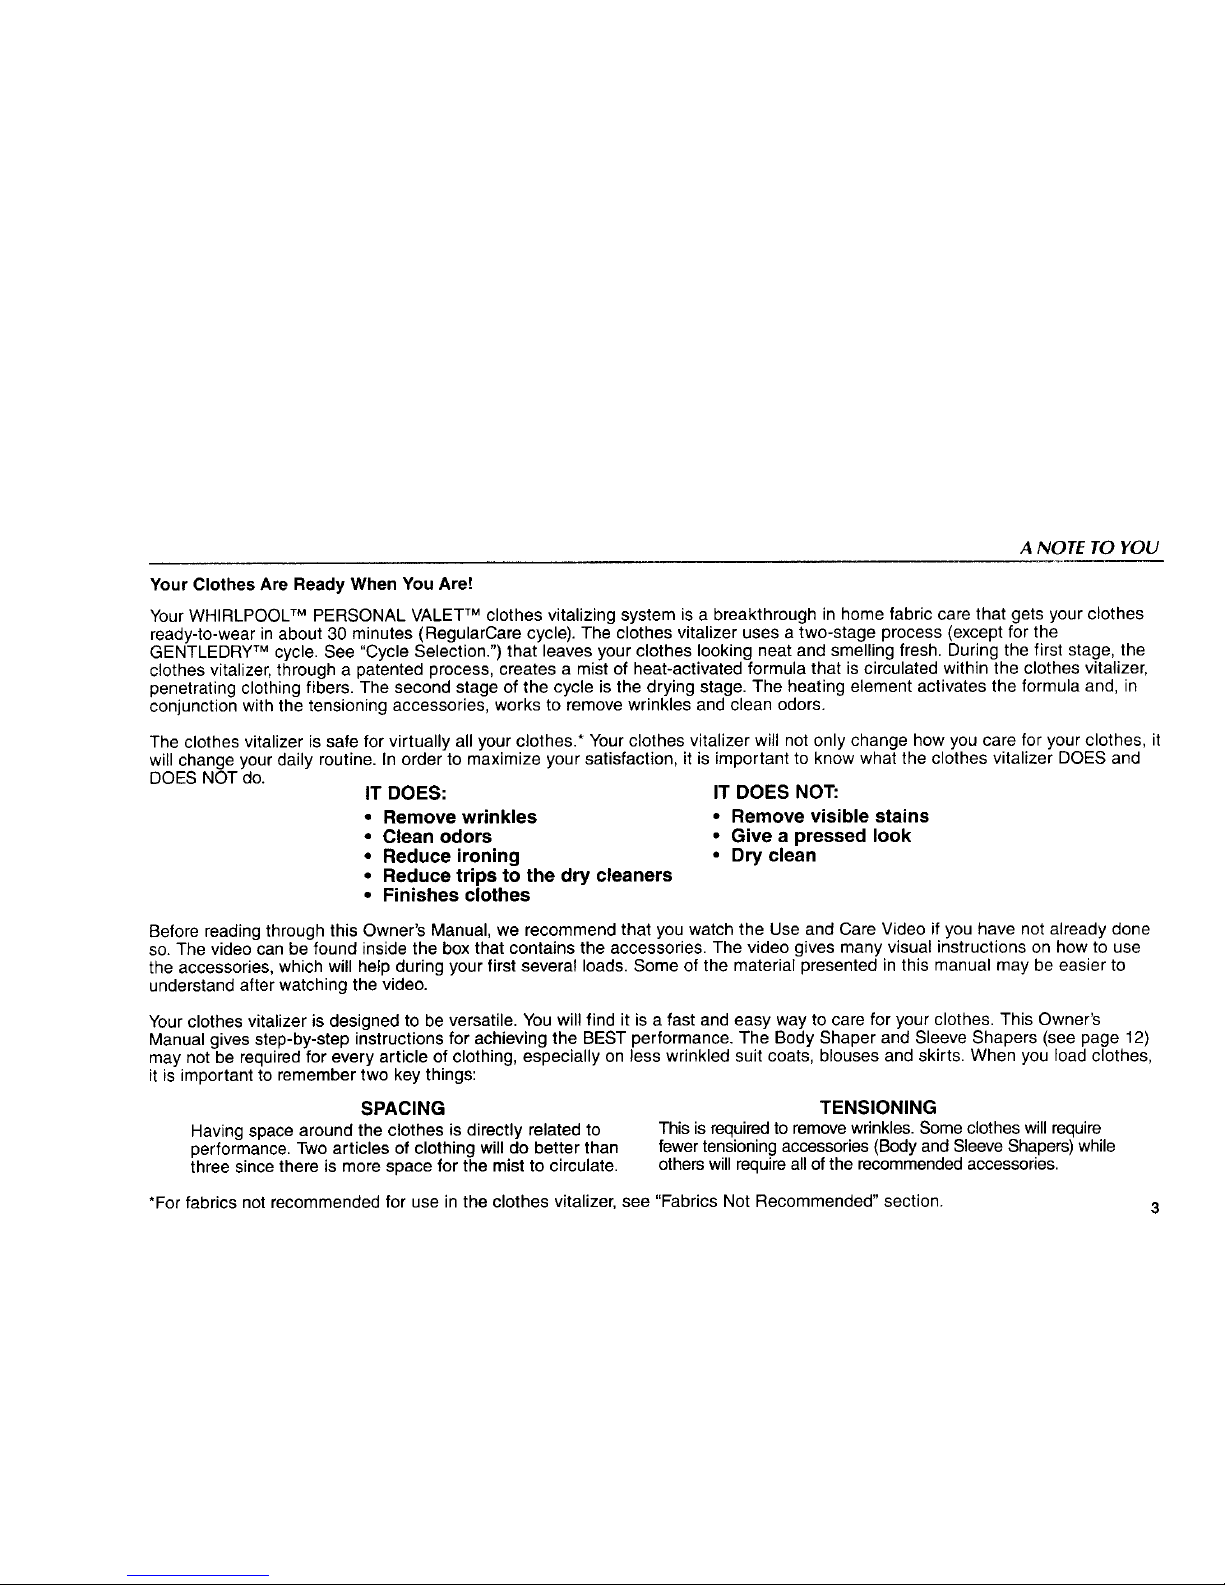
A NOTE TO YOU
Your Clothes Are Ready When You Are!
Your WHIRLPOOL TM PERSONAL VALET TM clothes vitalizing system is a breakthrough in home fabric care that gets your clothes
ready-to-wear in about 30 minutes (RegularCare cycle). The clothes vitalizer uses a two-stage process (except for the
GENTLEDRY TM cycle. See "Cycle Selection.") that leaves your clothes looking neat and smelling fresh. During the first stage, the
clothes vitalizer, through a patented process, creates a mist of heat-activated formula that is circulated within the clothes vitalizer,
penetrating clothing fibers. The second stage of the cycle is the drying stage. The heating element activates the formula and, in
conjunction with the tensioning accessories, works to remove wrinkles and clean odors.
The clothes vitalizer is safe for virtually all your clothes.* Your clothes vitalizer will not only change how you care for your clothes, it
will change your daily routine. In order to maximize your satisfaction, it is important to know what the clothes vitalizer DOES and
DOES NOT do.
IT DOES: IT DOES NOT:
• Remove wrinkles
• Clean odors
• Reduce ironing
• Reduce trips to the dry cleaners
• Finishes clothes
• Remove visible stains
• Give a pressed look
• Dry clean
Before reading through this Owner's Manual, we recommend that you watch the Use and Care Video if you have not already done
so. The video can be found inside the box that contains the accessories. The video gives many visual instructions on how to use
the accessories, which will help during your first several loads. Some of the material presented in this manual may be easier to
understand after watching the video.
Your clothes vitalizer is designed to be versatile. You will find it is a fast and easy way to care for your clothes. This Owner's
Manual gives step-by-step instructions for achieving the BEST performance. The Body Shaper and Sleeve Shapers (see page 12)
may not be required for every article of clothing, especially on less wrinkled suit coats, blouses and skirts. When you load clothes,
it is important to remember two key things:
SPACING
Having space around the clothes is directly related to
performance. Two articles of clothing will do better than
three since there is more space for the mist to circulate.
TENSIONING
This is required to remove wrinkles. Some clothes will require
fewer tensioning accessories (Body and Sleeve Shapers) while
others will require all of the recommended accessories.
*For fabrics not recommended for use in the clothes vitalizer, see "Fabrics Not Recommended" section. 3
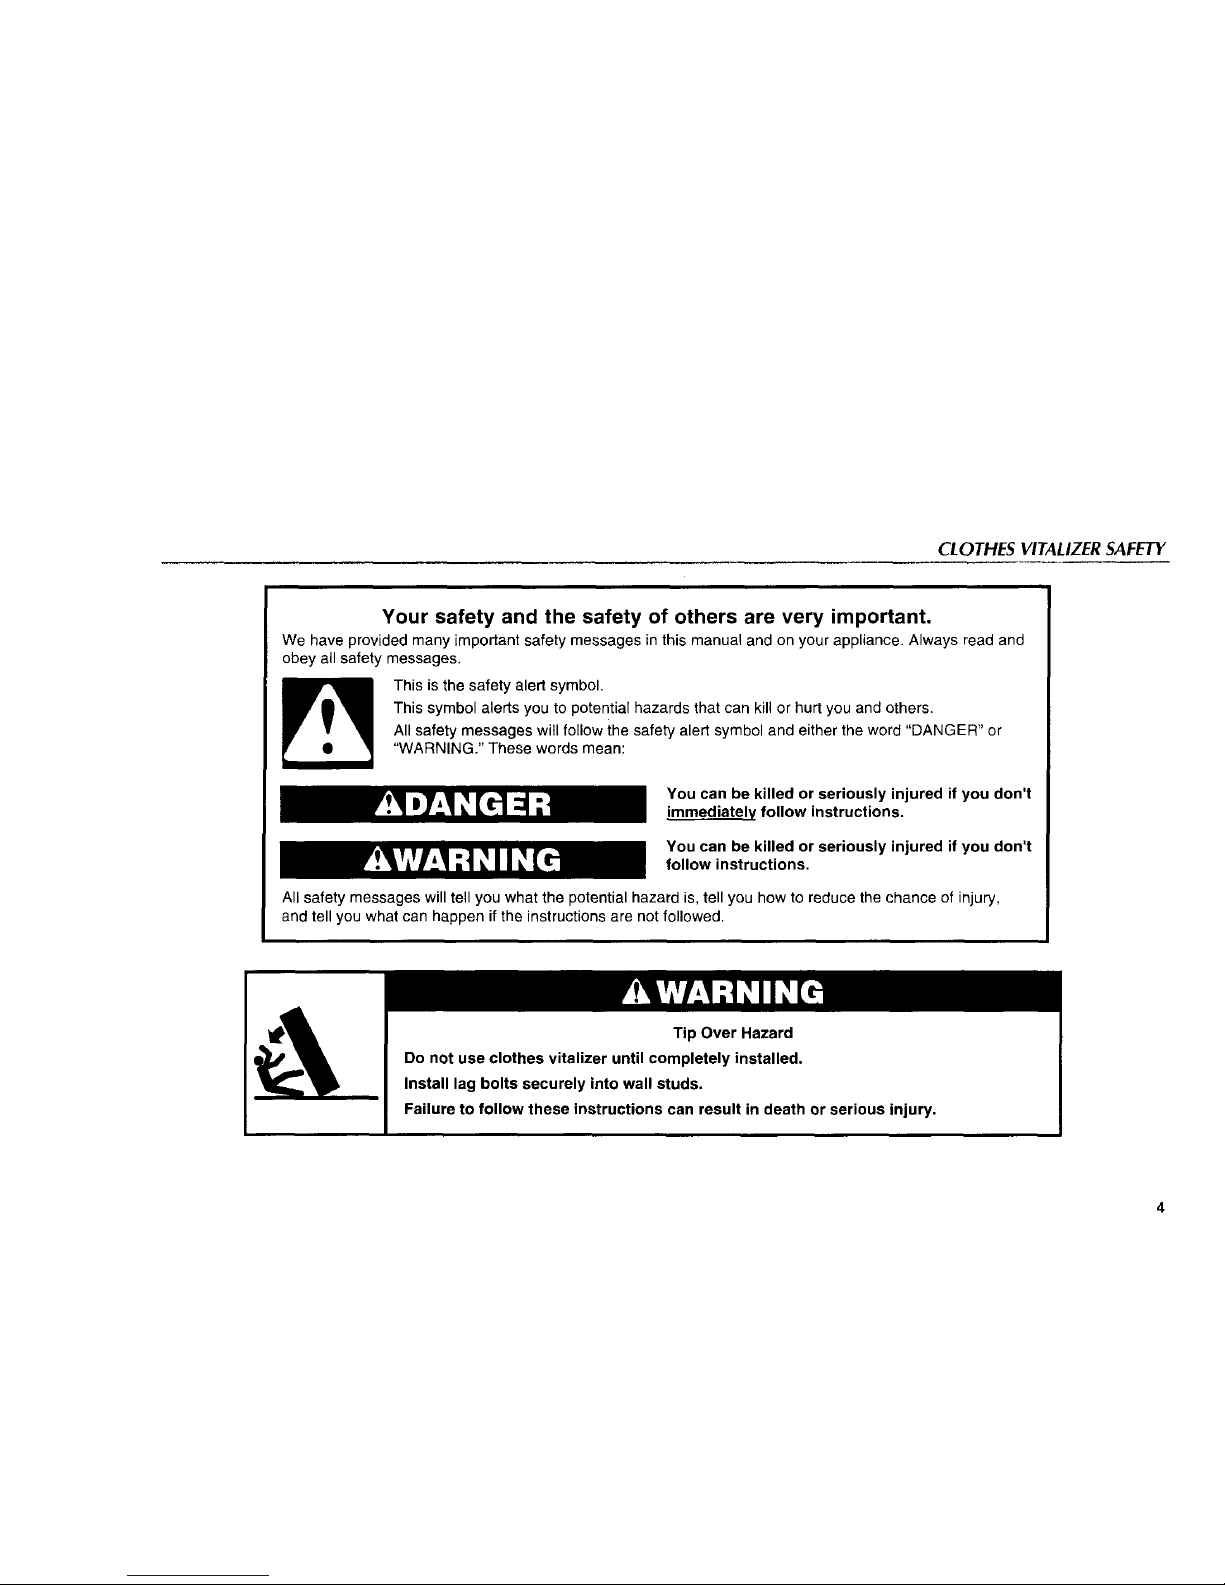
CLOTHES VITALIZER SAFETY
Your safety and the safety of others are very important.
We have provided many important safety messages in this manual and on your appliance. Always read and
obey all safety messages.
This is the safety alert symbol.
This symbol alerts you to potential hazards that can kill or hurt you and others.
All safety messages will follow ihe safety alert symbol and either the word "DANGER" or
"WARNING." These words mean:
You can be killed or seriously injured if you don't
immediateI¥ follow instructions.
You can be killed or seriously injured if you don't
follow instructions,
All safety messages will tell you what the potential hazard is, tell you how to reduce the chance of injury,
and tell you what can happen if the instructions are not followed.
4
CLOTHES VITALIZER SAFETY (cont.)
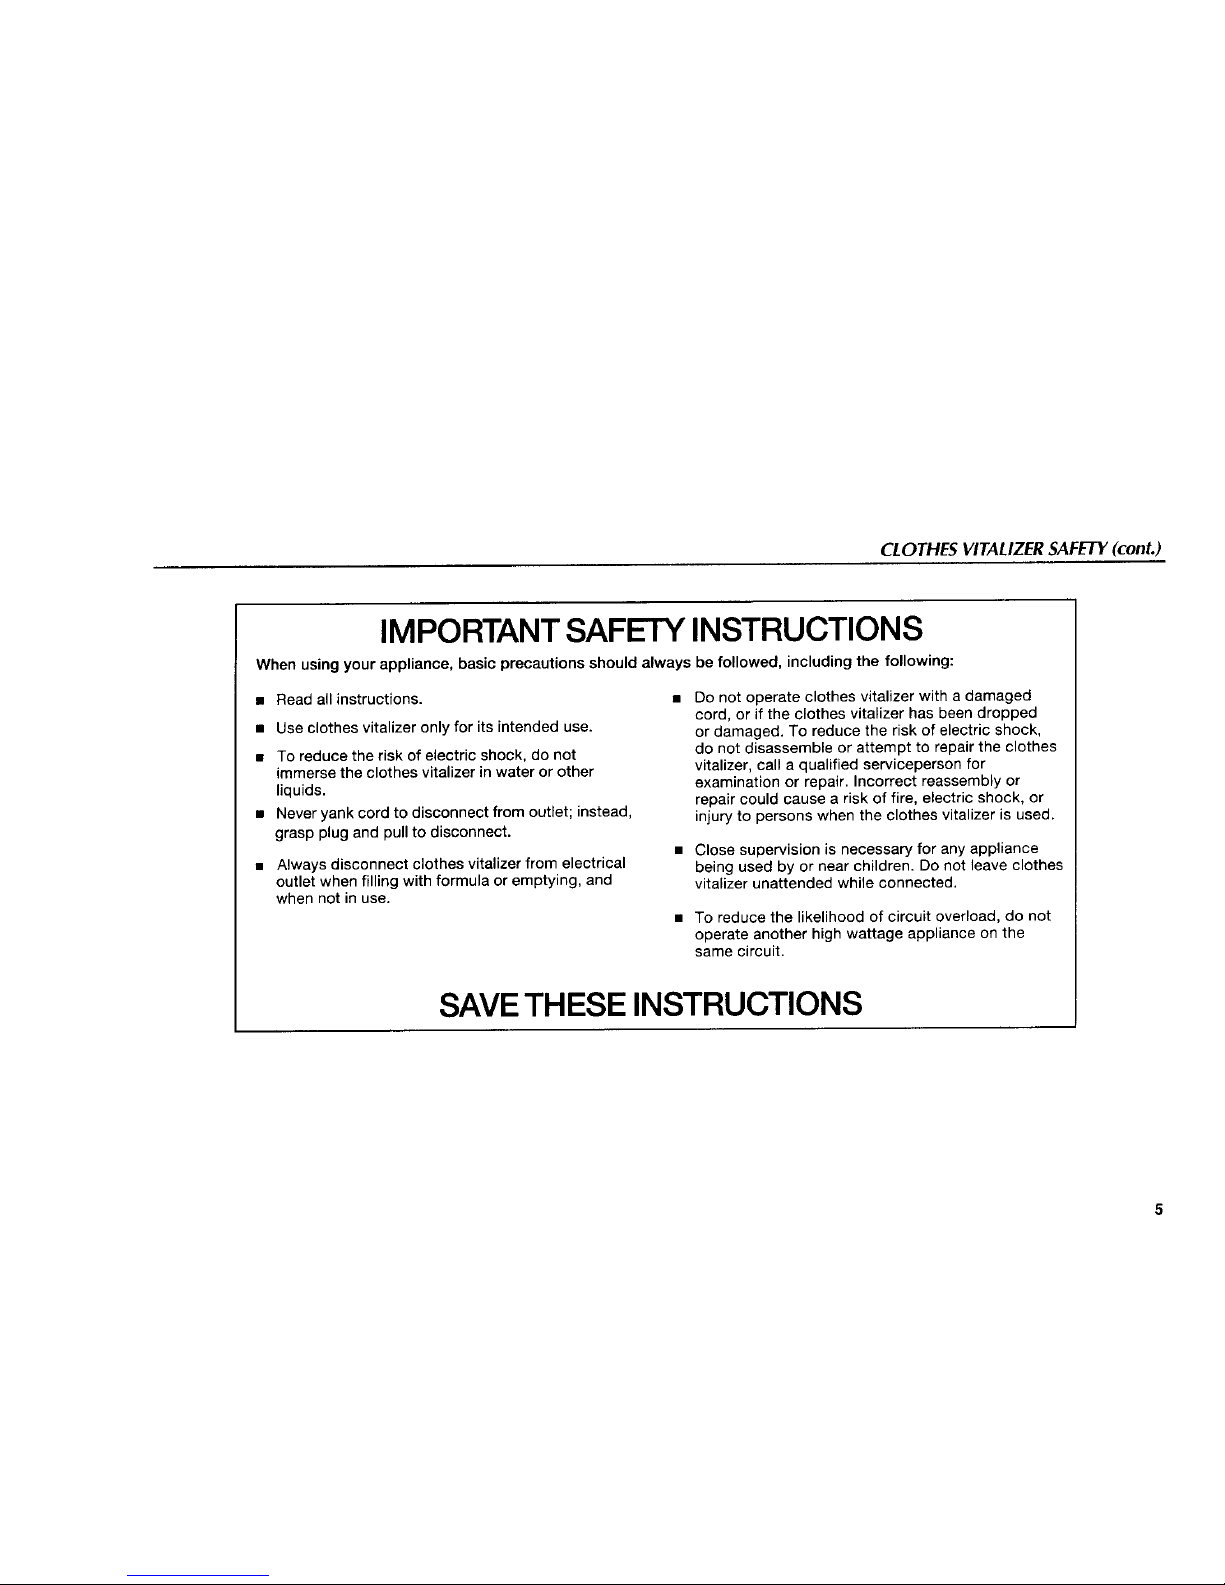
IMPORTANT SAFETY INSTRUCTIONS
When using your appliance, basic precautions should always be followed, including the following:
• Read allinstructions.
• Use clothes vitalizer only for its intended use.
• To reduce the risk of electric shock, do not
immerse the clothes vitalizer in water or other
liquids.
• Never yank cord to disconnect from outlet; instead,
grasp plug and pull to disconnect.
• Always disconnect clothes vitalizer from electrical
outlet when filling with formula or emptying, and
when not in use.
Do not operate clothes vitalizer with a damaged
cord, or if the clothes vitalizer has been dropped
or damaged. To reduce the risk of electric shock,
do not disassemble or attempt to repair the clothes
vitalizer, call a qualified serviceperson for
examination or repair. Incorrect reassembly or
repair could cause a risk of fire, electric shock, or
injury to persons when the clothes vitalizer is used.
• Close supervision is necessary for any appliance
being used by or near children. Do not leave clothes
vitalizer unattended while connected.
• To reduce the likelihood of circuit overload, do not
operate another high wattage appliance on the
same circuit.
SAVE THESE INSTRUCTIONS
5
CLOTHES VITALIZER SAFETY (cont.)
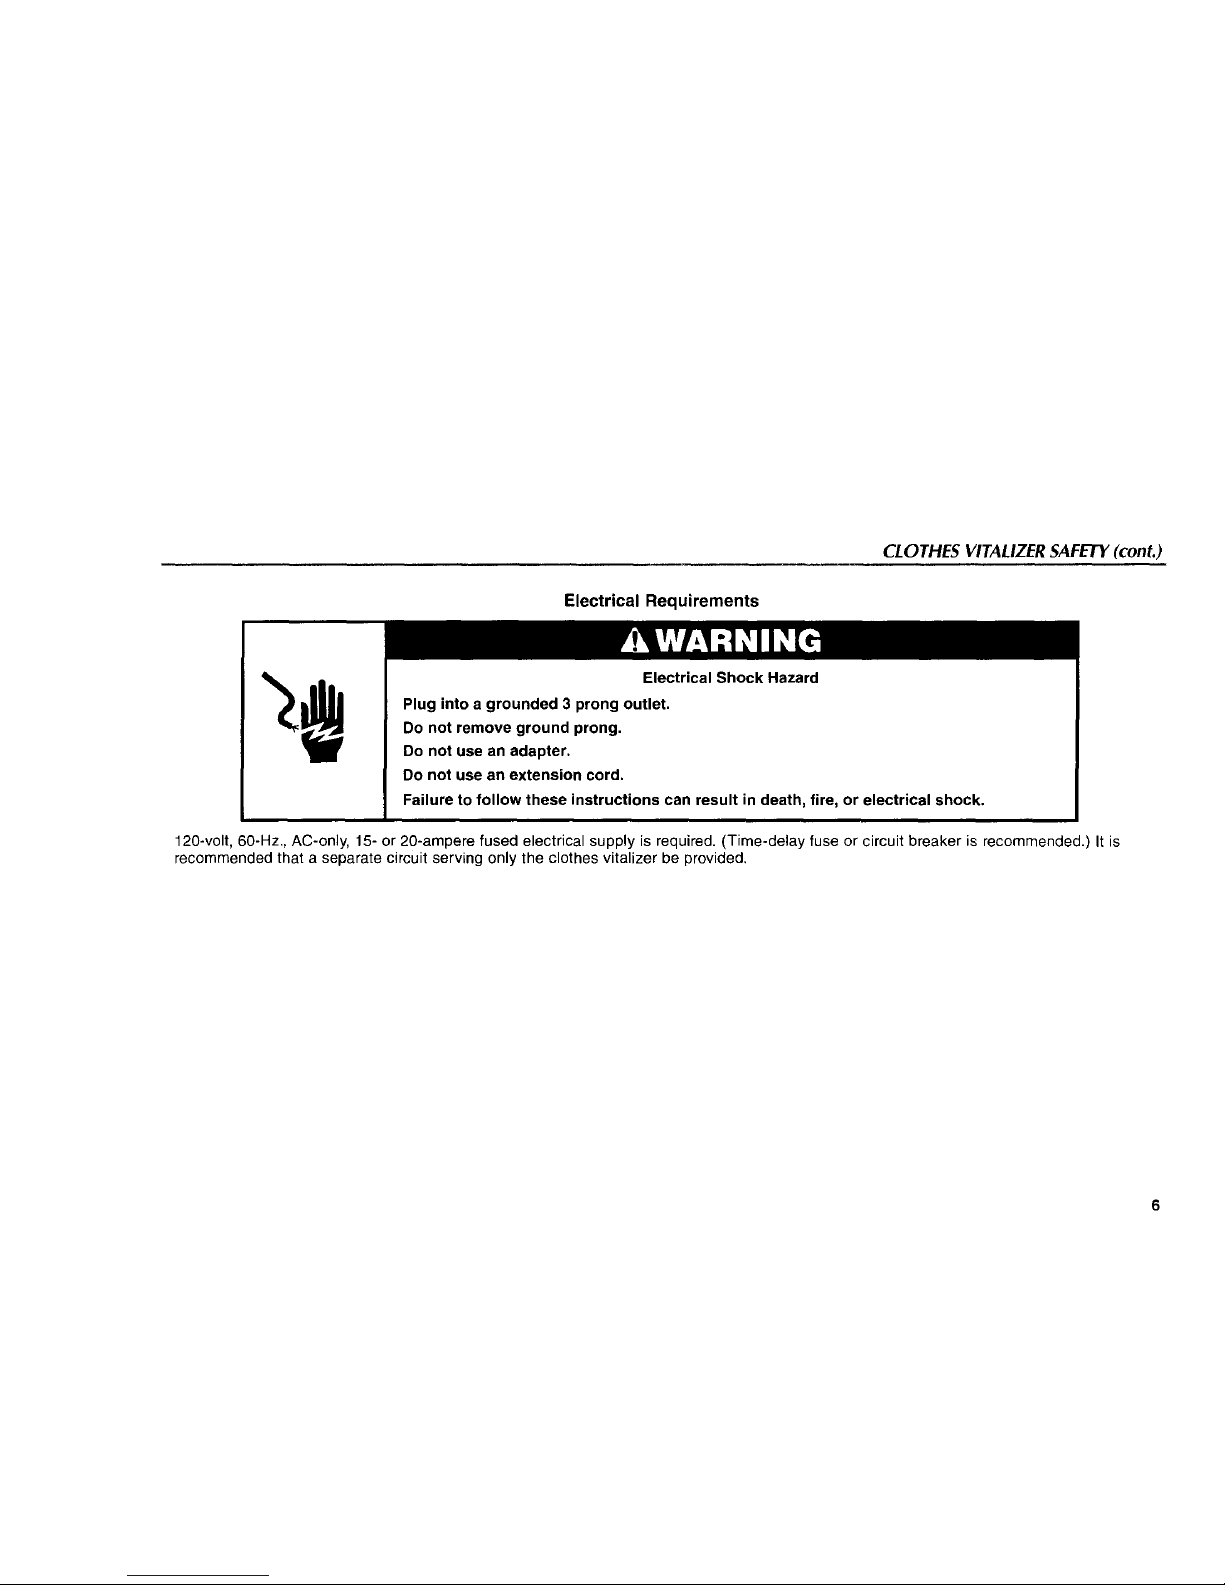
Electrical Requirements
Electrical Shock Hazard
Plug into a grounded 3 prong outlet.
Do not remove ground prong.
Do not use an adapter.
Do not use an extension cord.
Failure to follow these instructions can result in death, fire, or electrical shock.
120-volt, 60-Hz., AC-only, 15- or 20-ampere fused electrical supply is required. (Time-delay fuse or circuit breaker is recommended.) It is
recommended that a separate circuit serving only the clothes vitalizer be provided,
6
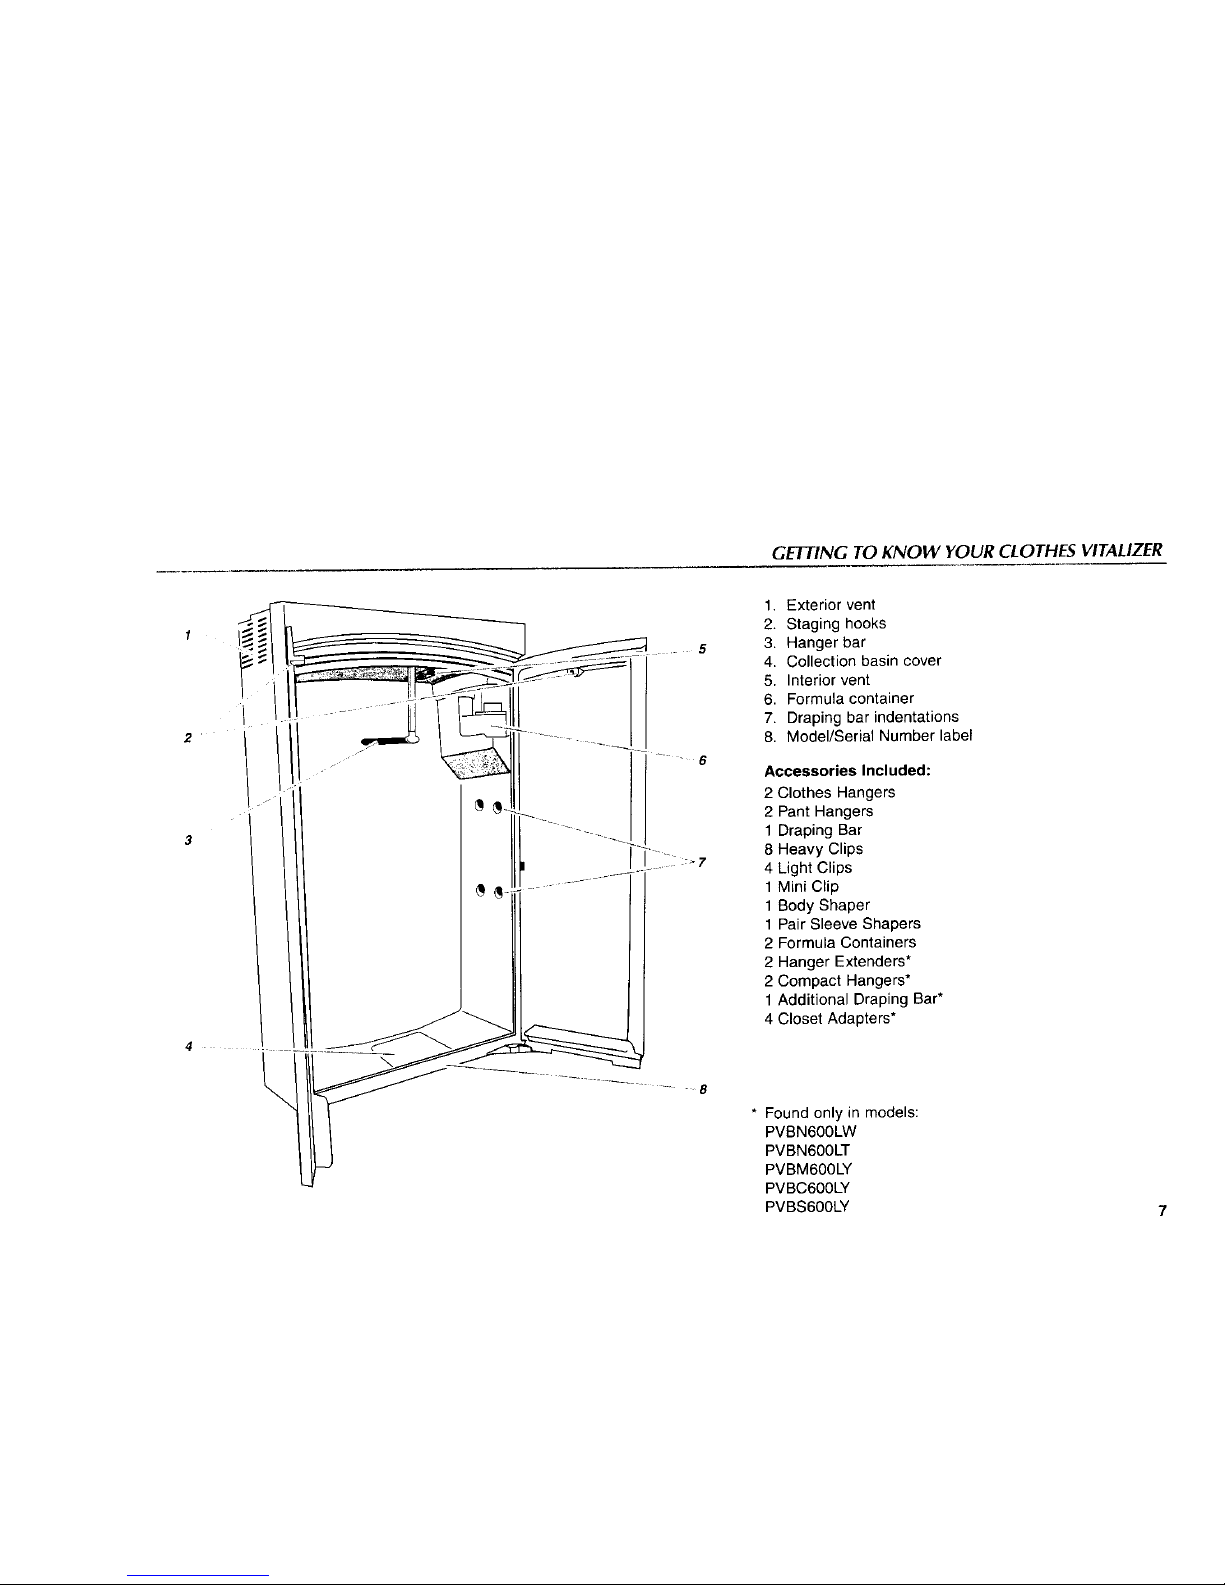
GETTING TO KNOW YOUR CLOTHES VITALIZER
1. Exterior vent
2. Staging hooks
3. Hanger bar
4. Collection basin cover
5. Interior vent
6. Formula container
7. Draping bar indentations
3
.... _ 6
8. Model/Serial Number label
Accessories Included:
2 Clothes Hangers
2 Pant Hangers
1 Draping Bar
8 Heavy Clips
4 Light Clips
1 Mini Clip
1 Body Shaper
1 Pair Sleeve Shapers
2 Formula Containers
2 Hanger Extenders*
2 Compact Hangers*
1 Additional Draping Bar*
4 Closet Adapters*
* Found only in models:
PVBN600LW
PVBN600LT
PVBM600LY
PVBC600LY
PVBS600LY

GETTING TO KNOW YOUR CLOTHES VITALIZER (cont.)
Control Panel
Cycle Selections
I
Lights indicate which
stage the cycle is in
6& Qui©kCare
_1b D_/I% 13mo Remllning
• • • • • • • • • • • • • •
180 1_ _,_ so 45 4o 35 3o 25 _ 15 10 5 Don_
t
Time Remaining lights show
the time left in the cycle
Dry only cycle
GentleDry
t
Selects audible
signal
'• cance_
t
Starts or cancels
a cycle
Formula Container
Nozzle Pack
Formula Label
(Apply before first cycle. See
Formula section.)
_ Nozzle
-- Plastic Tube
Filter
(Change annually)
See Maintenance section for
clearing clogs in nozzles and
changing filters.
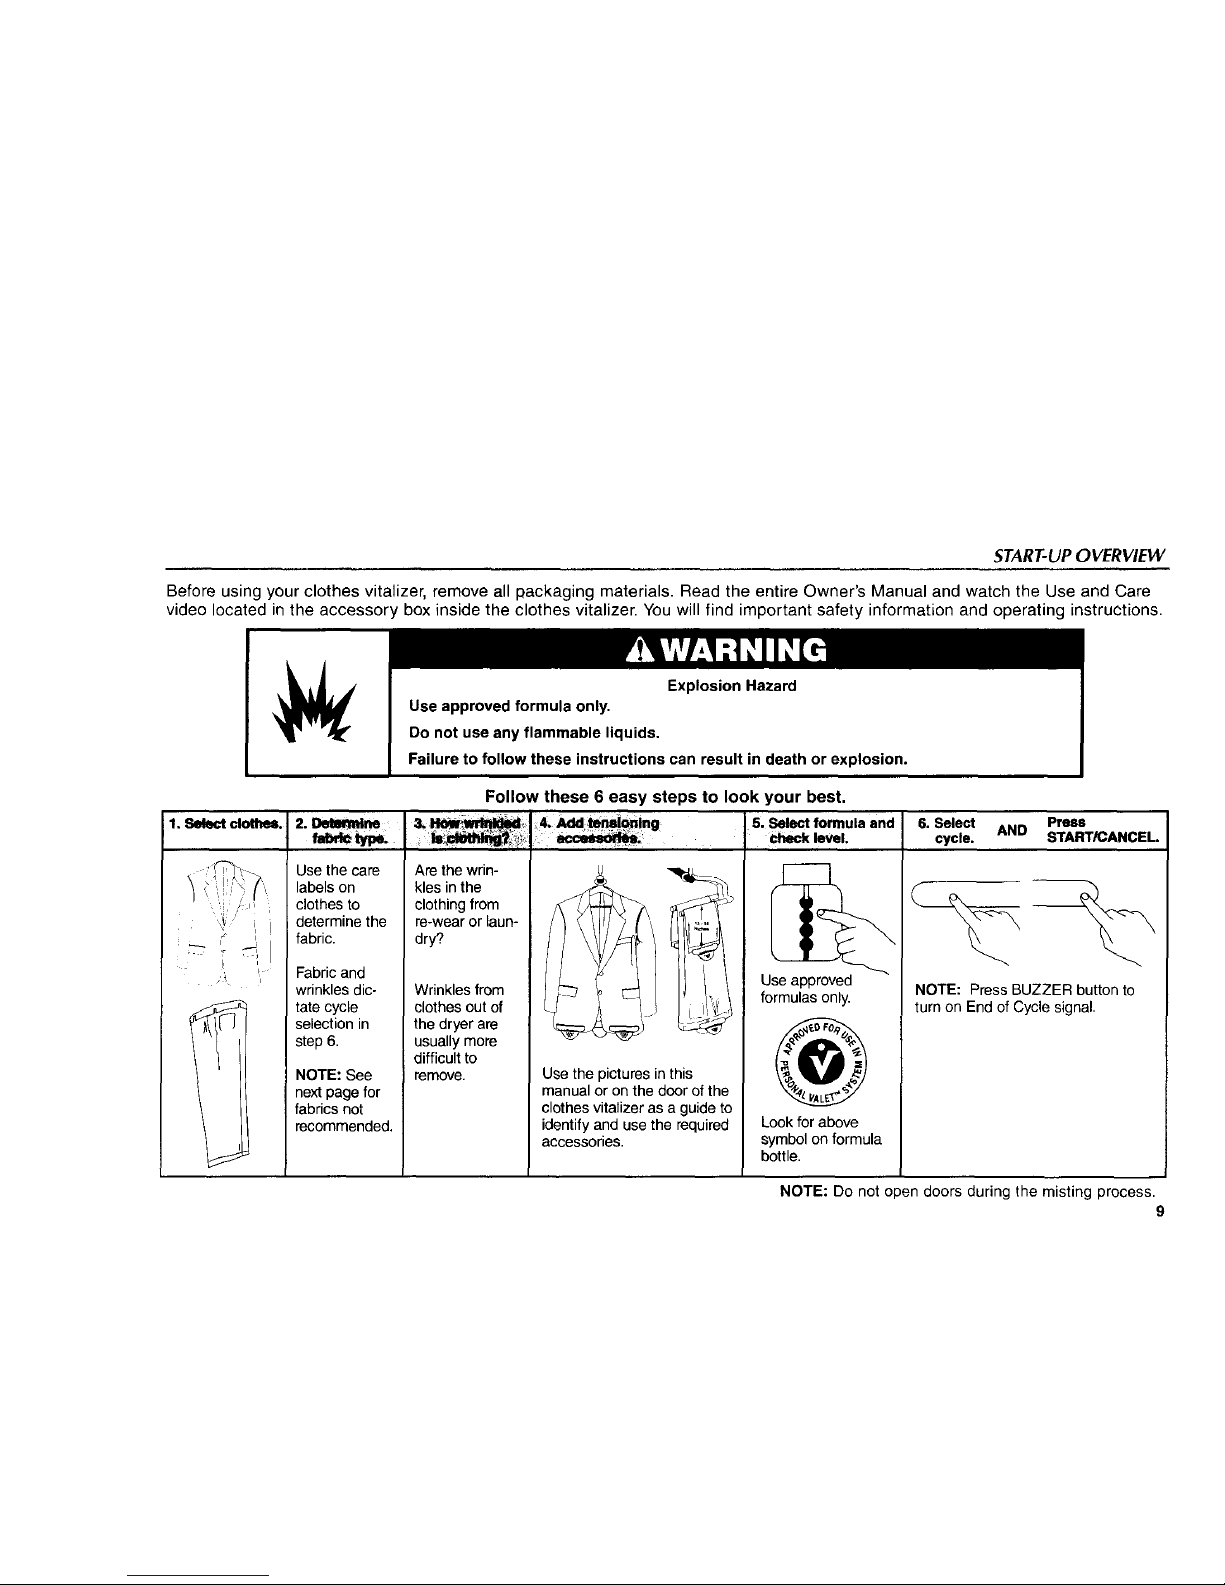
START-UP OVERVIEW
Before using your clothes vitalizer, remove all packaging materials. Read the entire Owner's Manual and watch the Use and Care
video located in the accessory box inside the clothes vitalizer. You will find important safety information and operating instructions.
Explosion Hazard
Use approved formula only,
Do not use any flammable liquids.
Failure to follow these instructions can result in death or explosion.
1. Sek_ doth_.
Use the care
labels on
clothes to
determine the
fabric.
Fabric and
wrinkles dic-
tate cycle
selection in
step 6.
NOTE: See
next page for
fabrics not
recommended.
Follow these 6 easy steps to look your best.
Are the wrin-
kles in the
clothing from
re-wear or laun-
dry?
Wrinkles from
clothes out of
the dryer are
usually more
difficult to
remove. Use the pictures in this
manual or on the door of the
clothes vitalizer as a guide to
identify and use the required
accessories.
5. Select formula and
level.
Use approved
formulas only.
Look for above
symbol on formula
bottle.
6. Select AND Press
cycle. START/CANCEL
NOTE: Press BUZZER button to
turn on End of Cycle signal.
NOTE: Do not open doors during the misting process.
9
START-UP OVERVIEW (cont.)
Stopping Your Clothes Vitalizer
During the misting stage of the cycle:
1. Press the START/CANCEL button to cancel the cycle.
NOTE: De not open the doors while the misting portion of the
cycle is in progress. This reduces performance by allowing the
heat-activated mist to escape from within the clothes vitalizer.
Wait 1 minute before opening doors.
During the drying stage of the cycle:
1. Open the door. This will interrupt the cycle in progress.
2. Close the door. Press START/CANCEL to continue the cycle.
OR
1. Press the START/CANCEL button te cancel the cycle.
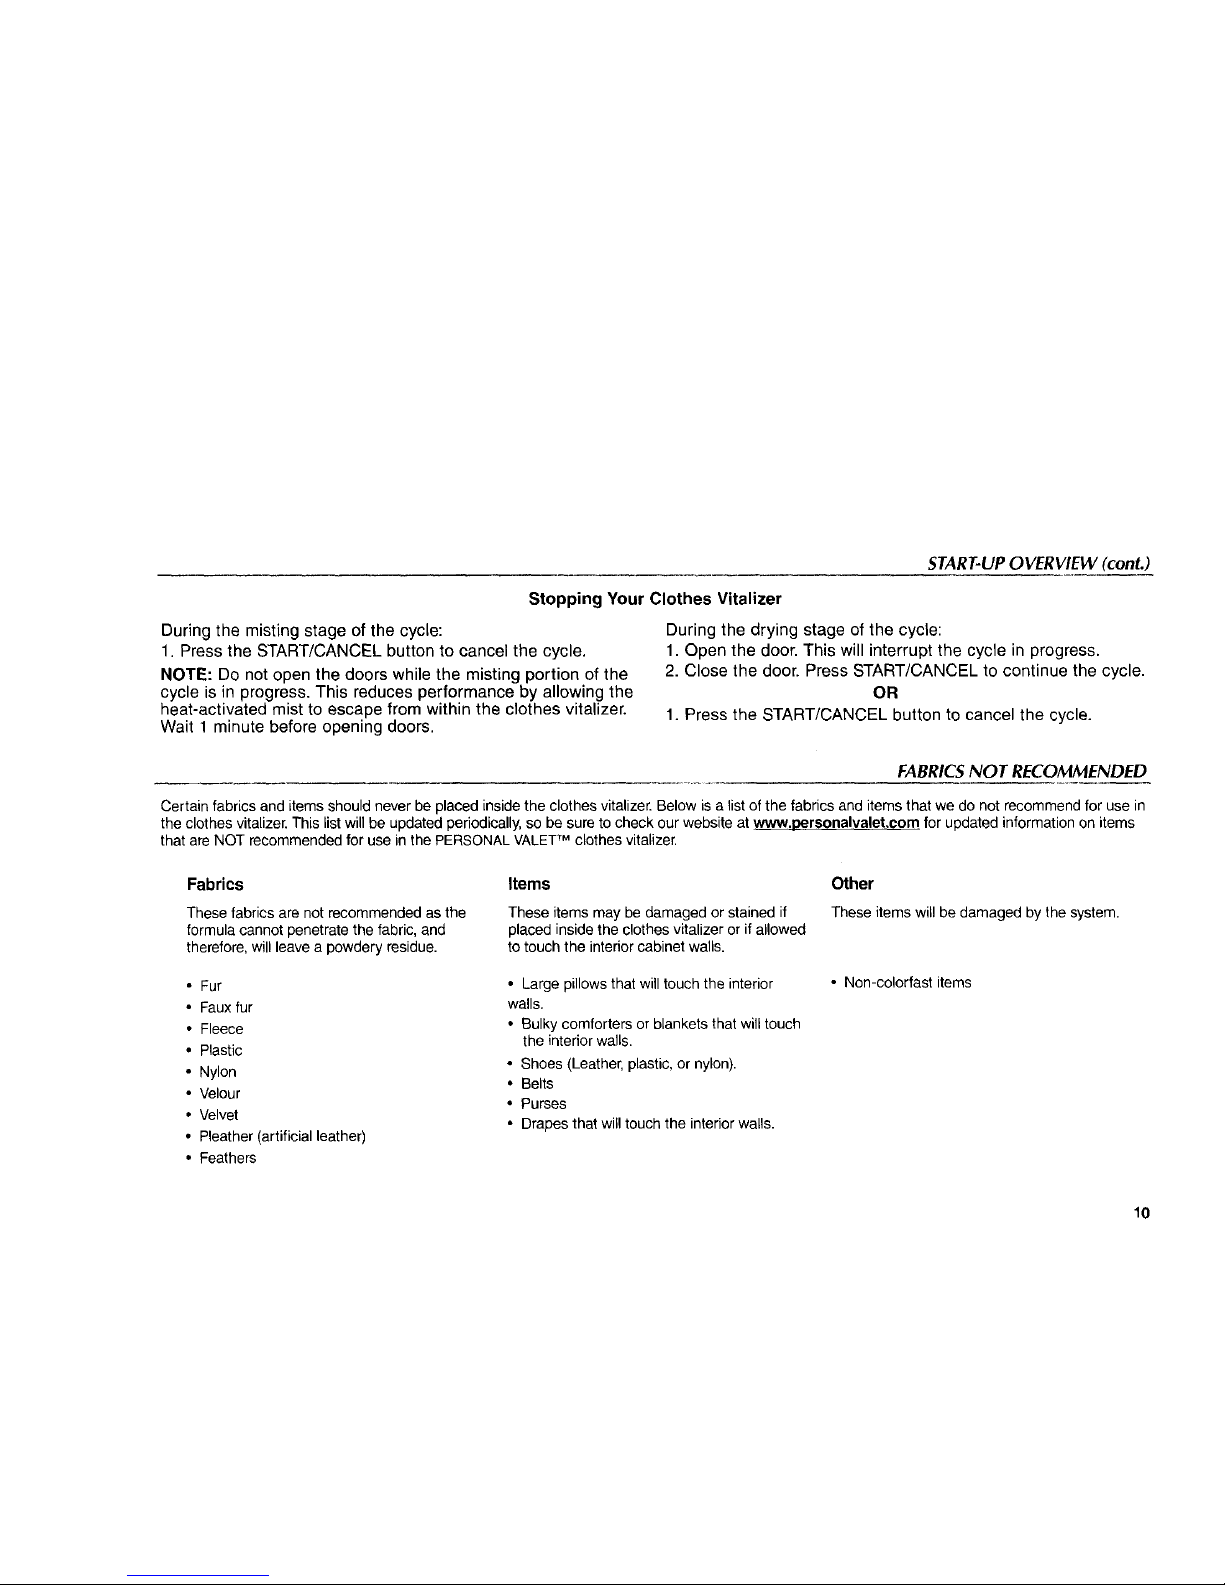
FABRICS NOT RECOMMENDED
Certain fabrics and items should never be placed inside the clothes vitalizer. Below is a list of the fabrics and items that we do not recommend for use in
the clothes vitalizer. This list will be updated periodically, so be sure to check our website at www.personalvalet,¢om for updated information on items
that are NOT recommended for use in the PERSONAL VALETTM clothes vitalizer.
Fabrics
These fabrics are not recommended as the
formula cannot penetrate the fabric, and
therefore, will leave a powdery residue.
• Fur
• Faux fur
• Fleece
• Plastic
• Nylon
• Velour
• Velvet
• Pleather (artificial leather)
• Feathers
Items
These items may be damaged or stained if
placed inside the clothes vitalizer or if allowed
to touch the interior cabinet walls.
• Large pillows that will touch the interior
walls.
• Bulky comforters or blankets that will touch
the interior walls.
• Shoes (Leather, plastic, or nylon).
• Belts
• Purses
• Drapes that will touch the interior wails.
Other
These items willbe damaged by the system.
• Non-colorfast items
lO
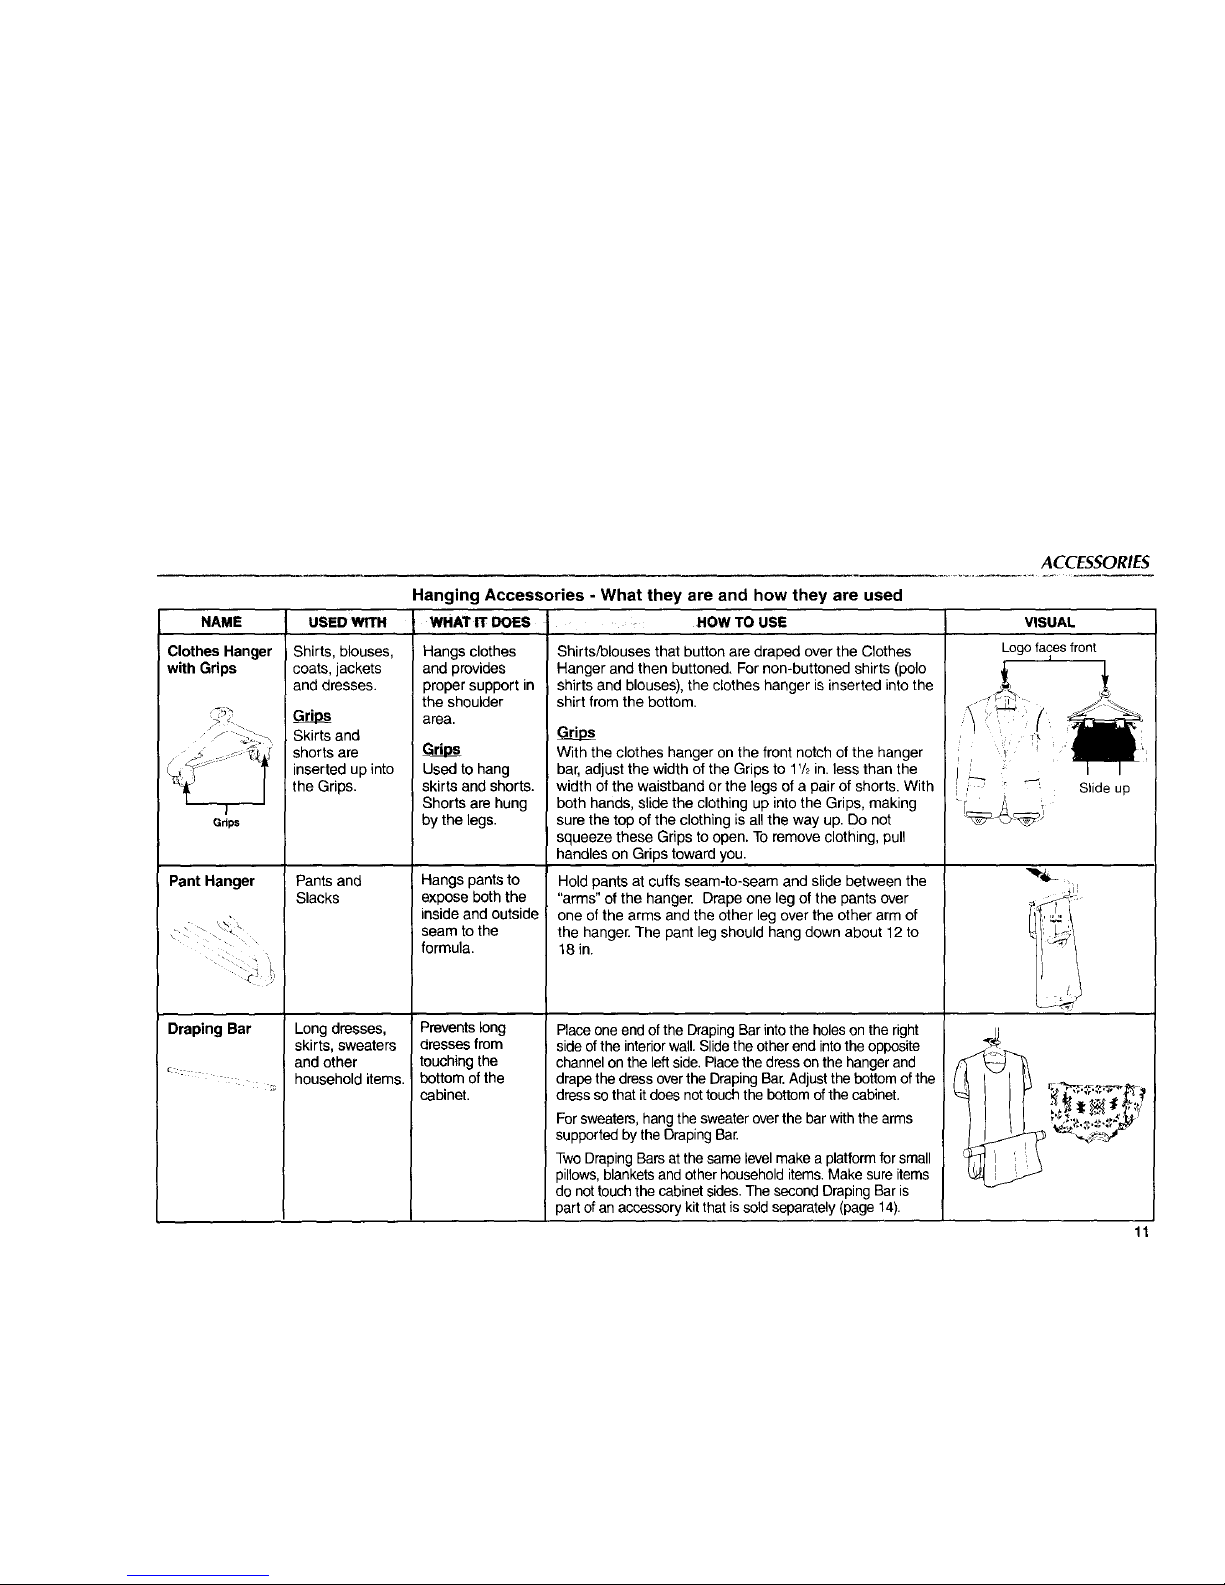
NAME
Clothes Hanger
with Gdps
Grips
Pant Hanger
Draping Bar
ACCESSORIES
USED WITH
Shirts, blouses,
coats, jackets
and dresses.
Grdp
Skirts and
shorts are
inserted up into
the Grips.
Pants and
Slacks
Long dresses,
skirts, sweaters
and other
household items.
Hanging Accessories - What they are and how they are used
WHAT IT DOES HOW TO USE
Hangs clothes Shirts/blouses that button are draped over the Clothes
and provides
proper support in
the shoulder
area.
Used to hang
skirts and shorts.
Shorts are hung
by the legs.
Hangs pants to
expose both the
inside and outside !
seam to the
formula.
Hanger and then buttoned. For non/buttoned shirts (polo
shirts and blouses), the clothes hanger is inserted into the
shirt from the bottom.
With the clothes hanger on the front notch of the hanger
bar, adjust the width of the Grips to 1'/2 in. less than the
width of the waistband or the legs of a pair of shorts. With
both hands, slide the clothing up into the Grips, making
sure the top of the clothing is all the way up. Do not
squeeze these Grips to open. To remove clothing, pull
handles on Grips toward you.
Hold pants at cuffs seam-to-seam and slide between the
"arms" of the hanger. Drape one leg of the pants over
one of the arms and the other leg over the other arm of
the hanger. The pant leg should hang down about 12to
18 in.
Placeoneend ofthe DrapingBar into the holeson the right
side of the interiorwall.Slidethe other end intothe opposite
channelon the left side. Place the dress on the hangerand
drape the dress overthe Draping Bar.Adjust the bottom of the
dress so that it does nottouch the bottom of the cabinet.
For sweaters, hangthe sweaterover the bar with the arms
supported by the Draping Ban
Two Draping Barsat the same level make a platform for small
pillows,blankets and other household items. Make sure items
do nottouch the cabinet sides. The second Draping Bar is
part of anaccessory kit that issold separately (page 14).
VISUAL
Logofacesfront
I
,,!_ _ _-" Slide up
Prevents long
dresses from
touching the
bottom of the
cabinet.
I
11
 Loading...