

Weller WQB 4000SOPS Quick Starter Guide From software version 2.17

WQB 4000SOPS - Quick Starter Guide
From software version 2.17
Version 1.2.6 Page 1 of 8
1.3 Check the computer system
System requirements: Pentium 4 / Athlon 64 CPU or newer, CD-ROM, min. 1024
MB RAM,
Operating system: Windows 2000 SP4, XP SP2, Vista 32-Bit, 7 32Bit & 64Bit
Screen resolution min.1280 x 1024, min. 16 bit colour depth
2 free USB 2.0 full powered (500 mA) interfaces
Graphic card with DirectX 9.29 Support
3.1 Installation of drivers and software
Important! In order to install the software, you must have Administrator rights.
The device must not be connected.
To avoid installation conflicts, older drivers should be deinstalled and the
SILABS USB driver should be removed
Inserted the software CD included in the delivery in the drive. The Installation
Assistant will guide you through the installation. Open the "SOFTWARE" tab.
STEP 1, SILABS USB driver. Follow the instructions
To avoid installation conflicts, remove older
versions of the SiLabs USB driver
STEP 2, uEye camera driver. Follow the instructions.
Choose the right uEye Driver depending on
the version of your operating system (32Bit/64Bit).
It is required, that you have installed the right
Version of the uEye driver, which is delivered
with the WQB 4000 Software.
Opening the "SOFTWARE" tab
WQB 4000SOPS - Quick Starter Guide
From software version 2.17
Version 1.2.6 Page 2 of 8
STEP 3 DirectX 9.29 Redist Follow the instructions.
Install DirectX 9.29 even if a higher version
of DirectX (10/11) is installed
STEP 4 WQB4000 Software Follow the instructions.
Restart your PC after installation
Change the Settings of the CPU idle states
Start “IDS Camera Manager.exe”
Press “Additional functions” button
Disable the CPU idle states (Hook in box).
Close the window
Firmware Update
The installation of the firmware updater is not necessary for correct operation of the
device; installation of this software is therefore only recommended if required.
2.3 Assembly / installation instructions
2.3 a Required table area 1030 X 630 X 650 cm for a load of approx. 40 Kg
2.3.b Place the device in the middle of the table
2.3.c Set the adjustable feet with the air level so that the device is horizontal and does
not wobble.
WQB 4000SOPS - Quick Starter Guide
From software version 2.17
Version 1.2.6 Page 3 of 8
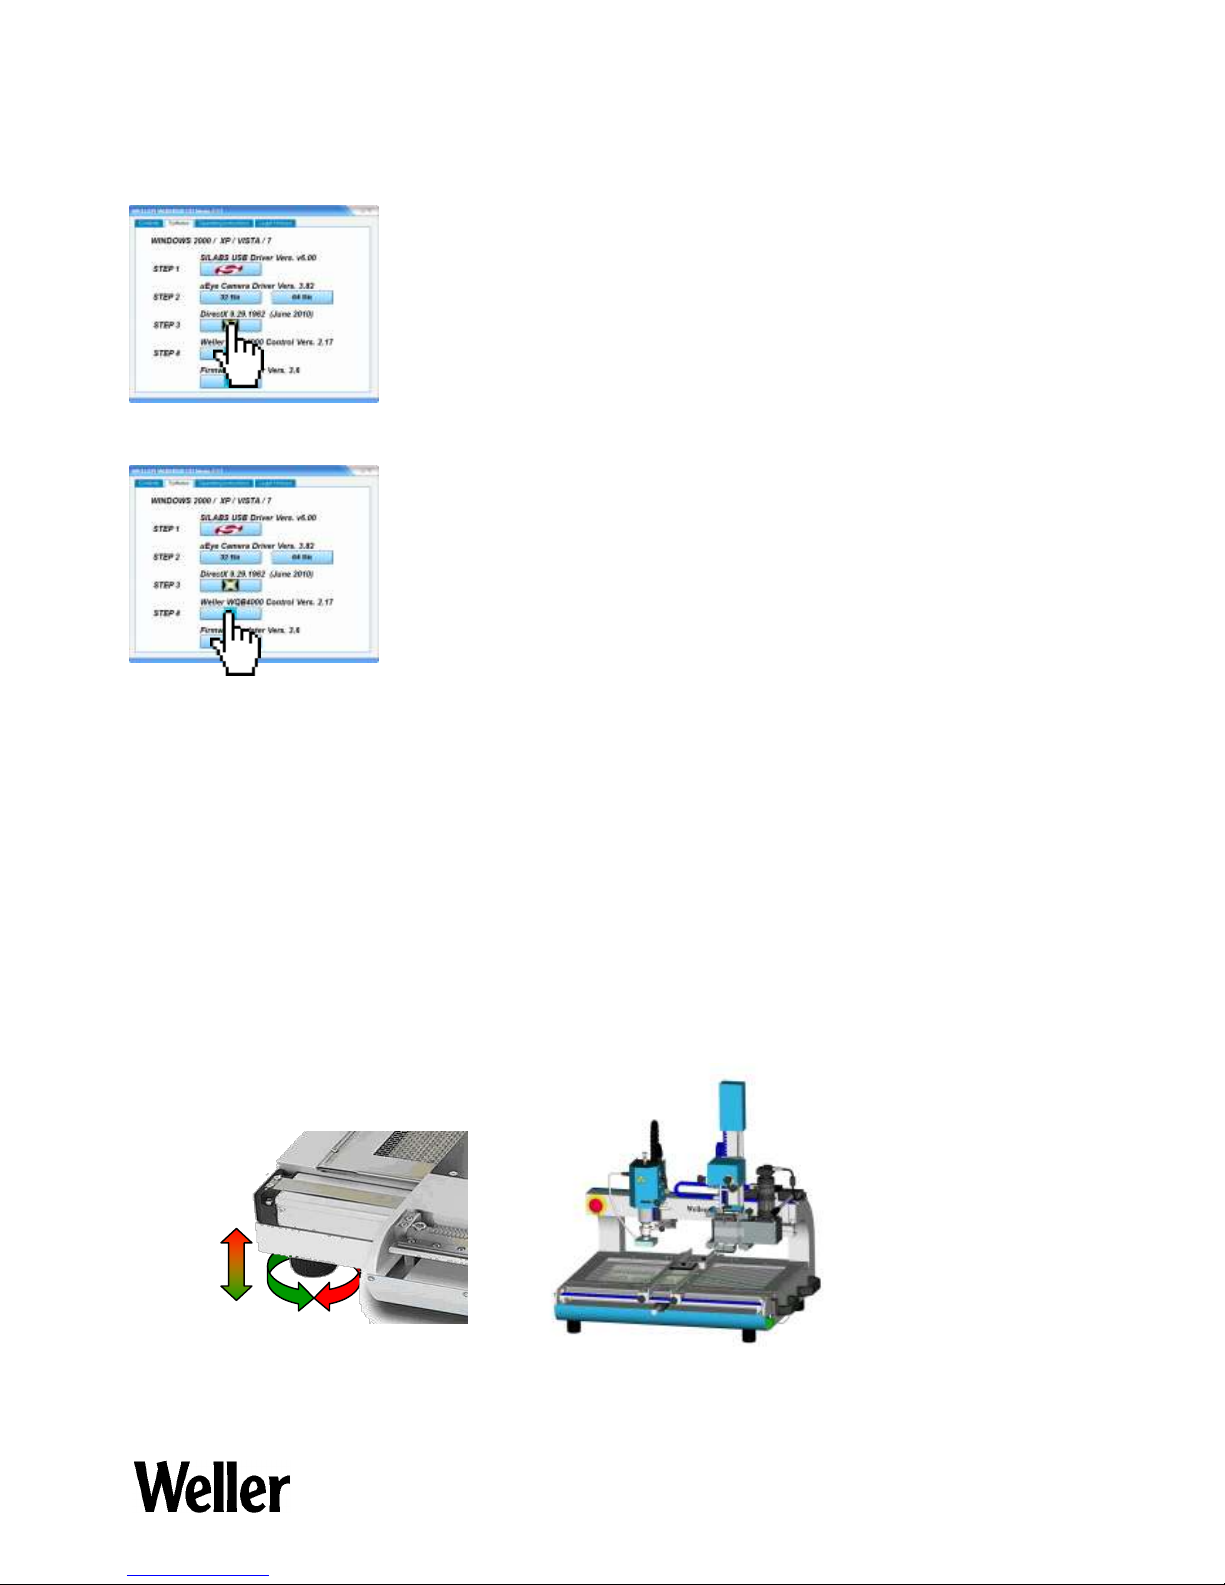
2.3.1 Assembly of the split optical unit
The optical module is already pre-calibrated in the factory. It therefore only needs to be
assembled, checked and readjusted as required.
2.3.1.a Assembly: push the linear axis to the right-hand stop.
2.3.1.b Flange-mount the optical module and secure with 3 stud bolts from the rear and
tighten to a torque of 2 Nm
2.3.1.c Insert connector for optical unit lighting
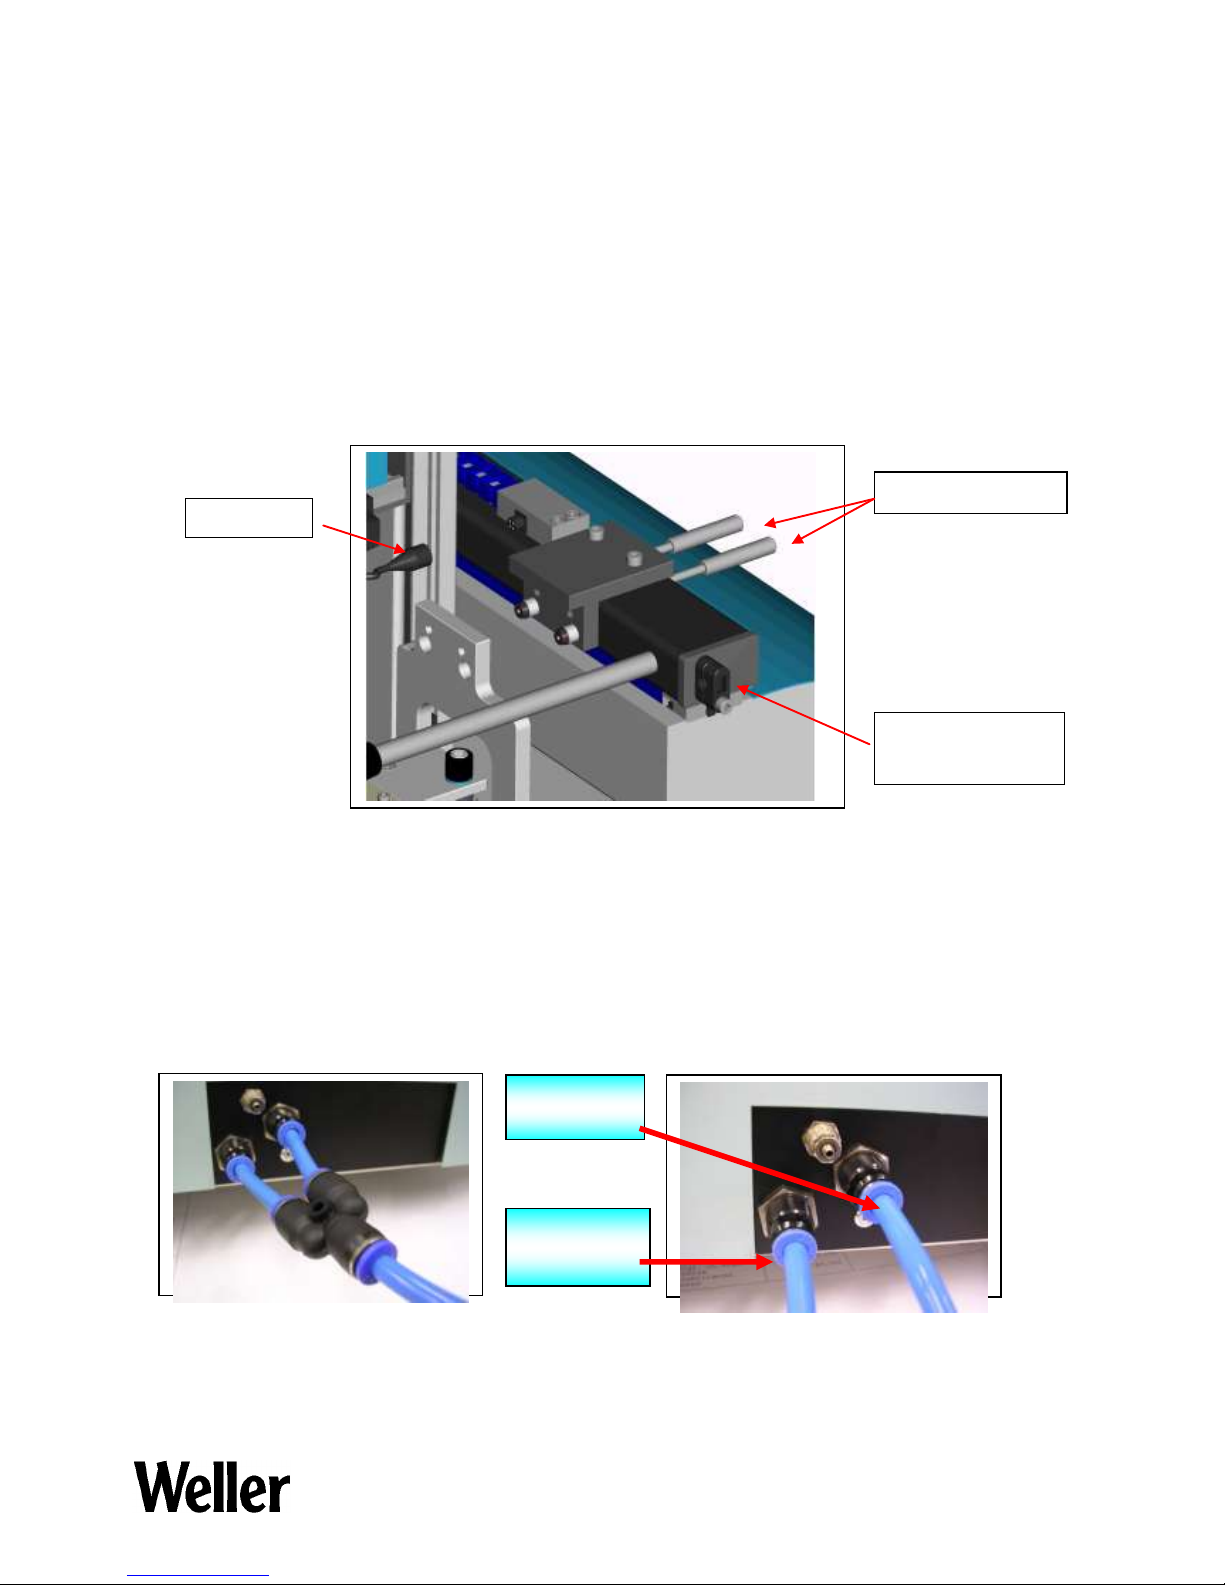
2.3.2 Connection of the device
Mains voltage: observe the specifications on the type plate
Compressed air: 400 – 600 kPa pure, dry and oil-free compressed air (where possible,
with upstream maintenance unit)
Alternative: compressed air for vacuum generation, nitrogen (N2) for the soldering
process
Only compressed air Compressed air & nitrogen (N2)
Compres
Air
Nitrogen
(N2)
Connector
Stud bolt
Strain relief
USB cable
 Loading...