

Page 1
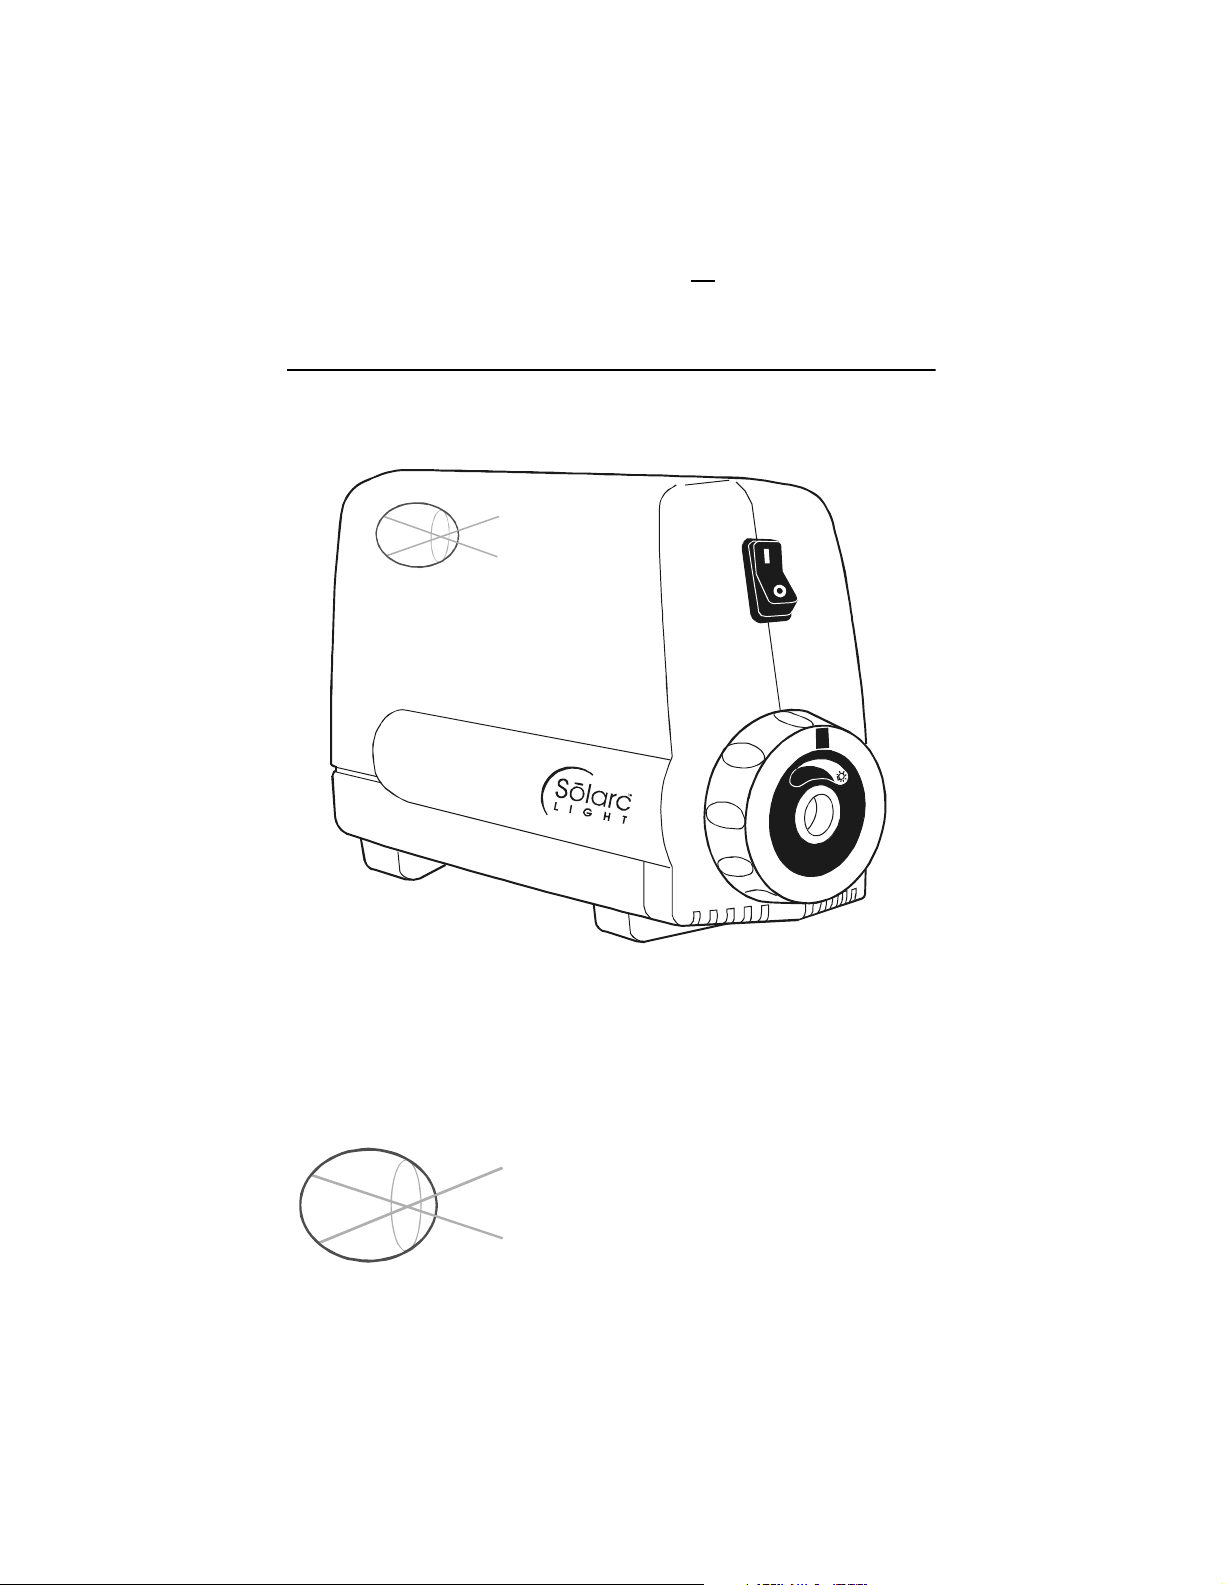
Insight Instruments Solarc™ Light Source
For P/N: 20002.000
s
I
n
h
g
i
t
s
I
n
u
t
r
e
m
I
n
s
m
u
t
r
n
e
t
s
I
n
s
t
n
g
s
i
h
t
Insight
Instruments
Instruments
Insight
Insight Instruments, Inc.
5400 S. Bryant Ave.
Sanford, FL 32773, USA
Telephone: (800)-255-8354 / (407) 324-2727
Fax: (407) 324-2744
Page 2

Page 3

Table of Contents
Symbol Descriptions . . . . . . . . . . . . . . . . . . . . . . . . . . . 1
Indications . . . . . . . . . . . . . . . . . . . . . . . . . . . . . . . . . . . 1
Contraindications . . . . . . . . . . . . . . . . . . . . . . . . . . . . . . 1
System Description . . . . . . . . . . . . . . . . . . . . . . . . . . . . 4
Set-up And Operation. . . . . . . . . . . . . . . . . . . . . . . . . . . 5
Mounting . . . . . . . . . . . . . . . . . . . . . . . . . . . . . . . . . . . . 6
Lamp Replacement . . . . . . . . . . . . . . . . . . . . . . . . . . . . 7
Fuse Replacement . . . . . . . . . . . . . . . . . . . . . . . . . . . . . 8
Cleaning . . . . . . . . . . . . . . . . . . . . . . . . . . . . . . . . . . . . . 9
Specifications . . . . . . . . . . . . . . . . . . . . . . . . . . . . . . . . 10
Troubleshooting . . . . . . . . . . . . . . . . . . . . . . . . . . . . . . 12
Maintenance And Repair . . . . . . . . . . . . . . . . . . . . . . . 13
Service . . . . . . . . . . . . . . . . . . . . . . . . . . . . . . . . . . . . . 13
Warranty. . . . . . . . . . . . . . . . . . . . . . . . . . . . . . . . . . . . 14
Ordering Information . . . . . . . . . . . . . . . . . . . . . . . . . . 14
Page 4

Page 5
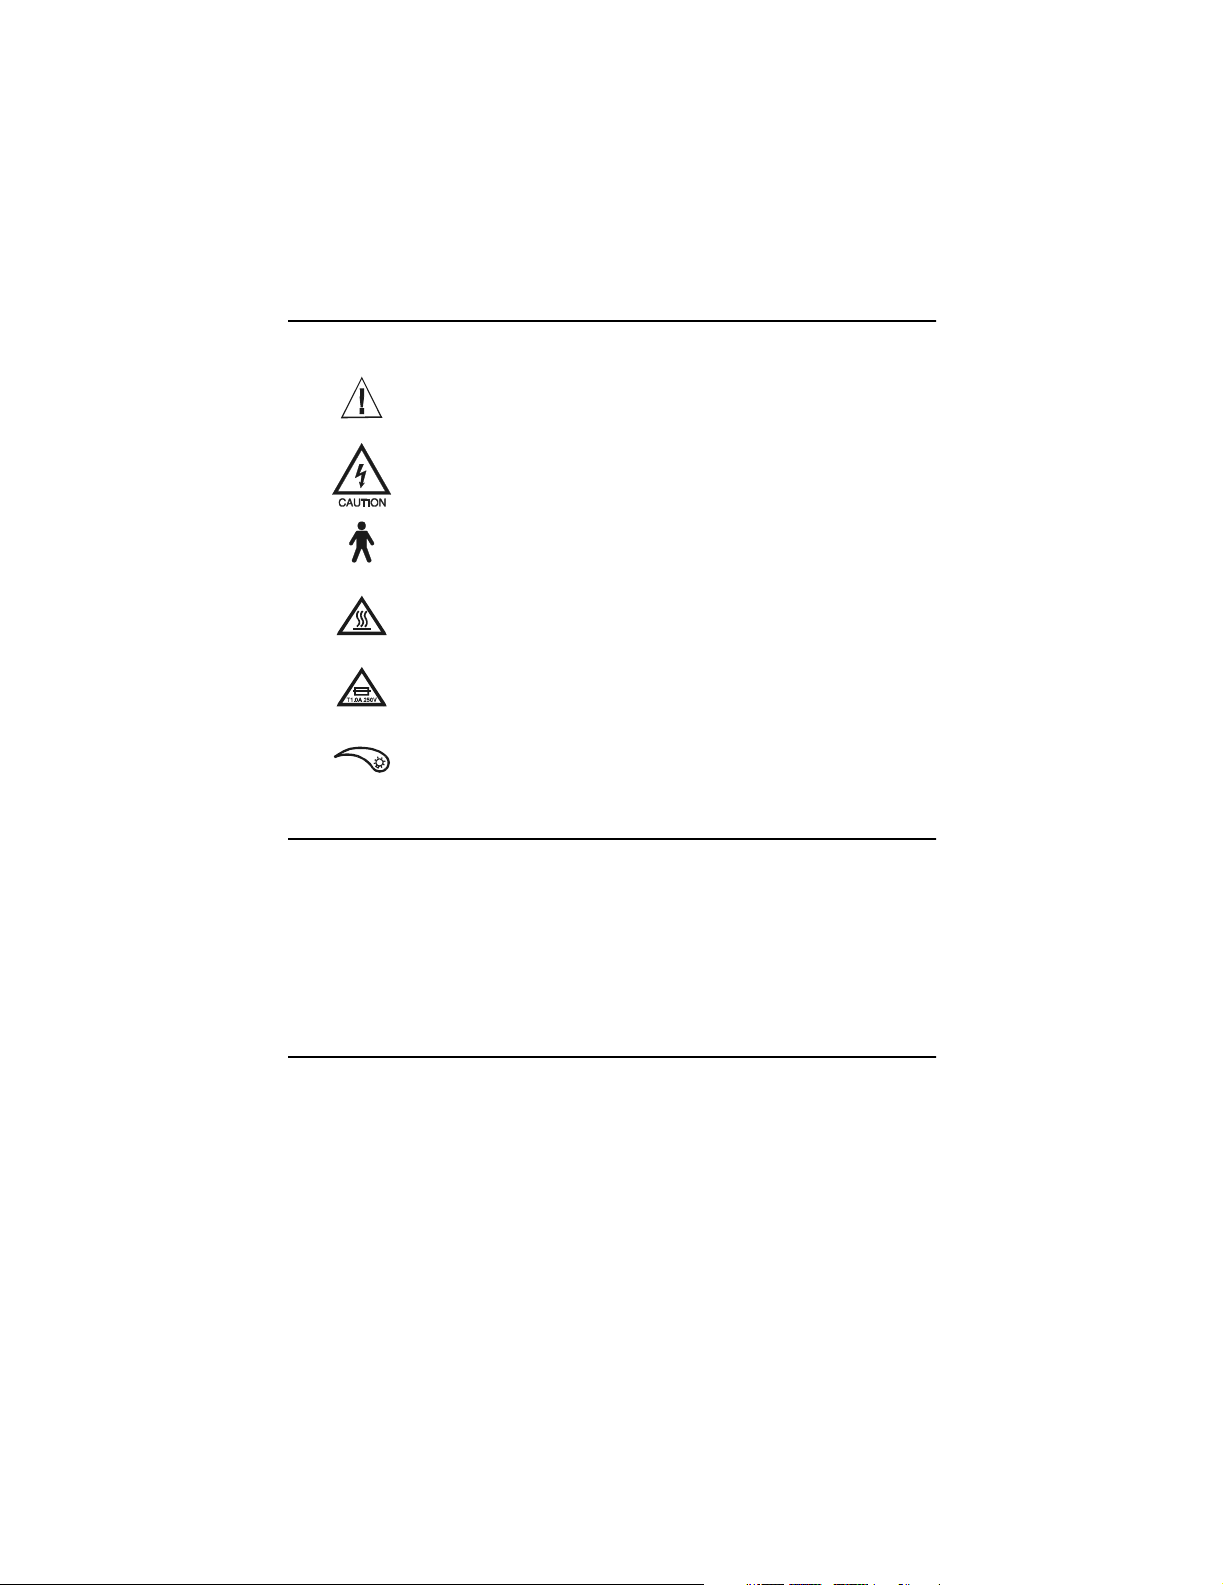
Symbol Descriptions
Attention: Read Operating Manual for Warnings,
Precautions, and Instructions for Use.
Dangerous Voltage: Refer Servicing to Qualified
Personnel.
Type B Equipment
Caution — Hot
Warning: Risk of Fire. Replace Fuses as Marked.
Light; Lighting; Illumination Intensity
Indications
The Insight Instruments Light Source is specifically designed for use in
ophthalmic procedures with the Insight Instruments Mini Light System
MLS (P/N: 11003.000) and Wide Angle Light Pipe WALP (P/N:
11001.000) to provide high quality white light. Only qualified medical
personnel may use this product.
Contraindications
The use of any endoilluminator / ophthalmic illumination system not
expressly approved by Insight Instruments, Inc. may cause permanent
tissue damage or blindness.
For further contraindications, the user must also consult the operating
instructions for the instrument in use with the Light Source in the
procedure.
Insight Instruments 1
Page 6
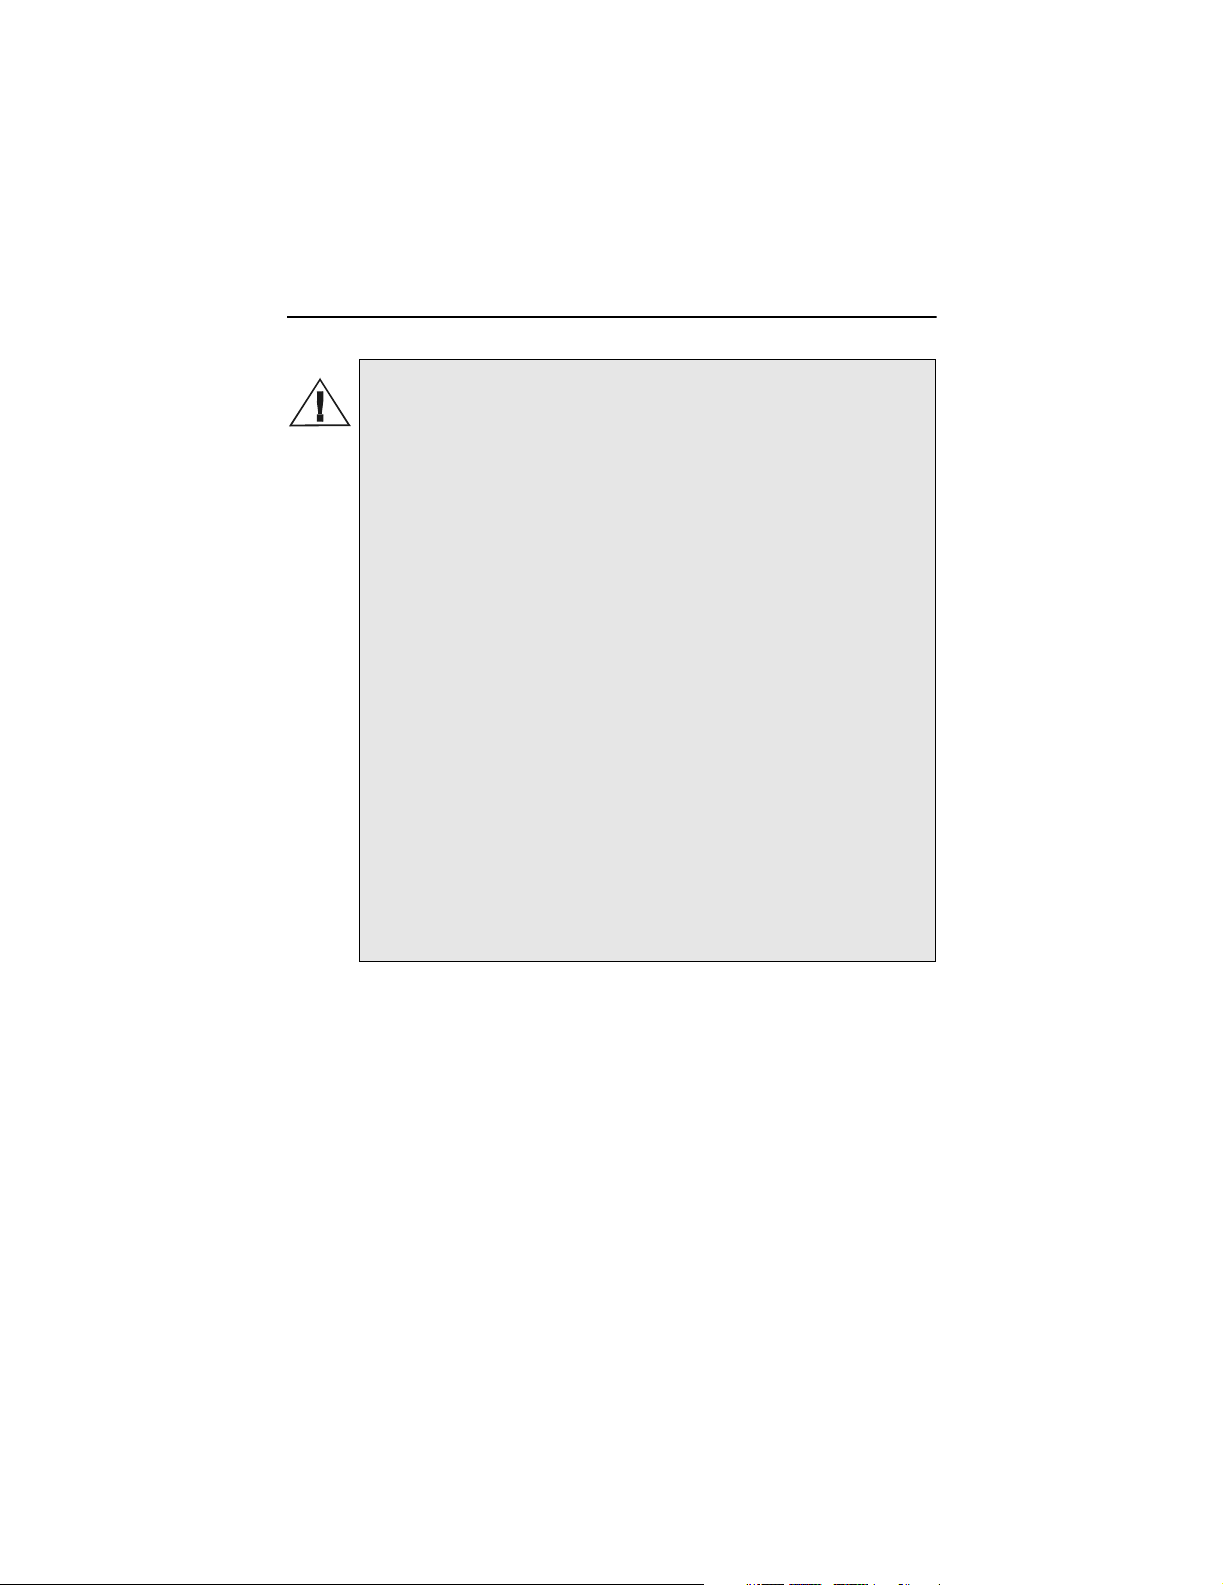
WARNING: possible explosion hazard. Do not use in the presence of
flammable anesthetics. To ensure patient and operator safety, read
and understand this manual before using the Insight Instruments Light
Source.
Do not remove cover. Electrical shock hazard due to high internal
voltage. There are no user serviceable parts inside except for the lamp
and fuse, which are accessible through the bottom and back cover
panels. Refer all service to Insight Instruments.
Replace fuses as marked. See Fuse Replacement Section, page 7.
The high intensity light at the front of the light source and at the tip of
the Fiber Optic Bundle may give rise to high temperatures and bright
light.
To minimize the risk of injury, avoid direct viewing or contact with
sensitive tissues.
Do not use for neonate transillumination. Erythema may result.
To prevent temporary blinding, always plug the fiber optic bundle into
the Insight Instruments Light Source before turning the power ON.
Total system risk current — including the patient applied instrument —
should not exceed 100 microamps. An isolation transformer is
required if total system risk current exceeds 100 microamps when
accessories are interconnected.
Do not sterilize the Insight Instruments Light Source. Refer to
Cleaning section for cleaning instructions.
Do not switch the Insight Instruments Light Source ON and OFF in
rapid succession. Doing so will dramatically shorten lamp life. Allow
lamp to cool down 10 to 15 seconds between uses.
2 UI-20002 6/2002
Page 7

CAUTION: Only qualified medical personnel should use the Light
Source.
Provide adequate ventilation to prevent overheating. Do not cover or
drape this Light Source. Provide a 3 inch (7.62 cm) distance between
the Insight Instruments Light Source and any solid objects.
Grounding reliability is achieved only when connected to hospital-use
or hospital-grade receptacles. Inspect electrical plug and cord
routinely.
Do not use if damage is discovered.
Do not use or store liquids above or on the Insight Instruments Light
Source.
If this light source is used during invasive surgery, the failure of a
component within the system, causing loss of illumination, may
indirectly cause risk to the patient. Therefore, it is recommended to
have alternative means of illumination available.
Since the light source uses a custom lamp, always have a spare lamp
available for replacement. Use caution because lamp is hot.
Allow the lamp to cool before replacing. Use only Insight Instruments
supplied power cord.
Insight Instruments 3
Page 8

System Description
The Insight Instruments Light Source is used to supply high quality, white
light for video and optical illumination systems. It accepts Insight
Instruments ACMI connectors.
Fiber
Optic
Bundle
Port
Power
Switch
Fuse
Drawer
Light
Control
Knob
FRONT BACK
Mounting Post
BOTTOM
Mounting Bracket
Fan
Grill
AC
Power
Input
4 UI-20002 6/2002
Page 9

Set-up And Operation
After a 15-second warm-up period, the light output will stabilize at its
normal intensity. Plug in the fiber optic bundle to stabilize light output.
CAUTION: Verify that the supply voltage matches the voltage
range indicated on the rear of the Insight Instruments Light
Source.
To prevent temporary blinding, turn power on only after the
fiber optic bundle is plugged in and the intensity control knob is
set to the minimum position.
The fiber optic bundle port is hot when fiber optic bundle is
removed.
Minimum Light Output
Maximum Light Output
On
1. Plug the Insight Instruments Light Source into a hospital-grade receptacle.
2. Turn the light-intensity control knob to its minimum position. Plug the
fiber optic bundle into the illuminator port and connect the opposite
end to the instrument.
3. Turn the power switch to the on position. The lamp will take 15
seconds to complete its warm-up cycle.
4. Set light intensity to desired level.
5. Turn unit off when not in use.
NOTE: Do not restart lamp immediately after turning off. The lamp
may fail to start. If this occurs, turn the power switch off and wait 15
seconds before restarting the Insight Instruments Light Source.
Insight Instruments 5
Fiber Optic Bundle Port
Control Knob
Page 10

Mounting
Secure bracket to a flat surface with screws provided. Align mounting
post on Light Source with mounting hole on bracket (View A). Slide
mounting lock until it clicks into place (View B). Light Source is now
securely mounted to table.
CAUTION: Do not cover or drape, Light Source generates
heat. For proper ventilation, maintain a clearance of 3
inches (7.62 cm) around the unit, especially around the fan.
VIEW A
Mounting Post
Supplied Screws
VIEW B
6 UI-20002 6/2002
Mounting
Bracket
Mounting
Lock
Page 11

Lamp Replacement
CAUTION: Lamp is hot. Allow the lamp to cool before
replacing.
1. Turn unit off and unplug the power cord from both the wall outlet and
the Insight Instruments Light Source.
2. Remove the lamp door from the bottom of the Insight Instruments
Light Source by unscrewing the lamp access knob on the back of the
lightbox.
n
I
g
s
i
h
t
n
s
I
tru
e
m
n
t
n
I
s
s
r
t
u
m
e
n
s
t
I
n
s
i
g
h
t
Lamp
Access
Knob
Lamp
Access
Door
I
n
s
t
r
u
m
e
n
t
I
n
s
s
i
g
h
t
I
n
s
g
i
h
t
I
n
s
t
r
u
m
e
n
t
s
3. Disconnect the lamp connector assembly and remove the lamp from the holding spring assembly.
Lamp Connection Assembly
Lamp
Holding Spring
Align Pin
4. Replace with Insight Instruments replacement lamp P/N: 81502 only.
Do not touch the lamp itself, or the interior reflective surface of the
lamp. Skin oils on the lamp will cause premature lamp failure. Hold
lamp by the outside of the reflector or the connector only. Remove
any grease or fingerprints with a clean cotton swab moistened with
alcohol. Do not leave any lint on the lamp.
Insight Instruments 7
Page 12

5. Reconnect the lamp to the lamp connector and place in the spring
mechanism. Verify that the pin on the lamp is properly seated in the
slot on the lamp bracket.
6. Reattach the lamp door securely. The unit will not power up unless
the lamp door is seated properly.
Fuse Replacement
1. Turn the unit off and remove the power cord from both the wall
outlet and the Insight Instruments Light Source.
Fuse Holder
Fuse Holder
2. Use a small screwdriver to remove the fuse holder above the power
cord connector by releasing the spring-loaded snap connections.
3. Pull out the fuse holder.
4. Remove and replace with new fuses of the same type. There is no
required orientation of the fuses. Verify both fuses are replaced.
Snap Connections
Fuses
8 UI-20002 6/2002
Page 13

5. Reinsert the fuse holder by pressing it into the power connector until it snaps into place.
6. If the new fuse blows, immediately contact Insight Instruments
Technical Service at 1-407-324-2727.
Cleaning
NOTE: Do not sterilize or immerse the Insight Instruments
Light Source.
1. Prior to cleaning, turn power off and disconnect the power cord from
both the wall outlet and the Insight Instruments Light Source.
2. Clean the external surfaces by wiping with a cloth dampened with
mild soap and water or by using the following cleaning/disinfecting
solutions. DO NOT IMMERSE.
• Cidex, CidexPlus
• 70% isopropyl alcohol
• 10% mild bleach solution
• Metracide
• 10% Wescodyne
• Banicide
• Wavecide-01
3. Wipe clean the power cord by using the same cleaning/disinfecting
solutions listed above. Wipe dry with a clean cloth. Take care not to
get the plug prongs wet. DO NOT IMMERSE.
4. Do not plug the unit into a wall outlet until it is thoroughly dry.
Insight Instruments 9
Page 14

Specifications
Electrical
Input Voltage: 100 - 240 VAC, 50 - 60 Hz
Input Current: 1A (@ 100 VAC)
Output: 60 VDC @ 0.4A
Leakage Current: less than 100 microamps
Dimensions
8.2" (21 cm) (L) x 3.1" (8 cm) (W) x 5.2" (13 cm) (H)
Illumination System
Insight Instruments Solarc™ Lamp
Color Temperature: 5500°K
Lamp: 60 Volts, 24 watts
Lamp Life: 300 hours average
Dimming System
Manual Shutter: 20% to 100%
Fiber Optic Bundle Interface
Insight Instruments ACMI Connector
Approvals
UL 2601-1 IEC 801-2,3,4,5
CSA C22.2 NO 601.1-M90 EN 55011
IEC 601-1 IEC 601-1-2
CE Australia AS3200
The CE mark on this product indicates it has been tested to and conforms
with the provisions noted within the 93/42/EEC Medical Device Directive.
Declarations of Conformity are held by Insight Instruments’s European
Representative.
CEpartner4U BV
Nijverheidsstraat5,
2624 BA Delft
The Netherlands
Tel: +31 15 257 66 82
Environment
Operating: 60° F (15° C) to 85° F (30° C)
Storage: -13° F (-25° C) to 140° F (60° C)
10 UI-20002 6/2002
Page 15

Equipment Classification
Class I, Type B, Continuous Operation
Fuses
T1.0A L250V: 1.0A, 250V, time lag (slow-blow), low
breaking capacity
Patents
This product is covered by the following patents:
5083059; 5117154; 5138228; 5144201; 5291100;
5594826
Insight Instruments 11
Page 16

Troubleshooting
If lamp is
not
illuminating
and...
POSSIBLE
CAUSE
SOLUTION
fan is not
operating.
Light Source is not
plugged into either the
wall outlet or the
power cord socket.
Power switch is not
turned on.
The bottom cover is
not properly installed.
One or both fuses
have blown.
Power cord is
damaged. This may
cause intermittent
operation.
No power is supplied
to the wall outlet.
Plug the power cord into the
wall outlet and power cord
socket at back of unit.
Depress the “I” side of the
power switch.
Remove the bottom cover and
reinstall carefully, making sure
that the lip on the bottom fits
into the front of the housing
and that the thumbscrew is
fully tightened.
Replace both fuses. Follow
the instructions in the fuse
replacement section. If fuses
continue to blow, return Light
Source to an authorized repair
center.
Replace the power cord with a
new Insight Instruments
power cord.
Verify that the wall outlet has
power by checking the circuit
breaker status and by
operating other equipment at
that wall outlet.
12 UI-20002 6/2002
Page 17

fan is
operating.
The lamp was not able
to “cool down” before
restarting.
Wait at least 15 seconds after
turning the Light Source off
before turning it back on.
The Light Source has
overheated.
The lamp has burned
out.
Verify that all ventilation slots
and the fan area are not
obstructed. Mount the Light
Source on the supplied
mounting bracket and verify
there is always at least 3inches clearance.
Replace with a new Insight
Instruments lamp. Refer to
the lamp replacement section.
Maintenance And Repair
For minor trouble, refer to the troubleshooting section in this manual for
possible causes and corrective action.
Only qualified personnel should make electrical inspections of the Insight
Instruments Light Source.
Repair must be performed by authorized personnel. Failure to do so
invalidates warranty.
Service
For Service or Repair:
Insight Instruments, Inc.
5400 S. Bryant Ave
Sanford, FL 32773
Tel: (800) 255 8354 or (407) 324-2727
Insight Instruments 13
Page 18

Warranty
Insight Instruments warrants the Insight Instruments Solarc™ Light
Source when new, to be free of defects in material and workmanship and
to perform in accordance with manufacturer’s specifications when
subject to normal use and service for a period of one (1) year from the
date of purchase from Insight Instruments or an authorized agent. Insight
Instruments will either repair or replace any components found to be
defective or at variance from manufacturer’s specifications within this
time at no cost to the customer. It shall be the purchaser’s responsibility
to return the instrument directly to the authorized distributor, agent, or
service representative.
This warranty does not cover the So
to tampering, misuse, neglect, accidents, improper installation,
modification, shipping, or to improper maintenance, service, and cleaning
procedures. This warranty is also void if the instrument is not used in
accordance with manufacturer’s recommendations or if required or
serviced by other than Insight Instruments or an authorized agent.
Purchase date determines warranty requirements. No other express or
implied warranty is given.
larc Lamp or breakage or failure due
Ordering Information
20002.000 Insight Instruments Solarc™ 24W Light Source
100-240 VAC
50-60 Hz
U.S.A. and Japan Plug Type power cord included. Order
power cords for other countries separately.
Replacement Parts
81502 24W Solarc Lamp
20002.100 Power Cord U.S.A. medical
20002.200 Power Cord European
20002.400 Power Cord U.K.
14 UI-20002 6/2002
Page 19

Page 20

Insight
Instruments
Instruments
Insight
Insight Instruments, Inc.
5400 S. Bryant Ave.
Sanford, FL 32773, USA
Tel.: 1-800-255-8354 or
1-407-324-2727
Fax: 1-407-324-2744
Printed in the USA UI2002 6/2002
 Loading...