

Page 1
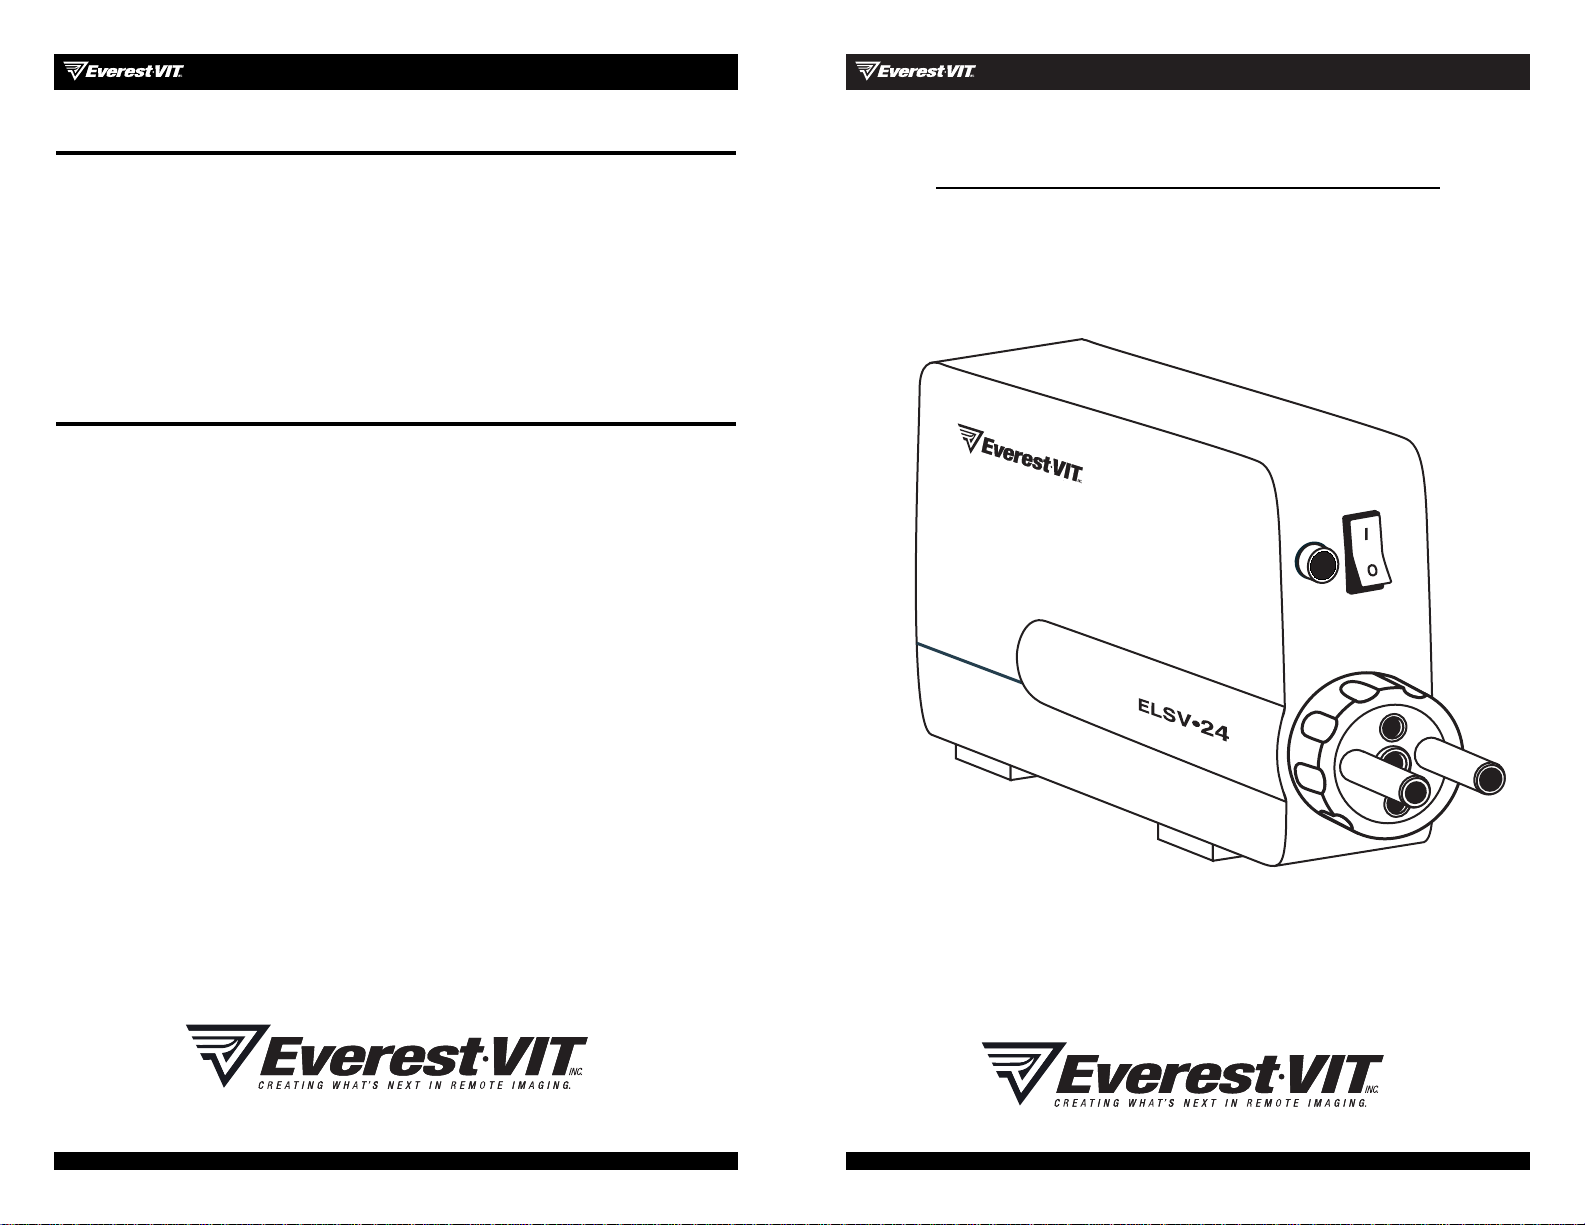
ELSV-24 Hi-Lux Light Source
OPERATOR’S GUIDE
S
TD
A
C
M
I
W
S
O
HOW TO CONTACT US
Sales Information: ..........1-888-332-EVIT (3848)
1-973-448-0077
Repair Assistance: ..........1-800-364-7744 ext.856
Website:
........................www.everestvit.com
EVEREST VIT PRODUCT LINES
• Rigid Borescopes
• Fiberscopes
• Light Sources
• Video Borescopes
• Monitors & Recording Devices
• Push Cameras
• Large Vessel Inspection Cameras
• Robotic Crawlers
Part No: ELSV-24MAN Printed in USA
rev.B © 2000 by Everest VIT, Inc.
Page 2

WARRANTY
Everest VIT warrants the ELSV-24 Light Source to be free of defects in material and
workmanship and to perform in accordance with the manufacturer’s specifications
when subject to normal use and service for a period of one year from the date of
purchase. Everest VIT will either repair or replace components found to be defective
or at variance from the manufacturer’s specifications within this time at no cost to
the customer. It shall be the purchaser’s responsibility to return the instrument to
the authorized service center.
This warranty does not cover the lamp, breakage, or failure due to tampering, misuse
,
neglect, accidents, improper installation, modification, shipping, or to improper
maintenance, service, and cleaning procedures. This warranty is also void if the
instrument is not used in accordance with the manufacturer’s recommendations or
if required service is performed by anyone other than an Everest VIT authorized
agent. No other express or implied warranty is given,
SERVICE
Should service of the light source be required:
1. Call 1-800-364-7744 ext. 856 to obtain an RMA number. This RMA number
registers the repair job and helps to minimize repair time.
2. Ship the light source to the below address with the RMA number indicated on
the paperwork.
Everest VIT Repair Center
600 Kenrick Road Suite E5
Houston, Texas 77060-3629
3. The repair job will be quoted and authorization obtained before any expenses
are incurred.
p.12
Page 3
Thank you for purchasing the ELSV-24 Hi-Lux Light Source. This product was
manufactured for Everest VIT Inc. by Welch Allyn Inc., our parent company and
technology leader in the design and manufacture of advanced technology
light
ing products.
By following the use and care instructions in this guide, you will be rewarded with
years of dependable, trouble-free service. Please read these instructions completely
before use.
TABLE OF CONTENTS
System Symbol Definitions ........p.1
Warnings and Precautions ........p.1
System Description ................p.2
System Set-up and Operation ....p.3
User Maintenance ..................p.6
Lamp Replacement ......................
Fuse Replacement ......................
Cleaning ................................
Troubleshooting Guide ............p.9
Technical Specifications ........p.10
Accessories ........................p.10
Agency Compliance Statements
..p.11
Warranty and Service ............p.12
How to Contact Us ................back
AGENCY COMPLIANCE STATEMENTS
This device complies with part 15 of the FCC Rules. Operation is subject to the
following two conditions:
(1) this device may not cause harmful interference, and
(2) this device must accept any interference received, including interference that
may cause undesired operation.
FCC Class A Compliance Statement
This equipment has been tested and found to comply with the limits for a Class A digital device, pursuant
to part 15 of the FCC Rules. These limits are designed to provide reasonable protection against harmful
interference when the equipment is operated in a commercial environment. This equipment generates,
uses, and can radiate radio frequency energy and, if not installed and used in accordance with the
instruction manual, may cause harmful interference to radio communications.
Operation of this equipment
in a residential area is likely to cause harmful interference
,
in which case the user will be required to
cor
rect the interference at his own expense.
Caution:
Any changes or modifications made to this device that are not expressly
approved by Everest
VIT may void the user’s authority to operate the equipment.
Note:
To maintain compliance with FCC Rules and Regulations, cables connected to this device must be
shielded cables, in which the cable shield wire(s) have been grounded (tied) to the connector shell.
Canadian Notice
This equipment does not exceed the Class A limits for radio noise emissions as described in the Radio
Interference Regulations of the Canadian Department of Communications.
Le present appareil numerique n’emet pas de bruits radioelectriques depassant les limites applicables
aux apparelis numeriques de la classe A prescrites dans le Reglement sur le brouillage radioelectique
edicte par le ministere des Communications du Canada.
p.11
Page 4

p.1
SYSTEM SYMBOL DESCRIPTIONS
Attention: Read Operating Manual for Warnings, Precautions,
and Instructions for Use.
Caution: Hot Surface
WARNINGS AND PRECAUTIONS
• The high intensity light at the front of the Light Source and the tip of the fiber
optic bundle will create high temperatures and bright light. To minimize the
risk of injury, avoid direct viewing or contact.
• To prevent temporary blinding and contact with heated parts, always plug the
fiber optic bundle into the Light Source before turning the power on.
• DO NOT switch the Light Source ON and OFF in rapid succession. Doing so will
dramatically shorten lamp life. After turning off, wait 10 to 15 seconds before
turning on again.
• CAUTION: PROVIDE ADEQUATE VENTILATION TO PREVENT OVERHEATING.
When using outside the carry pouch, do not drape the light source or place
the unit within 3 inches (7.62cm) of a solid object.
• USE CAUTION WHEN REPLACING LAMP. ALLOW LAMP TO COOL.
Use only Everest VIT replacement lamp #SPL-240.
• The supplied detachable power cord is the means of disconnect
from the power source.
p.10
TECHNICAL SPECIFICATIONS
Power In: 100-240VAC, 50/60, 400 HZ, 1A (@ 100VAC)
Fuse Set:
2 each T1.OA, L250V
1.OA, 250V, time lag (slow blow), low breaking capacity
Dimensions: 20.8cm (8.2 in) x 7.9cm (3.1 in) x 13.2cm (5.2 in)
Illumination System:
Lamp:
HI-Lux Metal Halide, 24W, 60V, Everest VIT Part No. SPL-240
Color Temperature: 5500oK
Lamp Life: 350 hours average
Intensity Control Manual shutter (20% to 100% full output)
Light Guide Interface:
ACMI standard; switchable to Wolf, Olympus and Storz
Environment:
Operating Temperature: 0°C to 34°C (32°F to 100°F)
Operating Humidity: 0 to 95% rh
Storage Temperature: -25°C to 54°C (-13°F to 140°F)
Storage Humidity: 30 to 75% rh
Equipment Classification: Class 1, Type B, Continuous Operation
ACCESSORIES
Part No. Description
SPL-240 Replacement lamp.
ELSV-P Carry pouch with shoulder strap. Light source can be
operated inside pouch.
INV75 DC to AC inverter for use with a battery. Adapter cable
available for connection to Videoprobe XL battery belt, battery
post or vehicle cigarette lighter socket.
Page 5

p.9
SYMPTOM
Lamp is not illuminating
and fan is not operating…
SYMPTOM
Lamp is not illuminating
and fan is operating.
PROBABLE CAUSE
Power cord not securely
con
nected to light source or
AC source.
AC source is not active.
Power cord is damaged (may
cause intermittent operation.
Light source power switch is
not turned on.
Bottom cover is not properly
installed.
One or both fuses have blown.
PROBABLE CAUSE
Lamp was not given adequate
time to "cool down" before
restarting.
Light Source has overheated.
Lamp has burned out.
SOLUTION
Check for secure connections.
Use another power source or
restore power to the current source.
Replace power cord.
Turn switch to the "I" position.
Remove bottom cover and
reinstall
ensuring that the lip on the cover
fits into the front of the housing
and that the thumbscrew is fully
tightened.
Replace both fuses in accordance
with instructions in this manual.
If fuses continue to blow, return
unit to service center.
SOLUTION
Turn unit off and wait 20 seconds
before turning back on.
Verify environmental temperature
does not exceed specifications
and allow to cool down for 10
minutes. Check to ensure vents
and fan exhaust are not
obstructed.
Replace lamp in accordance
with instructions in this manual.
Use only Everest VIT replacement
lamp part number SPL-240.
TROUBLESHOOTING GUIDE
p.2
SYSTEM DESCRIPTION
The ELSV-24 Light Source provides high quality, white light for industrial borescope
and fiberscope inspections. It incorporates a patented and field-proven lamp
tech
nology
that has much greater efficiency than halogen or xenon lamps when
transferring light into a small fiber bundle, such as that found in borescopes and
fiberscopes. This greater efficiency allows the lamp to run at only 24W, which then
enables a small and lightweight light source design. You will also notice that the
ELSV-24 housing never gets very hot, so it is favored from a safety perspective as well.
For user convenience, the ELSV-24 is equipped with a video channel and multi-standard
light guide turret. The special video connector makes camera set-up and operation
easy by accepting the single power-video cable that is included with our BCAM
1000 c-mount borescope camera. This cable provides power to the camera and
car
ries the video signal from the camera back to the light source. The light
source
has a video output on the back which can then be connected to a
moni
tor or VCR
for image display and/or recording. The multi-standard light guide
turret
makes the
light source compatible with the four most common light guide fittings: ACMI, Wolf,
Olympus and Storz.
STD
ACMI
W
S
O
Page 6

SYSTEM SET-UP AND OPERATION
CAUTION:
1. Verify that the supply voltage is within the 100-240VAC range specified
for this product.
2. To prevent temporary blinding, insert light guide into socket before
turning power ON.
3. The light guide tip and light source socket will be hot when light guide
is removed.
Set-up
1. With the power switch in the OFF position, plug the AC power cord into the
power input port on the back of the unit and then into a grounded receptacle.
2. Turn the Light Intensity Control Ring fully counter-clockwise to the minimum
position, rotate the light guide turret to select the compatible socket and plug
the light guide into the light socket.
Note: For proper lamp performance, make sure the light guide is fully inserted at all times.
3. Turn the power switch ON (position I). The lamp will take 10 - 15 seconds to
complete the warm-up cycle. [If the power has just been turned off, allow 15
seconds before turning ON again.]
4. Set the light intensity to the desired level by turning the Light Intensity
Control Ring.
Note: Do not restart the Light Source immediately after shutting it off - it may fail to light. If this
occurs, turn the power off and wait 10 -15 seconds before turning the unit back on.
p.3
Power Switch
Fan Grill
S-Video Output
BNC Video
Output
Lamp Access
Knob
Fuse Drawer
AC Power Input
Front Back
Light Intensity
Control Ring
Multi-standard
Light Guide Turret
p.8
USER MAINTENANCE (contd.)
CLEANING
WARNING: Prior to cleaning, turn power switch OFF and disconnect the
power cord from both the wall outlet and light source.
Clean the external surfaces of the light source with a cloth dampened in a solution
of mild soap and water. DO NOT IMMERSE!
The power cord may be wiped cleaned in the same way, taking care not to get the
prongs wet. DO NOT RECONNECT POWER CORD WHILE WET!
DO NOT plug the ELSV-24 light source into a wall outlet until it and the power cord
are completely dry.
The ELSV-24 is a fairly maintenance-free product. Should a problem occur that is
not fixed by replacement of the lamp or fuse, call the Everest VIT Service Center listed
in the back of this manual. THERE ARE NO USER SERVICEABLE COMPONENTS IN
THIS PRODUCT, OTHER THAN LAMP AND FUSE SETS.
Page 7

p.7
USER MAINTENANCE (contd.)
FUSE REPLACEMENT
1. Turn the unit off and disconnect the power cord from both the wall outlet and the
light source.
2.
Locate the fuse drawer, which is positioned just above the power cord connector
on the
back panel. Unlock the drawer by using a small screwdriver (1/8") to
depress and
release the spring loaded snap connection. Pull out the fuse drawer.
3.
Remove and replace fuses with new fuses of the same type (see Specifications)
. There is
no special orientation of the fuses. Be sure to replace both fuses.
4. Reinsert the fuse drawer by pushing it into the drawer socket until it snaps into place.
Note: If the new fuse blows, contact the service center listed in the back of this manual.
Fuse Drawer
Fuse Drawer
Fuses
Snap Connection
p.4
SYSTEM SET-UP AND OPERATION (contd.)
ON/OFF Switch
A two position rocker switch is used to turn the unit on or off. Depressing the side
marked with a " I " turns the unit on, while depressing the side marked with an "O"
turns it off.
Light Intensity Control Ring
The outer ring around the light guide socket rotates to adjust the amount of light
transferred into the light guide. Rotating the ring clockwise will increase the
amount of light in the image and rotating the ring counter clockwise will decrease
the amount of light. This manual control is helpful when trying to better illuminate
one part of the image or when trying to reduce blooming.
Light Guide Turret
The light guide turret enables the light source to accept different light guide fittings
without additional adapters. Simply rotate the turret to position the desired light
guide port in front of the lamp (6:00 position). The most common fitting, and the one
used most predominantly by Everest VIT, is the standard ACMI port. Other fittings
provided are Wolf, Olympus and Storz.
Carry and Operation Pouch (optional)
A custom designed soft carry pouch with shoulder strap is available as an accessory
.
The pouch carries the light source on one side with space on the opposite side for
accessories such as light guides, spare lamps, video cables, etc. Specially designed
access ports and vents allow the light source to be operated while inside the pouch.
Page 8

p.5
SYSTEM SET-UP AND OPERATION (contd.)
For Use With BCAM 1000 C-mount Video Camera
Video Connector
The video connector is used when the Everest VIT BCAM 1000 c-mount camera is
being used with the rigid borescope or fiberscope. The BCAM camera cable connects directly to this light source connector to provide simplified, one-cable hookup.
This customized cable provides power to the camera from the light source, and
relays the camera video to the light source, where is can be accessed through the
S-video and/or composite video output connectors on the back panel.
Video Outputs
S-video and composite BNC connectors are provided on the back panel of the light
source. When the light source is connected to the BCAM c-mount camera, the
camera video can be displayed and/or recorded by connecting a video cable from
one of these video outputs to a monitor and/or VCR.
BCAM 1000
Video
Connector
Video
Output
Camera
C-Mount
Coupler
p.6
USER MAINTENANCE
LAMP REPLACEMENT
CAUTION: Lamp may be Hot! Allow the lamp to cool before replacing.
Note: Use only Everest VIT replacement lamp SPL240.
DO NOT touch the lamp itself or the interior reflective surface, because skin oils will
cause premature lamp failure. If necessary, clean fingerprints with an alcohol
dampened cotton swab. Do not leave lint on the lamp.
1. Turn the unit off and disconnect the power cord from both the wall outlet and the light
source.
2. Remove the lamp access door from the bottom of the unit by unscrewing the Lamp
Access Knob located on the lower back panel.
3. Remove the old lamp by disconnecting the wire harness connector from the lamp and
then pulling the lamp back against the retainer spring and up. Discard the old lamp.
4. Holding the new lamp by its housing, connect the new lamp to the wire harness
connector and install by pulling back on the retainer spring, aligning the pin on the
lamp with the notch in the housing, and allowing the spring to push the lamp forward
into position.
5. Reattach the lamp access door and tighten the Lamp Access Knob. The light source will
not turn on unless the Lamp access door is secure.
Lamp
Access
Knob
Lamp
Access
Door
Lamp Connection Assembly
Holding Spring
Align Pin
Lamp
 Loading...