

Page 1
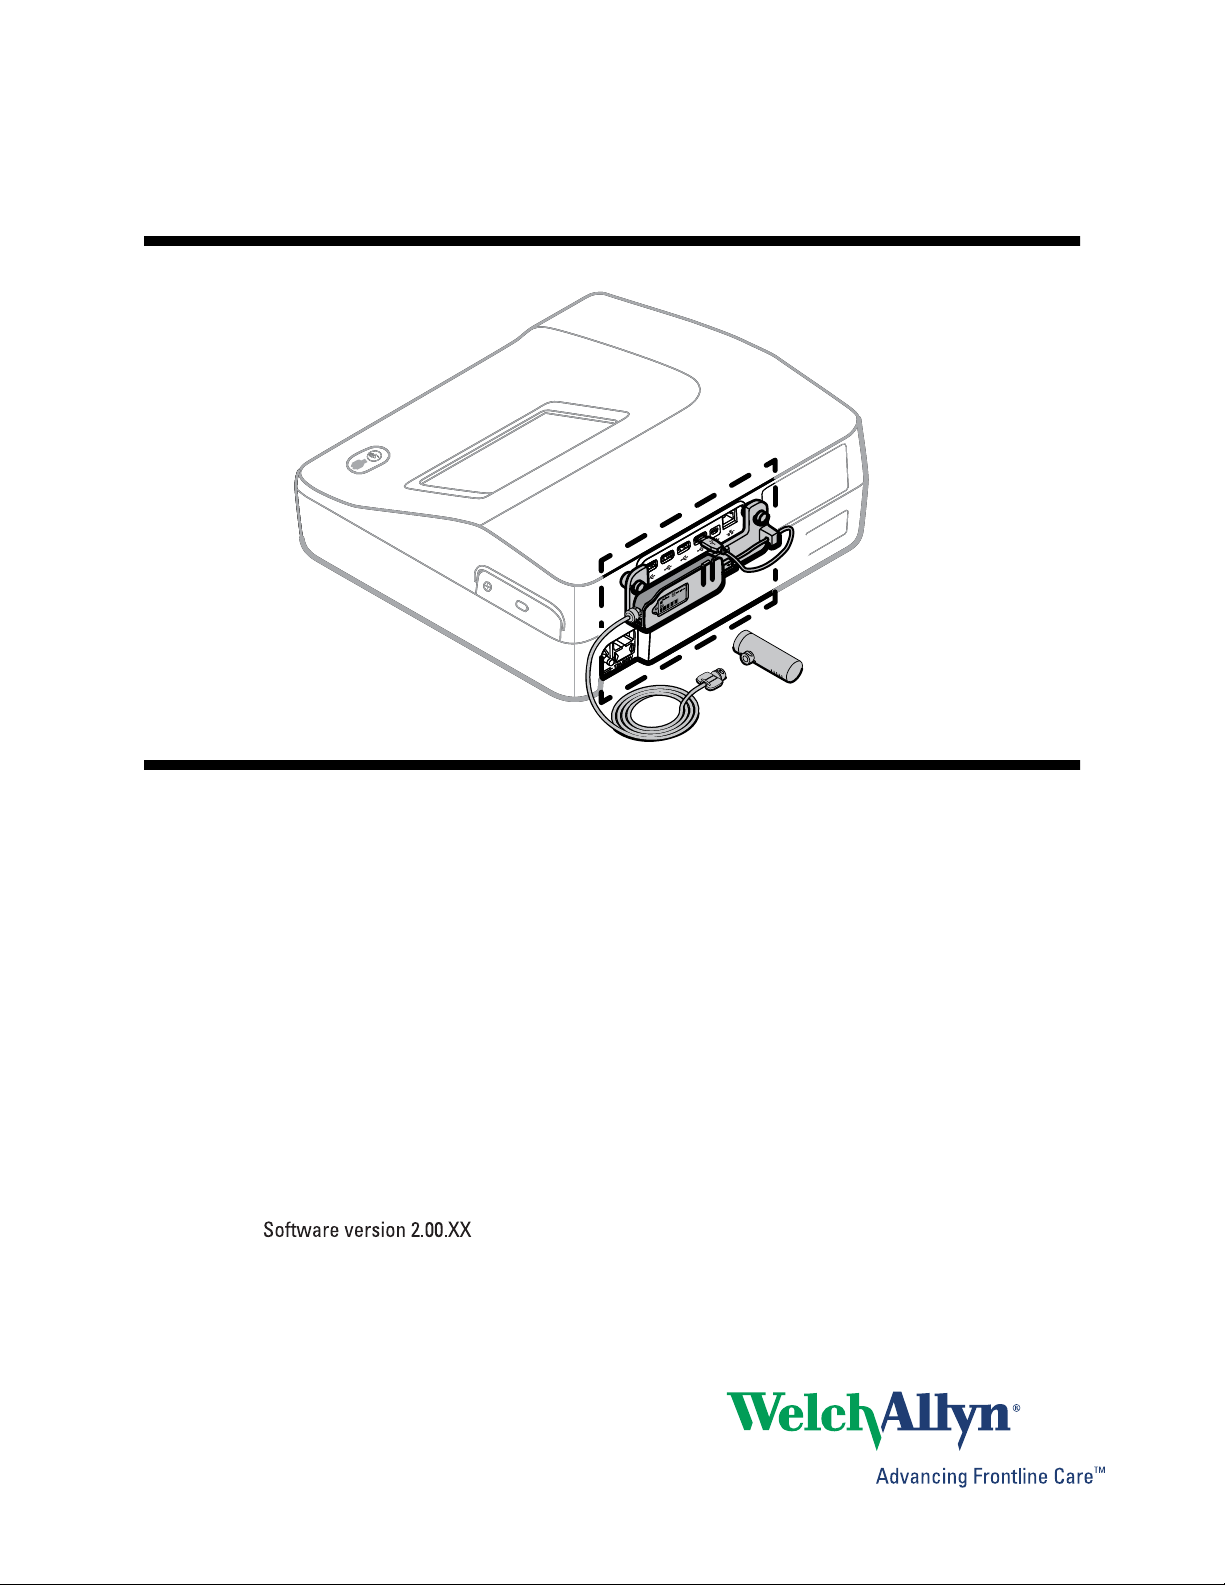
CP 150 spirometry option
Quick reference guide
Page 2
© 2014 Welch Allyn, Inc. To support the intended use of the product described in this publication, the purchaser of
the product is permitted to copy this publication, for internal distribution only, from the media provided by Welch
Allyn.
Caution: Federal US law restricts sale of the device identified in this manual to, or on the order of, a licensed
physician.
Welch Allyn assumes no responsibility for any injury, or for any illegal or improper use of the product, that may result
from failure to use this product in accordance with the instructions, cautions, warnings, or indications for use
published in this manual.
Welch Allyn is a registered trademark of Welch Allyn, Inc. CP 150, and CardioPerfect are trademarks of Welch Allyn,
Inc.
Patent information
For patent information, please visit www.welchallyn.com/patents.
Software in this product is copyright Welch Allyn or its vendors. All rights are reserved. The software is protected by
United States of America copyright laws and international treaty provisions applicable worldwide. Under such laws,
the licensee is entitled to use the copy of the software incorporated within this instrument as intended in the
operation of the product in which it is embedded. The software may not be copied, decompiled, reverse-engineered,
disassembled or otherwise reduced to human-perceivable form. This is not a sale of the software or any copy of the
software; all right, title and ownership of the software remains with Welch Allyn or its vendors.
Welch Allyn Technical Support:
http://www.welchallyn.com/about/company/locations.htm
105661 (CD)
DIR 80018006 Ver. A
Welch Allyn
4341 State Street Road
Skaneateles Falls, NY 13153-0220 U.S.A
www.welchallyn.com
105566 (printed copy)
Material Number 720714, DIR 80018006 Ver. A
Regulatory Affairs Representative
Welch Allyn Limited
Navan Business Park
Dublin Road
Navan, County Meath
Republic of Ireland
Page 3
Spirometry home screen
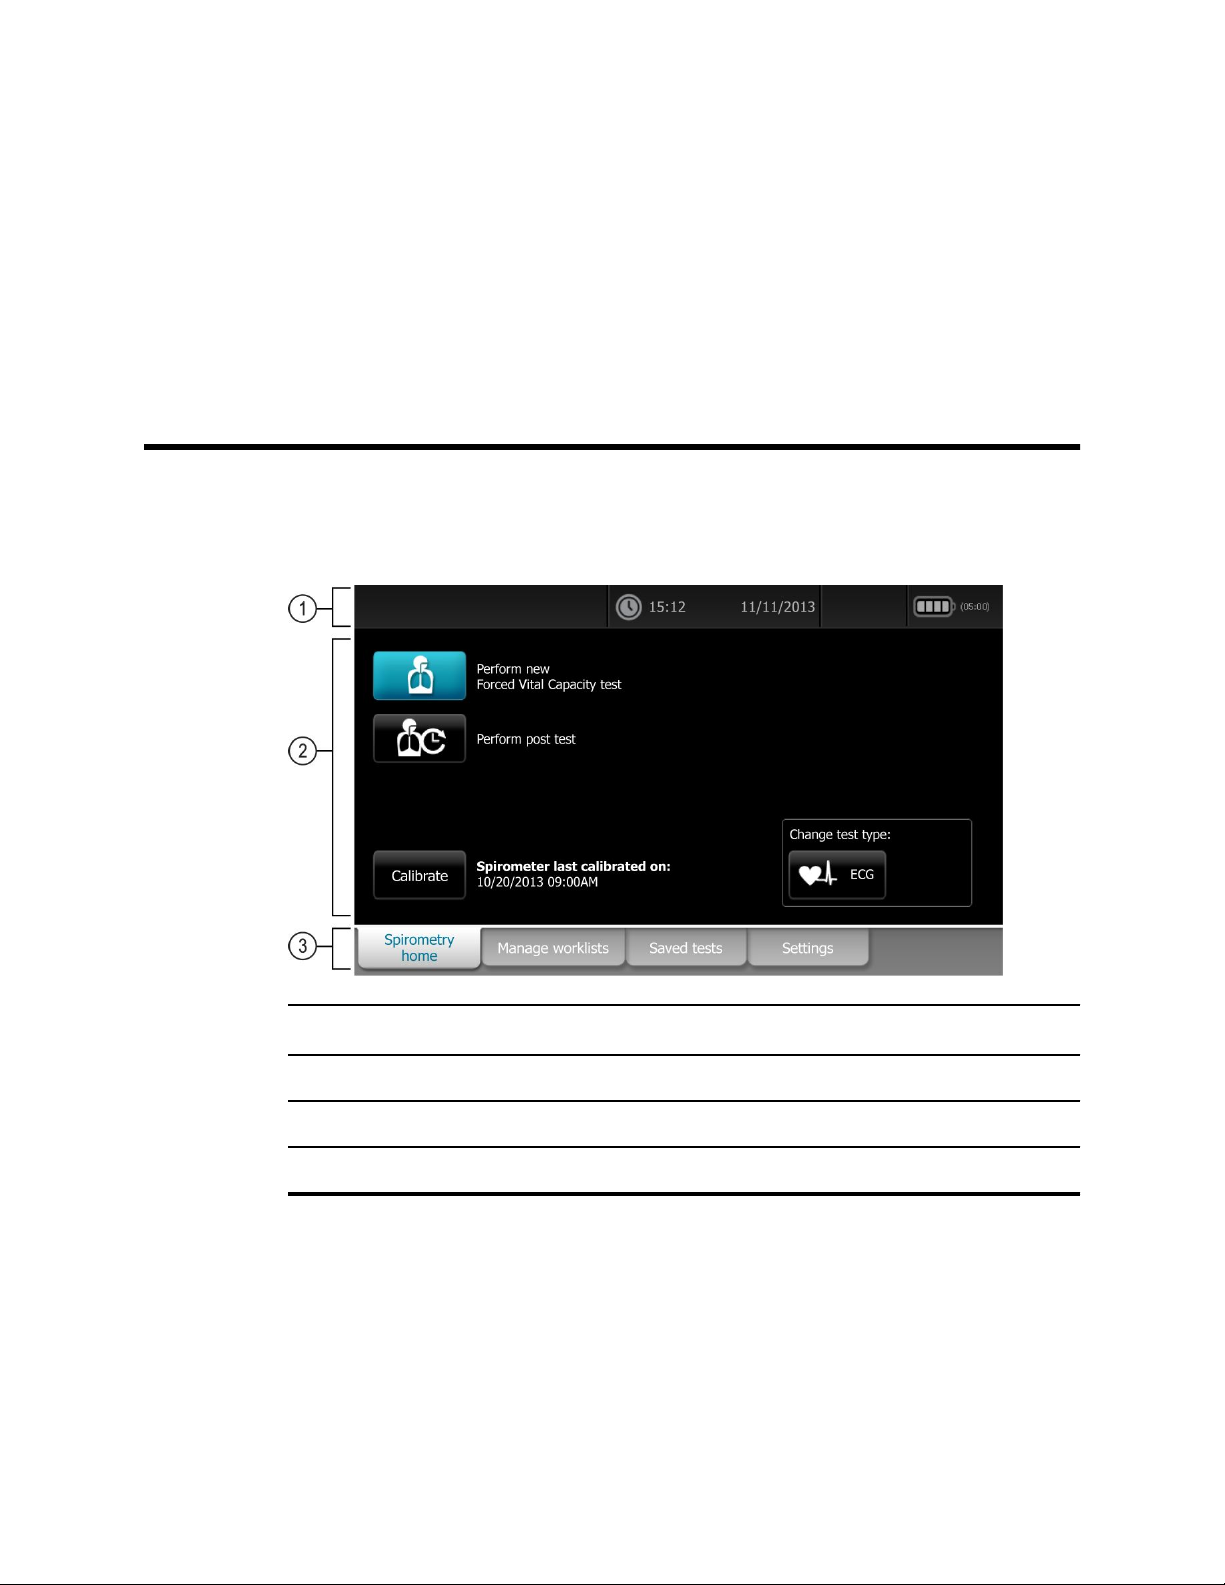
Spirometry home screen
The Spirometry home screen includes the following areas:
1
Item Area
1 Device status
2 Content
3 Navigation
Device status area
The Device status area, located at the top of the Spirometry home screen, displays:
Time and date
•
• Battery status
• Error or information messages. These items are displayed until the condition has
been resolved.
Page 4
2 Spirometry home screen CP 150 spirometry option
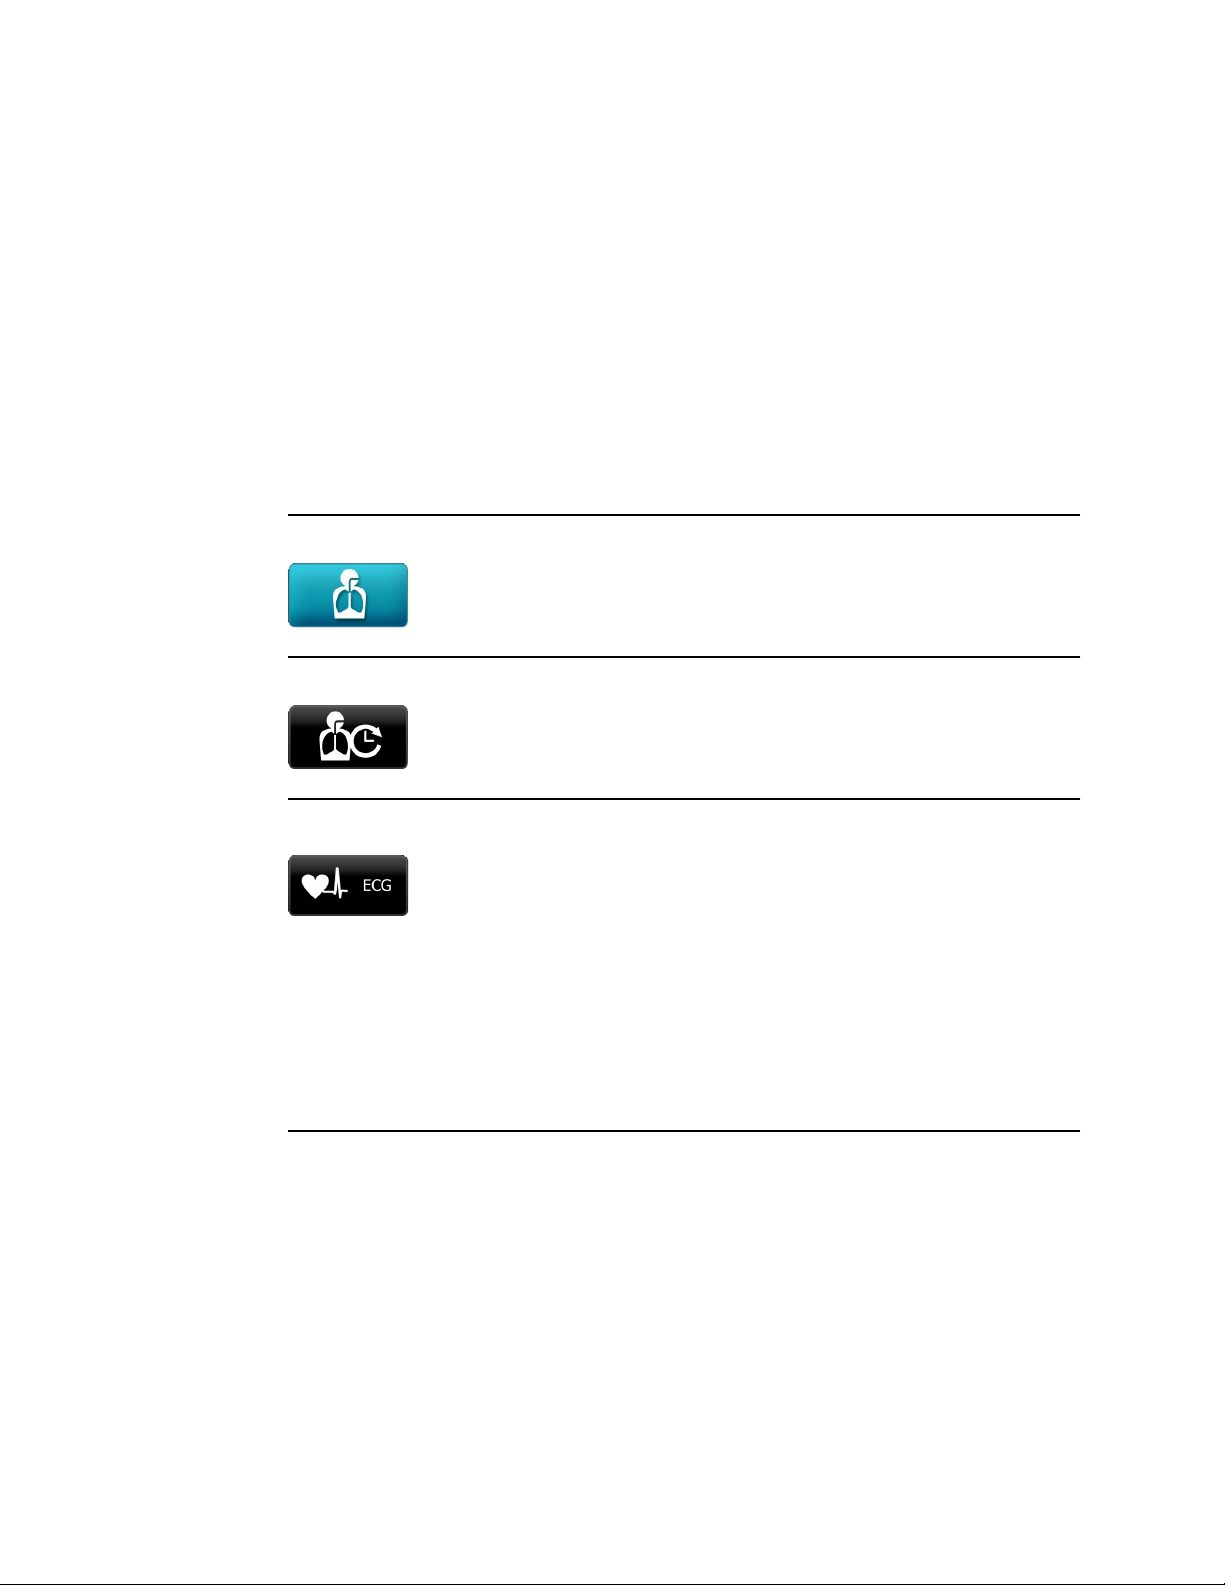
Content area
The Content area includes 2 test selection buttons, a calibrate button, and a button to
change the test type:
• Forced Vital Capacity test
• Contine saved test
• Calibrate
• Change test type
The content area also provides shortcuts to several controls.
About the test types
FVC Perform new Forced Vital Capacity test
“FVC” stands for forced vital capacity. The goal of an FVC effort is to measure the volume
forcefully.
Continue saved test
ECG
A test that provides data to compare with pre-test data. Sometimes called post-Rx or postBD (bronchodilator). A post-test must follow a pre-test within 24 hours.
Change test type:
Auto ECG
• A report typically showing a 10-second acquisition of 12 leads of ECG information
combined with patient data, measurements, and optional interpretation. Auto ECGs
can be saved to the electrocardiograph’s test directory or to a USB mass-storage
device.
Rhythm ECG
• A continuous, real-time printout of rhythm strips with a user-defined lead
configuration. Rhythm ECGs are printouts only. They cannot be saved.
Stat ECG
• An auto ECG that starts without waiting for you to enter patient data.
Page 5

Quick reference guide Spirometry home screen 3
Navigation area
The Navigation area includes the following tabs:
• Spirometry home: Displays spirometry test types and provides shortcuts to several
controls.
• Manage worklist: Includes patient data entered manually or orders downloaded
when connected to a hospital information system.
• Saved tests: Accesses the patient spirometry and ECG tests.
• Settings: Accesses device configuration settings.
To navigate to a tab, touch the tab in the Navigation area with the corresponding name.
The active tab is highlighted.
Page 6

4 Spirometry home screen CP 150 spirometry option
Example spirometry report
Page 7

Spirometry tests
Performing a new Forced Vital Capacity spirometry test
CAUTION Patient data is not saved until the spirometry test is completed.
Note The spirometry configuration settings can be changed in the Settings tab.
The following settings may appear differently if the default settings have
been modified.
5
1. From the ECG Home screen touch the (Spirometry) button.
Note If the Daily Reminder setting is enabled, the first time this
button is pressed each day, the prompt “calibrate now?”
appears.
2. Touch the (Perform new Forced Vitals Capacity test) button. The Summary
tab appears.
3. Enter the following patient information:
Note Required fields are denoted with an asterisk.
• Patient ID*. Touch the OK button.
• Birth date*. Touch the OK button.
• Last name*. Touch the OK button.
• First name. Touch the OK button.
• Middle Initial. Touch the OK button.
4. Touch the (Next) button.
5. Enter the following patient information:
Note Required fields are denoted with an asterisk.
• Gender*
• Race*
• Height*. Touch the OK button.
• Weight. Touch the OK button.
• Smoke Years. Touch the OK button
• Packs/day. Touch the OK button
• Comments. Touch the OK button
Page 8

6 Spirometry tests CP 150 spirometry option
6. Touch the (Next) button.
7. Touch the View or Incentive button to select the display information that you want
to view during the test.
a. Modify the View settings as desired:
• View Flow/Volume. (View FV curve)
• View Volume/Time. (View VT curve)
• View Flow/Volume and Volume/Time. (View FV & VT)
• View Parameters.
b. Modify the screen settings as desired:
• Incentive screen
• Curves screen
8. When the patient is ready, touch the Start pre #1 button to perform the spirometry
test.
Note Coach the patient through the effort.
The device stops automatically when air stops moving (that is, when the ATS end-oftest criteria are met).
9. (Optional) touch the Stop button when the test has been completed.
10. Decide whether to accept the effort.
Note After each effort, a quality message appears on this screen,
such as "Blast out harder", “Don’t hesitate,” “Blow out
longer,” or “Good effort.”
11. Touch the Accept button to save the pre test and continue or touch the Reject
button.
If the test is accepted or rejected, the next pre-test will increment in number. Even if
some efforts were deleted, the test record indicates the patient’s total number of
efforts.
12. Continue with pre-test efforts, when finished touch the Pre-test done button to
accept the pre-tests.
Page 9

Quick reference guide Spirometry tests 7
13. Touch Print to print the test report, touch Test results to preview the test report on
the display, or touch ATS Interpretation to add or edit ATS interpretations. Touch
Print patient's education to print patient help sheets. (See About the patient help
sheets for further detail.) Touch Start post test to perform post medication efforts
for the current patient, or touch Return to pre test to continue with FVC pre-test
efforts.
14. Touch Done when you have completed the pre-tests.
If the Auto Save setting is turned off, touch the Yes button and touch Save to save
the test. Select one of the following locations:
• Local (internal memory)
• USB mass storage device (Any tests that you save to a USB mass storage
device can be retrieved only from a CardioPerfect workstation.)
• Workstation
• Remote file location
Performing a spirometry post test
Complete the pre-test efforts. See Performing a new Forced Vital Capacity spirometry
test.
Note
1. Touch the (Continue saved test) button.
The Spirometry saved tests screen appears.
Pre- and post-efforts must happen on the same day. The next day tests
become available for review only; you can no longer add efforts to them.
Page 10

8 Spirometry tests CP 150 spirometry option
2. Select a patient from the list of saved tests.Touch the Patient ID, Patient name, Birth
date, or Efforts.
3. Touch the Continue test button.
4. When the patient is ready, touch the Start post #_ button.
Note Coach the patient through the effort.
5. The device stops automatically when air stops moving (that is when the ATS end-oftest criteria are met.)
6. (Optional) Touch the Stop button when the test has completed.
7. Decide whether to accept the effort.
8. Touch the Accept button to save the post test and continue or touch the Reject
button.
If a test is accepted or rejected the next post-test will increment in number. Even if
some efforts were deleted, the test record indicates the patient’s total number of
efforts.
9. Touch Post-test done to accept the post-test.
10. Touch Print to print the test report, touch Test results to preview the test report, or
touch ATS Interpretation to add or edit ATS interpretations. Touch Return to post
test to continue performing post medication efforts for the current patient.
11. Touch Done when you have completed the post-tests.
12. Touch the Yes button and touch Save to save the test. Select one of the following
locations:
• Local (internal memory)
• USB mass storage device (Any tests that you save to a USB mass storage
device can be retrieved only from a CardioPerfect workstation.)
• Workstation
• Remote file location
Working with a Saved test
To view Saved tests:
From the Spirometry home tab, touch the Saved tests tab. Search for tests by Date,
1.
Last name, or Patient ID. Alternatively, you can search for All test types.
2. Enter the Date, or Patient's Last name, or Patient's ID and touch OK. Select the Test
type.
3. Touch the Search button.
Page 11

Quick reference guide Spirometry tests 9
4. Touch the check box next to the desired test to select the test and then touch the
Review button.
Note The Review button is not active until a test is selected. Only a single
spirometry test can be reviewed at a time.
Note Spirometry tests are denoted with a icon in the Test type column.
View and Print options include test efforts with color-coded legend, parameters with
norm profile, efforts summary, and ATS Interpretive results.
Page 12

10 Spirometry tests CP 150 spirometry option
Page 13

Troubleshooting
Symptoms and solutions
Problem-solving suggestions:
If you try these suggestions and still have problems, contact Welch Allyn.
11
Symptom Possible cause Suggested action
Unable to calibrate Poor connection between flow
transducer and sensor
Damage to flow transducer Replace the flow transducer if it is
Leak during calibration. Ensure that the connection between
Uneven calibration strokes. Use even strokes in calibration.
Pressure tubing is kinked Replace pressure tubing.
No sensor detected Poor connection between the sensor
and the device
Does not print Out of paper Load paper. See the electrocardiograph
Paper jam If the paper is jammed, clear it, then
Values are too high (intermittent) Patient’s fingers obstructed the screen
on the back of the flow transducer,
causing high back pressure and false
reading
Check the connection between flow
transducer and sensor.
damaged.
the calibration syringe and flow
transducer is tight with no leaks.
Connect to another USB port.
Replace the USB cable.
manual.
reload.
Retest.
Patient’s lips were not tightly sealed
around the flow transducer
Spirometer was calibrated with the
wrong size syringe
Retest.
Recalibrate with a 3-liter syringe. See
Performing a calibration.
Page 14

12 Troubleshooting CP 150 spirometry option
Symptom Possible cause Suggested action
Values are too high (consistently) Pressure connection is partially
obstructed
Predictive values are blank The selected norm does not support
certain values, and composite norm
values are disabled
The flow sensor has been dropped. Accident Recalibrate. See Performing a
Report does not print parameters or
graphs.
Patient test values differ from values
expected by physician.
Improper parameter settings Check print settings. See Viewing or
Various If the transducer is contaminated with
Remove any foreign substance from the
flow transducer or pressure tubing.
Re-enter age/birthdate, height, gender,
race.
(Fill in the fields. All mandatory fields
must be filled in before you can
proceed.)
Enable composite norm values. See
Viewing or changing the spirometry
settings.
calibration.
changing the spirometry settings.
sputum or secretions, replace it.
Verify that proper barometric pressure
has been entered. See Performing a
calibration.
Verify the patient data.
Eliminate any leaks in the pressure
tubing.
Retest using a nose clip.
Replace the sensor if damaged.
Recalibrate.
Replace the transducer and retest.
Page 15

Page 16

Reorder No.
Material No.
105566
720714
 Loading...