

Page 1
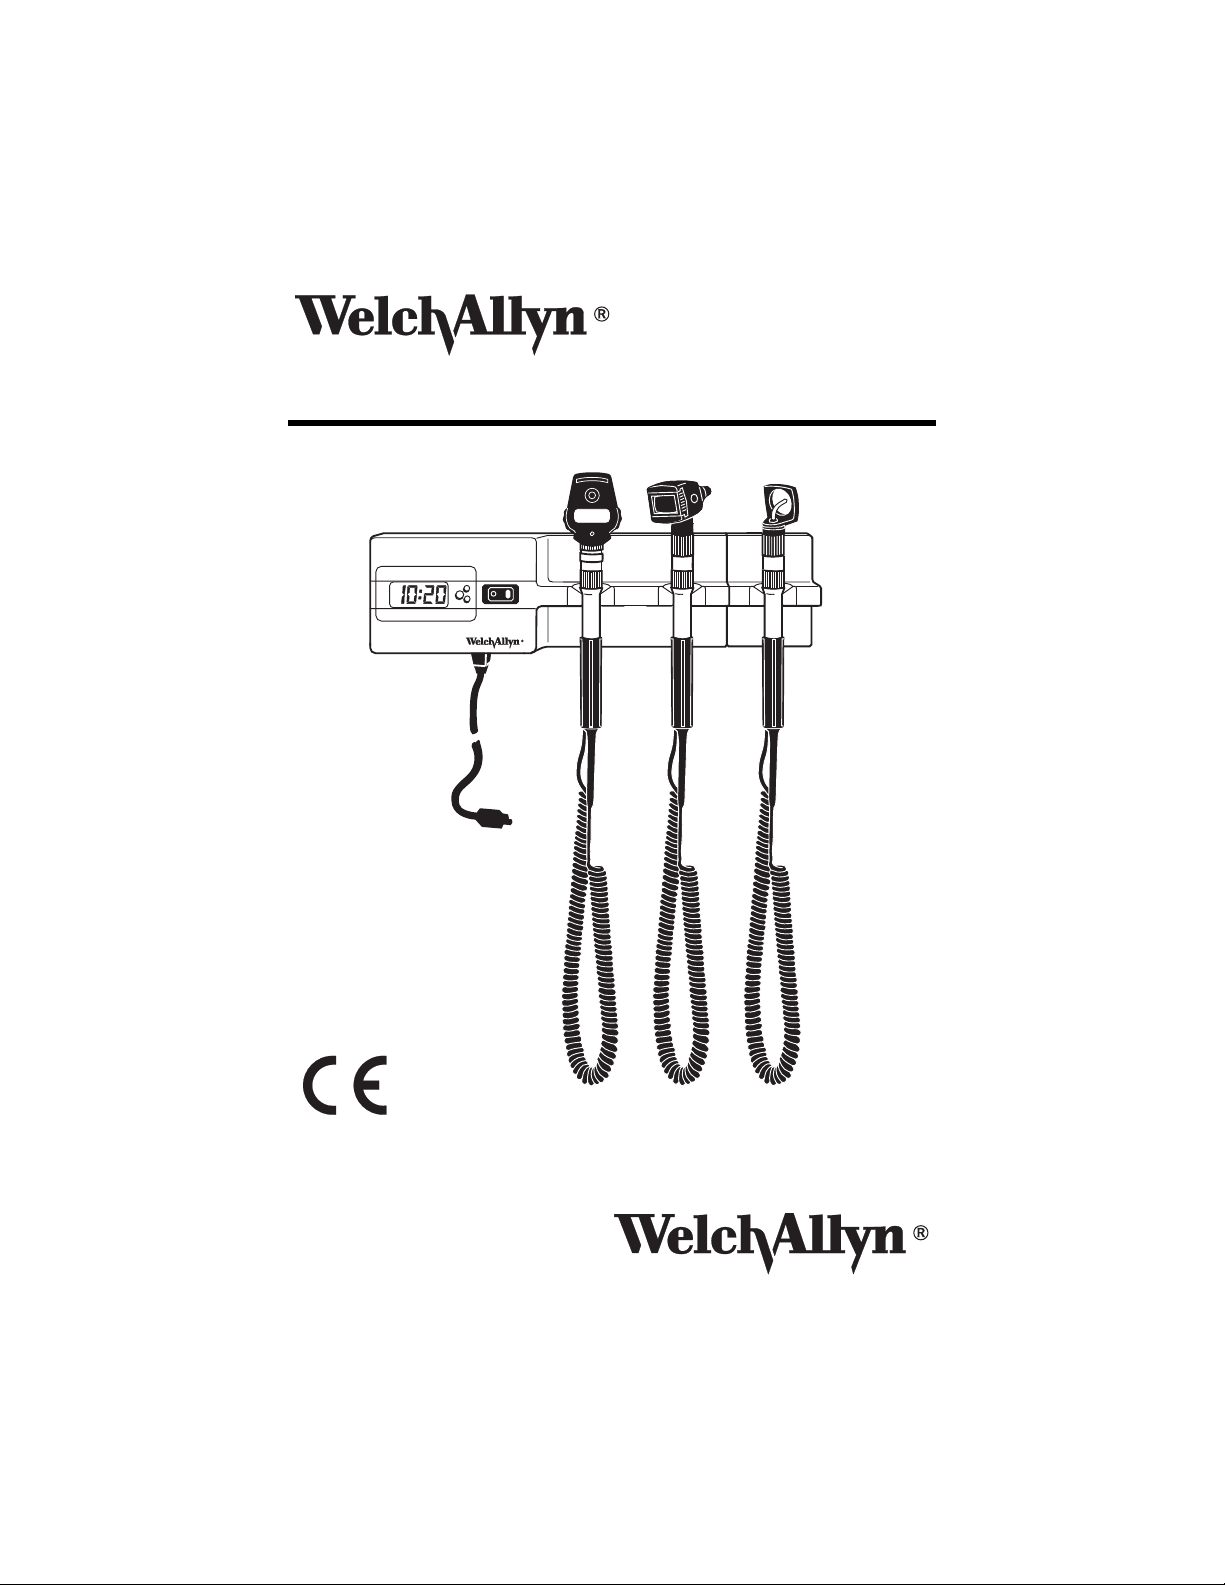
767 Diagnostic System
3.5v 767 Wall Transformer
Patent Pending
Listed to:
UL 60601-1
CSA C22.2 No. 601
Page 2

Thank you for purchasing the Welch Allyn 3.5v 767 Wall Transformer. This manual
is meant to provide product specifications and instructions for usage and
maintenance. The instructions for use should be followed to ensure accurate and
reliable service.
The 3.5v 767 Wall Transformer carries a lifetime warranty against all
manufacturing defects. The coiled cords carry a special 10 year warranty
against breakage during normal usage.
Page 3

Table of Contents
Warnings . . . . . . . . . . . . . . . . . . . . . . . . . . . . . . . . . . . . . . . 1
Avertissements . . . . . . . . . . . . . . . . . . . . . . . . . . . . . . . . . . 1
Mounting Instructions . . . . . . . . . . . . . . . . . . . . . . . . . . . . . 2
Operation . . . . . . . . . . . . . . . . . . . . . . . . . . . . . . . . . . . . . . . 3
Operating Instructions . . . . . . . . . . . . . . . . . . . . . . . . . . . . . 4
Clock Option . . . . . . . . . . . . . . . . . . . . . . . . . . . . . . . . . . . . 5
Mounting the Third Handle Module . . . . . . . . . . . . . . . . . . 7
Maintenance . . . . . . . . . . . . . . . . . . . . . . . . . . . . . . . . . . . . 8
Cleaning and Repair . . . . . . . . . . . . . . . . . . . . . . . . . . . . . . . 8
Specifications . . . . . . . . . . . . . . . . . . . . . . . . . . . . . . . . . . . 9
Page 4

Page 5
Warnings
USE HOSPITAL-GRADE POWER INLET CORD ONLY.
REPLACE CLOCK BATTERY AS INSTRUCTED WITH Maxell 43 OR EQUIVALENT
BATTERY.
GREEN PILOT LIGHT INDICATES THAT THE POWER MAINS IS CONNECTED TO
APPLIANCE.
USE THIRD HANDLE MODULE (MODEL #76730) WITH WELCH ALLYN 3.5v 767 WALL
TRANSFORMER ONLY.
SERVICE TO BE PERFORMED BY AUTHORIZED WELCH ALLYN REPAIR
DEPARTMENT ONLY.
FUSE REPLACEMENT — TYPE T250, 250v SLOW BLOW 0.20 AMPERE (SHOULD BE
REPLACED ONLY BY AUTHORIZED WELCH ALLYN REPAIR DEPARTMENT).
CAUTION: DISCONNECT THE SYSTEM FROM THE MAINS SUPPLY BEFORE
CONNECTING THE THIRD HANDLE (MODEL #76730).
THIS PRODUCT IS DESIGNED FOR INTERMITTANT USE, TYPICAL ON-TIME
SHOULD NOT EXCEED 2 MINUTES.
Avertissements
N’UTILISER QUE LE CORDON D’ALIMENTATION DE QUALITE HOPITAUX.
REMPLACER LA BATTERIE DE L’HORLOGE SELON LES INSTRUCTIONS PAR UNE
BATTERIE MAXELL 43 OU EQUIVALENT.
LE VOYANT VERT INDIQUE QUE L’INSTRUMENT EST BRANCHE SUR
L’ALIMENTATION SECTEUR.
N’UTILISER LE MODULE DE LA TROISIEME POIGNEE (MODELE NO. 6730) QU’AVEC
LE TRANSFORMATEUR MURAL WELCH ALLYN 767 DE 3,5V.
ATTENTION : NE CONFIER LES REPARATIONS QU’AU DEPARTEMENT DE
REPARATION AGREE WELCH ALLYN.
REMPLACEMENT DU FUSIBLE — TYPE T250, 250V, A ACTION RETARDEE 0,20
AMPERES (NE LE FAIRE REMPLACER QUE PAR LE DEPARTEMENT DE REPARATION
AGREE WELCH ALLYN).
ATTENTION : DEBRANCHER LE SYSTEME DE L’ALIMENTATION SECTEUR AVANT DE
RACCORDER LA TROISIEME POIGNEE (MODELE NO. 76730).
CE PRODUIT EST CONCU POUR ÊTRE UTILISÉ DE MANIÈRE INTERMITTENTE; NE
PAS L’UTILISER AU DELÀ DE 2 MÌNUTES.
1
Page 6

Mounting Instructions
Flat Side
Fasten mounting plate to the wall with enclosed screws, making sure that the screw hole
flanges face away from the wall and the smooth surface of the mounting plate is flush with
the wall. Depending on the mounting surface, alternative screws may be needed. With the
flat side of the plate on the mounting surface, level the plate as shown. Note that the plate
should be mounted so that the widest portion of the plate is horizontal (as shown). When
mounting screws are tightened, there will be a gap between the screw head and surface
of the plate.
Screw Hole
BACKPLATE
TO
POWER
Mount the unit by fitting the round holes in the backplate over screw heads on the wall
mounting plate, then push downward on the unit to secure it to the wall. This slides the
tapered slots in the backplate over the shoulders in the mounting plate. Plug into 108-125v,
60 Hz AC and unit is ready for use.
2
Page 7

Operation
ON/OFF
OPTIONAL
CLOCK
CLOCK
FACEPLATE
POWER
CORD
(3m)
SWITCH/
PILOT LIGHT
HANDLE
CRADLE
Handles Handles will accept any 3.5v Welch Allyn instrument
head.
Rheostat Located on each handle. Turn clockwise to increase light
output, turn counterclockwise to decrease light output.
Handle cradle Instrument lights automatically when handle is lifted
from the cradle engaging the OptiSense
Sensor. When handle is returned to the cradle the
OptiSense
TM
Optical Sensor is disengaged
automatically turning the instrument off.
On-off switch/pilot light Indicates the transformer is on (power mains is applied).
Clock Option on this model. Refer to page 5 for operating
instructions.
Third Handle Module Option on this model. Refer to page 7 for mounting and
operating instructions.
Power cord Can be plugged into any 108-125v, 60 Hz outlet.
3.5v
INSTRUMENT
HEAD
RHEOSTAT
HANDLES
TM
Optical
THIRD
HANDLE
MODULE
3
Page 8

Operating Instructions
Handles will accept any Welch Allyn 3.5v instrument head.
After plugging power cord into any 108-125v, 60 Hz outlet, turn power switch to on position,
illuminating the pilot light.
With power switch in on position,
instruments will automatically light when
handles are lifted from the handle cradle and
the OptiSense
Adjust rheostat on handle until desired light
output is obtained. Turning rheostat
clockwise increases light output,
counterclockwise decreases light output.
Note: Rheostat does not turn instrument
completely off. Returning handle to cradle will
disengage the OptiSense™ Optical Sensor
and turn the instrument completely off.
A built-in, automatic voltage regulator
provides maximum illumination and lamp life.
Instruments will automatically turn off when
the handle is placed back in the cradle. The
Welch Allyn 767 Wall Transformer can be
turned off by simply turning the power switch
to the OFF position. Pilot light alone draws
current when instruments are not in use.
When unit is not in use for more than a few
hours, turn power switch to OFF position to
ensure longer operating life. Unit can remain
plugged in permanently. The clock is powered by a battery and will keep time when power
switch is turned off.
TM
Optical Sensor is engaged.
RHEOSTAT
4
Page 9

Clock Option
START/STOP
BUTTON
CLOCK
MODULE
REMOVAL
TAB
Start/Stop button Use this button to start and stop seconds count. Press
once to start the seconds. Press again to stop seconds.
Clock button Use this button to return from seconds mode to hour/
minute by pressing once.
Timer button Use this button to change to seconds mode (timer).
Clock module removal tab Pull forward to remove clock module and gain access
for changing battery.
The clock, powered by a battery, operates separately from the main power supply. For this
reason the time will be displayed when the main unit is turned off or unplugged from the
wall power socket.
Engage Seconds Mode:
Press Timer Button to engage. Press Start/Stop button to begin seconds mode. Press the
Clock button to return the Hour/Minute display.
TIMER
CLOCK
BUTTON
ON-OFF SWITCH/
PILOT LIGHT
5
Page 10

Change Time:
The following steps should be followed when resetting the time:
1. Remove clock module by prying the clock faceplate from unit housing.
2. With clock in clock mode, press Start/Stop button for 5 seconds until time on clock begins to flash.
3. Using Hour Set and Minute Set buttons on back of clock module, set time to correct values.
4. Press Start/Stop button again to return clock to regular operation.
5. Replace clock module into unit by lining up edges and pressing into main housing.
Change Clock Battery:
1. Remove clock module by prying the clock faceplate from unit housing.
2. Remove battery by pushing battery out of retaining sleeve. For best results, use a pen or pencil to pry against the faceplate housing wall.
3. Insert new battery. Welch Allyn recommends Maxell 43 or equivalent.
6
Page 11

Mounting the Third Handle Module
A Phillips screwdriver is needed to connect the Third Handle Module.
Mounting the Third Handle Module:
1. Disconnect main unit power supply.
2. Remove main unit from the wall by lifting up and out (instructions found on page 2 of this manual).
3. Attach stabilization bar to back of Third Handle Module (as shown using two enclosed star washers and screws).
Step 3: Step 5:
STABILIZATION
BACK OF THIRD
HANDLE MODULE
STAR
WASHE RS
BAR
THIRD HANDLE MODULE
BACK GROOVE
MAIN UNIT
STABILIZATION
BAR
4. Line up the metal stabilization bar with the groove on the back of the main unit. Also, line up the connecting blades with the blade openings on the side of the main unit housing.
5. Slide Third Handle Module into the main unit until firmly in place.
Step 6:
6. Secure Third Handle Module in place (as shown using two enclosed star washers and screws).
7. Place unit on the wall following the instructions found on page 2 of this manual and reconnect main unit power supply.
8. Place instrument on third handle and lift from cradle. This will test for correct attachment.
CONNECTION
BLADES
7
Page 12

Maintenance
Like any other piece of electrical equipment, periodic electrical inspections should be
performed by qualified personnel. Welch Allyn recommends inspections every six months,
more often if used under adverse conditions.
Cleaning and Repair
Do not sterilize. May be cleaned by wiping with a dry cloth. Avoid using abrasive cleaning
materials on clock faceplate.
CLOCK
FACEPLATE
REPAIR:
For all repairs, send unit to: Technical Service Department, Welch Allyn, Inc., 4341 State
Street Road, Skaneateles Falls, New York 13153, or in the U.S.A. call 1-800-535-6663. Fax:
315-685-4653 (Technical Services). In Canada call: 1-800-561-8797. Fax: 905-890-0008.
8
Page 13

Specifications
Model No. 76720 3.5v 767 Wall Transformer
76710 3.5v 767 Wall Transformer
76730 3.5v 767 Wall Transformer
Powe r Co rd:
Input: 108-125v., 60Hz. (0.5A @ 120V)
Output: Model Nos. 76720, 76710 — 3.00-3.90v, .700-1.05A at 120 VAC
Supplied with two coiled cords, two handles, and power cord.
Leakage current is less than 10 microamps from any exposed metal part.
Fuse: Replace with fuse specified on page 1 only.
Weight: Weight with mounting plate is 4.5 pounds (2.04kg). (NOTE: This is weight without
instrument heads.)
Dimensions: H=4" (10.16cm) D=4" (10.16cm) W=12" (30.48cm)
Listed to UL60601-1
Certified to CSA 22.2 No.601
Certified
(two-handle model with clock, instrument heads not included).
(two-handle model without clock, instrument heads not included),
Third Handle Module (instrument heads not included).
The CE mark on this product indicates it has been tested to and conforms
with the provisions noted within the 93/42/EEC Medical Device Directive.
Authorized European Representative Address:
European Regulatory Manager
Welch Allyn, Ltd.,
Navan Business Park
Dublin Road
Navan, County Meath, Republic of Ireland
Tel. +353 46 90 67700
Fax +353 46 90 67756
9
Page 14

10
Page 15

Page 16

Welch Allyn, Inc.
4341 State Street Road
PO Box 220
Skaneateles Falls, NY 13153-0220
U.S.A.
Telephone: 800-535-6663 or
315-685-4100
Fax: 315-685-3361
Part No. 705219 Ver. D Printed in U.S.A.
 Loading...