Page 1

GE Inspection Technologies
Accessories and specifications:
Ultrasonics Ultrasonics
GE Inspection Technologies
Krautkramer MIC 10
Quick hardness testing made easy.
Versatile in application and data storage.
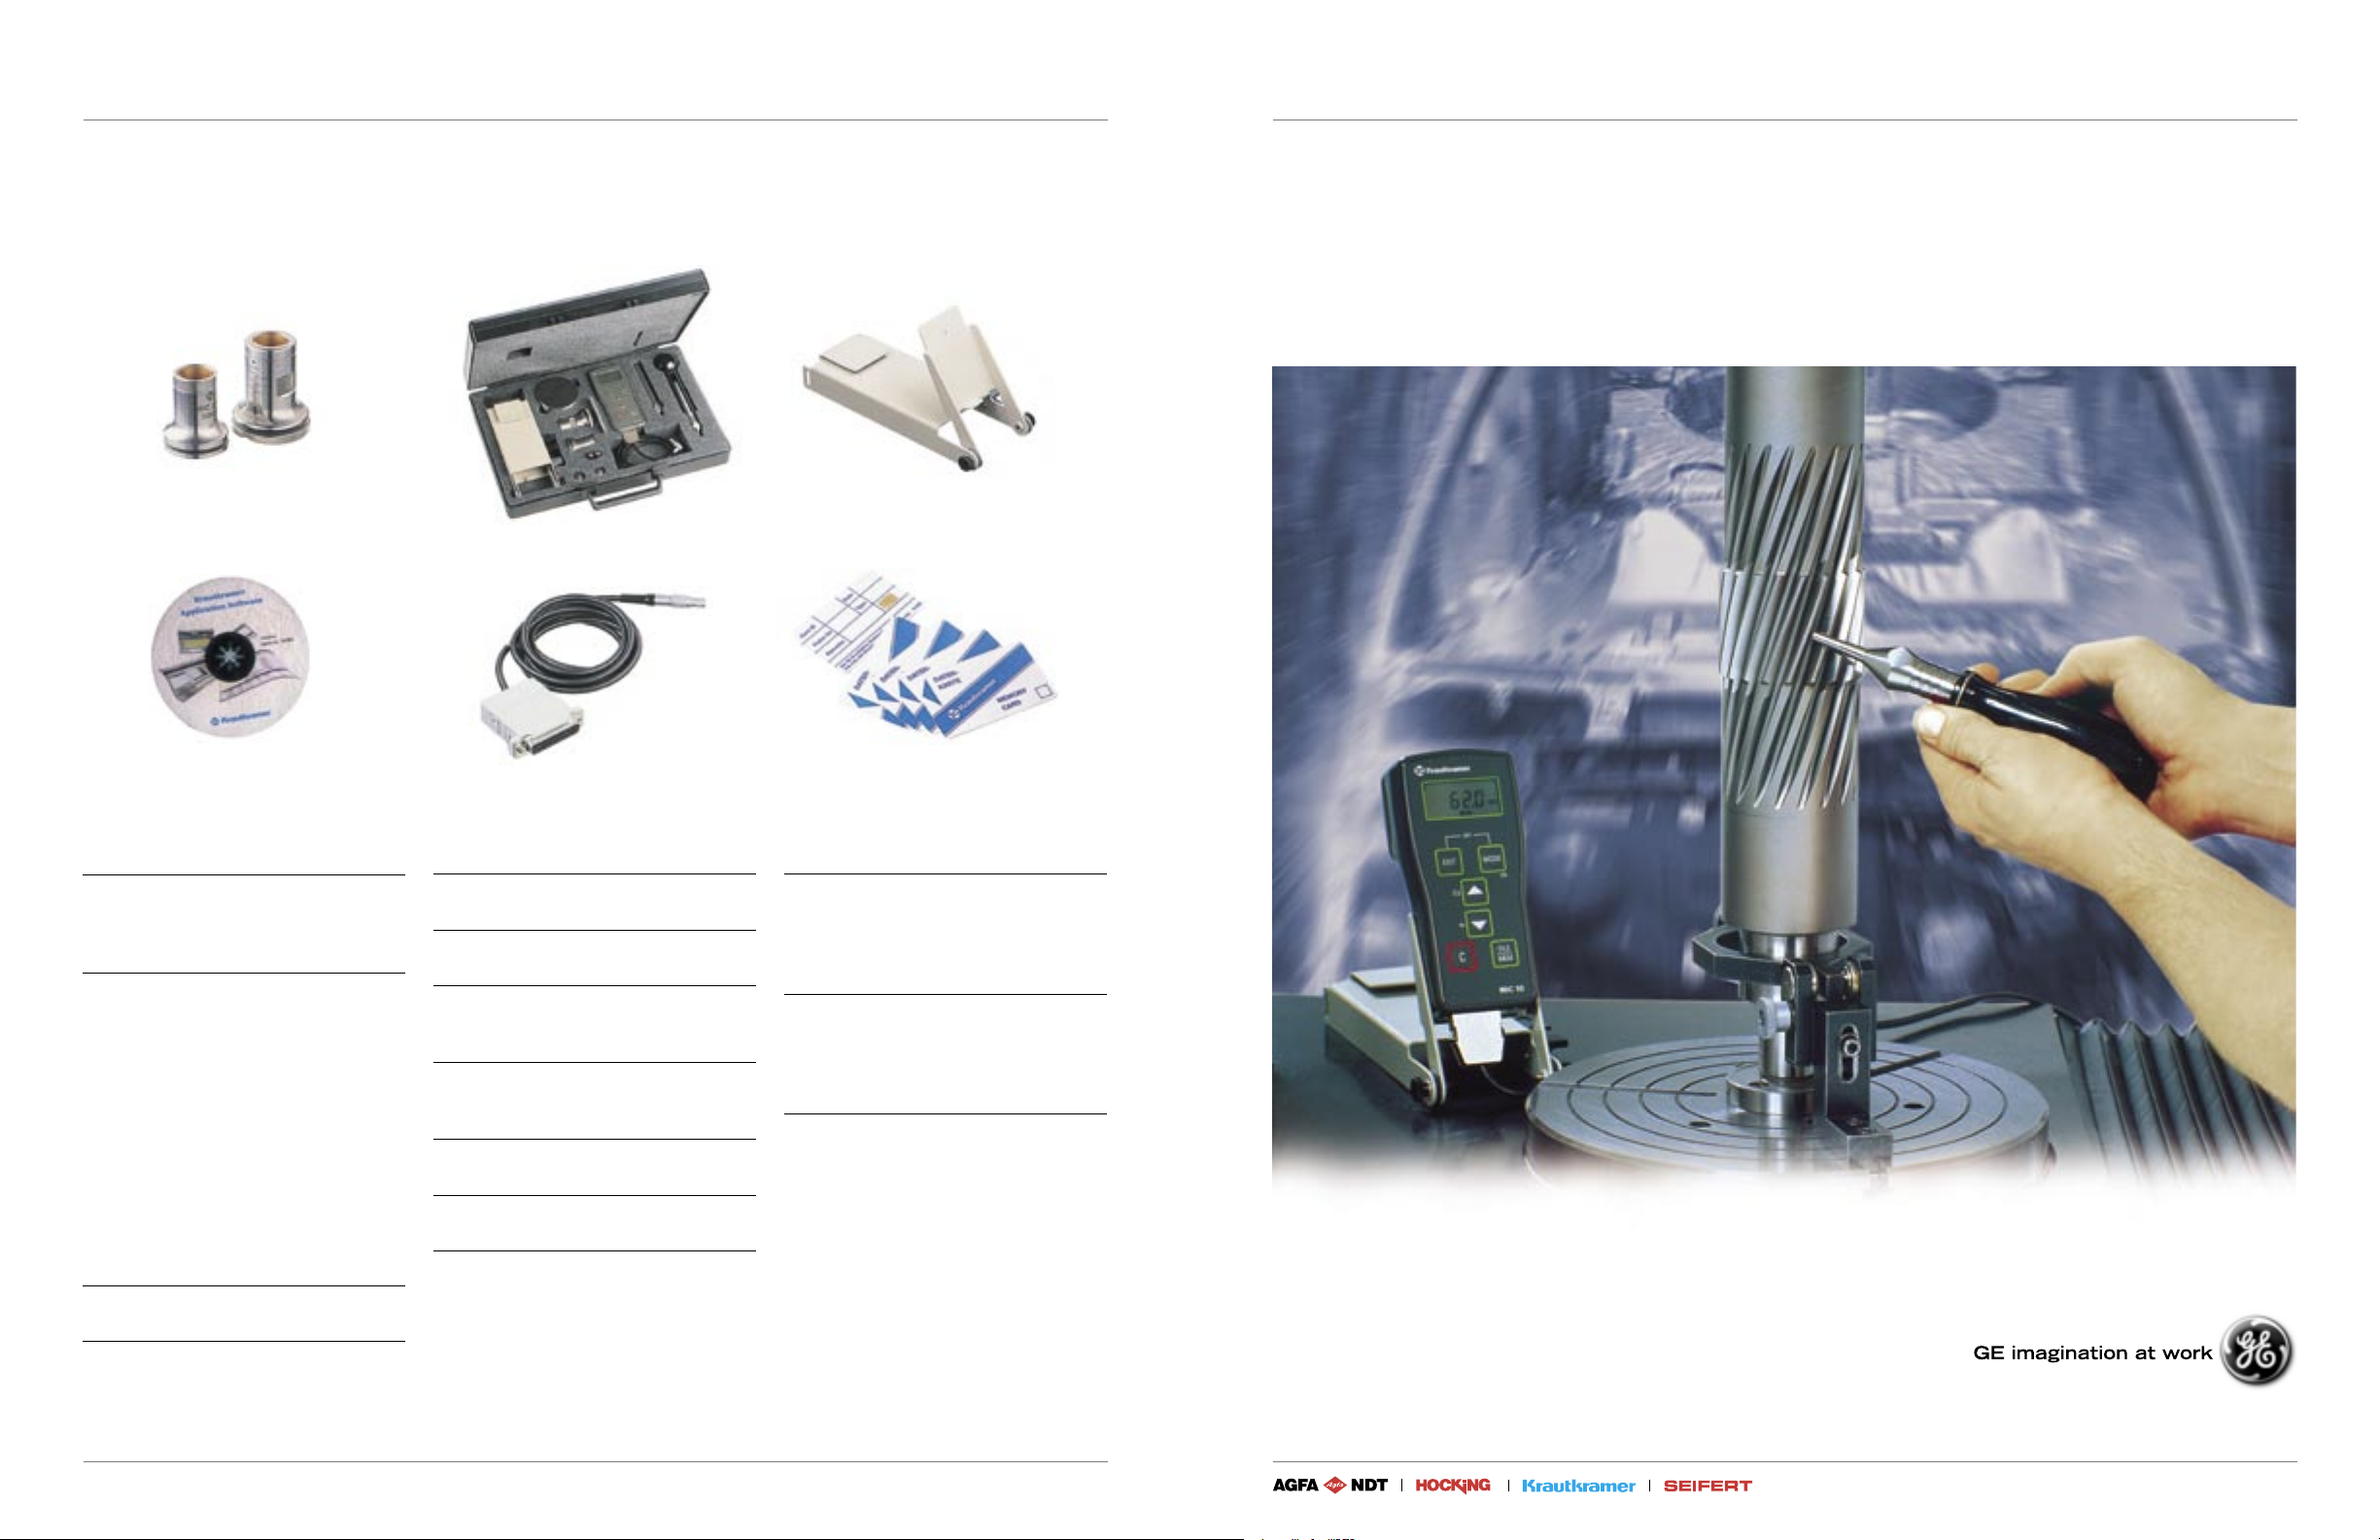
Flat probe shoe attachment MIC 270
Prism shoe attachment MIC 271
Application Software
UltraHARD
Method of measurement:
Vickers penetration with indentation evaluation
by the UCI method under load
(diamond angle 136°)
UCI probes:
To be selected according to application:
Handheld probes:
10 N (1 kgf) standard MIC 201-A
short MIC 201-AS
extended MIC 201-AL
50 N (5 kgf) standard MIC 205-A
short MIC 205-AS
extended MIC 205-AL
98 N (10 kgf) standard MIC 2010-A
Motor probes:
8.6 N (0.9 kgf) MIC 211
3 N (0.3 kgf) MIC 2103-A
1 N (0.1 kgf) MIC 2101-A
Range:
20 - 1740 HV
Conversion:
HV, HB, HRC, HRB
N/mm² (only with the 10 kgf handheld probe)
according to DIN 50150, ASTM E 140
for MIC 10 and accessories
for printer and PC
Display:
4 digit LCD with switchable backlight
Weight:
approx. 300g
Dimensions:
160 x 70 x 45 mm,
6.3 x 2.8 x 1.8 inches (W x H x D)
Permissible ambient temperature:
In operation: -15°C to 55°C(5°F to 131°F)
In storage: -20°C to 60°C (-4°F to 140°F)
Power:
2 x 1.5V AA batteries
Operational duration:
approx. 15 hours without backlight
Interface (for version MIC 10 DL):
RS232C bidirectional
Carrying case
Serial data cable
GEInspectionTechnologies.com
Instrument carrier and prop-up stand
for the storage of measurement and
calibration data as well as report formats
Memory cards
Data Logger (for version MIC 10 DL):
Internal memory for up to 1800 measurments,
memory card for up to 590 measurements. Dependent on the number of measurements per
set. Warning given with memory overflow.
Statistics:
Display of the average value.
For version MIC 10 DL: printout with maximum,
minimum, average value, absolute and relative
range, absolute and relative standard deviation.
Probe accessories:
Handheld probe or motorized probe (is selected
according to application),
Guiding devices and test supports,
TGDL/PC-data cable (version MIC 10 DL)
Application software
Further information about our extensive probe and
accessory program will be given on request.
MIC 1040
We reserve the right to technical modifications without prior notice.
©2004 General Electric Company. All rights reserved.
GEIT-20027US (09/04)
Page 2

GE Inspection Technologies
Ultrasonics
Quick hardness testing
wherever you wish.
As with all other hardness testers from
our MICRODUR line, the MIC 10
operates according to the UCI method
(Ultrasonic Contact Impedance). This
method enables quick and easy measure-
ment: position probe and read off the
value. This operational ease is achieved
because the Vickers diamond indent in
the material’s surface is electronically
measured and instantly displayed as a
hardness value without using the
cumbersome optical evaluation of a mi-
croscope normally associated with Vickers
hardness testing.
The small, handy MIC 10 makes life easy
for you: a hardness tester that you can
take anywhere - on scaffolds for testing
large containers and pipes, or for testing
components at any location. The small
narrow probes even enable you to make
measurements on positions difficult to ac
-
cess, such as tooth flanks or roots of gears.
You can measure in any direction, e.g.
in the horizontal or overhead positions.
The instrument carrier and prop-up stand
permits two hand operation, for correct
probe positioning and guidance.
Easy operation, high performance
and unique data processing.
What this small instrument can do.
By pressing a key, you can display your
reading as a single value or as the active
arithmetical average value of a hardness
measurement set. Editing of erroneous
single values, without having to interrupt
the measurement set, is just as simple.
Adjustable alarm thresholds show you
critical measurement values both visually
and with audiable alarms. The calibration
parameters for measurements on low and
non-alloyed steel are preprogrammed into
the MIC10; however, the instrument can
be easily and quickly recalibrated to other
materials.
Instrument operation can be customized
for specific testing requirements:
unnecessary functions can be inhibited,
e.g. various hardness scales or the rec-
alibration capability. This reduces key
presses and simplifies operation.
Saving data - unlimited possibilities.
We have given a lot of thoughts to the
subject of saving data and have come up
with the MIC 10 DL in order to give you
special support with repetitive testing and
documentation.
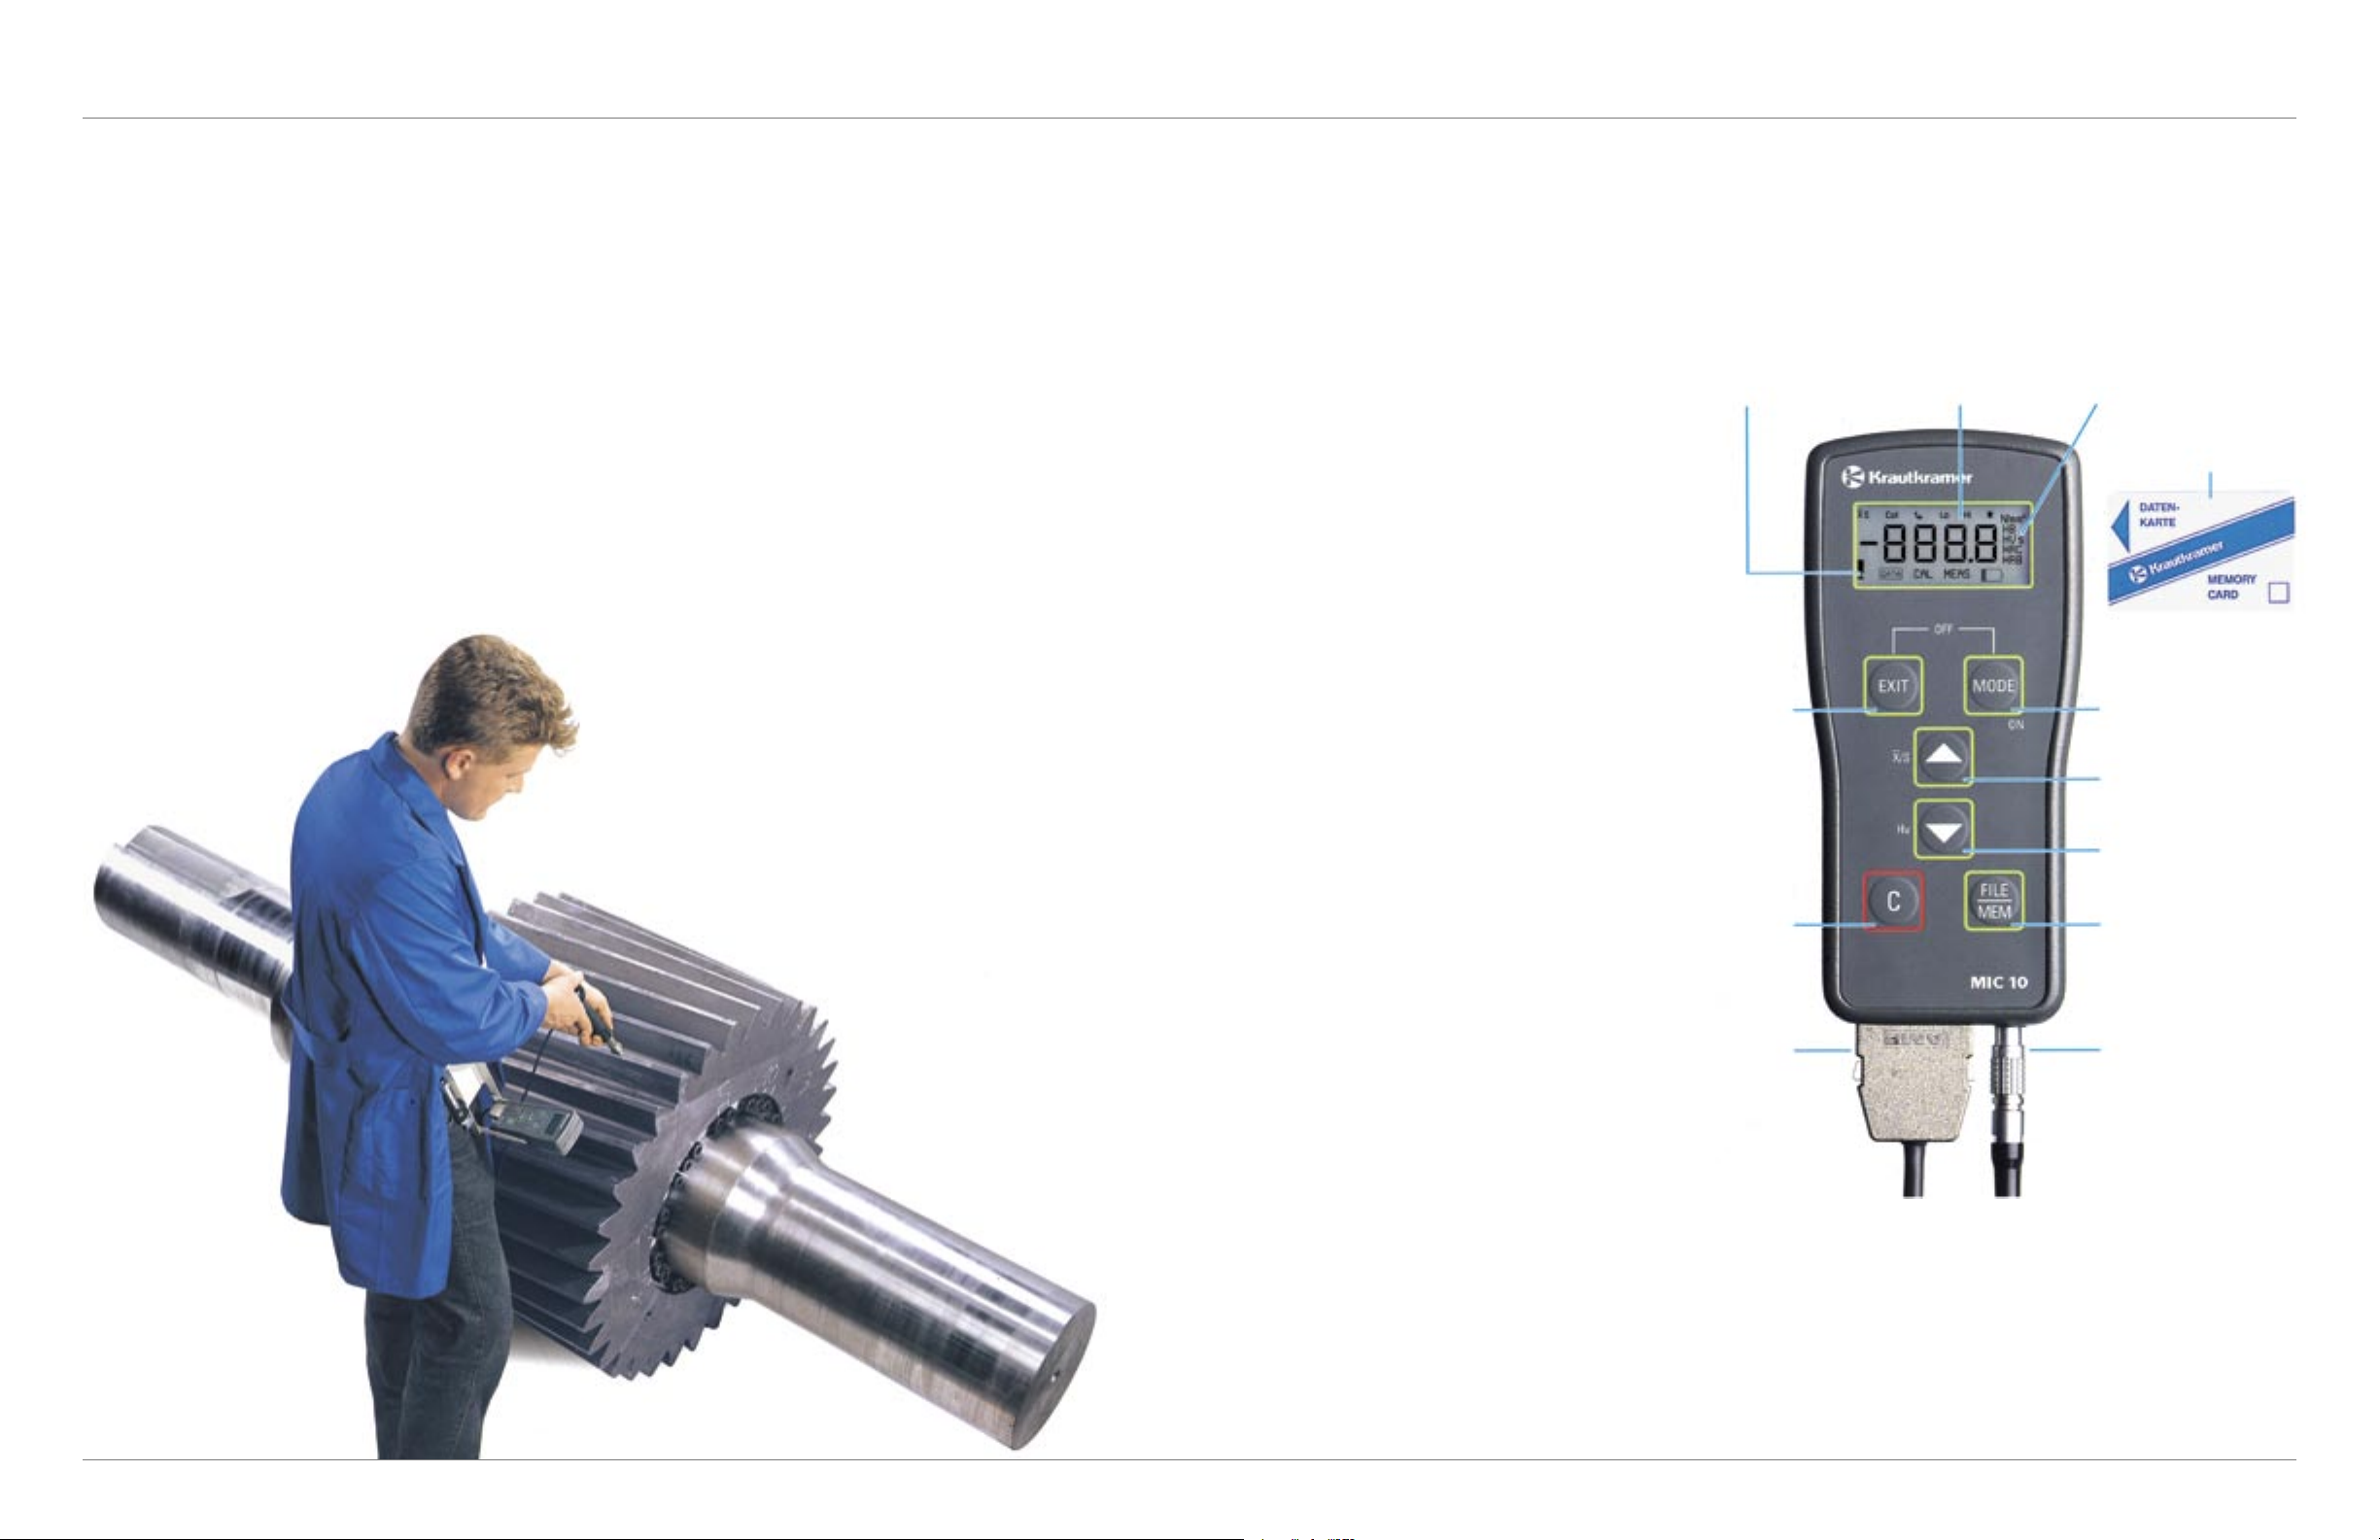
Display sector "Status":
Probe contact
Data Logger
Altered calibration
Measurement readiness
Termination of a
measurement set,
adjustment sequence
or a sequence for
data processing
Clear data/
function reset
Battery
Display sector "Set":
Averange and single value display
Calibration
Measurement time
Alarm threshold
Display backlight
Display sector
"Hardness Scales"
Memory card* for storage and
recall of measurement and
calibration values as well as
report formats
Switch on
Function select
Average or single value mode
Function adjustment
Hardness scale selection
Function adjustment
Active measurement check
Memory with data transfer
to a printer or PC*
Memory cards are available in addition to
the internal memory of the instrument,
these not only store measurement data
but also material dependent instrument
settings and report formats. You are able
to calibrate the instrument automatically
for specific material using the informa
-
tion stored on the memory card. Reports
can be created in an individual format
and printed via the RS 232C interface of
the MIC 10. Once again, the operation is
simple: switch on data logger or insert a
memory card and measure.
Probe connector
After measurement, the complete
measurement set is automatically stored
at the next available location and can
be recalled at any time, displayed and
printed.
RS232 C data output port*
*Only for Data Logger
version MIC 10 DL
Additionally, the user programs of the
UltraHARD series offer you a range of
possibilities for data transfer to a PC and
further data processing like evaluation,
statistics and documentation.
 Loading...