

Page 1
32″LCD TV VA320E
Service
Service
Service
Description Page Description Page
Table Of Contents.......……..............................…........1
TABLE OF CONTENTS
8.PCB Layout …………………....... .... . . . . ........29
Model:VA320E
Important Safety Notice.......................................……......2
Revision List…………………………………………………3
1. General Specification..............................………........4
2. Operating Instructions…………………….……….......5
3. Input/Output Specification…………....................…....14
4. Mechanical Instructions…………………….................16
5.Factory Model…………………….................20
6.ISP Upgrade………………………….…….…….....21
7.Repair Flow Chart ………….………………....….......25
SAFETY NOTICE
ANY PERSON A TTEMPTING TO SERVICE THIS CHASSIS MUST FA MILIARIZE HIMSELF WITH THE CHASSIS
9. Block Diagram.……...........................................36
10. Schematic……………...…………..………………...37
11. White-Balance, Luminance Adjustment...................61
12. Exploded View………………………………….…... .. 64
13. BOM List……………….…………………………….66
AND BE AWARE OF THE NECESSARY SAFETY PRECAUTIONS TO BE USED WHEN SERVICING
ELECTRONIC EQUIPMENT CONTAINING HIGH VOLTAGES.
CAUTION: USE A SEPARATE ISOLATION TRANSFOMER FOR THIS UNIT WHEN SERVICING
1
Page 2

32″LCD TV VA320E
Important Safety Notice
Proper service and repair is important to the safe, reliable operation of all AOC Company Equipment. The service
procedures recommended by AOC and described in this service manual are effective methods of performing service
operations. Some of these service operations require the use of tools specially designed for the purpose. The
special tools should be used when and as recommended.
It is important to note that this manual contains various CAUTIONS and NOTICES which should be carefully read in
order to minimize the risk of personal injury to service personnel. The possibility exists that improper service
methods may damage the equipment. It is also important to understand that these CAUTIONS and NOTICES ARE
NOT EXHAUSTIVE. AOC could not possibly know, evaluate and advise the service trade of all conceivable ways in
which service might be done or of the possible hazardous consequences of each way. Consequently, AOC has not
undertaken any such broad evaluation. Accordingly, a servicer who uses a service procedure or tool which is not
recommended by AOC must first satisfy himself thoroughly that neither his safety nor the safe operation of the
equipment will be jeopardized by the service method selected.
Hereafter throughout this manual, AOC Company will be referred to as AOC.
WARNING
Use of substitute replacement parts, which do not have the same, specified safety characteristics might create
shock, fire, or other hazards.
Under no circumstances should the original design be modified or altered without written permission from AOC.
AOC assumes no liability, express or implied, arising out of any unauthorized modification of design.
Servicer assumes all liability.
FOR PRODUCTS CONTAINING LASER:
DANGER-Invisible laser radiations when open AVOID DIRECT EXPOSURE TO BEAM.
CAUTION-Use of controls or adjustments or performance of procedures other than those specified herein may
result in hazardous radiation exposure.
CAUTION -The use of optical instruments with this product will increase eye hazard.
TO ENSURE THE CONTINUED RELIABILITY OF THIS PRODUCT, USE ONLY ORIGINAL MANUFACTURER'S
REPLACEMENT PARTS, WHICH ARE LISTED WITH THEIR PART NUMBERS IN THE PARTS LIST SECTION OF
THIS SERVICE MANUAL.
Take care during handling the LCD module with backlight unit
-Must mount the module using mounting holes arranged in four corners.
-Do not press on the panel, edge of the frame strongly or electric shock as this will result in damage to the screen.
-Do not scratch or press on the panel with any sharp objects, such as pencil or pen as this may result in damage to
the panel.
-Protect the module from the ESD as it may damage the electronic circuit (C-MOS).
-Make certain that treatment person’s body is grounded through wristband.
-Do not leave the module in high temperature and in areas of high humidity for a long time.
-Avoid contact with water as it may a short circuit within the module.
-If the surface of panel becomes dirty, please wipe it off with a soft material. (Cleaning with a dirty or rough cloth may
damage the panel.)
2
Page 3

32″LCD TV VA320E
1. General Specification
Display panel
Panel Model : CMO V315B3-LN3
Active Area : 697.6845(H)* 392.256(V) inch diagonal
Outline Dimension : 760mm (H) X 450mm (V) X 41.1mm (D)
Pixel Pitch : 0.17025(H)* 0.51075(V) mm
Pixel Format : 1366 X 768 (WXGA), RGB strip arrangement
Color Depth : 8 bit, 16.7M colors
Luminance : 450Cd/m2, Typ
Backlight : CCFL
Response Time : 6.5msec.(Typ. : gray to gray )
Contrast Ratio : 1500:1(Min.) 2500:1(Typ.)
EEFL MTBF : 50,000 hrs min.
Power Supply
PSU : N/A
AC-input : 100~264 Vac +/-, 50~60Hz
Normal Operation Power consumption : < 117W (Game mode)
Standby power : < 1W (120V/60Hz only)
Power cord length : 1.8M
Power cord type : 3 lead with earth plug, pluggable (US type)
Power indicator : LED (On: White, Standby: Amber)
Environmental Conditions
Temperature : 0°C to 40°C
Humidity : 10 to 90%(non –condensing)
Altitude : 0 to 10000 feet
Air pressure : 700 to 1100 mBAR
Note: recommend at 0 to 35°C, Humidity less than 60 %
4
Page 4

32″LCD TV VA320E
2. Operating Instructions
2.1 The Use of Remote Control
POWER: Press to turn on/off the TV from or to standby mode.
INPUT: Press to select TV/COMP1/COMP2/AV/HDMI1/HDMI2/HDMI
SIDE/VGA
TV: Press to select TV input
AV: Press to select AV input
COMP: Press to select COMPONENT1/ COMPONENT2 input
HDMI: Press to select HDMI1/HDMI2/HDMI-SIDE input
Number Key: 1. Press number button to direct access to TV channel
2. Press the pass code to activate the factory mode
3. Press to activate the Channel Lock (enter PIN code for
Channel lock)
4. If channel list OSD active – jump to that channel in the
channel list (not tune the channel until OK is pressed)
- Dot button: Use the button for digital channels.
LAST: 1.Press to alternate between the currently viewed program
and previously viewed program
2. Press to return previous level and exit OSD
INFO: To display information of TV channel or input source
INPUT: 1. The Source List should be activated and show on OSD.
2. Press repeatedly to select the signal source.
st
3. 1
press displays current, subsequent presses advance
VOL +/ -: Press to adjust the volume
MUTE : Interrupt the sound or restore it.
CH +/ - : 1. Press to browse channels
2. Press to turn on TV from stand by mode
3. The channel number should appear on the set
MENU/SELECT: Press to activate OSD menu and activate the
setting/selection of OSD
Cursor Key: 1. Press button to navigate OSD menu
2. Cursor right key perform confirmation as well as proceed
next level of OSD
PIP: Function not available
SWAP: Function not available
EXIT: Exit OSD
PAUSE: Function not available
PLAY: Function not available
STOP: Function not available
5
Page 5
32″LCD TV VA320E
2.2 To Use the Menus
MENU/SELECT – Press to launch the On-Screen Display (OSD) menu. When navigating the OSD, this button is
used to select your chosen option.
Arrow Buttons ( ) – After pressing
MENU/SELECT, use arrow buttons to navigate through the OSDs and adjust options, then press
MENU/SELECT to select your chosen option.
VOL (▲ or ▼) – Press to increase or decrease the speaker volume.
CH (▲ or ▼) – Press to step up or down through the TV channels
MAIN MENU
The OSD consists of several menu options: Picture, Audio, TV,Setup and Parental.
Note: Some of the submenu options may vary depending on your selected input source.
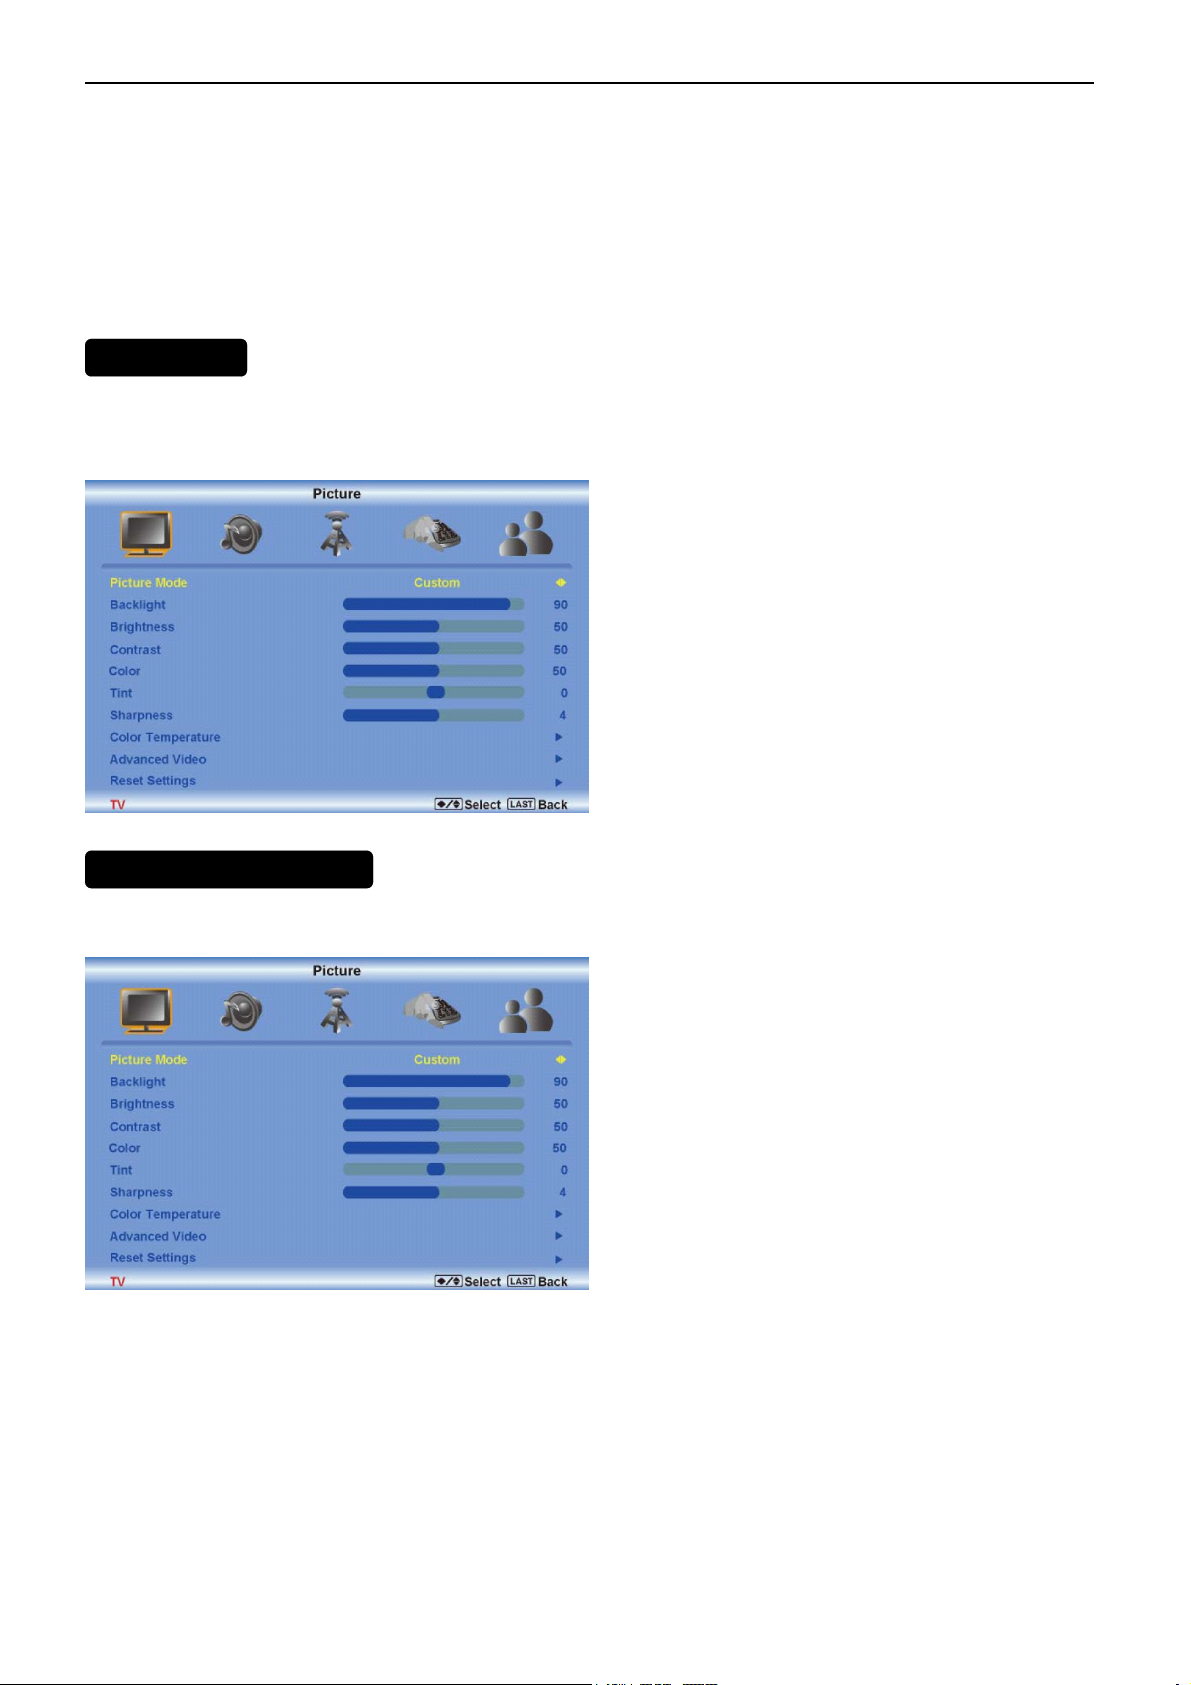
PICTURE ADJUSTMENT
Press the MENU button to activate the On Screen Display (OSD), select the Picture option to adjust the Picture
Mode,Backlight, Brightness, Contrast, color, tint,Sharpness,Color Temperature and Advanced Video.
The following options are available in the Picture menu:
Picture Mode
Select Custom, Home, Movie, Game (Sports).
Backlight
Backlight adjusts the overall brilliance of the picture. It does not affect the Brightness (black level) or Contrast
(white level) of the picture. If DCR is activated, backlight adjustment is not available.
6
Page 6

32″LCD TV VA320E
Brightness
Brightness adjusts the black levels in the picture. If the brightness is too low you will not be able to see the detail in
darker parts of the picture and if the brightness is too high the picture will look washed out.
Contrast
Contrast adjusts the white levels in the picture. If the contrast is too low the picture will look washed out and if the
contrast is too high you will not be able to see any detail in the bright parts of a picture.
Color
The Color setting adjusts the amount of color in the picture.
Tint
The Tint adjusts the hue of the picture. The easiest way to set tint is to look at flesh tones and adjust for a realistic
appearance. In most cases, the default middle position is correct.
Sharpness
The Sharpness setting adjusts the sharpness of the picture.
Color Temperature
Adjust your HDTV color temperature. Adjust Red, Green, and Blue.
.
Advanced Video
DNR - DNR (Dynamic Noise Reduction) diminishes picture artifacts caused by the digitizing of
•
moving images.
•
Black Level Extender - Black Level Extender extends grey levels to black to improve
contrast.
•
White Peak Limiter - White Peak Limiter limits excessive white in bright areas of the picture.
CTI - Select CTI (Chrominance Transient Improvement) to reduce time transitioning from one
•
color to another. The effect will be seen as sharpening the border between colors.
•
Flesh Tone - Adjust flesh tones of the picture. This may result in a more pleasing production
of sky and flesh colors.
•
DCR (Dynamic Contrast Ratio) - DCR (Dynamic Contrast Ratio) automatically adjusts the
contrast between brighter and darker scenes. When activated, adjustment of the Backlight is
not available.
Audio adjustment
When viewing a DTV / TV or an HDMI, Component, AV, or PC source, the following audio adjustment
OSD screens are available when you press MENU on the remote control. The source you are viewing is
displayed in orange text in the bottom left-hand corner of the OSD.
Press □ / □ / ▲ / ▼ to select and adjust options, then press LAST when finished making adjustments.
Press LAST to return to the previous screen or repeatedly to exit the OSD.
7
Page 7

32″LCD TV VA320E
Volume
Increase or decrease the HDTV speaker volume.
Bass
Adjust low frequency sounds. You can also adjust for bass boost or attenuation.
Treble
Adjust high frequency sounds. You can also adjust for treble boost or attenuation.
Balance
Adjust the sound to the left or right.
SRS TSXT
Turn the simulated surround feature On or Off.
Digital Audio Out
Send digital audio from your HDTV to an external audio system.
• PCM - Select to output audio in 2-channel stereo.
•Dolby Digital – Select to produces 5.1 channel Dolby Digital ® surround sound audio.
Speakers
Turn-off the internal TV speakers when listening to the audio through your home theater system.
Lip Sync
Adjust the audio of the program being viewed so that it matches the movement of the lips of someone talking on the
screen.
Auto Volume Level (AVL)
Turns the auto volume level feature On or Off.
Reset Settings
Reset only the audio settings to the factory values without affecting any other settings.
8
Page 8
32″LCD TV VA320E
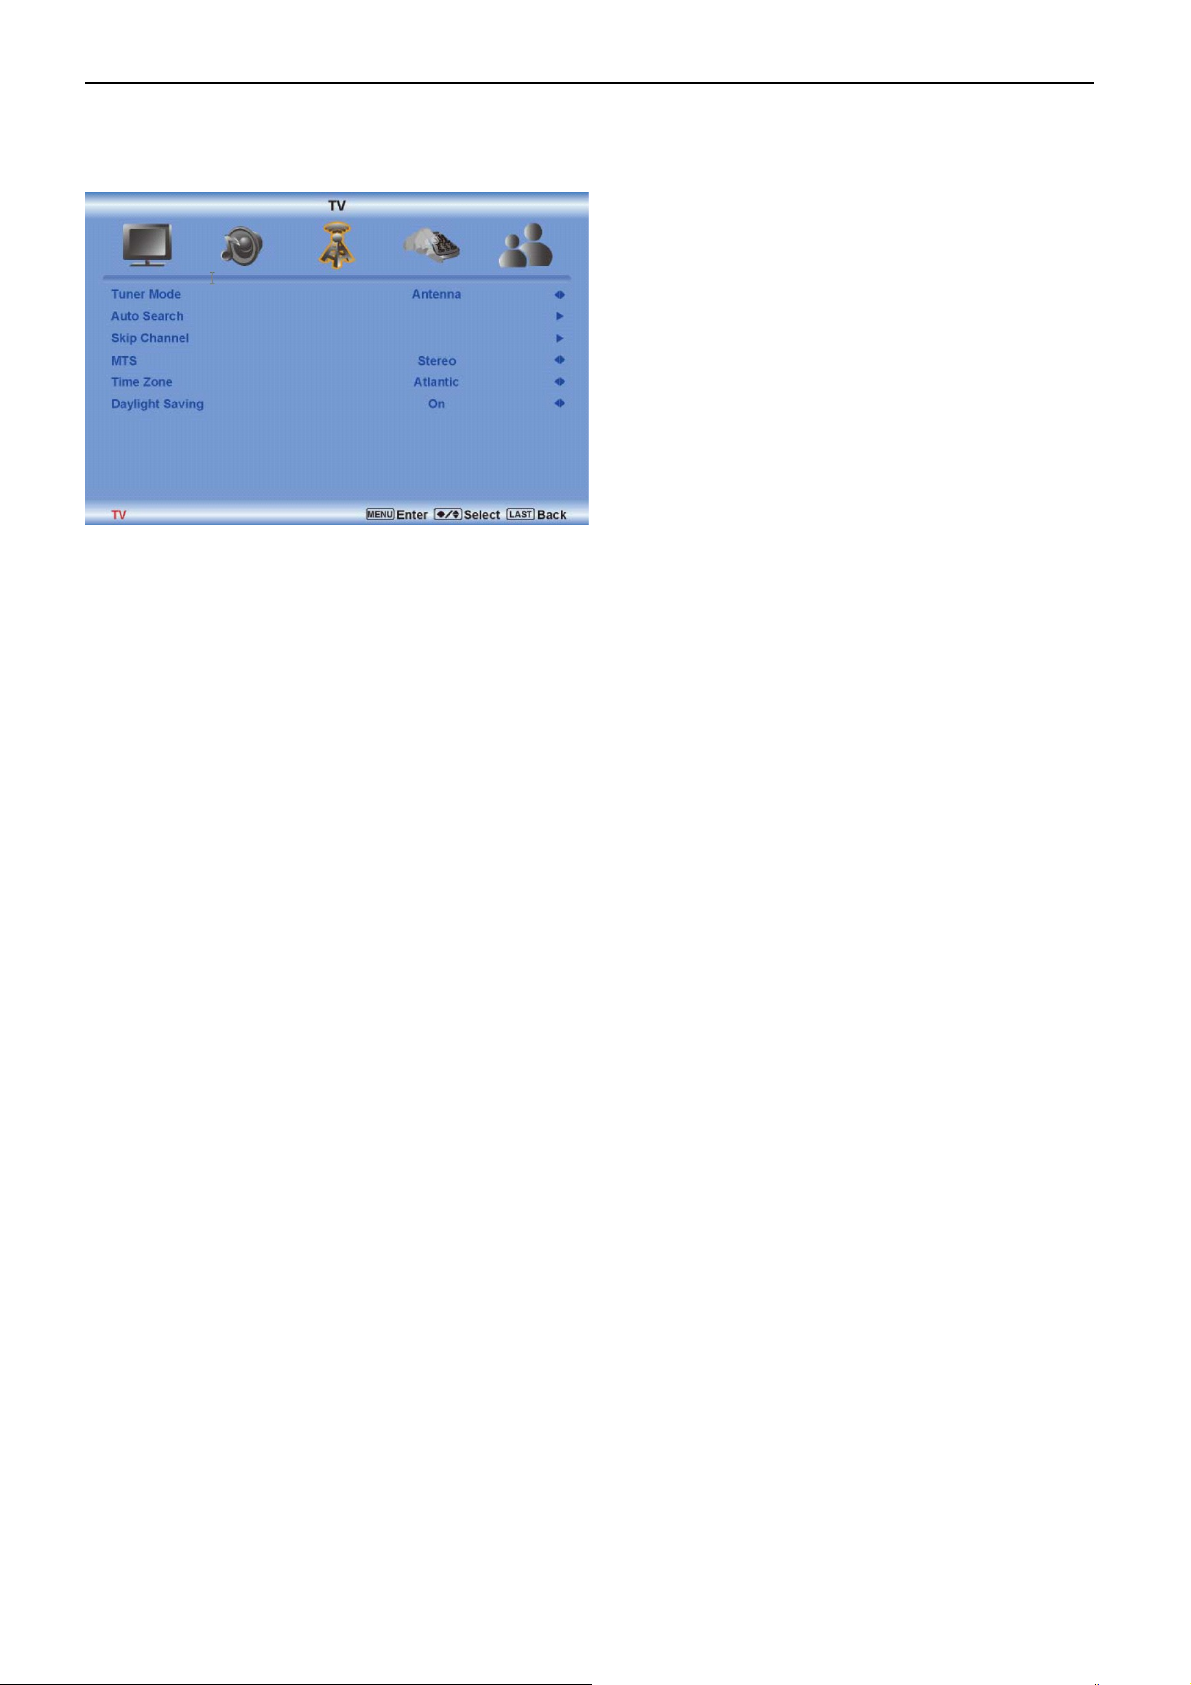
TV Adjusting
Press ◄ / ► / ▲ / ▼ to select and adjust options, then press LAST when finished making adjustments. Press
LAST to return to the previous screen or repeatedly to exit the OSD.
Tuner Mode
Select the Tuner Mode option in the TV submenu to set the tuner mode. Press the right arrow button to select from
Antenna and Cable.
Auto Search
Select the Auto Search option in the TV submenu to set the Auto search. Press the right arrow button to adjust the
Analog channels and Digital channels.
Skip Channel
Select the Skip channel option in the TV submenu to set the Analog.
MTS
Select the MTS option in the TV submenu to set the MTS. Press the right button to select the Stereo,SAP,and Mono.
Time Zone
Select the Time Zone option in the TV submenu to set the time zone.Press the right button to select the zone among
Eastern,Indiana,Central,Mountain,Hawaii,Arizona,Pacific,and Alaska.
Daylight Saving
Select the Daylight Saving option in the TV submenu .Press the right button to select the statue of dayling saving,On
or OFF.
Setup
Press the MENU button to activate the On Screen Display (OSD). Select the Setup option to adjust the
Language,Source,Sleep Timer,Side,CC,Digital CC Styla, H/V position,and Reset All setting.
9
Page 9

32″LCD TV VA320E
Language.
Select the Language option in the Setup submenu to set up the language.Press the right button you can select
English,Francais,and Espanol.
Source
Select the Source option in the Setup submenu to set the source mode.Press the right button to change the soruce
TV or Comp.
Sleep Timer
Select the Sleep Timer option in the Setup submenu to set the sleep time.
Wide
Select the Wide option in the Setup submenu to set the Wide
CC
Select the CC option in the Setup submenu to set the CC
Digital CC Style
Select the Digital CC style option in the Setup submenu to set the Digital CC style
H/V Position
Select the H/V Position option in the Setup submenu to set the H/V Position
Reset All Setting
Select the Reset All setting in the Setup submenu to Reset All Setting
Parental
Press the MENU button to activate the On Screen Display (OSD). Select the Parental option to adjust the Password.
10
Page 10

32″LCD TV VA320E
Password
Select the Password Set option in the Parental submenu to set the password for parental control options. Press the
right arrow button and the Password panel will be displayed. Enter the four digit password using the number buttons
on the remote control. Enter it a second time to confirm you entered it correctly.
Note: If you forget your password, entering 5351 will allow you to set a new password. This feature is not
available when HDMI, Component, or VGA is selected as the input source.
11
Page 11

32″LCD TV VA320E
2.3 Connector
2.3.1 Rear signal
• Component Video In & Audio L/R In (YPbPr, Cinch, COMP1/COMP2)
• D_SUB in & Phone jack In
• Coaxial aerial I/P (TV input)– F-type ( 75 Ω )
• HDMI1/HDMI2 In
• Optical SPDIF output
The I/O function is located on TV module, including
Tuner: NAFTA.
HDMI 1: HDMI input ( support HDCP ) with digital audio
HDMI 2: HDMI input ( support HDCP ) with digital audio
HDMI Side: HDMI input ( support HDCP ) with digital audio
AV: CVBS,S-Video (RCA jack) with audio R/L (RCA jack).
RGB : D_SUB with audio R/L (phonejack)
COMP1 : YPbPr component video (RCA jack) with audio R/L (RCA jack).
COMP2 : YPbPr component video (RCA jack) with audio R/L (RCA jack).
SPDIF: Digital audio output (RCA jack)
2.3.2Side AV
• CVBS In (Cinch AV)
• S-Video In
• Audio L/R In (Cinch)
• Headphones jack output
• USB In (Only update code)
• HDMI side In
12
Page 12

32″LCD TV VA320E
2.4 Front Panel Control Knobs
Remote control sensor- this is the window through which all of the remote control signals
pass to the sensor. Point the remote control directly at this window for the best response to
the remote signal.
Power light- the power light will illuminate with a amber light when the HDTV is powered
off, a white light indicates the HDTV is powered ON.
Key TV/video mode
(Power) Power on / off
Menu Enter /Exit OSD menu
“+“ (Channel) Menu Navigate Up/Channel up
“-“ (Channel) Menu Navigate Down/Channel Down
“+” (Volume) Menu Navigate
“-” (Volume) Menu Navigate
Input Select the signal source
Status VizioLED behavior
Normal on White
Standby Amber
Right/Increase/Volume up
Left/Decrease/Volume down
13
Page 13

32″LCD TV VA320E
3. Input/Output Specification
3.1 RGB Signal input
15 - Pin Color Display Signal Cable
Pin No. Description Pin No. Description
1 Red Video 9 Mandatory +5V Supply for PC Bypass
2 Green Video 10 Sync Ground
3 Blue Video 11 SDA(Remote Control)
1
6
11 15
5
10
4 SCL(Remote Control) 12 Bi-directional Data (SDA) for PC Bypass
5 Ground 13 H-Sync.
6 Red Video Ground 14 V-Sync.
7 Green Video Ground 15 Data Clock (SCL) for PC Bypass
8 Blue Video Ground
3.2 HDMI Digital connector pin assignments(NAFTA only)
Pin No. Description Pin No. Description
1 TMDS Data2+ 2 TMDS Data2 Shield
3 TMDS Data2- 4 TMDS Data1+
5 TMDS Data1 Shield 6 TMDS Data1-
7 TMDS Data0+ 8 TMDS Data0 Shield
9 TMDS Data0- 10 TMDS Clock+
11 TMDS Clock Shield 12 TMDS Clock-
13 CEC 14 Reserved (N.C. on device)
15 SCL 16 SDA
17 DDC/CEC Ground 18 +5V Power
19 Hot Plug Detect
14
Page 14

32″LCD TV VA320E
3.3 Video input format
Physical Inputs Format
NTSC from RF 720 x 480 @60i
AV( Side AV: CVBS and Y/C) 720 x 480 @60i
YPbPr
VGA
HDMI (DVI via HDMI)
HDMI
720 x 480 @60i
720 x 480 @60p
1280 x 720 @60p
1920 x 1080 @60i
720*400//70Hz
640*480/60Hz
640*480/75Hz
800*600/60Hz
800*600/75Hz
1024*768/60Hz
1024*768/75Hz
1360*768/60Hz
VGA 640 x 480 @60p
VGA 800 x 600 @60p
VGA1024 x 768 @60p
1280 x 720 @60p
1280 x 768 @60p
1360 x 768 @60p
720 x 480 @60i
720 x 480 @60p
1280 x 720 @60p
1920 x 1080 @60i
15
Page 15

32″LCD TV VA320E
4. Mechanical Instructions
1. Remove the one screw to remove the stand base.
2.Withdraw the stand cover
3. Remove eighteen screws to remove the rear cover.
16
Page 16

32″LCD TV VA320E
4. Remove four screws and unplug five connectors to remove the scaler board.
5. Remove six screws and unplug three connectors to remove the power board.
6. Remove the screw and the connector to remove the IR board.
7. Remove the connector to remove Key Board.
17
Page 17

32″LCD TV VA320E
8. Remove four screws to remove two speakers.
9 Remove five screws and unplug eight connectors to remove the inverter board.
10 Remove night screws to remove the metal frame.
11Remove two screws to remove the bezel assy.
18
Page 18

32″LCD TV VA320E
12 the panel
19
Page 19

32″LCD TV VA320E
7. Repair Flow Chart
1. No Power (No LED indicator)
Check power cord and board interface
OK
NG
Plug in power cord and interface
Check CN701 pin 11, 12 Æ 5V, FB707 Æ
5V
OK
Check Q401, Q403, Q406, Q407 around
components
OK
Check logo module
NG
NG
NG
2. Can not start (LED indicator Orange)
Check key board
OK
Check U708, Q701 output
NG
NG
Replace power board
Replace Q401, Q403, Q406, Q407
around components
Replace logo module
Repair the key board
Replace around U708, Q701 NG
components
3. No display (LED indicator White)
(A)U401 X243 don’t work
Check U401, U402, U405 all power
OK
Check X401 = 60MHz
OK
Connect ISP tool to CN403 , check reply
message if MT5380L boot
OK
Update FW again
NG
NG
NG
Replace NG component
Replace around NG components
Replace U405
25
Page 20

32″LCD TV VA320E
g
g
(B) U401 MT5380L work
Check the source
OK
Check LVDS cable
NG
NG
Reset source
Re-plug in LVDS cable
OK
Check “+12V” panel power Q703, FB701,
FB703
OK
Check BL_ON signal CN701 Pin 1
OK
4. Abnormal display
Check the source
OK
Check IO si
nal filter circuit
NG
NG
NG
NG
NG
Replace Q703, FB701, FB703
Replace main board
Replace panel Check panel
Reset source
Replace the filter or inductance
Check HDMI U501 and HDMI si
TV signal
nal
NG
Replace around component
NG
Check Tuner power and TV system
setup
NG
Replace panel Check panel
26
Page 21

32″LCD TV VA320E
5. No sound
Check the source
NG
OK
Reset source
Check U601 circuit
OK
Check U603 circuit
OK
Check mute circuit
OK
HDMI check U501 and EDID Update EDID or replace U501
NG
Replace around component
NG
Replace around component
NG
Replace around component
NG
Replace SpeakerCheck Speaker
NG
Replace TU101TV sound check TV setup and power
NG
NG
Replace around componentCheck headphone circuit and U602
27
Page 22

32″LCD TV VA320E
6. Key Board
OSD is unstable or not working
Is Key Pad Board connecting normally?
Yes
Is Button Switch normally?
Yes
Is Key Pad Board Normally?
No
No
No
Connect Key Pad Board
Replace Button Switch
Replace Key Pad Board
Yes
Check Main Board
28
Page 23

32″LCD TV VA320E
12.Exploded View
64
Page 24

32″LCD TV VA320E
E329M2NKW7VZNNS
MODEL:VA320E
ITEM DESCRIPTION 18NC QTY
1 A34T1137PAN 1L0100 DECO BEZE L 1
2 IRPF8AA6 IR BOARD 1
3 A33T0583 WS 1L0100 KEY PAD 1
4 KEPF8AB3 KEYPAD BOARD 1
5 A34T1138 WS 1L0100 BEZEL 1
6 750TVM315BN311N000 PANEL 1
7 A15T0560101 32TV-base-support-g3 1
8 PWTV9L6CMSA6 POWER BOARD 1
9 CBPF92GKZ1 MAIN BOARD 1
10 INTV9L6CMSA3 INVERTER BOARD 1
11 A34T1139PAR 1A0100 REAR COVER 1
12 A34T1140PAN 1L0100 STAND 1
13 A34T1141PAN 1L0100 STAND COVER 1
14 705GZ934044 BASE PLATE ASSY 1
65
 Loading...