

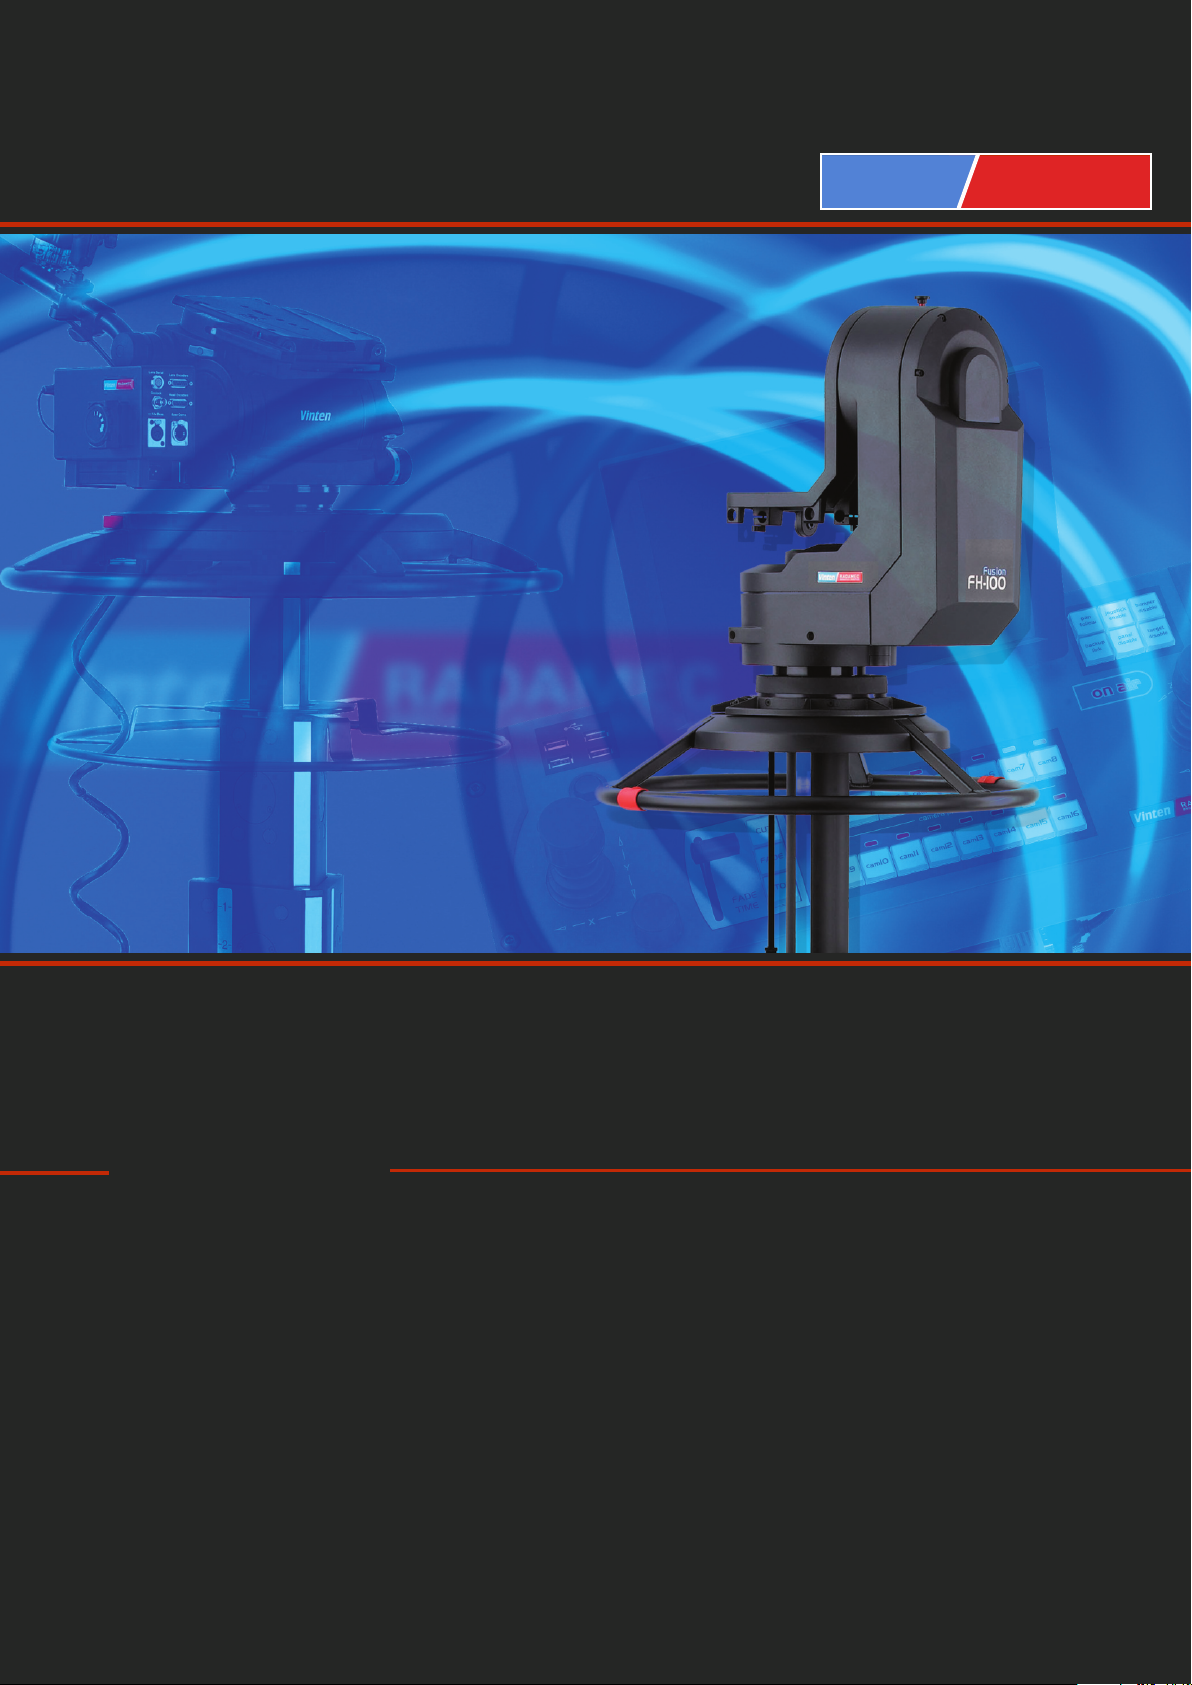
Robotic Camera Control Systems
Vinten
RADAMEC
BROADCAST ROBOTICS
CCU
Camera Control Unit
Operators Guide
V4079-4980 Issue 1.0

Fusion
Camera Control Unit
Operators Guide
Publication Part No. V4079-4980
Issue 1.0

Copyright © Vitec Group plc 2009
All rights reserved throughout the world. No part of this
document may be stored in a retrieval system.
transmitted, copied or reproduced in any way including,
but not limited to, photocopy, photograph, magnetic or
other record without the prior agreement and permission
in writing of Vitec Group plc.
Trademarks
Vinten Radamec® and Vinten® are registered
trademarks of the Vitec Group plc.
Important information about this document
Information contained in this document is subject to
change. Camera Dynamics Limited reserves the right,
without notice, to make changes in equipment design or
performance as progress in engineering, manufacturing
or technology may warrant.

Contents
European Union Regulations . . . . . . . . . . . . . . . . . . . . . . . . . . . . . . . . . . . . . . . iii
Safety Guidelines . . . . . . . . . . . . . . . . . . . . . . . . . . . . . . . . . . . . . . . . . . . . . . . . . . v
Technical Data . . . . . . . . . . . . . . . . . . . . . . . . . . . . . . . . . . . . . . . . . . . . . . . . . . . vi
Features and Controls . . . . . . . . . . . . . . . . . . . . . . . . . . . . . . . . . . . . . . . . . . . . . vii
Installation Instructions . . . . . . . . . . . . . . . . . . . . . . . . . . . . . . . . . . . . . . . . . . . . . 1
Out of the box . . . . . . . . . . . . . . . . . . . . . . . . . . . . . . . . . . . . . . . . . . . . . . . . . . . . . . . . . . 1
Mounting the Fusion CCU into a rack . . . . . . . . . . . . . . . . . . . . . . . . . . . . . . . . . . . . . . . . 1
Cabling . . . . . . . . . . . . . . . . . . . . . . . . . . . . . . . . . . . . . . . . . . . . . . . . . . . . . . . . . . . . . . . 1
Operation. . . . . . . . . . . . . . . . . . . . . . . . . . . . . . . . . . . . . . . . . . . . . . . . . . . . . . . . . 4
Changing the Channel IP address . . . . . . . . . . . . . . . . . . . . . . . . . . . . . . . . . . . . . . . . . . 4
Adding a new Channel . . . . . . . . . . . . . . . . . . . . . . . . . . . . . . . . . . . . . . . . . . . . . . 6
Maintenance . . . . . . . . . . . . . . . . . . . . . . . . . . . . . . . . . . . . . . . . . . . . . . . . . . . . . . 7
Routine checks . . . . . . . . . . . . . . . . . . . . . . . . . . . . . . . . . . . . . . . . . . . . . . . . . . . . . . . . . 7
Changing the fuse . . . . . . . . . . . . . . . . . . . . . . . . . . . . . . . . . . . . . . . . . . . . . . . . . . . . . . . 7
Troubleshooting . . . . . . . . . . . . . . . . . . . . . . . . . . . . . . . . . . . . . . . . . . . . . . . . . . . 8
Parts List . . . . . . . . . . . . . . . . . . . . . . . . . . . . . . . . . . . . . . . . . . . . . . . . . . . . . . . . . 9
i

ii

European Union Regulations
English
БЪЛГАРСКИ
Česky
Danish
Deutsch
Eesti
Ελληνικά
Español
Français
Gaeilge
Italiano
Latviešu
The original instructions presented in this operators guide were
written in English, and subsequently translated into other
languages. If you are unable to understand these instructions,
contact Vinten Radamec or your distributor to obtain a
translation of the original instructions (EU Countries).
Оригиналните инструкции, представени в настоящото
ръководство на производителя, бяха написани на
английски език, а след това - преведени на други езици. Ако
не разбирате тези езици, свържете се с Vinten или с Вашия
дистрибутор, за да получите оригиналните инструкции (за
страните от Европейския съюз).
Pokyny uvedené v této operátorské příručce byly původně
napsány anglicky a následně byly přelo_eny do ostatních
jazyků. Nerozumíte-li těmto pokynům, kontaktujte společnost
Vinten nebo svého distributora, abyste získali překlad
originálních pokynů (členské státy EU).
De originale instruktioner, der præsenteres i denne
betjeningsvejledning, er skrevet på engelsk og derefter oversat
til andre sprog. Hvis du ikke forstår disse instruktioner bedes du
kontakte Vinten eller vor forhandler for at få en oversættelse af
de originale instruktioner (EU-lande).
Die Originalanleitung in diesem Bedienungshandbuch wurde
auf Englisch verfasst und anschließend in andere Sprachen
übersetzt. Bei Verständnisproblemen in einer der übersetzten
Sprachen kontaktieren Sie bitte Vinten Radamec oder Ihren
Fachhändler; dort erhalten Sie eine Übersetzung der
ursprünglichen Anleitung (EU-Staaten).
Käesoleva kasutajajuhendi algtekst on koostatud inglise keeles
ning seejärel tõlgitud teistesse keeltesse. Kui juhend osutub
teie jaoks arusaamatuks, võtke juhendi emakeelse tõlke
hankimiseks ühendust Vinteni või kohaliku esindajaga
(Euroopa Liidu riigid).
Οι αρχικές οδηγίες αυτού του οδηγού για το χειριστή
συντάχθηκαν στα Αγγλικά και μεταφράστηκαν στη συνέχεια σε
άλλες γλώσσες. Εάν δυσκολεύεστε να καταλάβετε αυτές τις
οδηγίες, επικοινωνήστε με τη Vinten ή
λάβετε μια μετάφραση των αρχικών οδηγιών (Χώρες ΕΕ).
Las instrucciones originales que se indican en esta guía del
operador se han redactado en inglés y posteriormente se han
traducido a otros idiomas. Si no entiende estas instrucciones,
póngase en contacto con Vinten Radamec o con su distribuidor
para obtener una traducción de las instrucciones originales
(para países de la UE).
Les instructions originales présentées dans ce guide
d'utilisation ont été écrites en anglais puis traduites dans
d'autres langues. Si vous ne comprenez pas ces instructions,
contactez Vinten Radamec ou votre revendeur pour obtenir une
traduction des instructions originales (pour les pays de l'UE).
Scríobhadh na treoracha bunaidh don treoirleabhar oibritheora
seo as Béarla, agus aistríodh iad go teangacha eile ina dhiaidh
sin. Mura bhfuil tú in ann na treoracha seo a thuiscint, téigh i
dteagmháil le Vinten nó le do dháileoir, chun aistriúchán de na
treoracha bunaidh a fháil (Tíortha an AE).
Le istruzioni originali presentate in questa guida per l'operatore
sono in lingua inglese e successivamente tradotte nelle altre
lingue. Qualora le istruzioni non fossero disponibili nella lingua
desiderata, potete contattare Vinten Radamec o il vostro
distributore per ricevere la traduzione delle istruzioni originali
(Paesi UE).
Šajā operatora rokasgrāmatā iekļautie norādījumi sākotnēji tika
sarakstīti angļu valodā un pēc tam pārtulkoti citās valodās. Ja
nesaprotat šos norādījumus svešvalodā, sazinieties ar Vinten
vai tirgotāju, lai saņemtu norādījumu tulkojumu (kādā
dalībvalstu valodām).
το διανομέα σας για να
no ES
Lietuvių
Šiame operatoriaus vadove pristatomos pirminės instrukcijos
parašytos anglų kalba ir vėliau išverstos į kitas kalbas. Jei šių
instrukcijų nesuprantate, susisiekite su „Vinten“ arba savo
platintoju ir gaukite pirminių instrukcijų vertimą (ES šalies
kalba).
Magyar
Malti
Nederlands
Polski
Português
Română
Slovensky
Slovenščina
Suomi
Svenska
A kezeloi útmutatóban található utasítások angol nyelven
íródtak, és utólag fordították azokat más nyelvekre. Ha nem érti
ezen utasításokat, kérjük, vegye fel a kapcsolatot a Vintennel
vagy a helyi képviselettel, és igényelje az eredeti utasítások
fordítását (EU országok).
L-istruzzjonijiet originali ippreżentati f'din il-gwida ta' operaturi
kienu miktuba bl-Ingliż, u sussegwentement maqluba fl-lingwi
ohra. Jekk ma tistax tifhem dawn l-istruzzjonijiet, ikkuntattja lil
Vinten jew id-distributur tieghek biex tikseb traduzzjoni ta' listruzzjonijiet originali (Pajjiżi ta' UE).
De oorspronkelijke instructies in deze bedieningshandleiding
zijn geschreven in het Engels en vervolgens in andere talen
vertaald. Als het onmogelijk is deze instructies te begrijpen,
neemt u contact op met Vinten Radamec of met uw distributeur
om een vertaling te bemachtigen van de oorspronkelijke
instructies (EG-landen).
Oryginalne instrukcje zamieszczone w niniejszym podręczniku
operatora zostały napisane w języku angielskim, a następnie
przetłumaczone na inne języki. Jeśli nie rozumieją Państwo
tych instrukcji, prosimy skontaktować się z siedzibą lub
dystrybutorem Vinten, aby uzyskać tłumaczenie oryginalnych
instrukcji (kraje UE).
As instruções originais apresentadas no guia do operador
foram escritas em Inglês e traduzidas para outros idiomas. Se
não conseguir compreender estas instruções contacte a Vinten
Radamec ou o seu distribuidor para obter a tradução das
instruções originais (Países da UE).
Instrucţiunile originale prezentate în acest ghid pentru operatori
au fost scrise în limba engleză
În cazul în care nu înţelegeţi aceste instrucţiuni, contactaţi
Vinten sau distribuitorul dumneavoastră pentru a obţine o
traducere a instrucţiunilor originale (Ţările UE).
Pôvodné pokyny, uvedené v tomto návode na obsluhu, boli
napísané v anglictine a následne preložené do iných jazykov.
Ak nerozumiete týmto pokynom, obrátte sa na spolocnost
Vinten alebo vášho distribútora, aby vám zaslal preklad
originálnych pokynov (krajiny EÚ).
Originalno besedilo teh navodil za uporabo je bilo napisano v
angleščini in prevedeno v ostale jezike. Če ne razumete teh
navodil, se obrnite na podjetje Vinten ali lokalnega zastopnika,
ki vam bo posredoval originalna navodila (velja za dr_ave EU).
Tähän käyttäjän oppaaseen sisältyvät ohjeet on kirjoitettu alun
perin englanniksi ja käännetty sitten muille kielille. Ellet
ymmärrä näitä ohjeita, ota yhteyttä Vinteniin tai jälleenmyyjään
ja pyydä alkuperäisten ohjeiden käännöstä (EU-maat).
Instruktionerna i denna handbok skrevs ursprungligen på
engelska och har sedan översatts till flera språk. Om du inte
förstår dessa instruktioner, kontakta Vinten eller din
återförsäljare för en ny översättning av originalinstruktionerna
(EU-länder).
, şi traduse ulterior în alte limbi.
iii

Disposing of old electronic equipment
This symbol on the product or on its packaging
indicates that this product must not be treated as
household waste (applicable in the European
Union and European countries with separate
collection systems). It shall be handed over to the
applicable collection point for the recycling of
electrical and electronic equipment. By ensuring
this product is disposed of correctly, you will help
prevent potentially negative consequences for the
environment and human health, and help
conserve natural resources.
For more information about disposing of this
product, visit:
www.vintenradamec.com/support/WEEE
This product conforms to the following European Directives:
2006/95/EC Low Voltage Directive
89/336/EEC EMC Directive
By application of the following harmonised standards:
BS EN 70065: 2002 +A1 2006 Audio, video and similar
electronic apparatus-Safety requirements.
BS EN 55103-1:1996 Electromagnetic Compatibility-Product
Family standard for audio, video, audio-visual and entertainment
lighting control apparatus for professional use- Part 1 Emission:
Environments E4 & E5
BS EN 55103-2:1997 Electromagnetic Compatibility-Product
Family standard for audio, video, audio-visual and entertainment
lighting control apparatus for professional use-Part 2 Immunity:
Environment E1, E2, E3, E4
Other standards applied:
CFR 47:2006 Code of Federal Regulations: Pt 15 Subpart BRadio frequency Devices- Class A unintentional radiators
iv

Safety Guidelines
!
OFF
!
!
IMPORTANT
Please read this manual carefully before attempting to operate
the product. Retain this operators guide for future reference.
Safety when working with the product
Take heed of warnings and instructions
You should read all of the safety instructions in this
Operators Guide before attempting to operate the
equipment. Adhere to all warnings in this guide and
on the equipment. Do not attempt to operate this
equipment if you do not understand how to operate
it.
Usage statement
This product is designed for use with Sony cameras
System 700 control protocol as part of the Fusion
control system. The Camera Control Unit is used to
remotely control up to five TV cameras within the
studio environment.
The product is intended for use by television
camera operators, trained to use Vinten Radamec
equipment. Do not use this product for any other
purpose other than that specified in this usage
statement.
Water, moisture and dust
Protect the product from water, moisture and dust.
The presence of electricity near water can be
dangerous. Do not use the product near water and
take care that liquids are not spilled onto the
equipment.
Warning symbols in this operators guide
WARNING! Where there is a risk of personal injury
or injury to others, comments appear supported by
the warning triangle symbol. Where there is a risk of
damage to the product, associated equipment,
process or surroundings, comments appear
supported by the word ‘caution’.
ELECTRIC SHOCK Where there is a risk of electric
shock, comments appear supported by the
hazardous voltage warning triangle symbol.
Warning symbols on the product
On encountering the warning triangle it is important
that you read this operators guide before using this
product or attempting any adjustment or repair.
Where there is a risk of electric shock, comments
appear supported by the hazardous voltage warning
triangle symbol.
Operating environment
The product should not be used outside the
operating temperature limits. To prevent risk of
overheating, ventilate the product correctly. Refer to
the Technical Data section of this guide for the
operating limits for the product.
Power sources
Connect the product to a power supply of the type
and voltage rating described in the Technical Data
section of this Guide or as marked on the product.
For an emergency power-down, ensure all
personnel are aware of the location of the power
switch on the product and associated equipment
and power supplies.
Servicing
Do not attempt to service this product. Opening and
removing covers may expose you to dangerous
voltages or other hazards. Refer all servicing to
trained service personnel. Contact Camera
Dynamics Ltd or your local distributor to arrange
servicing of this product.
Connections
Turn OFF before connecting or disconnecting any
equipment or making any adjustments to the camera
or associated equipment.
v

Technical Data
WARNING!
This product has basic insulation only (Class 1).
The product requires an earth connection
(‘ground’ in the USA).
IMPORTANT NOTE: Technical data is subject to change
without notice. Vinten Radamec reserves the right, without
notice, to make changes in equipment design or performance
Physical
Weight.................................................................... 2 kg (4.4 lbs)
Height ................................................................. 44.45 mm (1U)
Width............................................ 480 mm (19” rack mountable)
Depth ..................................................................220 mm (8.66”)
Environment
Operating Temperature.......................................... 0° C to 40° C
Environment Temperature...................................... 0° C to 50° C
Electrical
Power consumption peak..................................................... 40W
Power input........................... Autoranging 85-250V AC 50/60Hz
System fuse .........................................................................1.0A
Communications
Ethernet ports (upto 5)
CCU Communication Ports (upto 5) RS422/RS232
Configuration port (Standard RS232)
Mounting
19 inch rack mountable.
Camera Control
Sony camera System-700 control protocol.
Certifications
FCC, CE, RoHS compliant
vi

Features and Controls
3
1
2
4
5
10
6
7
8
11
9
12
13
Power ON/OFF switch . . . . . . . . . . . . . . . . . . . . . . . . . . . . . . . . . . . . . . . . . . . . . . . . . . . . . . . . . . . . . . . . . . . 1
PSU 1 and PSU 2 LEDS. . . . . . . . . . . . . . . . . . . . . . . . . . . . . . . . . . . . . . . . . . . . . . . . . . . . . . . . . . . . . . . . . . 2
Channel 1 to 5 LEDS . . . . . . . . . . . . . . . . . . . . . . . . . . . . . . . . . . . . . . . . . . . . . . . . . . . . . . . . . . . . . . . . . . . . 3
Power Inlet . . . . . . . . . . . . . . . . . . . . . . . . . . . . . . . . . . . . . . . . . . . . . . . . . . . . . . . . . . . . . . . . . . . . . . . . . . . . 4
System Fuse compartment . . . . . . . . . . . . . . . . . . . . . . . . . . . . . . . . . . . . . . . . . . . . . . . . . . . . . . . . . . . . . . . . 5
Configuration port . . . . . . . . . . . . . . . . . . . . . . . . . . . . . . . . . . . . . . . . . . . . . . . . . . . . . . . . . . . . . . . . . . . . . . . 6
Configuration DIL switch . . . . . . . . . . . . . . . . . . . . . . . . . . . . . . . . . . . . . . . . . . . . . . . . . . . . . . . . . . . . . . . . . . 7
Reset Switch (used for configuring channel addresses). . . . . . . . . . . . . . . . . . . . . . . . . . . . . . . . . . . . . . . . . . 8
RS-232 communication LED. . . . . . . . . . . . . . . . . . . . . . . . . . . . . . . . . . . . . . . . . . . . . . . . . . . . . . . . . . . . . . . 9
Ethernet Ports (upto five) . . . . . . . . . . . . . . . . . . . . . . . . . . . . . . . . . . . . . . . . . . . . . . . . . . . . . . . . . . . . . . . . 10
Communications Ports (upto five) . . . . . . . . . . . . . . . . . . . . . . . . . . . . . . . . . . . . . . . . . . . . . . . . . . . . . . . . . . 11
Product Serial Number . . . . . . . . . . . . . . . . . . . . . . . . . . . . . . . . . . . . . . . . . . . . . . . . . . . . . . . . . . . . . . . . . . 12
Blanking plate (models V4079-0001 and V4079-0003 only). . . . . . . . . . . . . . . . . . . . . . . . . . . . . . . . . . . . . .13
vii


Installation Instructions
Out of the box
Before unpacking the Fusion CCU, always inspect the shipping container for evidence of damage and report
any damage immediately. Always place the shipping container in the upright position as marked on the
packaging. Remove the Fusion CCU from the packaging, ensuring that all transport packing and retaining
fixings are removed. Inspect the Fusion CCU for any damage that may have occurred during shipping. Report
any damage immediately to Vinten Radamec or the local distributor.
Mounting the Fusion CCU into a rack
Mount the Fusion CCU into the 19 inch rack system and secure into position. The unit must be sited in the rack
to allow adequate ventilation of the system.
Cabling
All external ports are located at the back of the Fusion CCU (see Features and Controls on page viii). When
installing cabling, it is important that all cables are ‘dressed’ and secured.
Power connection
The Fusion CCU has a dual redundant internal power supply, both powered from a single power inlet located
on the rear panel. Connect the Fusion CCU to the local power supply. The power switch for the Fusion CCU is
located on the front panel.
Connecting to the Fusion System and Camera
Each Fusion CCU in the Fusion system can support up to five cameras. Additional Fusion CCUs can be
installed to provide control of a larger number of cameras. Each camera supported by the Fusion CCU has an
Ethernet port and communications port located on the rear panel. Each port is clearly labelled as a pair of ports
for a single camera (channel), for example ETH1 and PORT 1 are the communication ports required for camera
1, ETH2 and PORT 2 are the communication ports required for camera 2 and so on.
Connecting to the Fusion System
Using a standard ethernet cable, connect the camera ethernet port (ETH1, ETH2, ETH3, ETH4, ETH5) to the
Fusion system server (VRC or LCS server). Most installations will require an Ethernet switch to be installed,
and in such installations the Fusion CCU will connect directly to the Ethernet Switch. The Ethernet Switch
providing the connection between the Ethernet ports on the Fusion system server and the Fusion CCU.
1

Connecting to Camera
Cameras can be connected to the Fusion CCU using either a RS-232 or RS-422 cable. If the camera is
connected using a RS-232 cable, the LED located under the ethernet port illuminates. The LED is not
illuminated when using RS-422.
Important note: The type of cable used, must be of the correct communication protocol and pin out
for the camera in use on that channel.
Table 1 shows the correct pin out for RS-422 and RS-232 cables used to connect the Camera to the Fusion
CCU.
Table 1 - RS-232/RS-422 cable pin out (Fusion CCU)
Pin Function Notes
1 RS232/RS422 Select Logic High (+3V3) = RS-232
Logic Low (Gnd) = RS-422
2 +3.3V 10mA Max Pin 2 (+3.3V) is only used as a loop
through to signal the use of RS-232
data by linking to Pin 1. This pin
must not be used to provide power
to other equipment.
3 GND RS-232 and RS-422
4Rx-IN RS-232
5 Tx-OUT RS-232
6 Rin (+) RS-422
7 Rin (-) RS-422
8 Tx-OUT (-) RS-422
9 Tx-OUT (+) RS-422
Configuration Port connection
The Configuration port (CONFIG) is used when setting the IP address, and other configuration settings, for the
Fusion CCU channels. The IP address can be changed at any time using HyperTerminal or other terminal
emulator software. It is important that when additional channels are installed into the Fusion CCU, the IP
address of the channel is set. The Fusion CCU is connected to the PC or laptop using a standard RS-232 cable.
The configuration defaults are:
Local IP: 198.9.200.221
Netmask: 255.255.255.0
Default router: 198.9.200.1
Local port: 1200
Remote IP: 0.0.0.0
Remote port: 0
The Local IP will increment for each channel, for example 198.9.200.222, 198.9.200.223 and so on.
2

Operation
The Camera Control Unit (Fusion CCU) is designed to remotely control camera functions, typically camera iris,
shutter speed, black level, gain, knee, colour balance as well as monitoring and adjustment of other
parameters. The use of a Fusion CCU allows Operators to achieve maximum picture quality whilst working
remotely with the Fusion system. The Fusion CCU has no Operator control functions. The Fusion CCU
provides the communications necessary to allow Operators to control camera functions remotely using the
Fusion system. The only operational requirements for the Fusion CCU is to set the IP address for a channel
following the installation of an additional channel or changing the channel IP address to suit the studio
installation.
Changing the Channel IP address
The IP address of a channel can be changed at any time, and must be set whenever a new channel (module)
is installed into the Fusion CCU.
To change the IP address:
1. Connect a standard RS-232 serial cable from the serial port on a PC (COM1) to the CONFIG port on the
rear panel of the Fusion CCU.
2. On the PC, launch Hyper Terminal. Ensure the HyperTerminal settings are: 9600, 8, None, 1, None.
3. On the rear panel of the Fusion CCU, locate the Configuration DIL switch on the rear panel. Ensure all
the switches are in the up position (OFF) except for the switch that corresponds to the channel to be
configured, which should be in the down position (ON). For example, to configure channel 1, switch 1
(left most when viewed from the rear) should be down and all other switches must be in the up position
(OFF).
4. Reset the channel to be configured by pressing the reset switch accessible through the small hole in the
rear panel. The reset switch is located below the ETH port and to the left of the RS-232 LED for the
channel.
5. Observe that the corresponding Channel LED is illuminated on the front panel, for example if channel 2
is being configured, the orange LED under CHANNEL 2 on the front panel will illuminate.
6. Observe on the HyperTerminal that the configuration settings have appeared (Figure 1). Make a note of
the MAC address and ensure that there is no duplication of MAC addresses.
3

Figure 1 Hyper terminal window
7. At the prompt type “Y” then press the ENTER key. Proceed following the Hyper terminal prompts and
change the channel address as required. The Local IP address must be unique for each module:
Module-1 Local IP 198.9.200.221
Module-2 Local IP 198.9.200.222
Module-3 Local IP 198.9.200.223
Module-4 Local IP 198.9.200.224
Module-5 Local IP 198.9.200.225
Other addresses elements are common for all modules:
The Netmask: 255.255.255.0 for all modules
Default router: 198.9.200.1 for all modules
Local port: 1200 for all modules
Remote IP: 0.0.0.0 for all modules
Remote port: 0 for all modules
8. With the above changes made, check that the read-back is correct and type “n” and then press ENTER.
HyperTerminal should report “Starting the main application”. Check that the Channel LED on the front
panel of the Fusion CCU is not illuminated.
9. With the channel IP address now set, return the Configuration DIL switch for the channel to the up
position (OFF).
10. Reset the channel configured by pressing the reset switch accessible through the small hole in the rear
panel.
Repeat the process for setting the IP address for any other channel.
Important Note: ALWAYS ensure that the Configuration DIL switches are switched OFF (in the up
position) on completion of any changes to the channel configurations.
4

Adding a new Channel
!
Fusion CCU models V4079-0001 (1 channel) and V4079-0003 (3 channel) can be upgraded at any time to
include additional channels. Each Fusion CCU can support up to five cameras.
1. Switch power off and remove power cable.
2. Disconnect all cables from the Fusion CCU rear panel.
3. Remove the Fusion CCU from the 19 inch rack.
4. With the Fusion CCU placed onto to a work bench or table, remove the four screws securing the lid. Lift
off the lid and place to one side.
Warning!
Electrostatic Sensitive Devices
5. Place the unit upside-down on a worksurface and remove the three screws securing the rear panel. Do
not disconnect any internal cabling to the channel connections (ETH and PORT).
CAUTION! Support the rear panel. DO NOT allow the rear panel to fall away.
6. Remove the blanking plate from the channel position. Remove the screws located on the outside of the
rear panel securing the blanking plate. Remove the blanking plate.
7. Plug in the new channel module. Carefully align the pins, ensuring that the pins do not bend or flex the
module PCB.
8. Fit the 9 way D connector to the back panel. Feed the D connector through the slot in the rear panel from
inside the Fusion CCU. Secure the connector into position using the screw jack, nut and washer.
9. Plug the cable connector into the 10 way header.
10. Ensure the gold shunt, located next to the 10 way header, is in position and secure.
11. Replace the rear panel and top cover.
12. Configure the IP address for the newly installed channel (module) following the process outlined in
Changing the Channel IP address.
13. Install the Fusion CCU into the 19 inch rack and secure into position. Refit all cables and install the
cables for the new channel (module).
5

Maintenance
Routine checks
During use, check the following:
• Check that both PSU 1 and PSU 2 LEDS are illuminated.
• Check all cables are secured and seated correctly.
No further routine maintenance is required.
Changing the fuse
To replace a fuse:
1. Switch OFF power to the Fusion CCU.
2. Carefully insert a small blunt screwdriver or similar tool into the side of the fuse compartment and lever
out.
3. Lift out the fuse compartment.
4. Replace the failed fuse and then replace the fuse compartment, pushing firmly into place.
5. Switch ON power to the Fusion CCU. Ensure the Power ON/OFF switch illuminates and that the PSU1
and PSU2 LEDs illuminate.
6

Troubleshooting
Fault Check Read
Power supplied but Fusion
CCU not working.
PSU LED not illuminated Contact Camera Dynamics Ltd for a
Camera not working. Check module configuration and IP
Check that the power cable is correctly
seated and secure.
Check that the Fusion CCU Power ON/
OFF switch is ON.
replacement PSU.
address is correct.
Ensure that the cable is correct for the
camera and that the cable has the correct
pin outs for the Fusion CCU.
Check that the RS-232 LED is illuminated
when using a RS-232 cable. If the LED is
not illuminated, check the cable pin outs
for the Fusion CCU.
Changing the Channel IP
address
Connecting to the Fusion
System and Camera
Connecting to the Fusion
System and Camera
7

Parts List
Part Number
Main assemblies
Fusion CCU single channel. . . . . . . . . . . . . . . . . . . . . . . . . . . . . . . . . . . . . . . . . . . . . . . . . . . . . . . V4079-0001
Fusion CCU 3 channel . . . . . . . . . . . . . . . . . . . . . . . . . . . . . . . . . . . . . . . . . . . . . . . . . . . . . . . . . . V4079-0003
Fusion CCU 5 channel . . . . . . . . . . . . . . . . . . . . . . . . . . . . . . . . . . . . . . . . . . . . . . . . . . . . . . . . . . V4079-0005
Optional Upgrade
Single channel upgrade kit . . . . . . . . . . . . . . . . . . . . . . . . . . . . . . . . . . . . . . . . . . . . . . . . . . . . . . . V4079-0002
8

CHINA
The Vitec Group plc China
Rm 706, Tower B
Derun Building
YongAn Dongli A No. 8
Jianwai Ave, Chaoyang District,
Beijing, China 100022
Tel. +86 10 8528 8748
Fax. +86 10 8528 8749
FRANCE
Camera Dynamics Sarl
171 Avenue des Grésillons
92635 GENNEVILLIERS Cedex
France
Tel. +33 820 821 336
Fax. +33 825 826 181
GERMANY
Camera Dynamics GmbH
Gebäude 16
Planiger Straße 34
55543 Bad Kreuznach
Germany
Tel. +49 671/483 43 30
Fax. +49 671/483 43 50
Camera Dynamics GmbH
Erfurter Straße 16
85386 Eching
Germany
Tel. +49 89/321 58 200
Fax. +49 89/321 58 227
JAPAN
Vinten Japan KK
P.A. Bldg. 5F
3-12-6 Aobadai
Meguro-ku Tokyo 153-0042
Japan
Tel. +81 3 5456 4155
Fax. +81 3 5456 4156
SINGAPORE
Camera Dynamics Pte Ltd
6 New Industrial Road
#02-02 Hoe Huat Industrial Building,
Singapore 536199
Tel. +65 6297 5776
Fax. +65 6297 5778
UK
Camera Dynamics Ltd
William Vinten Building
Western Way
Bury St Edmunds
Suffolk IP33 3TB
Tel. +44 1284 752 121
Fax. +44 1284 750 560
Sales Fax. +44 1284 757 929
USA
Camera Dynamics Inc.
709 Executive Blvd
Valley Cottage
NY 10989
USA
Tel. +1 845 268 0100
Fax. +1 845 268 0113
Toll Free Sales: +1 888 2 Vinten
Camera Control Unit
Publication Part No. V4079-4980
Issue 1.0
Vinten
RADAMEC
BROADCAST ROBOTICS
www.vintenradamec.com
 Loading...