

Universal Enterprise KMIRP2 Installation Manual
1-800-547-5740 • Fax: (503) 643-6322
www.ueitest.com • email: info@ueitest.com
KMIRP2
INSTRUCTION MANUAL
Switch the printer on.
NOTE: The printer will automatically switch off after 10 minutes of
i n a c t i v i ty. To reactivate simply press the power on button. The printer
will also switch off automatically during printing if the battery voltage
d r ops too low. If this happens install a new set off batteries.
Positioning the Printer and Instrument
Ensure that there are no obstructions between the instrument emitter (at
the top of the unit) and the Printer Receiver (on the bottom of the printer
b e l ow the keypad).
• Maximum distance < 15 feet
Self-Test and Battery Condition Indication
To run the printer self-test and battery indication, follow these steps:
1. With instrument off, press and hold paper feed button
(up arrow)
2. Press and release power-on button
3. Release paper feed button
The printer will display “STA R T TEST” and will then print all available
c h a r acters. At the bottom of the characters the battery level will be
i n d i c ated by a value between a low of 1 and a high of 5, for example
“BAT : 5 ”. The last line of the display will indicate “END TEST” .
Regardless of the battery condition reference, new batteries should
be installed when any of the following symptoms are present:
• The print contrast remains too low, even when the control is
set to highest contrast
• Print speed slows due to the print head moving too slowly
across the paper
• Printing stops before all information on a line has
been completed
• The battery condition reference (shown at the end of the
self-test) is 1 or 0
Contrast Adjustments
The printers contrast (image clarity) can be adjusted using the left or right
keys. Use the left key to lighten the image and the right key to darken the
image. Use the lightest acceptable contrast setting to ensure the longest
possible battery life. if the contrast cannot be set to an acceptable level,
change the batteries.
Battery Life
For longest battery life, always turn off the printer when printing is
complete. To help prevent potential damage from leakage, remove
the batteries if the printer will not be used for a long period of time.
Optional AC Adapter
In order to prolong the battery life, the printer will also operate with an
optional AC Adapter (KMCU/IRP220).
Introduction
The KMIRP2 printer receives infrared readings up to 3' away and
tolerates a 60˚ angle without losing connection. It's diverse compatibility
communicates with analyzers using the HP protocol as well as UEi
analyzers. Technicians can be confident of data reliability with its ability
to detect missing or incorrect data.
Features include
• New compact design with a protective rubber boot
• Integrated magnet in the back of the rubber boot for
on-demand hands-free printing
• Infrared port receives readings up to 15’ away without
losing connection. Allowed 60˚ angle up to 10” away
• Communicates with UEi analyzers and other analyzers
using HP protocols
• Self-test and battery condition indication
• Auto power off
• Paper advance
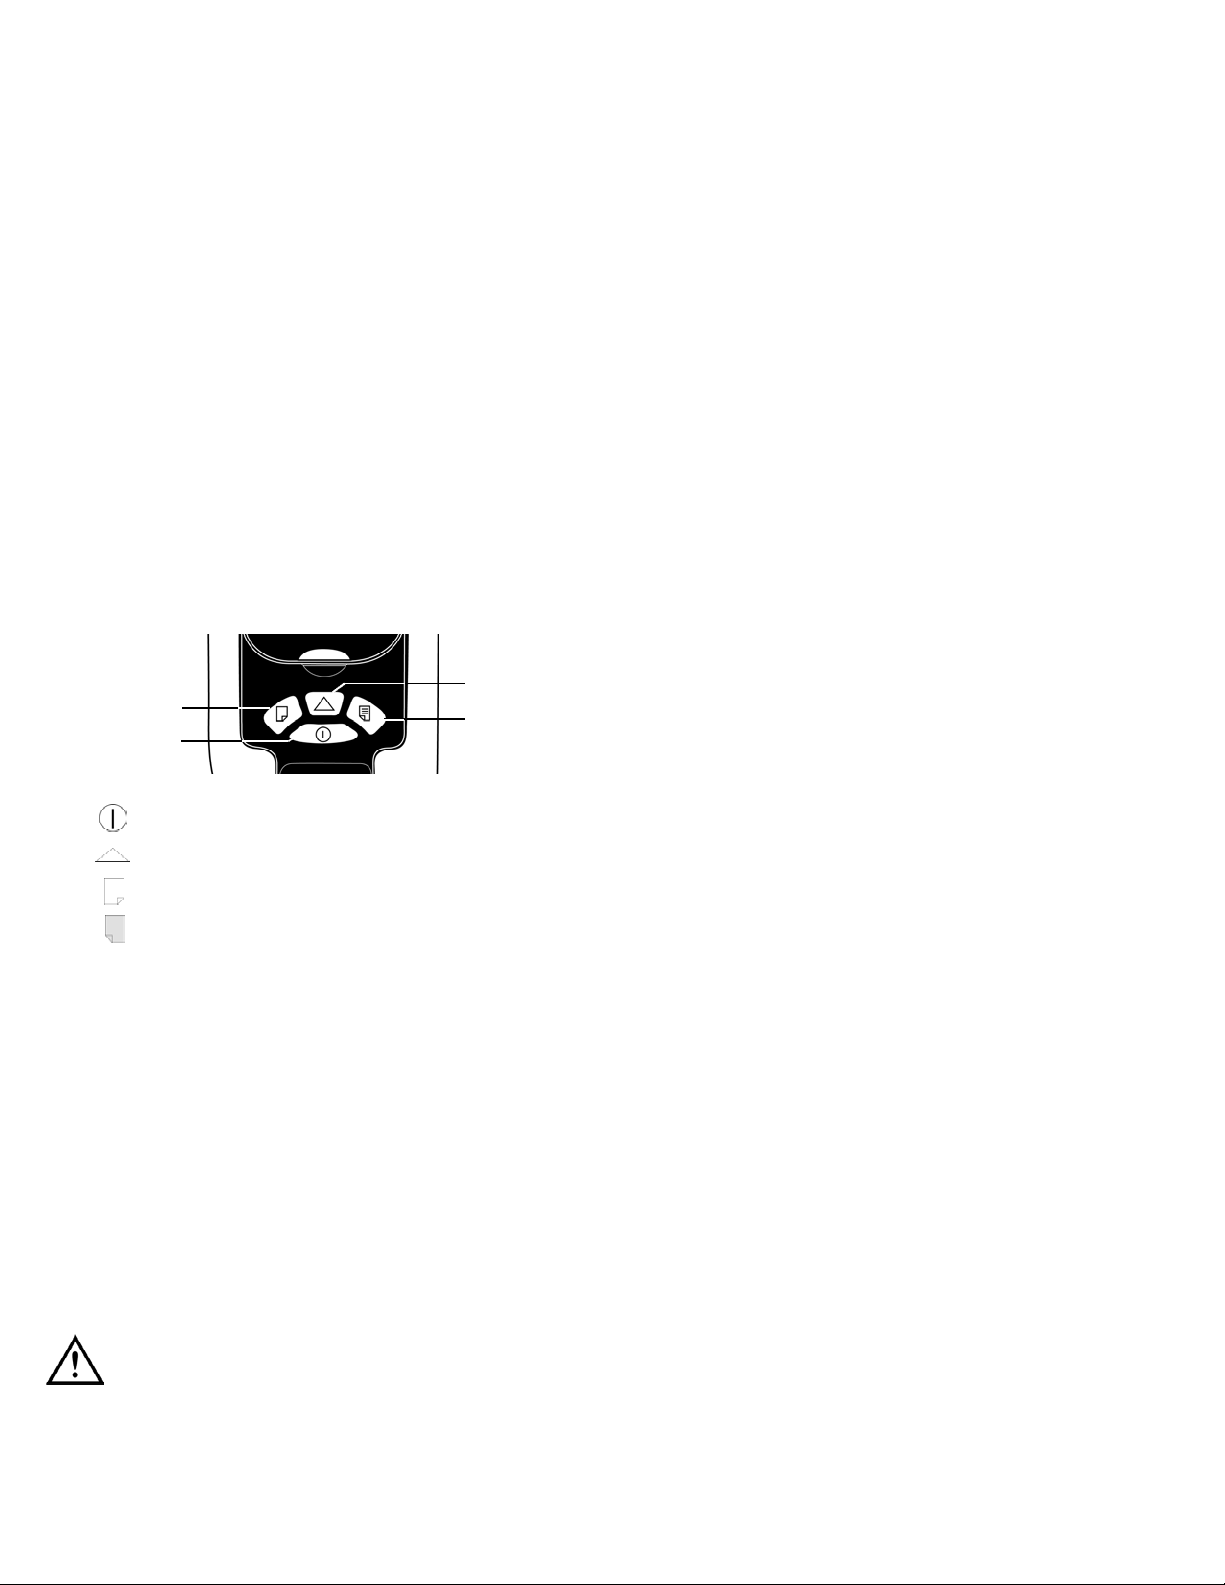
C o n t rols and Indicators
1. : ON/OFF
2. : Paper feed
3. : Lighten contrast
4. : Darken contrast
Operating Instructions
Set Up
The printer is powered by 4 “AA” size alkaline batteries which will provide
around 6000 print lines before replacement is required. Batteries should
be fitted into the battery compartment on the rear of the printer, taking
note of the individual battery orientation.
The KMIRP2 uses thermal paper and care should be taken when fitting
n ew paper rolls to ensure that the “shiny” side of the paper faces the
print head. The paper should be placed into the slot within the paper roll
holder while holding the paper feed button until the paper feeds through
to the front of the printer. Ensure that the paper has an even edge and is
not folded before attempting to load into the printer.
WARNING!
Do not try and pull the paper through manually as this could damage
the print head. If the paper jams, use the paper feed button, very
carefully ease the edge of the paper back into the paper roll holder
and try reloading as detailed above.
KMIRP2-MAN P. 1
1
3
4
2
 Loading...