

TP-Link ARCHER-T4E Installation Guide
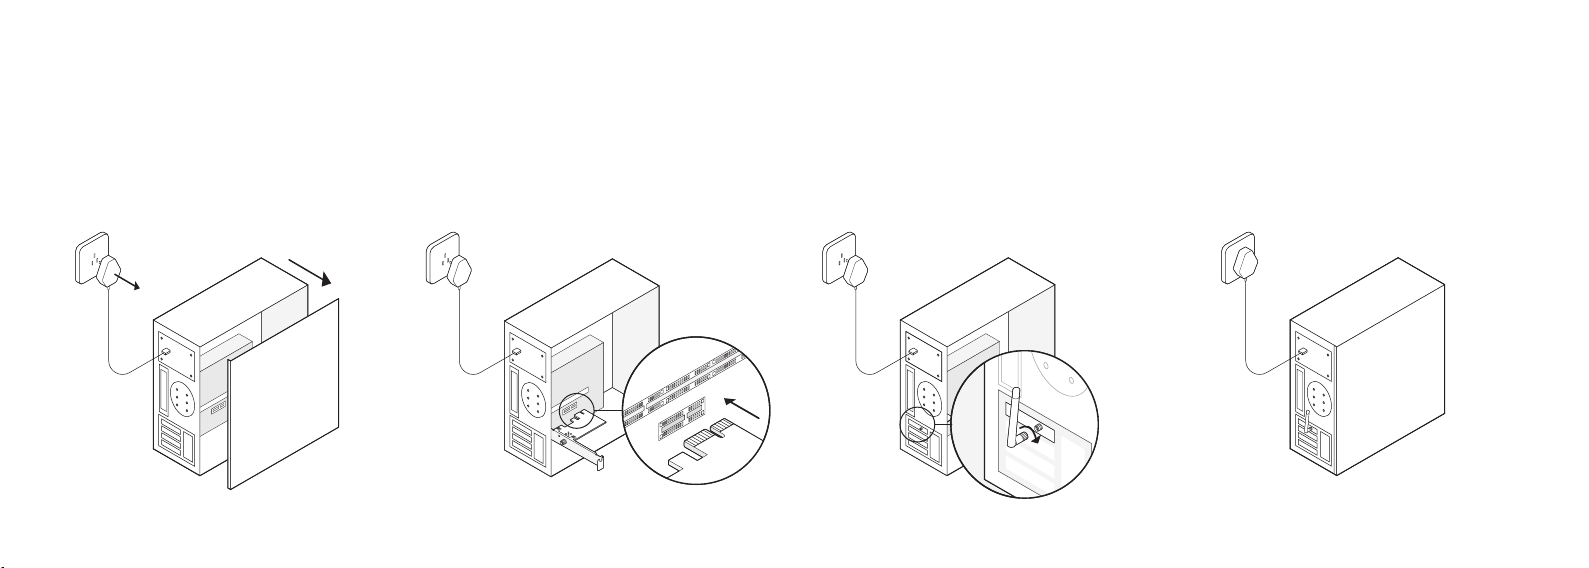
1 Connect to a Computer
a. Turn o your computer, unplug the
power cable and remove the case
panel.
b. Locate an available PCI-E slot and carefully
insert the adapter.
Note:
If the bracket is not suitable for your computer, detach it from
the adapter's board and replace it with the low-prole bracket.
c. Connect the antenna to the adapter.
d. Replace the case panel, plug in the power
cable and turn on your computer.
Connections are available
Wireless Network Connection
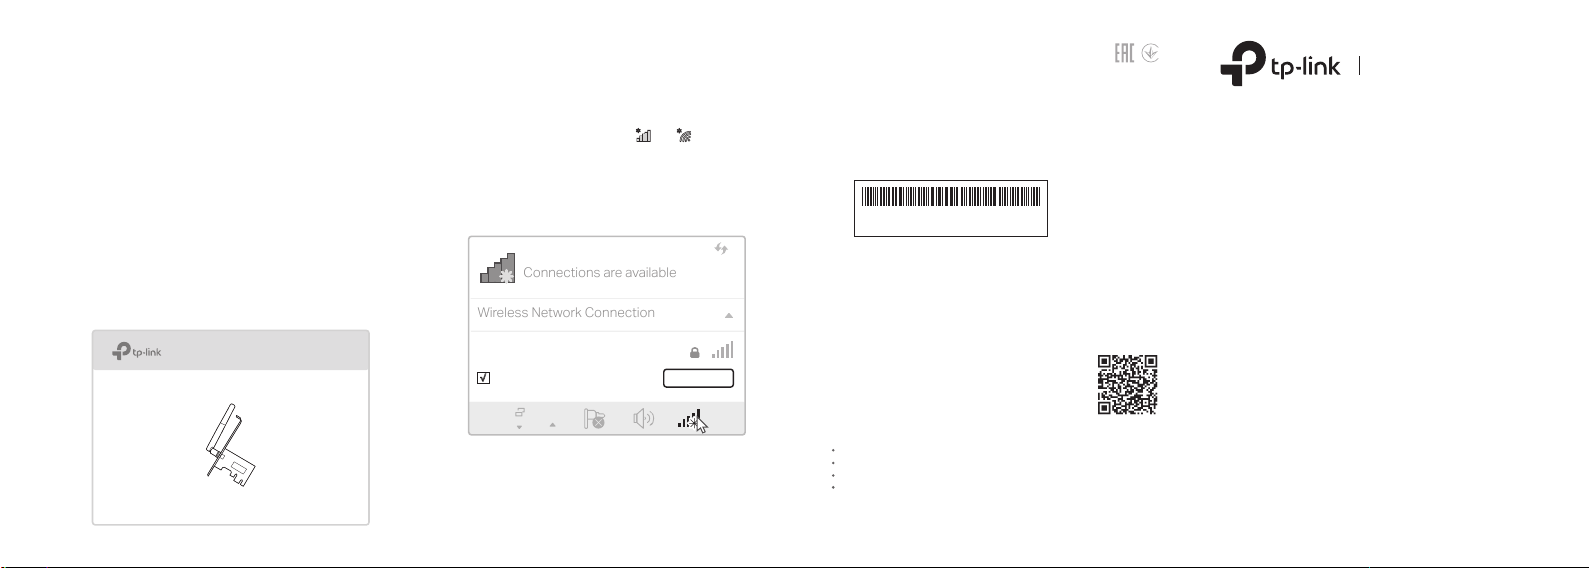
2 Install Driver
a.
Insert the CD and run the Autorun.exe.
Note:
You can also download the driver and check the new
release at https://www.tp-link.com/download-center
b.
Select your adapter and follow the
instructions to complete the installation.
Note:
If you can’t install the driver successfully, disable
the antivirus software and firewall, then try again.
3 Join a Wireless Network
a. Click the network icon ( or ) on the
taskbar.
b. Select your Wi-Fi network, click Connect,
and enter the password when prompted.
TP-Link_XXXX
√
Connect automatically
Connect
FAQ
Q: How to nd the hardware version of the adapter?
A1. The hardware version (Ver:X.Y) is printed on the
product label on the package or the adapter. The
number X is the hardware version of the adapter.
Model:
S/N:
A2. For more detailed instructions, please visit
https://www.tp-link.com/faq-46.html
Ver:X.Y
Support
For technical support, the user guide
and other information, please visit
https://www.tp-link.com/support, or
simply scan the QR code.
Safety Information
Keep the device away from water, re, humidity or hot environments.
Do not attempt to disassemble, repair, or modify the device.
Do not use damaged charger or USB cable to charge the device.
Do not use the device where wireless devices are not allowed.
Quick Installation Guide
Wireless PCI Express
Adapter
7106508108 REV3.0.1©2018 TP-Link
Images are for demonstration only.
 Loading...