

Page 1
2
SAFETY PRECAUTIONS
The lightning flash with arrowhead symbol, within an equilateral triangle, is
intended to alert the user t
o the presence of uninsulated “dangerous voltage”
within the product’s enclosure that may be of suffi cient magnitude to constitute a
Handling the cord on this product or cords associated with accessories sold
This [product] contains mercury. Disposal of mercury may be regulated due
This device complies with part 15 of the FCC Rules. Operation is subject to
Page 2

3
Page 3
4
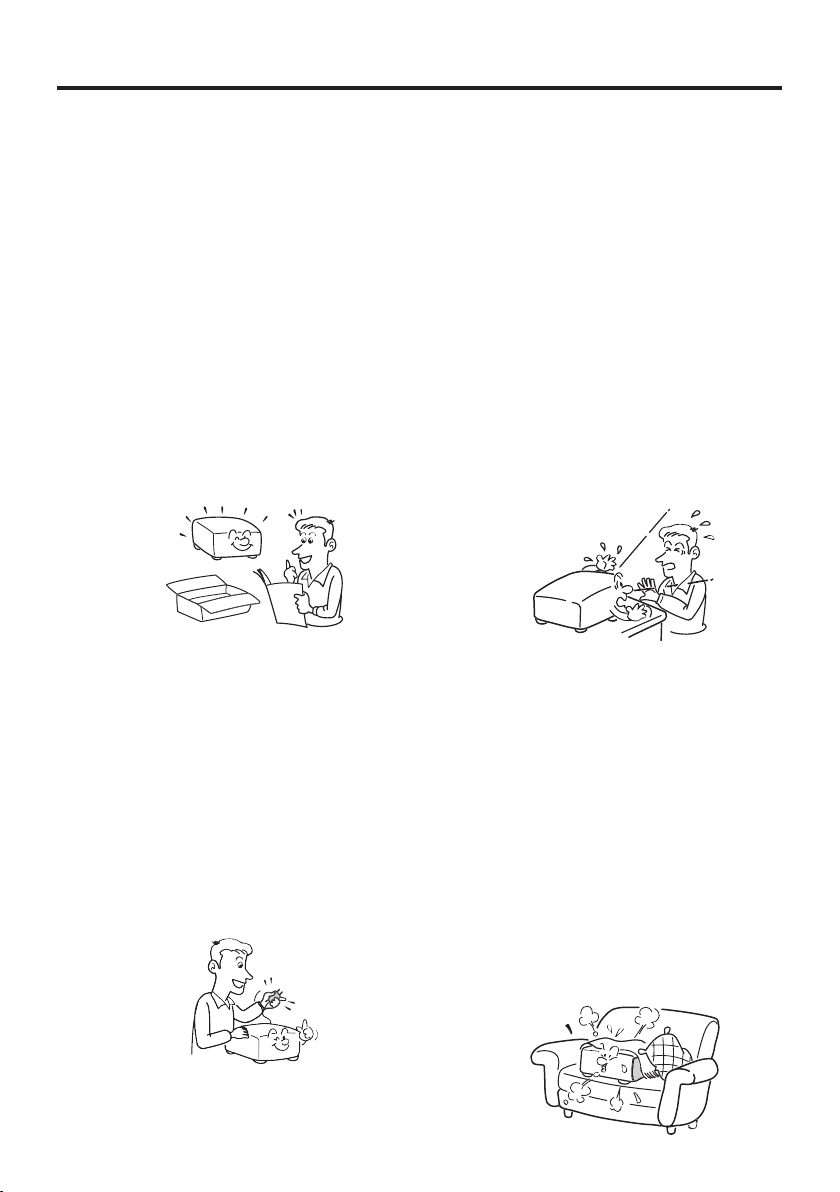
IMPORTANT SAFETY INSTRUCTIONS
Page 4
5
Page 5

6
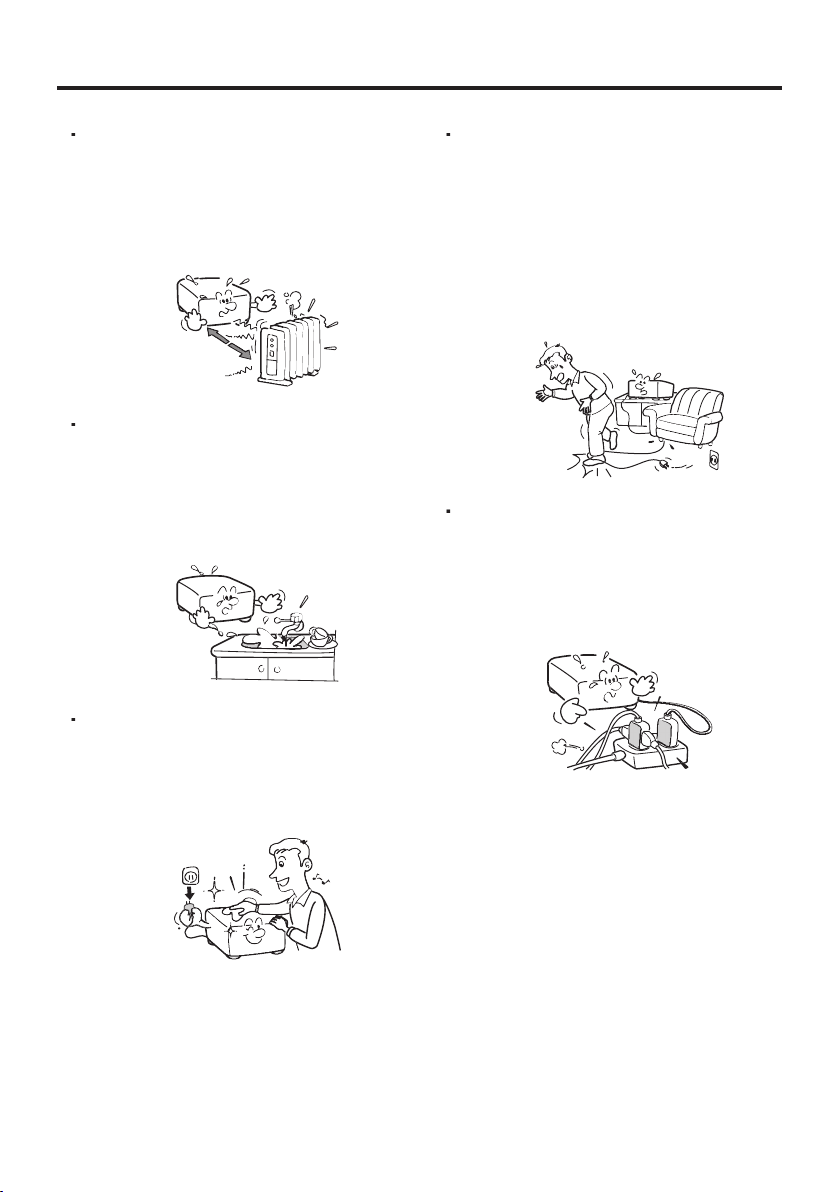
IMPORTANT SAFETY INSTRUCTIONS (Continued)
Page 6
7
Introduction
Page 7

8
IMPORTANT SAFETY INSTRUCTIONS (Continued)
Page 8
9
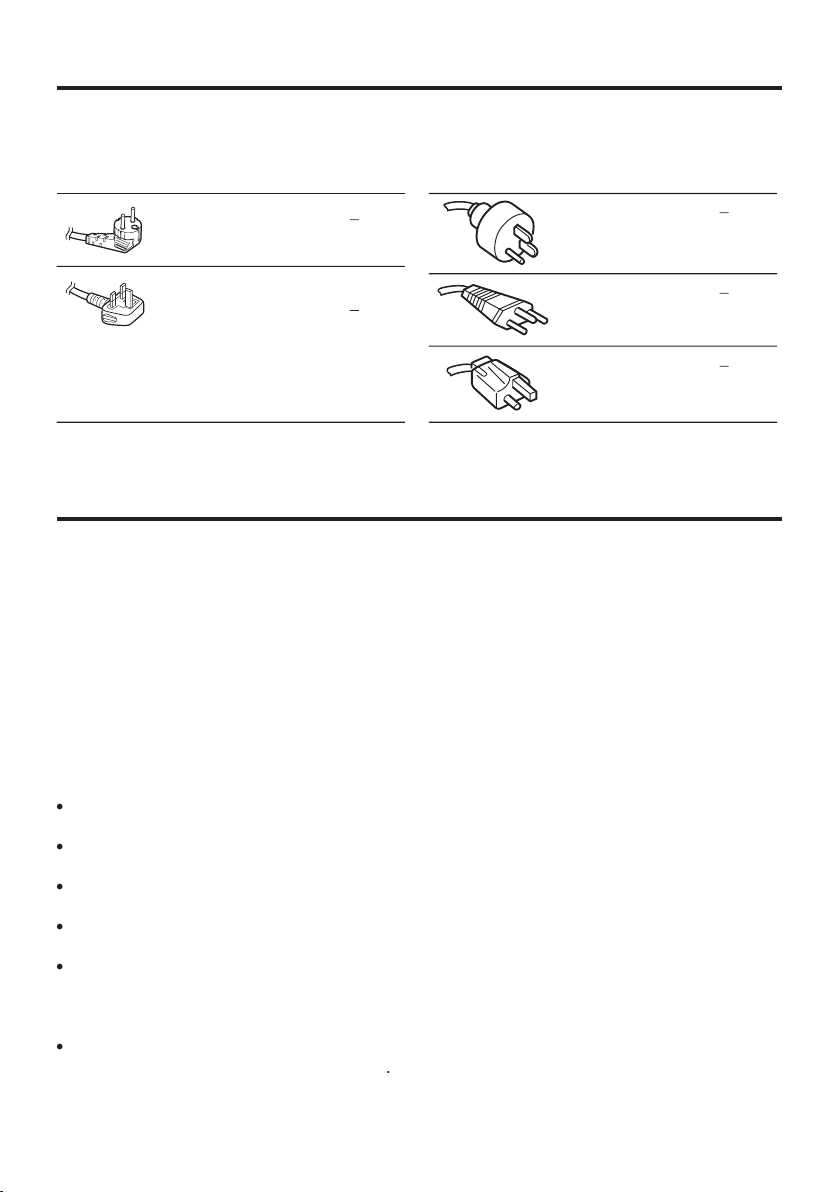
POWER SUPPLY CORD SELECTION
Use a 5A fuse which is approved by ASTA
or BSI to BSI362.
Always replace the fuse cover after
changing the fuse.
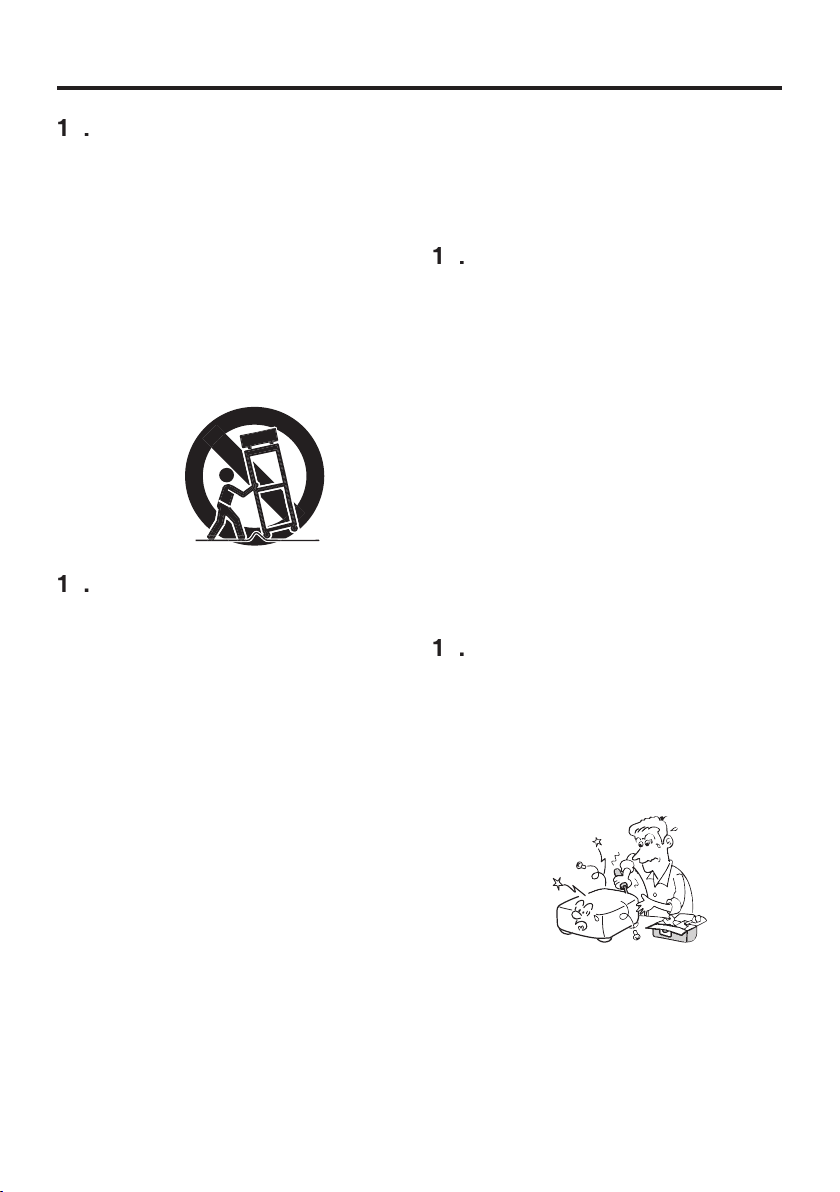
IMPORTANT PRECAUTIONS
set to
Page 9

10
IMPORTANT PRECAUTIONS (Continued)
EXEMPTION CLAUSES
Page 10

11
OTHER CAUTIONS AND INFORMATIONS
images using the freeze, resize, PIP, or SPLIT screen functions, or
Page 11

12
REMOTE CONTROL BATTERIES
Page 12

Table of Contents
Table of Contents ....................................................................................... 13
Introduction ................................................................................................ 14
Package Overview .............................................................................................14
Product Overview ...............................................................................................15
Main Unit ......................................................................................................................15
Control Panel ...............................................................................................................16
Connection Ports .........................................................................................................17
User Controls .............................................................................................18
Control Panel & Remote Control ........................................................................18
Preparing and using the remote control .............................................................20
Operating a computer using the remote control .................................................22
Installation .................................................................................................. 23
Connecting the Projector ....................................................................................23
Turning the power on and off .............................................................................24
Connecting the power cord .......................................................................................... 24
Removing the lens cover .............................................................................................24
Turning the power on Press the ON / STANDBY button .............................................24
Turning the power off ................................................................................................... 25
Adjusting the Projested Image ...........................................................................26
Adjusting the Projector Image Height ..........................................................................26
Adjusting the Projector Zoom / Focus ..........................................................................27
Adjusting Projection Image Size ..................................................................................27
Adjusting the screen size and focus ............................................................................28
Using the menus ........................................................................................29
How to use the menus ........................................................................................29
The image adjustment menu ..............................................................................30
The display setting menu ...................................................................................31
The default setting menu ....................................................................................32
Manual adjustments and settings .......................................................................33
Displaying Information (Status display) ..............................................................34
Appendices ................................................................................................ 35
Trouble shooting .................................................................................................35
Replacing the lamp .............................................................................................38
Computer Compatibility (Analog) .......................................................................40
Specifi cations .....................................................................................................
About Lamp ................................................................................................ 42
About Lamp ........................................................................................................42
Immediately replace the lamp when a sign appears on the screen ...................42
When the lamp is broken ....................................................................................42
Lamp replacement ..............................................................................................43
Lens cleaning .....................................................................................................43
Main unit cleaning ..............................................................................................43
41
13
Page 13

14
Introduction
Power Cord 3m VGA Cable 3m
Remote mouse Control
with Laser Pointer
AAA battery for mouse
remote control(2)
USB Cable 3m
Projector with lens cap
Package Overview
This projector comes with all the items shown below.
Check to make sure your unit is complete. Contact your
dealer immediately if anything is missing.
Carrying Case
The shape and
number of supplied
power cords vary
depending on the
product destination.
Owner’s Guide
Owner’s Manual
®
Reader™ to view the manual.
®
Reader™
®
folder, and run
folder, and run
Follow the on-screen instructions to install the software.
®
Reader™ launches, and
Page 14

15
Introduction (Continued)
1. Control Panel (See page 16 for detailed information.)
2. Zoom Lever
3. Focus Ring
4. Projection lens
5. Lens Cap
6. Foot adjuster
7. Front foot adjuster release button
8. Infrared remote sensor
9. Rear panel (Connection external devices.)
10. AC IN socket
Main Unit
Product Overview
8
2
4
3
6
7
1
9
5
1
8
10
Page 15

16
Introduction (Continued)
Control Panel
1. Temp Indicator LED (Refer to page 37 for more information.)
2. On indicator light(Refer to page 37 for more information.)
3. LAMP indicator(Refer to page 37 for more information.)
Indicates the status of the lamp has developed a problem.
4. ON/STANBY button (Refer to page 24 for more information.)
Turns the projector on or off.
5. MENU button Open,saves and exits the on-screen menu.
6.
, , ,
, button The directional buttons are used to
select the desired menu items and to make adjustments when
the onscreen menu is activated. Refer to page 18 for more
information.
7. ENTER button : Accepts the selected mode.
1
2
3
5
4
7
6
Page 16

17
Introduction (Continued)
Connection Ports
1. Infrared remote sensor
2. AC IN socket(Connect the supplied power cord here.)
3. COMPUTER (Y/PB/PR) IN terminal
RGB : Input analog RGB signal from a computer or other
source, or a component video signal (Y/PB/PR) from video
equipment.
4. Video IN terminal
5. S-Video IN terminal
6. USB terminal (for remote mouse control)
7. Antitheft lock hole
(Attach a safety cable or any other antitheft device.)
7 6 5 4 3 2
1
The projector is a moveable equipment
Page 17

User Controls
Control Panel & Remote Control
There are two ways for you to control the functions: Remote Control and Control Panel.
Using the Control Panel
On / Standby
Refer to the “Power On/Off the Projector” section on page 24.
Input
Press “Input” to choose RGB, Component-p, Component-i, S-Vid-
eo, Composite Video and HDTV sources.
Menu
Press “Menu” to launch the on screen display (OSD) menu. To
exit OSD, press “Menu” again.
Keystone +/-
Adjusts image distortion caused by tilting the projector (±15 de-
grees).
Remote ControlControl Panel
/
Auto Set
Enter
Confi rm your selection of items.
Automatically synchronizes the projector to the input source.
18
Page 18

19
User Controls (Continued)
button.
button.
Page 19

20
User Controls (Continued)
Dry-cell batteries
The remote control
Preparing and using the remote control
Approx. 5m
Approx. 5
Approx. 15°
Approx. 15°
Page 20

21
Preparing and using the remote control (Continued)
Notes
: Functions as a select button.
: Functions as a mouse pointer control.
: Functions as a down button. Used to go
®
PowerPoint
®
slides, etc.
: Functions as an up button. Used to go back
®
PowerPoint
®
slides, etc.
: Functions as a ESC button.
User Controls (Continued)
Page 21

22
Operating a computer using the remote control
1
2
and
®
slides.
User Controls (Continued)
Page 22

Installation
Connecting the Projector
Due to the differ-
ence in applications
for each country,
some regions may
have different accessories.
USB
6
S-Video Output
1. ..................................................................................................Power Cord
2. ...................................................................................................VGA Cable
3. ........................................................................... Video Cable(not supplied)
4. ...................................................... D-sub15p to YPbPr cable(not supplied)
5. ...................................................................... S-VIDEO cable(not supplied)
6. ....................................................................................................USB cable
RGB
2
5
3
Video Output
4
DVD Player,
Settop Box,
HDTV receiver
1
To ensure the projector works well with your computer,
please set the display mode of your graphic card less than or
equal to 1024 X 768 resolution. Make sure the timing of the display mode is compatible with the projector. Refer to the “Compatibility Modes” section on page 40.
23
Page 23

24
Turning the power on and off
Insert the power cord connector into the
Insert the power cord plug into a wall or
CAUTION
Notes
menu.
Installation (Continued)
Control panel
Remote
Control
Start-up screen
Page 24

25
Press the ON/STANDBY button.
Press the ON/STANDBY button again.
the screen turns off, but the internal cooling fan continues to operate for a short
A B
When cooling lamp After cooling complete
A
If you are in a hurry, there is no problem with unplugging the power cord
In standby mode.
Installation (Continued)
Page 25

Installation (Continued)
Adjusting the Projected Image
Adjusting the Projector Image Height
The projector is equipped with an elevator foot for adjusting the image height.
To raise the image:
1. Press the foot adjuster button
2. Raise the image to the desired height angle , then release the button to lock the foot adjuster into position.
3. Use
To lower the image:
1. Press the foot adjuster button.
2. Lower the image, then release the button to lock the foot
adjuster into position.
3. Use
foot adjuster
button
to fi ne-tune the display angle.
to fi ne-tune the display angle.
1
2
.
3
foot adjuster
26
Tilt Adjusting Wheel
Page 26

27
Installation (Continued)
64.1"
(163.0cm
)
106.98"
(271.7cm)
149.78"
(380.4cm
)
213.97"
(543.5cm
)
261.04"
(663.0cm
)
37.0" (93.8cm)
74.0"(187.5cm)
123.0"(312.5cm)
172.2"(437.5cm)
246.0"(625.0cm)
300"(762.5cm)
4.99'
40.03'
32.81'
22.97'
16.40'
9.84'
(1.5m)
(12.2m)
(10.0m)
(7.0m)
(5.0m)
(3.0m)
32.1"
(64.1cm)
Max. 37.0"(93.8cm) 74.0"(187.5cm) 123.0"(312.5cm) 172.2"(437.5cm) 246.0"(625.0cm) 300.0"(762.5cm)
Min. 32.10"(81.5cm) 64.19"(163.0cm) 106.98"(271.7cm) 149.78"(380.4cm) 213.97"(543.5cm) 261.04"(663.0cm)
Max.(WxH)
29.50" x 25.60"
(75.0 x 62.5cm)
59.06" x 44.29"
(150.0 x 112.5cm)
98.43" x 73.82"
(250.0 x 187.5cm)
137.80" x 103.35"
(350.0 x 262.5cm)
196.85" x 147.64"
(500.0 x 375.0cm)
240.16" x 180.12"
(610.0 x 457.5cm)
Min.(WxH)
25.68" x 19.26"
(65.2 x 48.9cm)
51.35" x 38.51"
(130.4 x 97.8cm)
85.59" x 64.19"
(217.4 x 163.0cm)
119.82" x 89.87"
(304.3 x 228.3cm)
171.17" x 128.38"
(434.8 x 326.1cm)
208.83" x 156.62"
(530.4 x 397.8cm)
4.99'(1.5m) 9.84'(3.0m) 16.40'(5.0m) 22.97'(7.0m) 32.81'(10.0m) 40 .03'(12.2m)
Screen
(Diagonal)
Screen
Size
Distance
Focus Ring
Zoom Lever
Adjusting the Projector Zoom / Focus
You may turn the zoom lever to zoom in or out. To focus the image, rotate the focus ring until the image is clear. The projector
will focus at distances from 5 to 40 feet (1.5 to 12.2 meters).
Adjusting Projection Image Size
This graph is for user’s reference only.
Page 27

28
Installation (Continued)
Use the zooming lever to adjust the screen size.
Use the focusing lever to adjust the focus.
is made using extremely advanced technology, but there may be black spots
icon will appear.
Page 28

29
Using the menus
Display the Setting display menu.
1. Press the MENU button
2. Select a Category
3. Adjustments & Settings
Select a category by using
.
There are following five
categories:
Displays the current
adjustments and settings of
selected category.
Item shown with gray cannot
be adjusted with the current
input source.
Image adjustment menu
Display setting menu
Default setting menu
Set up menu
The figure shows displays given for operation instructions purposes. As the display may
differ depending on the item, use the following pages as a reference.
Item
Adjustment/Setting Value
These marks signify
the items can be
adjusted/set by using
.
These marks signify the items can
be selected from the list by using
�
.
After an item is selected, apply it by
pressing .
Press to open the menu.
Status display menu
These marks signify that
there are options.
Press to display a
list of options.
5. End
Press the MENU
button
The menu disappears.
4. Back
MENU button
Page 29

30
Using the menu (Continued)
and
can be displayed and adjusted only when the video signal is set to
/P
Higher
Brighter
Deeper
Greenish
Sharper
Off (Disable)
/
More red
More green
More blue
/
Page 30

31
(Full): Display with 1024 × 768 dot resolution
(Thru): Display with sampling resolution (for computer input)
(Wide): Wide-screen display (for Video, S-video, and Y/P
/P
: Enter setting mode]
[
]
/
/Svenska/Türkçe/
/
/
/
Using the menu (Continued)
Page 31

32
The factory default setting.
When you select this function, the projector
and
(not turned off)/
///
/
is set to
to
increases the cooling fan speed. Set this option to use the projector,
Using the menu (Continued)
Page 32

33
Using the menu (Continued)
/P
Page 33

34
Using the menu (Continued)
/P
/P
signal format
as a measure of when the lamp should be replaced. (Cannot be used as a
shows the version of the projector’s internal control program. This version is referred to for
Page 34

Appendices
Trouble shooting
Problem : No image appears on screen.
Problem : Partial, scrolling or incorrectly displayed image.
For Windows 3.x:
1. In the Windows Program Manager, double click the “Windows
2. Verify that your display resolution setting is less than
For Windows 95, 98, 2000, XP:
1. From the “My Computer” icon, open the “Control Panel” folder,
2. Select the “Settings” tab
3. Click on the “Advanced Properties” button.
If you experience trouble with the projector, refer to the
following information. If the problem persists, please
contact your local reseller or service center.
Ensure all the cables and power connections are correctly and
securely connected as described in the “Installation” section.
Ensure the pins of connectors are not crooked or broken.
Check if the projection lamp has been securely installed. Please
refer to the “Replacing the lamp” section.
Make sure you have removed the lens cap and the projector is
switched on.
Press “PJ Mode” on the Remote Control or press “AUTO SET” on
the Control Panel.
If you are using a PC:
Setup” icon in the Main group.
or equal to
1280 x 1024.
and double click the “Display” icon.
If the projector is still not projecting the whole image, you will
also need to change the monitor display you are using. Refer
to the following steps.
35
Page 35

36
4. Verify the resolution setting is less than or equal to 1280 x 1024
resolution.
5. Select the “Change” button under the “Monitor” tab .
6. Click on “Show all devices.” Next, select “Standard monitor
types” under the SP box; choose the resolution mode you need
under the “Models” box.
If you are using a Notebook:
1. First, follow the steps above to adjust resolution of the computer.
2. Press the toggle output settings. example:[Fn]+[F4]
If you experience diffi culty changing resolutions or your monitor
freezes, restart all equipment including the projector.
Problem : The screen of the Notebook or PowerBook computer is not displaying a presentation.
If you are using a Notebook PC:
Some Notebook PCs may deactivate their own screens when a
second display device is in use. Each has a different way to be
reactivated. Refer to your computer’s documentation for detailed
information.
Problem : Image is unstable or fl ickering
Use “Phase” to correct it. Refer to page 33.
Change the monitor color setting from your computer.
Problem : Image has vertical fl ickering bar
Use “Frequency” to make an adjustment. Refer to page 33.
Check and reconfi gure the display mode of your graphic card to
make it compatible with the product.
Compaq=> [Fn]+[F4]
Dell => [Fn]+[F8]
Gateway=> [Fn]+[F4]
IBM=> [Fn]+[F7]
Mac Apple:
System Preference-->Display-->Arrangement-->Mirror display
Hewlett
=> [Fn]+[F4]
Packard
NEC=> [Fn]+[F3]
Toshiba => [Fn]+[F5]
Appendices (Continued)
Page 36

37
Appendices (Continued)
Problem : Image is out of focus
Adjusts the Focus Ring on the projector lens. Refer to page 27.
Make sure the projection screen is between the required distance 5
to 40 feet (1.5 to 12.2 meters) from the projector.
Problem : The image is stretched when displaying 16: 9
DVD.
The projector automatically detects 16:9 DVD and adjusts the aspect
ratio by digitizing to full screen with 4:3 default setting.
If the image is still stretched, you will also need to adjust the aspect
ratio by referring to the following:
Please select 4:3 aspect ratio type on your DVD player if you are
playing a 16:9 DVD.
If you can’t select 4:3 aspect ratio type on your DVD player, please
select 4:3 aspect ratio in the on screen menu.
Problem : Image is reversed.
Select “Default setting ” from the OSD and adjust the projection
direction. See page 32.
Problem : Lamp burns out or makes a popping sound
When the lamp reaches its end of life, it will burn out and may make
a loud popping sound. If this happens, the projector will not turn on
until the lamp module has been replaced. To replace the lamp, follow
the procedures in the “Replacing the Lamp”. See page 38.
Problem: LED lighting message
Steady light =>
No light =>
Message
Power LED
Temp LED
Lamp LED
Green Orange Red
Standby State
(Input power cord)
Normal Mode
Cooling Flashing
Error (Lamp failed)
Error (Fan failed) Flashing
Error (Over Temp.)
Error
(Lamp cover failed)
Flashing
Error
(Color wheel failed)
Flashing Flashing
Page 37

38
Replacing the lamp
The projector will detect the lamp life itself. It will show you a
warning message “The Lamp life is ending” When you see this
message, change the lamp.
Make sure the projector has been cooled down for at least
one hour before changing the lamp.
Warning: Lamp
compartment is hot!
Allow it to cool down
before changing lamp!
Warning: To
reduce the risk of
personal injury, do not
drop the lamp module
or touch the lamp bulb.
The bulb may shatter
and cause injury if it is
dropped.
1
3
4
2
Appendices (Continued)
Lamp Replacing Procedure:
1. Switch off the power to the projector by pressing the Power
button twice.
2. Allow the projector to cool down at least 1 hour.
3. Disconnect the power cord.
4. Use a screwdriver to remove the screw from the cover.
5. Push up and remove the cover.
6. Remove the 2 screws from the lamp module.
7. Pull out the lamp module.
To replace the lamp module, reverse the previous steps.
8. Reset the lamp timer.
Page 38

39
and a message will appear with a beep sound. (After
button.
Appendices (Continued)
Page 39

40
Appendices (Continued)
Remark :
1.> “*”compressed
computer image.
2.> The interlaced
analog signals are not
supported.
Computer Compatibility (Analog)
56.47
Page 40

41
Appendices (Continued)
List of general specifi cations
Consumption Power
Weight
External Dimensions
Cabinet material
Conditions for usage environment
Display pixels
Picture elements
Lens
Lamp
Projection screen size
Projection distance
Connection terminal
Computer Input (VGA)
Video Input (x 1)
S Video Input (Standard x 1)
USB Port
Specifi cations
- 195W
- 1.0Kg
- 200 x 75.3 x 154.2 mm (WxHxD)
- AL & MG alloy + PC + ABS resin
- Temp : 5 oC to 35 oC
Relative humidity : 30% to 70%
- 1 Chip DMD ™
- 786,432 pix els (1024H x 768V)
- Zoom lens F= 2.7-2.88 f = 28.43 -
32.73 mm
- High - pressure mercury lamp
- 31.7- 300 inches
- 1.5m – 12.2m
- Mini D sub 15 pin RGB/Y/P
B
/ P
R
(Dual use)
- RCA Pin Jack
- Mini DIN 4 pin
- For mouse remote control
Page 41

About Lamp
About Lamp
The product’s light source is a mercury lamp that lights at increased
internal pressure. Be sure to fully understand the following characteristics of the lamp and handle it with extreme care.
• The lamp may burst with a loud noise due to impact or deteriora-
tion, or fail to light at the expiration of its life.
• How long it takes before the lamp bursts or the life expires may
vary greatly by lamp.
Some may burst shortly after fi rst use.
• Burst is likely to happen if the lamp is used after the replacement
period has elapsed.
• When the lamp bursts, the broken pieces of glass may get inside
the product or be
• When the lamp bursts, a slight amount of mercury gas enclosed in
the lamp along with glass dust may be released from the openings
for ventilation.
Immediately replace the lamp when a sign ap-
pears on the screen.
• When the replacement time approaches, a message will appear on
the screen.
• The risk of burst will increase if the lamp is continuously used with-
out being replaced.
• Frequently check the used hours and prepare spares when the
replacement time approaches.
released outside from the openings for ventilation.
When the lamp is broken
• If glass components, including a lamp and a lens, should break,
handle the broken pieces with care to avoid injury and contact your
dealer for repair service.
• In the event of lamp burst, unplug the product from the wall outlet,
leave and completely ventilate the room. Then, thoroughly clean
the area around the projector and discardany edible items placed in
that area.
• When the lamp bursts, consult a doctor if glass dust or mercury gas
gets into your eyes or you breathe it.
42
Page 42

43
About Lamp
Lamp replacement
A lamp is consumable supplies. If used for extended periods, images
will appear dark, and the lamp could burn out. This is characteristic of a
lamp, and is not malfunction. (The lifetime of the lamp depends on condition of use.) If this happens, replace it with a new one.
CAUTION
If you have been using the projector, the lamp will be very hot, and may
cause burn injuries.
Wait for the lamp to cool (for longer than 1 hour) before replacing it.
If the lamp should break, please handle with care to avoid injury due to
broken pieces and contact your dealer for repair service.
Lens cleaning
• Clean the lens with a commercially available
blower and/or lens cleaner.
• The lens is easily scratched, so do not rub it
with hard objects, or strike it.
Main unit cleaning
• Clean the main unit after unplugging the
power cord.
• Wipe dirt off the main unit gently with a soft
cloth.
• Do not wipe the main unit with a damp cloth.
Doing so may allow water to get inside, resulting in an electric shock or failure.
• Do not use benzene, thinner and the like as
they may deform or discolor the unit or damage the paint surface.
• When using a chemically treated cloth, follow
the precautions included with the cloth.
 Loading...