

Page 1
中文组装说明书
No.4339
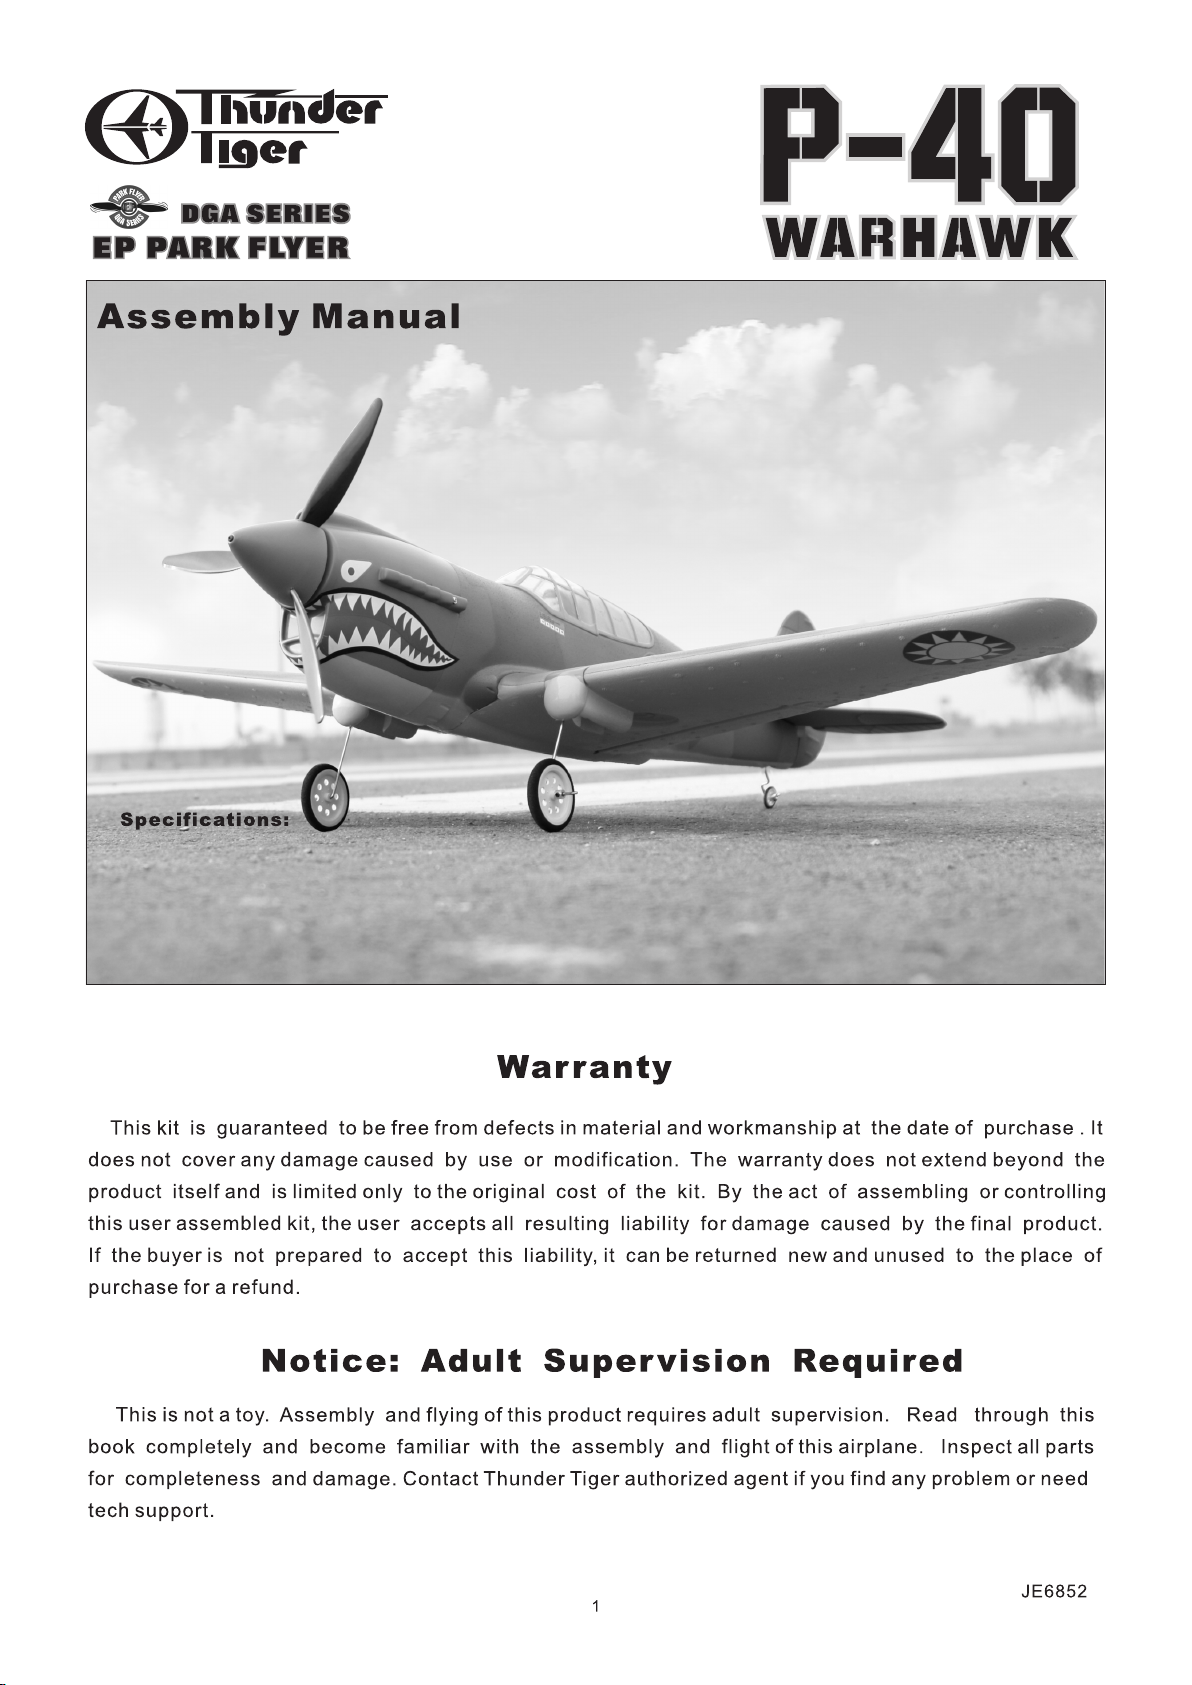
Wing Span:34" ( 863. 6mm)
Length: 29"(738mm)
Wing Area:226.4 sq. in. ( 14.6dm )
Weight: 17. 5oz.(500g)
Motor:OBL2928/09 recommended
2
Page 2
With the distinctive painted shark's mouth, P-40 has always been one of the most recognizable
single engine fighters of WW2 as well as a rugged dependable aircraft which provided invaluable
service to the Allied war effort.
Capture the history of WW2 in a RC flying fighter at your local field. Get in the air and experience
Thunder Tiger's replica, the P-40 " Flying Tiger".
非常感谢您购买雷虎产品P-40战鹰电动飞机,由于独特的鲨鱼嘴外形使之成为二战中最容易被辨认
的飞机之一,集稳定与凶猛于一身, 为盟军作出了巨大贡献.雷虎公司非常荣幸能够为世界各地的飞行爱
好者再度呈现这架飞机的风采. 请熟读组装前须知确保组装过程顺利. 本飞机为中高级者模型爱好者而
设计,须具备组装和飞行技巧.
其他
For all the three versions:OBL,OBL Less Motor
1.
and Super Combo,please assemble your model
according to this instruction manual.Do not
attempt to modify or change your model in any
way as doing so may adversely change its flying
characteristics.Doing so will be out of warranty.
无刷版套件、无刷版无马达套件及完成机版共用此组
装说明书,请按照说明书指示组装,切勿修改以免影
响该机原有优异飞行性能。如因自行修改所造成的损
坏,不在产品保证范围内。
Page 3

4动遥控器并配备2个微型伺服机(产品编号:4CH双杆遥
控器ACE8417)
BLC- 12
OPTION
选配零件
Drill Bit 5/64"(2mm). . . . . . . . . . . . . . 钻头5/64"(2mm)
Drill Bit 7/64"(2.6mm). . . . . . . . . . 钻头7/64"(2.6mm)
Drill Bit 1/8"(3mm). . . . . . . . . . . . . . . . 钻头1/8"(3mm)
Page 4
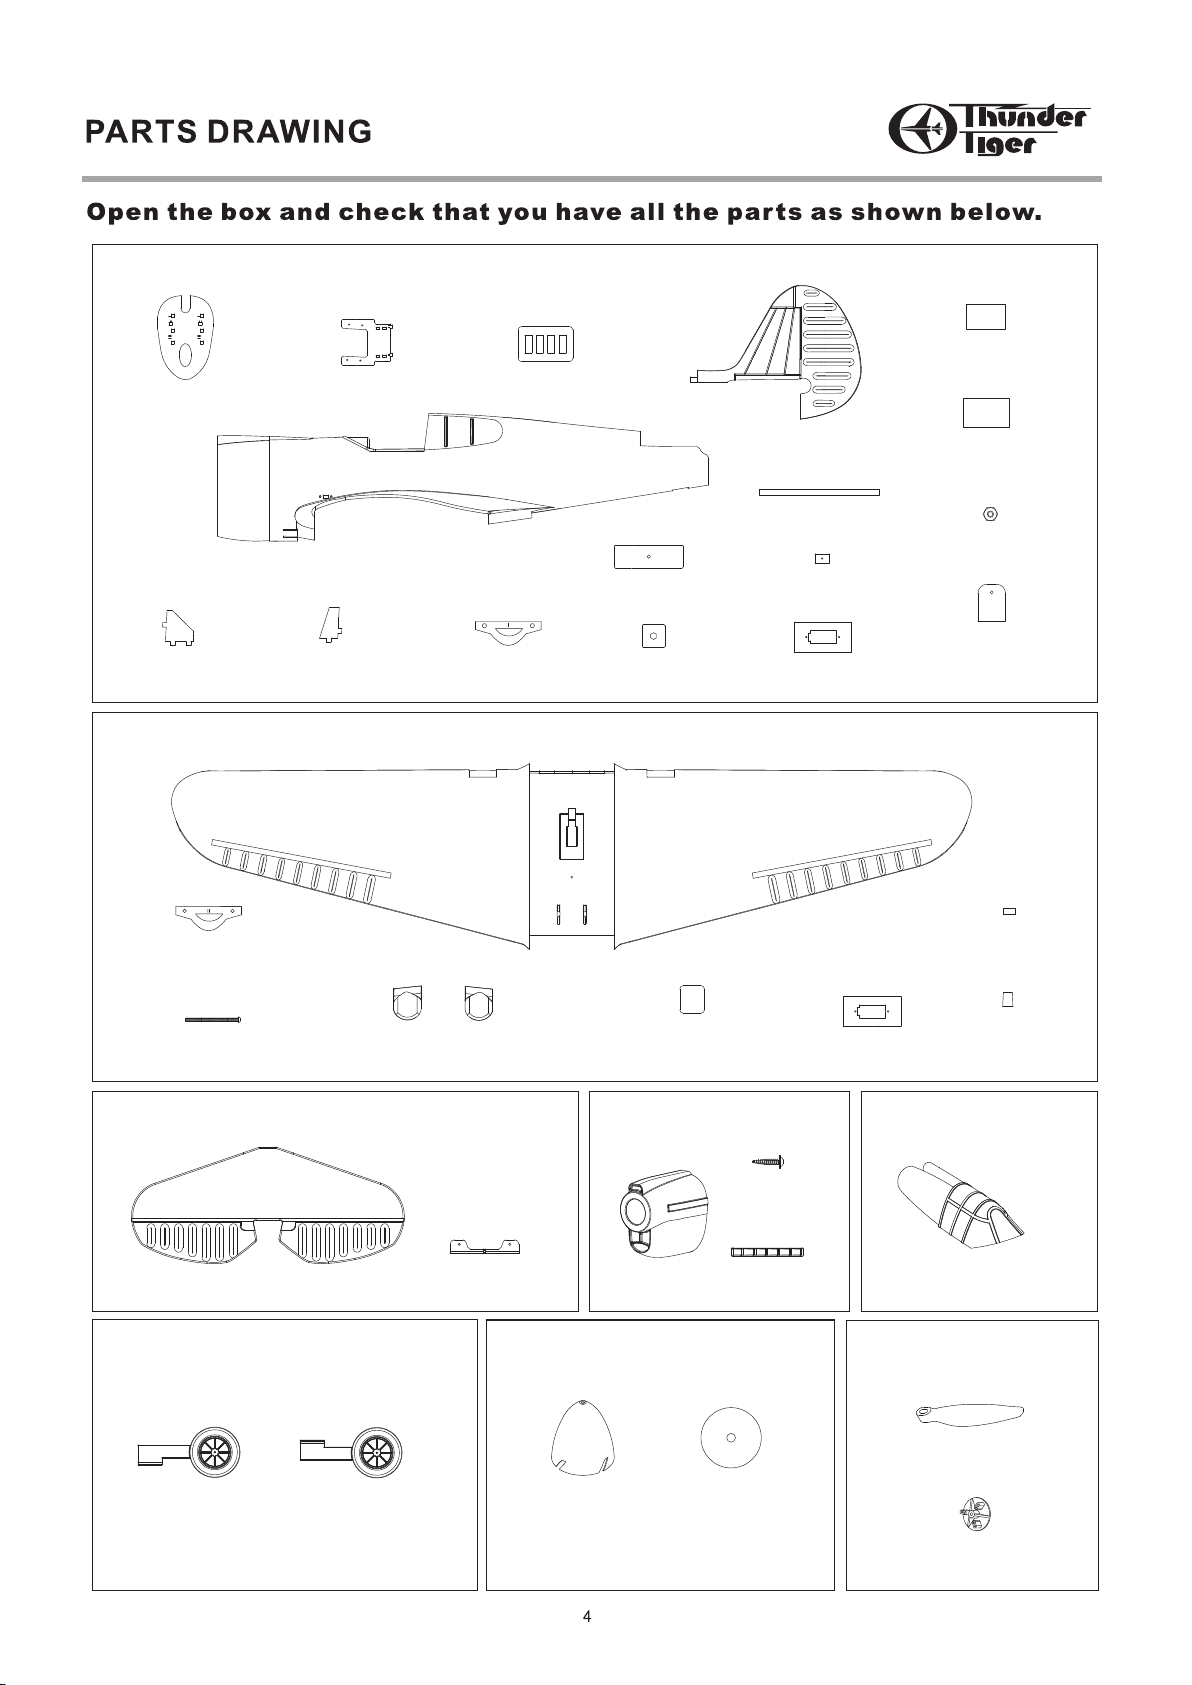
AS6501 Fuselage
Firewall (1)
Mot or Mount (1)
Double Side Tape (1)
Battery Tray (1)
Mount Support A (2)
AS6502 W ing
Win g Dowel Plate II (1 )
Mount Support B (2)
Fus elage( L/1,R/1)
Win g Dowel Plate I (1)
Wing Mount (1)
Nut Retainer (1)
Wing (1)
Vertical Fin (1)
Velcro (1)
Cowling Mount (2)
Servo Tray (1)
Velcro (1)
M3 Nut (1)
Elevator Pushrod
Support (1)
Dowel (2)
Win g Bolt (1)
Horizontal Tail (1) Elevator Joiner (1 )
Landing Gear Fairi ng(L/1,R/1)
AS6506 Foe Retracted Gear
Foe R etracted Gear ( L/ 1, R/ 1)
PVC Torque H orn Retainer (2)
AS6504 CowlingAS6503 Horizontal Tail
Cowling (1)
AS6507 Spinner
Spinner (1)
2×8mm Wood
Scr ew (2)
Engine Exhaust
Out let (2)
Plate (1)
Servo Tray (1)
Pro tector (1)
AS6505 Canopy
Canopy(1)
AS6457
3-Blade Propeller
Blade (3)
Blade Holder (1)
Page 5
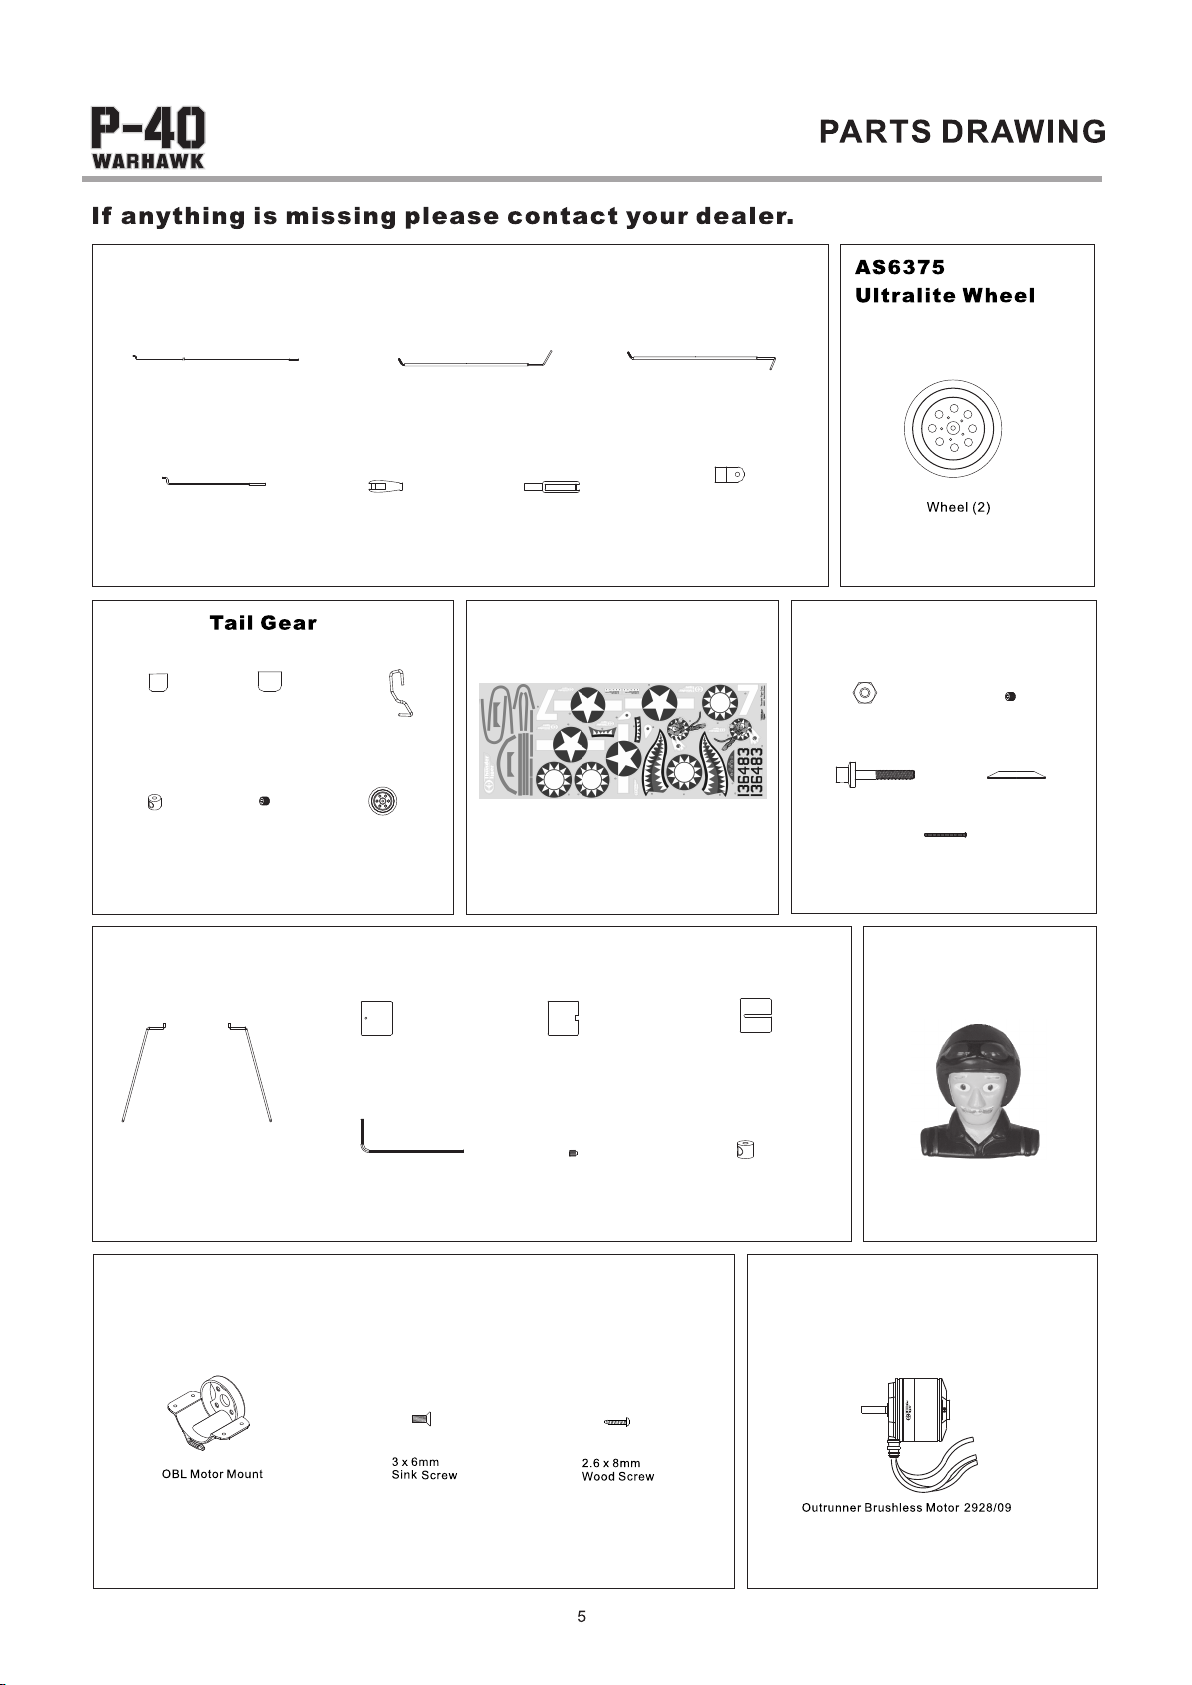
AS6509 Pushrod Set
Elevator Pushrod ( 1)
Aileron Pushrod (2 )
AS6412
Tail Gear
Mount A (1)
Collar (1)
Tail Gear
Mou nt B (2)
3×3mm Set
Scr ew (1)
Tail Wheel (1)
AS6510 Landing Gear
Aileron Torque Rod (L/1,R/1)
Clevis A (1) Clevis B (2)
AS6511 Decal
Tail Gear (1)
Decal(1)
Torque Rod
Connector (2)
AS6454
Spinner Ada ptor
M5 Nut (1)
Adaptor (1)
3×3mm Set Screw (1)
Washer (1)
2. 6×30mm Screw (1)
AS6512
WWⅡ Pilot
Landing Gear Mount A (2)
Landing Gear (L/1, R/1 )
Hex Wren ch (1)
AS6380 OBL Motor Mount
(1)
Landing Gear Mount B ( 2) Landing Gear Mount C ( 2)
3×3mm Set Screw (2)
(4)
(4)
Collar (2)
WWⅡ Pi lot(1)
No.2354 OBL 2928/09
(Only comes with 4339-K21)
(1)
Page 6
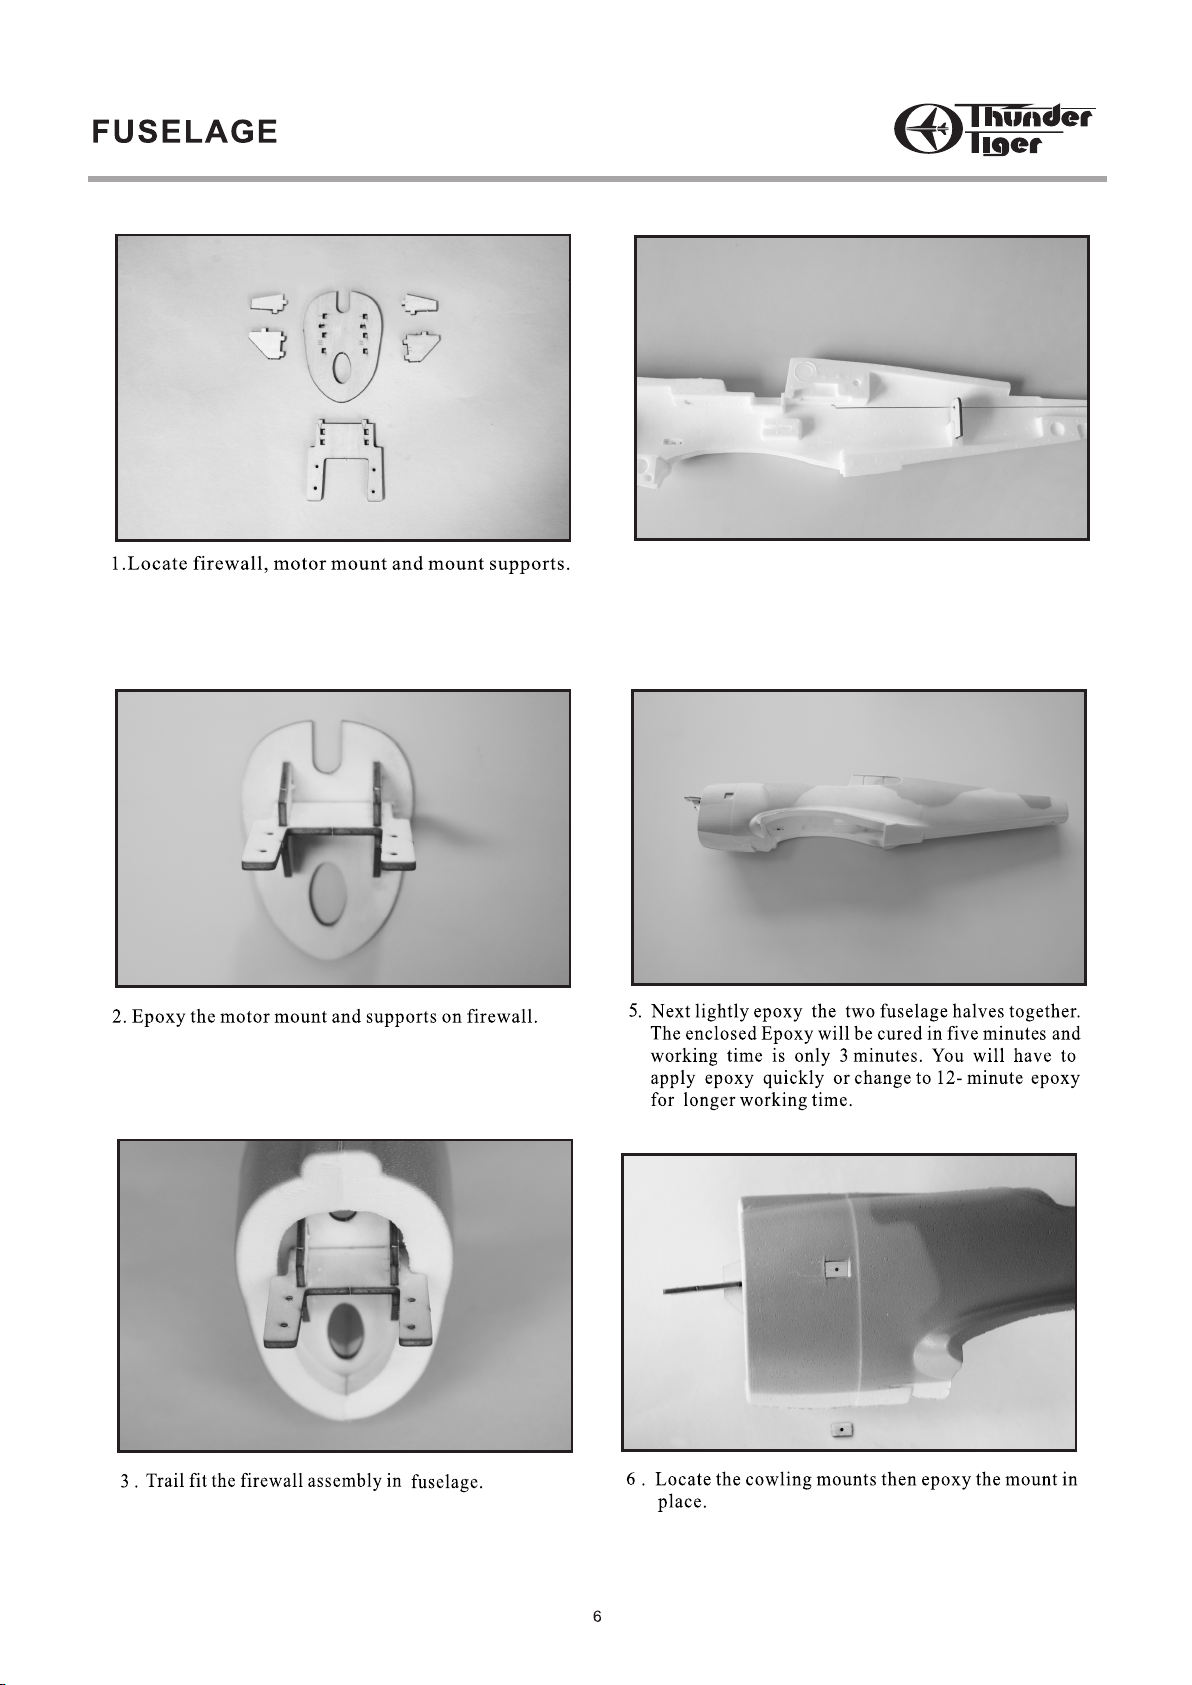
安装防火墙、马达固定座及支撑。
将动力组架、动力组支撑粘于防火墙。
4. Insert pushrod through the pushrod support then
epoxy the support and firewall in place of right
fuselage.
粘入防火墙及拉杆支撑板于右机身并插入拉杆。
如图粘合两片机身。
将粘合后的防火墙试装入机身。
依图粘合引擎罩固定块。
Page 7

7.Locate the bat t e ry tray. Epoxy the battery t r ay
assembly in fuselage.
将电池固定板粘入机身。
10.Epoxy the wing mount assembly in the fuselage.
Note the mount is all the way in.
将粘合后的机翼螺帽固定板粘入机身。
8
如图粘入升降翼伺服机固定座,注意方向。
9. Locate the wing mount,nut
将机翼固定板、M3螺帽、螺帽固定板如图粘合。
11.Locate the dowels,wing dowel plate I and II.
如图取出短圆木棒与机腹连接板
Epoxy wing dowel plate I in the front fuselage and wing
12.
dowel plate II on the front center wing , then glue the two
dowels on wing dowel II.(Note the orientation of wing
dowel I and II , make sure they are fit properly.)
以环氧树脂胶合机腹连接板I与机身,机腹连接板I于机
翼,然后胶合短圆木棒于机腹连接板II上。
7
Page 8

TAIL& EVELATOR
13.Apply the instrument panel decal and the pilot
in place.
安装仪表盘贴纸及人像。
14.Epoxy the canopy in place.
如图粘合机舱罩。
16.Trial fit the joiner in place next apply epoxy and
glue it firmly in place . It will be easier to bend
two elevators then slide the joiner on the elevators.
以环氧树脂胶合平尾摇臂。
17.Locate the elevator pushrod,thread the clevis then
snap onto the elevator joiner.
如图安装升降翼钢丝,安装拉杆连接头与平尾摇臂连接。
15.Cut a slot at the hinge line for installation of
elevator joiner.
如图在水平尾翼上切开一个槽以便装平尾摇臂。
18.Center and epoxy the horizontal tail in place.
以环氧树脂胶合水平尾翼于机身。
Page 9

90
21.Install the brushless motor as shown.
如图安装无刷马达。
A= A'
A
19.
Epoxy the vertical fin in place and make sure it
A'
is perpendicular to the horizontal tail.
以环氧树脂胶 合垂直尾 翼,注意平尾与垂尾相互垂直 。
22.Install power unit on the motor mount with four
2. 6x8mm wood screw, then secure the adaptor
with 3x3mm set screw.
使用2.6x8木螺丝将马达动力组在马达座上,用3x3mm
无头内六角螺丝固定螺桨连接头。
20.Locate brushless motor, plastic motor mount and
3x6mm sink screw.
取出马达,无刷马达座及3x6mm沉头螺丝。
23.Carefully cut two ends of aileron.
小心切开副翼两端。
9
Page 10

24.Bend the aileron down and apply tape(3/ 4" wide
suggested) on hinge line as indicated. You may
rub the hinge area back and forth with a piece of
cloth, this is to smooth the area and increase the
tap adhesion.
如图弯折副翼并以透明胶带固定。
25.
Carefully flapping aileron and make sure it move
freely but will not come off and tape is sticky
enough to hold the aileron in plane.
上下摆动副翼使之摆动自由而不至于脱落。
Secure the servo on the aileron servo tray, then
27.
epoxy the servo tray assembly at the aileron servo
well.
将副翼 伺服机装 入伺服机座,以 环氧树脂 胶合伺服
机座于 机翼上。
将副翼钢丝装入伺服机,推荐将钢丝插入摇臂第一个
孔位。
Glue free
26.Epoxy the toque rod and torque rod retainer in
place.Same procedure on the other one.
以环氧树脂胶合副翼钢丝于机翼。
10
Page 11

起落架
您可以选择安装伪装式收脚架。
<Fix Gear 固定式轮架>
如图粘合起落架固定板与起落架夹板。
<Dummy Retract Gear 伪装收脚架>
32.
For less drag or user desired speed flight, the foe
retract gear is a good choice. Trim the vacuum
formed foe retract gear as shown and locate them at
the bottom wing.
如图安装伪装收脚架。
30.
以环氧树脂胶合起落架于起落架孔。
31.
Next trim the vacuum formed foe retract and install
in place.
如图安装起落架轮子,并以无头螺丝固定轮档。其次修剪
并安装真空件与轮架处
33.
组装尾轮各部分。
34.
以环氧树脂胶合尾轮于机身。
11
Page 12

COWLING&SPINNER
35.
Trim cowling and engine exhaust outlets along with
the molded line, then epoxy the engine exhaust
outlets on the cowling. Next drill 2mm hole at
the molded dot.
如图修剪引擎罩与伪装排气孔后将伪装排气孔以环
氧树脂胶合于引擎罩并于模点上钻2mm孔。
Trial fit the cowling to fuselage then secure with
36.
two 2x8mm wood screws.
以所附之2x8mm木螺丝将引擎罩固定于机身。
Attach the clear round plate and the aluminum
38.
washer then secure the propellers with M5 Nut.
如图装上3叶螺旋桨。
39.
Trim spinner along with the molded line, drill
2. 6mm hole at the nose point then secure the
spinner with 3x15mm sink screw.
如图装上桨罩,以2.6x15mm螺丝固定。
37.Install the 3 blades on the blade holder as shown.
将螺旋桨叶装入桨座上。
40.
Secure the servo on the elevator servo tray ,then
epoxy the servo tray assembly in the fuselage.
Note: Adjust the position of servo tray properly
and set the pushrod on servo tray.
将升 降 舵 伺 服 机 装 入 伺 服 机 座,以 环 氧 树 脂 粘 合 伺
服机 座 于 机 身 并 将 升 降 舵 钢 丝 置 于 伺 服 机 座 上 。
Page 13

Thread the pushrod to the servo horn and
41.
secure the servo horn on the servo when
servo is in neutral position.
装入升降舵钢丝并请确认伺服机之中立点后将伺服
机摆臂锁上。
44. Route the anten na th rough botto m fus elage to
the t ail.
将接收机天线从机身底部穿出至机尾,并以胶带固定。
42.
Install the switch of the electric speed controller.
Do not over tighten the screw as it may crush the
Styrofoam.
装上速控器开关,注意切勿施力过当,损坏机身。
Install the speed controller with double side
43.
tape.And secure the battery and receiver with
velcro.Connect all servo wires to receiver.Route
the antenna through bottom fuselage to the tail.
用双面胶固定速控器并用魔术胶带固定电池和接收机。
将伺服机线接入接收机,接收机天线从机身底部穿出
至机尾,并以胶带固定。
45.Insert the wing bolt hole protector all the way in
then drill 3mm hole.
如图插入机腹固定套并钻3mm的孔。
46.
Secure the main wing on fuselage with
3x50mm bolt.Please refer to the next page
to apply all decals.
以3x50mm螺丝固定机翼于机身,参照下一页安装贴纸。
13
Page 14

DECAL
恭喜您!可以试飞您的爱机了。
Refer to the photos and apply all decals.
如下列图示贴上贴纸。
It is important to balance the plane to the correct
C. G.before you fly.The Balance point is 2" ( 5cm)
from the leading edge at the wing root.
重心位置距前缘5公分处,可前后加重以取得平衡。
19
18
20
7
5
4
6
14
16
15
13
17
Apply the frame decal sequentially.
请按顺序贴上饰条。
22
20
21
14
21
14
13
Page 15

Brushles s
Motor
OPERATION CHECK
右摇杆朝右并确认右副翼朝上
15
Page 16

FLYING
尽量保持飞行平衡。
若在飞行时操作侧滚,快速拉起或俯冲等高难度动作时,
请使用微操作摇杆来保持飞行平衡。
确保没有任何零件松动。
16
Page 17

FLYING
17
Page 18

(Mode Ⅱ Shown)
72Mhz
72Mhz
72Mhz
72Mhz
72Mhz
72Mhz
3/8" ,9mm 3/8" ,9mm
3/8" ,9mm 3/8" ,9mm
1/ 2" , 13mm 1/ 2" , 13mm
1/ 2" , 13mm 1/ 2" , 13mm
18
Page 19

REPAIR
19
Page 20

MEMO
20
 Loading...