

Page 1
HWPRS
Programmable thermostat
User instruction manual
Page 2

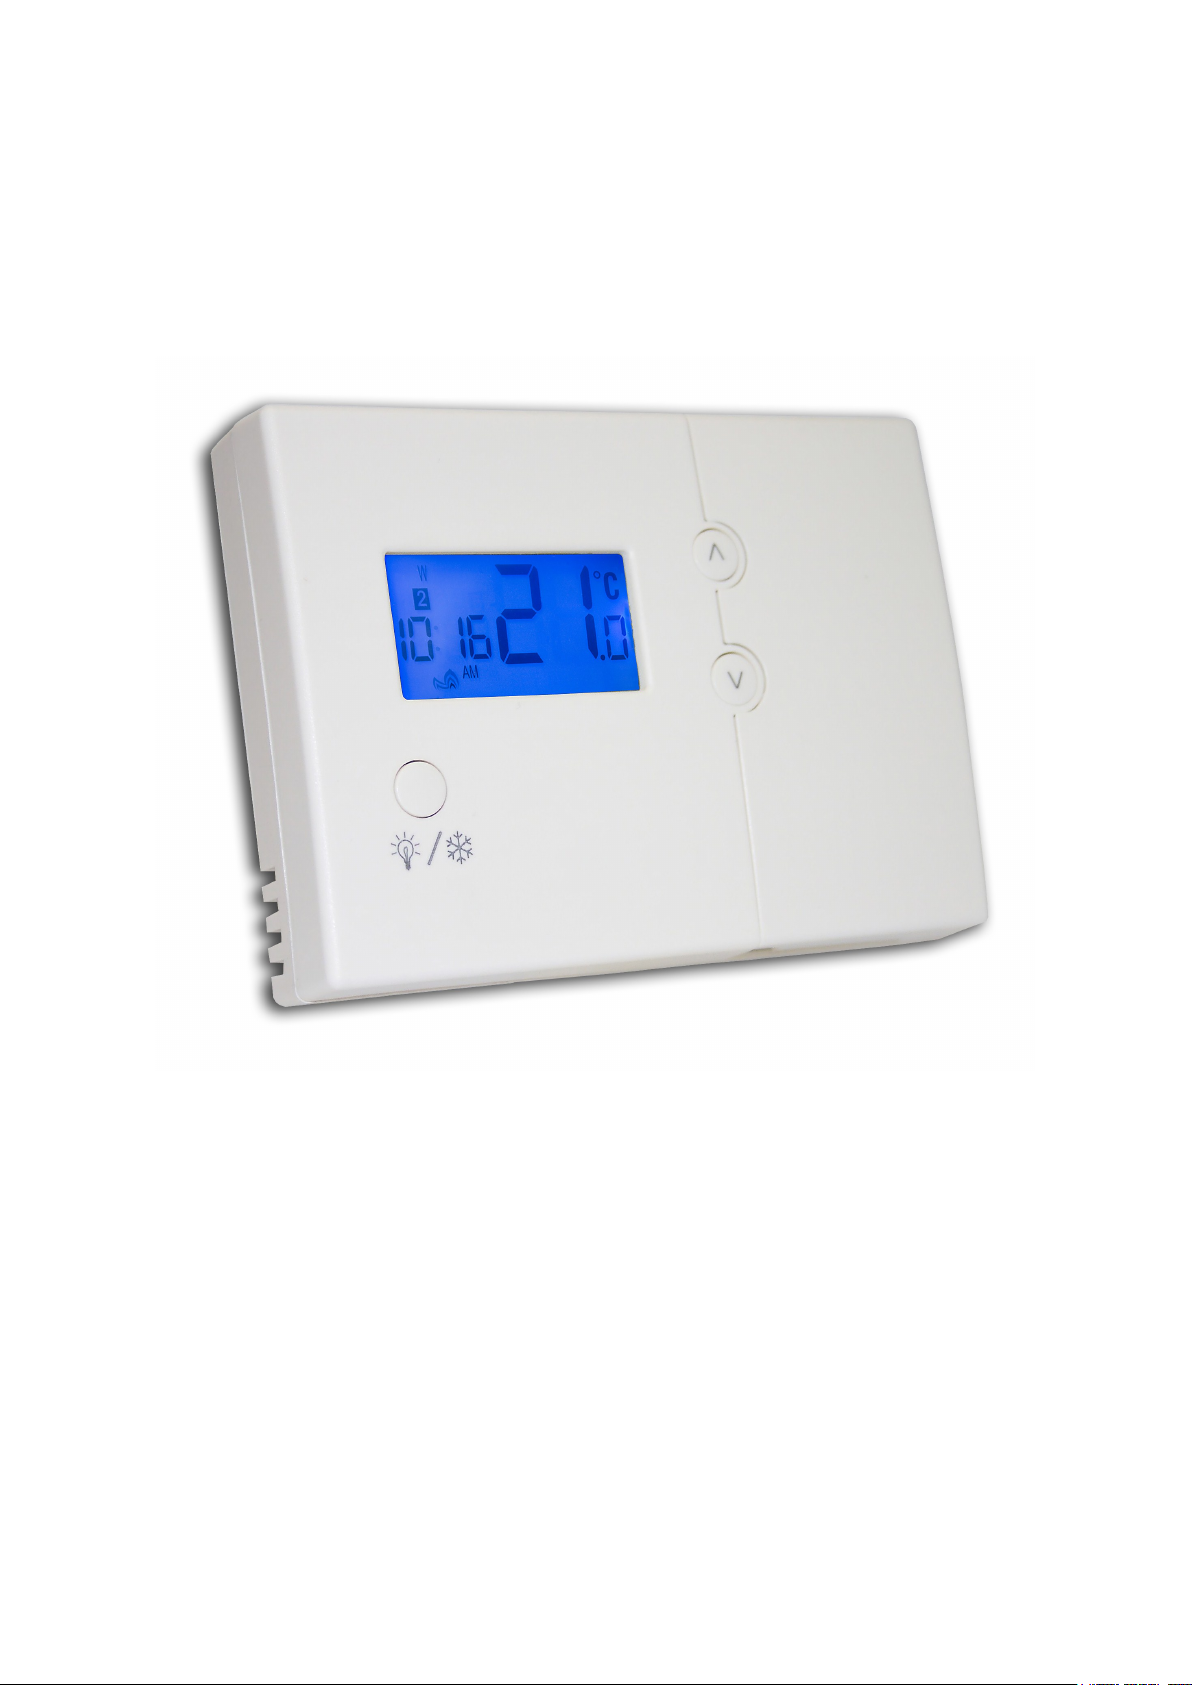
Programmable Thermostat type HWPRS
IntroductionIntroductionIntroduction
This thermostat can replace any standard room thermostat, and is designed for use with gas or oil heating systems. If you
wish to control electric heating note that the current rating is 3A resistive.
The thermostat is battery-powered and designed for wall mounting, using the backplate supplied. The HWPRS provides a
volt-free contact to switch any load up to 3A @ 230V 50Hz and can be positioned wherever you would normally fit a room
thermostat.
Set time and weekday:Set time and weekday:Set time and weekday:
Insert the batteries into the thermostat; make sure that the batteries are inserted with polarity as indicated in the battery
compartment. Press and hold the select and set buttons for 3 seconds. The hour will flash—adjust with the up or down
arrow button, confirm with select button. Adjust the minute and the weekday in the same way. Press the Set button to
return to normal running mode.
Function and wiring of the receiverFunction and wiring of the receiverFunction and wiring of the receiver
1. All wiring should be carried out by a skilled person. Disconnect power before wiring. Fit a 3 Amp fuse to the receiver
supply.
2. The default temperature display shows the current room temperature. Press the up button until the set temperature is 2
degrees higher than the current room temperature.
3. Wait for a few seconds. The animated flame symbol should be seen in the bottom left-hand corner of the display.
4. The heating system should now be running.
5. Press the down button on the transmitter to reduce the temperature below the current room temperature. Wait for a few
seconds. The animated flame symbol should disappear, and the heating should switch off.
6. If responses do not occur as expected during steps 1—4 above, press the reset button on the thermostat and repeat
steps 1 – 4.
Wiring information:Wiring information:Wiring information:
Using the crimp connectors and insulating boots provided, connect wiring to the receiver as shown below. For conventional heating installations, connections will be required to terminals L, SL & Earth.
Wiring:Wiring:Wiring:
L Live In
SL Switched Live Output
Earth Earth Park
Push button functionPush button functionPush button function
Increase setpoint temperature
Decrease setpoint temperature
Turn on backlight for 5 seconds.
SET Key for confirming and program setting
Activate / deactivate Frost Protection
Key Function
SELECT Key for program setting
RESET System reset
111
Page 3

FUNCTION SETTING:FUNCTION SETTING:FUNCTION SETTING:
You can adjust the way the transmitter works, by accessing the function menu:
Access the function menu by pressing and holding the Select and Set buttons for 3 seconds. The hour will flash.
Press Select until you see the required function number flashing in the display. The function can be adjusted by
pressing the up or down arrow, then confirm with the Select button. Available functions are noted below.
Note that the device will ‘time-out’ to normal running mode if no key is pressed for 15 seconds.
F2 = Day group or individual day selection
Day group selections are 5 — 2, or 7 — 0. If you select 5 — 2, you can programme 5 time / temperature steps throughout each day, applicable to weekdays, and 5 further time / temperature steps applicable to Saturday and Sunday. If you select 7 — 0, you can programme 5 time / temperature steps
for each individual day. Confirm your choice with the Select button.
F3 = Calibration
The default calibration (accuracy of thermostatic control), is 0.50C. You can change this to 1.00C if
you wish. Confirm with Select button.
F4 = Displayed Temperature Calibration
You can adjust the displayed temperature in the range + or — 4.00C. Confirm your choice with the
Select button.
F5 = Real-time Clock Calibration
You can adjust the accuracy of the real-time clock in the range — 35 to + 35 seconds per week. E.g.
if the clock displays a time which is slow or fast by 10 seconds over a period of one week, you can
adjust this function setting by + or — 10 in order to correct the time-keeping in subsequent weeks.
Press the “SET” button to return to normal running mode.
-
PrePrePre
-set program:set program:set program:
-
The HWPRS incorporates a factory pre-set program. You can view and amend any of the times or temperatures
within the pre-set program, which is shown in the table below. Note that, if no key is pressed for 15 seconds, the
device will time-out to normal running mode:
Program Weekday (Mon—Fri) Weekend (Sat, Sun)
1 Time: 6:00 a.m. Time: 6:00 a.m.
Temperature: 210C Temperature: 210C
2 Time: 8:00 a.m. Time: 8:00 a.m.
Temperature 170C Temperature 170C
3 Time: 4:00 p.m. Time: 4:00 p.m.
Temperature: 210C Temperature: 210C
4 Time: 6:00 p.m. Time: 6:00 p.m.
Temperature: 210C Temperature: 210C
5 Time: 10:00 p.m. Time: 10:00 p.m.
Temperature: 170C Temperature: 170C
REVIEW AND/OR AMEND PROGRAMME SETTINGS:REVIEW AND/OR AMEND PROGRAMME SETTINGS:REVIEW AND/OR AMEND PROGRAMME SETTINGS:
Press the Set button, the day or day group (as determined by function F2 described above), will flash. While the day
or day group is flashing, you can change to another day or day group if you wish, by pressing the up arrow button.
Confirm your choice with the Select button. You will now be viewing the pre-set program number 1. The hour will
flash, change this if required with the up or down arrow buttons. Confirm your choice with the Select button. The
minutes will flash; change this if required with the up or down arrow buttons. Confirm your choice with the Select
button. You will now be viewing the pre-set program number 2, and you can continue programming in the same
way: the flashing element in the display can be changed with the up or down arrow buttons, and the new value can
be confirmed with the Select button.
If you selected day group 5 — 2, you can review (and amend) programs 1 — 5 above for weekdays, and separately, programs 1 — 5 for weekends.
If you selected day group 7 — 0, you can review (and amend) programs 1 — 5 for every day of
the week, giving a total of 35 program settings for the whole week.
222
Page 4

Additional functions:Additional functions:Additional functions:
Frost protection: Whilst in the normal running mode, press and hold the button for 3
seconds to activate Frost Protection. The frost protection indicator shown in the illustration will
flash. While frost protection is activated, the temperature set-point is 50C. In frost protection
mode it is not possible to override the 50C temperature setting. To turn frost protection off, press
and hold the button for 3 seconds. The frost protection indicator will disappear from the
display, and normal running mode is restored.
Review temperature setting: Briefly press the up or down arrow button. The blue backlight will operate, and the
current temperature setting will be displayed (flashing). In frost protection mode, the LCD will show 50C. If the
device is in temporary override mode (see next function), the LCD will show the temporary set-point temperature.
Temporary override (temperature adjustment): Press the up or down arrow buttons to temporarily adjust the
temperature setting: press and hold the up or down arrow button for 2 seconds. The display will show the existing
temperature setting (flashing), and then the temperature value will scroll up or down. Keep the button pressed to
scroll rapidly, or press the button repeatedly to adjust the temperature 0.50C at a time. Release the button when
the new temperature is reached. The display will continue flashing for 3 — 4 seconds, and then time-out to once
again show the existing room temperature. Temporary override remains active until the next timed program is
reached.
LCD backlight: The blue backlight is activated when any button is pressed, and will automatically turn off after 5
seconds. The LCD backlight will not operate when the battery is low.
Low battery warning: When the battery voltage drops below a critical level, the low-battery warning indicator will
be displayed. You should renew the batteries as soon as possible. If low batteries are left in the device, it will
eventually be unable to switch the heating on or off. The transmitter has a capacitive memory which maintains
the time and all other settings for up to one minute. If the batteries are not replaced within one minute, the transmitter will have to be re-programmed.
Sleep mode: Press and hold the up and down arrow buttons simultaneously for 3 seconds to activate sleep
mode. All functions will be paused, saving battery power. The output will be turned off immediately. The clock
will continue running. The display will show just time and weekday. Press any key to de-activate sleep mode,
and restore normal running mode.
Specification:
Battery powered 2 x AA (LR6) alkaline
LCD display
Blue backlight
Time display 12 hour am / pm
Time accuracy: ± 1 min / month
Operating Control range: 10—350C in 0.50C steps.
Temperature control differential: 0.50C
Frost protection temperature: 5.00C
Relay output: Volt-free 3A (resistive)
333
 Loading...