

Page 1

Digital photo frame
USER GUIDE
Page 2

I. CONTENTS OF THE BOX............................................................................ 3
II. DESCRIPTION OF FRAME.......................................................................... 3
III. INSTALLING THE FRAME........................................................................... 4
1. Tilting the frame....................................................................................... 4
2. Charging the internal battery.................................................................... 4
IV. OPERATION................................................................................................. 5
1. Inserting a card........................................................................................ 5
2. Start-up.................................................................................................... 6
3. Settings menu.......................................................................................... 7
a. Display size....................................................................................................................... 7
b. Slideshow transition.......................................................................................................... 8
c. Slideshow speed............................................................................................................... 8
d. Language.......................................................................................................................... 9
e. Power saving.................................................................................................................... 9
f. Factory default................................................................................................................ 10
4. Other settings ........................................................................................ 11
a. Rotate photo................................................................................................................... 11
b. Zoom photo..................................................................................................................... 11
c. Adjust LCD color............................................................................................................. 11
5. Internal memory selection (Copy/delete images)................................... 12
6. Connecting to a computer...................................................................... 14
1
Document not contractual, subject to modification
in case of typographic error – MKG05/08
Page 3

7. Transferring images............................................................................... 14
V. CLEANING ................................................................................................. 15
VI. TECHNICAL SPECIFICATIONS ................................................................ 16
VII. SAFETY...................................................................................................... 17
VIII. WARRANTY............................................................................................... 17
Document not contractual, subject to modification
in case of typographic error – MKG05/08
2
Page 4
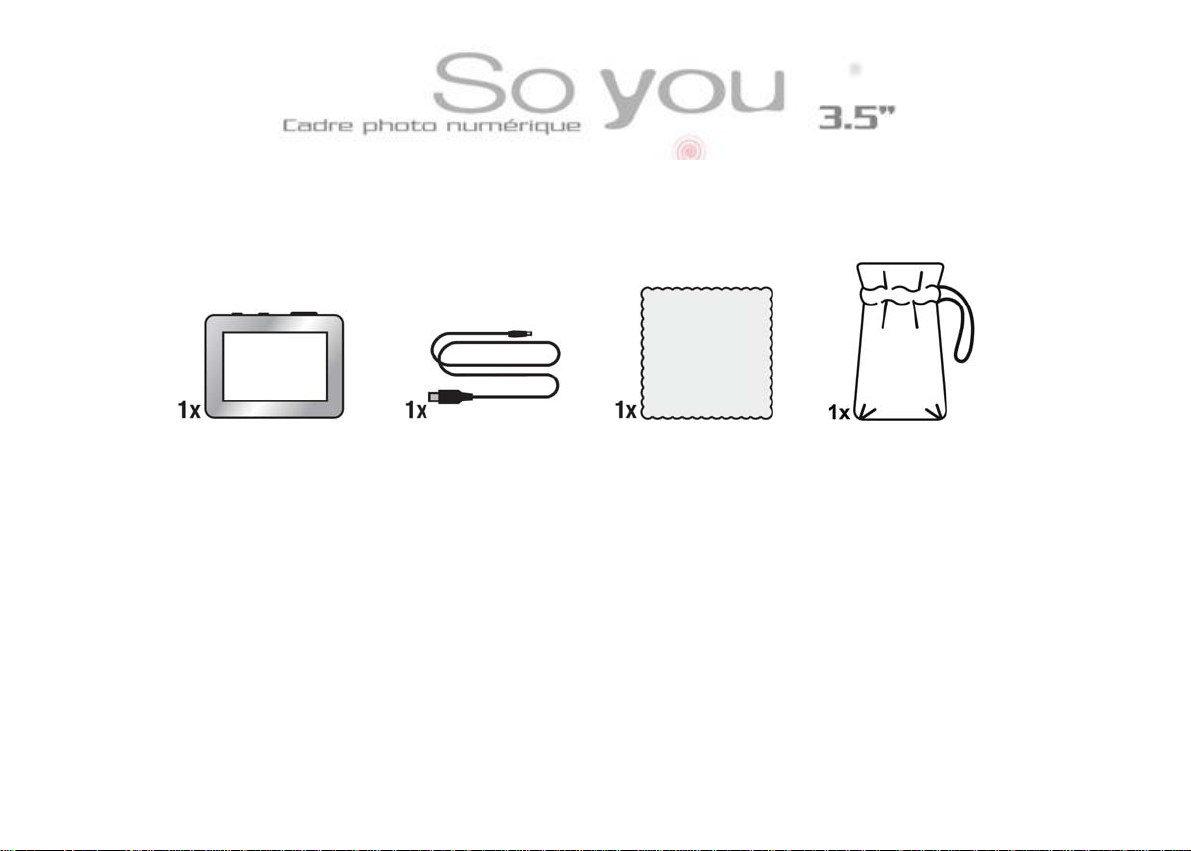
I. CONTENTS OF THE BOX
II. DESCRIPTION OF FRAME
Your "So You" frame is comprised of an LCD screen fitted with a mini USB socket
for connection to the computer and battery recharging, and a slot for inserting an
SD/MMC card.
Document not contractual, subject to modification
in case of typographic error – MKG05/08
3
Page 5
III. INSTALLING THE FRAME
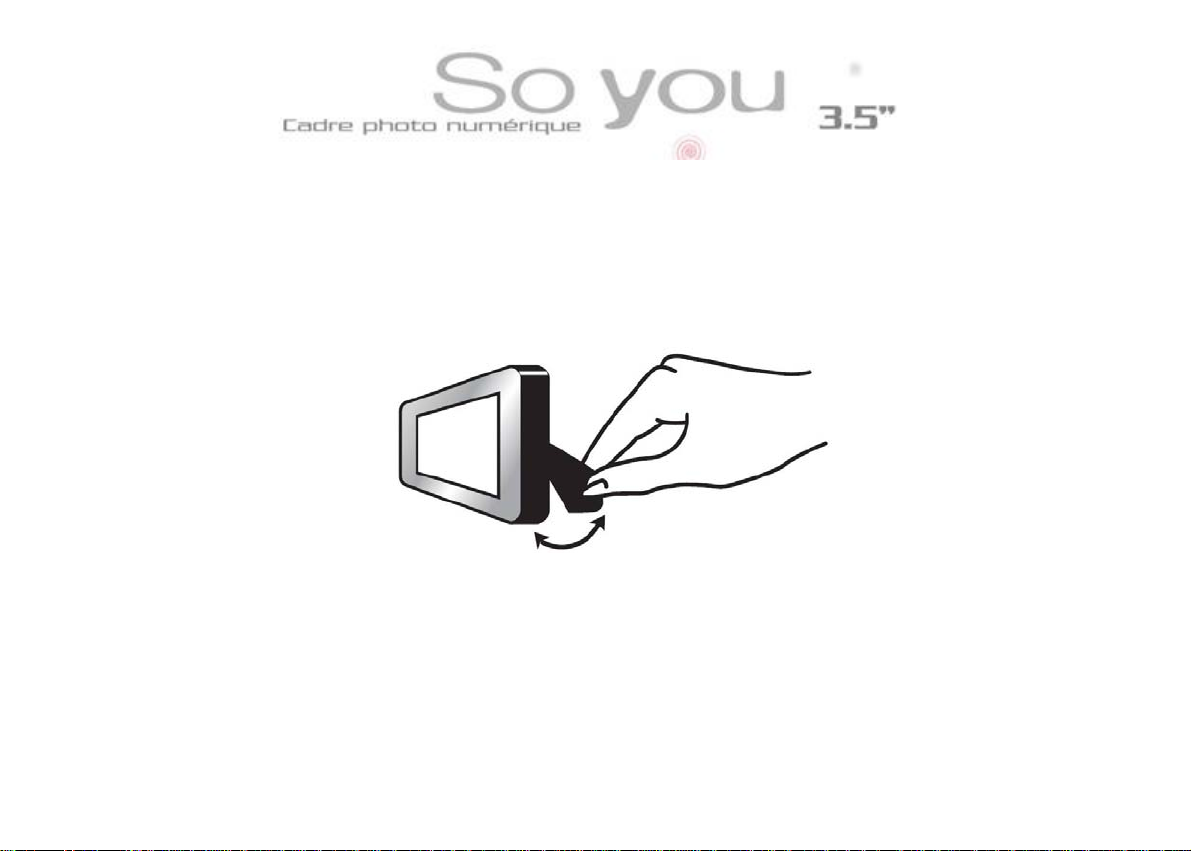
1. Tilting the frame
Pull the support backwards as shown in the figure.
2. Charging the internal battery
No electrical wiring is needed for the "So You". It operates on its own internal
battery.
Document not contractual, subject to modification
in case of typographic error – MKG05/08
4
Page 6
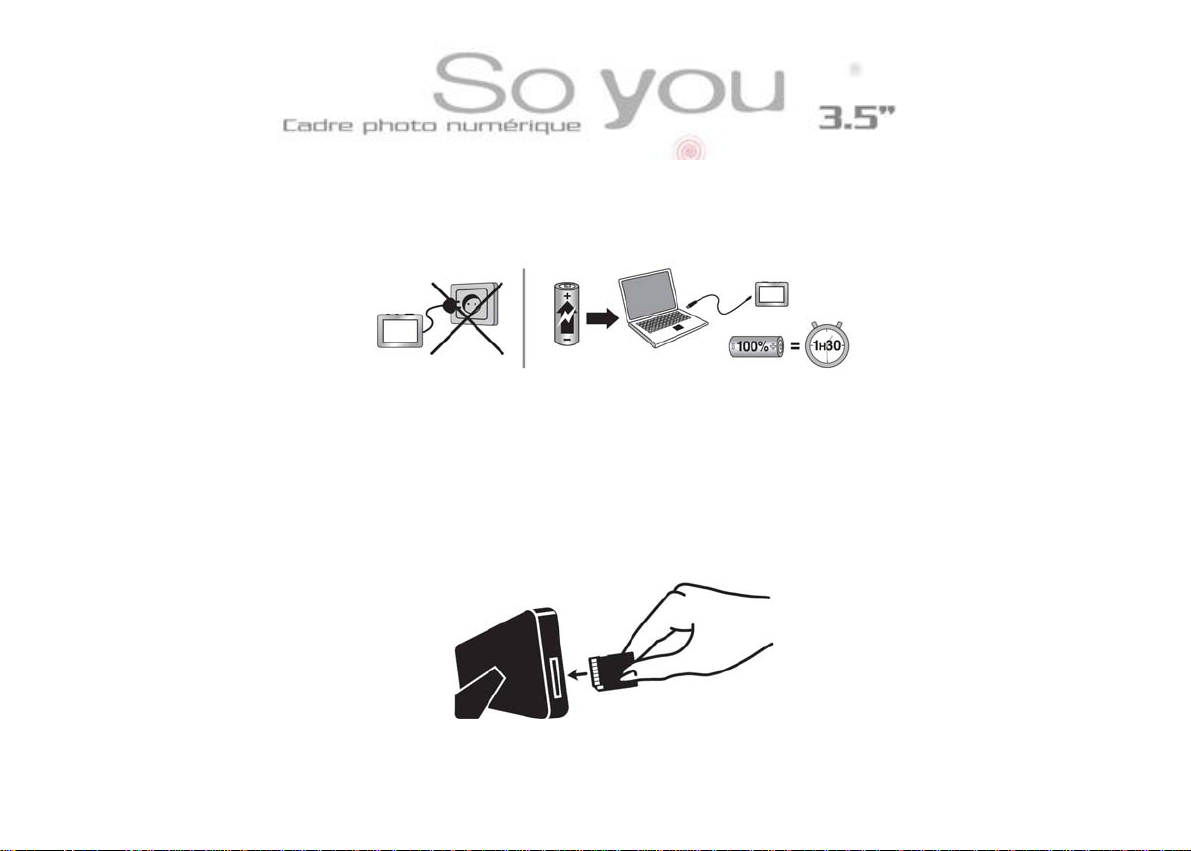
To recharge the battery, just connect the "So You" to your computer using the
USB cable provided. A full charge takes about 1½ hours and operating autonomy
is about 2½ hours.
(Note: if you do not have a computer, you can charge your frame using the mains adapter ref: DPF 3501AU
available as an option)
IV. OPERATION
1. Inserting a card
Insert the card into the slot provided, as indicated in the figure below.
Document not contractual, subject to modification
in case of typographic error – MKG05/08
5
Page 7
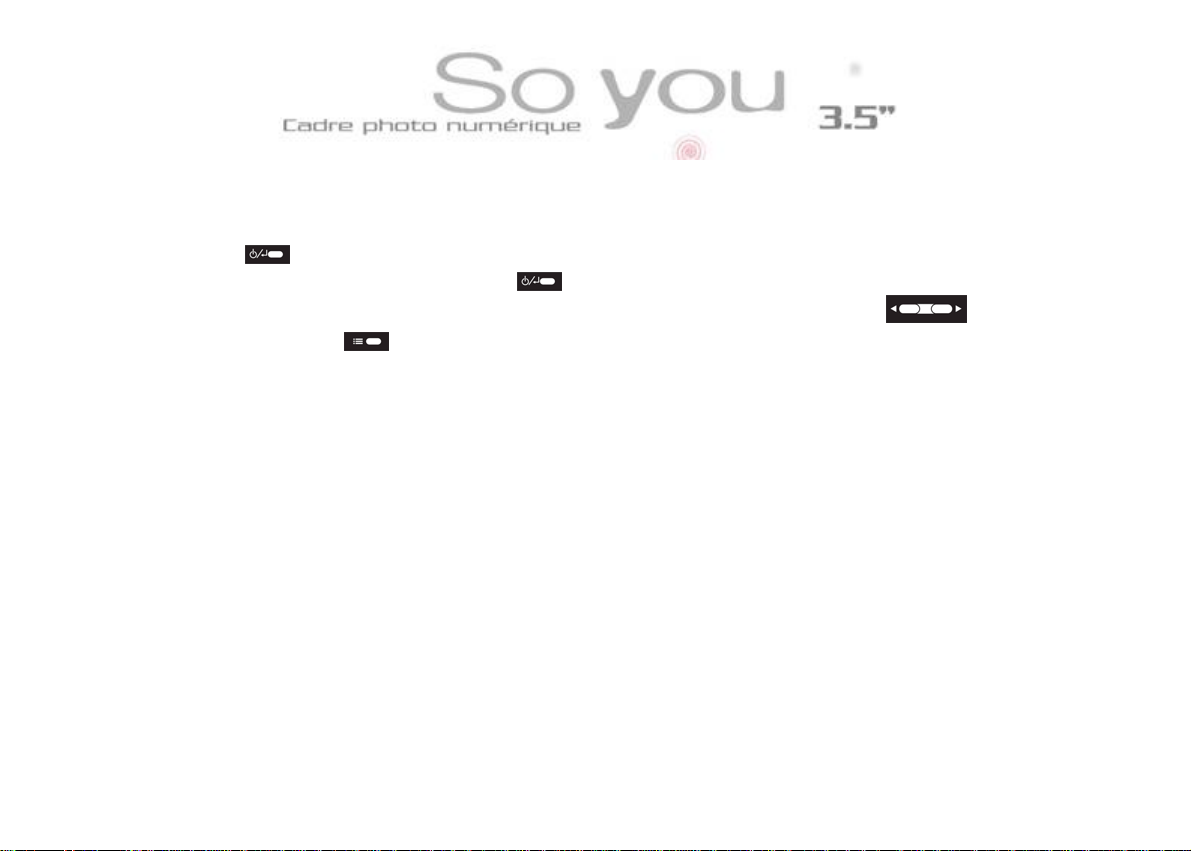
2. Start-up
Press for 1 second: the slideshow starts automatically.
To display a fixed photo, press to pause the slideshow. When the slideshow
is paused, you can scroll through the photos manually by pressing
Press again on to restart the slideshow.
Document not contractual, subject to modification
in case of typographic error – MKG05/08
6
Page 8

3. Settings menu
During the slideshow, press twice on to display the memory support selection
screen, press 3 s on to display the menu.
a. Display size
When the settings menu is displayed, select the line "display size" using the
buttons , and press .
2 options appear: "original" and "optimal".
If you select "Original", the images are displayed in full size. However, if your
image is in 16/9 or 3/2 ratio, two black bands will appear at the top and bottom of
the image.
If you select "Optimal", your images will be displayed over the whole surface of
the screen. If your images are in 16/9 or 3/2 ratio, they will be adjusted at the top
and bottom.
Document not contractual, subject to modification
in case of typographic error – MKG05/08
7
Page 9

Select the format required using , and confirm using . Then, press
twice on to return to the support selection, and 3 times on to restart the
slideshow.
b. Slideshow transition
When the settings menu is displayed, select the line "Slideshow transition" using
the buttons , and press .-{}- Select the required effect from the 6
options using the buttons and press to confirm your choice. Then,
press twice on to return to the support selection, and 3 times on to
restart the slideshow.
c. Slideshow speed
When the settings menu is displayed, select the line "Slideshow speed" using the
buttons , and press . Select the time (rapid: about 3 s, average: about
5 s, slow: about 8 s) using the buttons and press to confirm your
Document not contractual, subject to modification
in case of typographic error – MKG05/08
8
Page 10

choice. Then, press twice on to return to the support selection, and 3 times
on to restart the slideshow.
d. Language
When the settings menu is displayed, select the line "Language" using the buttons
, and press . Select the language from the 7 options using the
buttons and press to confirm your choice. Then, press twice on
to return to the support selection, and 3 times on to restart the
slideshow.
e. Power saving
When the settings menu is displayed, select the line "Power saving" using the
buttons , and press . Select the length of operation (15 min., 30 min.,
60 min. or deactivated) using the buttons and press to confirm your
choice. Then, press twice on to return to the support selection, and 3 times
on to restart the slideshow.
9
Document not contractual, subject to modification
in case of typographic error – MKG05/08
Page 11

f. Factory default
To return the your frame's default settings, select the line "Factory default" using
the buttons , and press to confirm. After a few seconds, the display
automatically returns to the support selection. Press 3 times to restart the
slideshow.
Document not contractual, subject to modification
in case of typographic error – MKG05/08
10
Page 12

4. Other settings
a. Rotate photo
When a fixed image is displayed, press for 3 seconds to display the menu,
and select the line "Rotate photo" using the buttons . Then press as
many times as necessary to display the image the right way up.
To restart the slideshow, press once and then .
b. Zoom photo
When a fixed image is displayed, press for 3 seconds to display the menu,
and select the line "Zoom photo" using the buttons . Then press as
many times as necessary to display the image in the size required.
To restart the slideshow, press once and then .
c. Adjust LCD color
11
Document not contractual, subject to modification
in case of typographic error – MKG05/08
Page 13

When a fixed image is displayed, press for 3 seconds to display the menu,
and select the line "Adjust LCD color" using the buttons .
Press : 4 cursors are displayed on the screen (brightness, contrast , shade
, colour )
Start by setting the brightness by pressing successively on .
To set the contrast, press for 3 seconds, then, when the cursor is placed
on the line "contrast", set it by pressing successively. Repeat this
operation for the other two settings. To restart the slideshow, press twice on
and then .
5. Internal memory selection (Copy/delete images)
When the slideshow is running, press 3 times (twice if the slideshow is
paused), to display the memory selection screen.
Select your support (card or internal memory) using and press
twice to restart the slideshow.
- Copying photos
Document not contractual, subject to modification
in case of typographic error – MKG05/08
12
Page 14

When the images being displayed are those on the memory card, you can
transfer one or all images from the card to the frame's internal memory
(depending on the space available in this internal memory).
Press twic e when the slideshow is running (once if it is paused), to display
thumbnails of the images.
Select the photo to copy using (photo selected outlined in blue), and
press for 3 seconds. Select the line "Copy photo" using , and confirm
by pressing .
You can then either copy the selected photo, or copy all the images on your card.
Select the option using , and press . The message "copy" then "ok"
is displayed on the top left of the screen.
Press twice, then to restart the slideshow.
It is also possible to copy a photo displayed in full screen to the internal memory.
Just press for 3 s to display the menu, select the line "copy photo" using
, and confirm your choice by pressing .
Document not contractual, subject to modification
in case of typographic error – MKG05/08
13
Page 15

- Deleting photos
This function is used to delete the image being displayed (only if this image is
stored in the internal memory).
Select the function "Delete photo" using then press to delete the
image being displayed.
6. Connecting to a computer
Connect the USB cable provided to an available USB port on your computer and
to your "So You" at the other end.
Go to the settings menu (described page 7), and select the function "Connect
PC", then press . Your frame is now connected to your computer.
7. Transferring images
Your "So You" is recognized as an external memory card reader. It appears as an
icon in My Computer.
Document not contractual, subject to modification
in case of typographic error – MKG05/08
14
Page 16

To transfer images, just select the ones you want on your hard disk, copy them
(right click-copy) or (Ctrl-C on the keyboard), and paste them into the drive
corresponding to the "So You" memory card (right click-paste) or (Ctrl-V with the
keyboard)
Caution! Only the memory card is accessible via the computer. To copy images
into the internal memory, you must use the copy menu in the "So You".
V. CLEANING
Caution! Make sure your "So You" is switched off before cleaning it. Never use
spray or liquid cleaner directly on the frame or on the plastic casing. To clean your
"So You", wipe the screen with the rag provided to remove dust and other
particles. If the screen is still not clean, apply a window-cleaning fluid (free of
ammonia and alcohol) on a clean, soft cloth.
Document not contractual, subject to modification
in case of typographic error – MKG05/08
15
Page 17

VI. TECHNICAL SPECIFICATIONS
Product: digital photo frame with 3.5 inch screen
Definition: 320 x 240 pixels
Compatible formats: JPEG
Compatible cards: SD/MMC
Languages: 7 (French, English, German, Spanish, Italian, Portuguese, Dutch)
Setting keys: Yes, 3
Display time: 3 speed settings (see times on page 9)
Storage temperature: -25°C to +70°C
Operating temperature: 0°C to 55°C
Power supply:
Input: 100-240V
Output: 5V
Weight: 105 g
Dimensions: 95 x 56 x 14 mm
System compatibility: Windows XP, Vista
Document not contractual, subject to modification
in case of typographic error – MKG05/08
16
Page 18

VII. SAFETY
VIII. WARRANTY
- The warranty does not cover damage caused if you (or any other unauthorized
person) tries to repair the frame.
- If the frame gives off smoke, noise or an unusual smell, switch it off and
unplug it immediately. Contact your sales outlet.
Document not contractual, subject to modification
in case of typographic error – MKG05/08
17
Page 19

- The warranty covers the digital photo frame and does not include accessories.
Accessories are considered: the USB cable. However, this accessory can be
ordered from our technical department by email: assistance@sopeg.fr
1. Warranty period
- This digital frame is covered by a 12-month warranty. The period of the
warranty starts at the date of purchase of the frame. Proof of warranty is
presentation of the original invoice or the receipt on which the purchase date
and model appear.
2. Cover
- A defective digital frame should be returned complete to your dealer with an
explanatory note.
- If a fault occurs in this digital frame during the period of warranty, the
approved After-Sales Service will repair all defective components or any
manufacturing fault. The After-Sales Service alone will decide to repair or
replace the digital frame fully or in part.
- The initial purchase date shall determine the start of the period of warranty.
Document not contractual, subject to modification
in case of typographic error – MKG05/08
18
Page 20

- The period of warranty shall not be extended in the event of repair or
replacement of the digital frame by our After-Sales Service.
3. Exclusions
- Damages or faults caused by improper use or manipulation of the digital frame
or by the use of accessories other than the original ones or ones not
recommended in this manual shall not be covered by the warranty.
- The warranty shall not cover damage caused by outside elements such as
lightening, water or fire or any other damage caused during transport.
- The warranty shall be invalid if the serial number on the digital frame has been
modified, removed, deleted or rendered illegible.
- The warranty shall be invalid if the digital f rame has been repaired, altered or
modified by the purchaser or any unauthorized repair person not officially
approved and qualified.
- The manufacturer does not guarantee the technical properties described in
this manual. The equipment and accessories described in this manual are
subject to modification without notice. For this reason, the manufacturer
Document not contractual, subject to modification
in case of typographic error – MKG05/08
19
Page 21

reserves the right to modify associated components, options, specifications
and documents without notice.
4. Compliance with regulations in force
- This digital frame complies with CE standards in force and is compatible with
the RoHS standard.
5. End of life recycling of electronic equipment
- Used electrical and electronic equipment should not be disposed of with
ordinary household waste. The presence of this symbol on the product or
on its packing is a reminder of this.
- Some components in this product may be recycled if you dispose of it in a
suitable recycling centre. By reusing parts and raw materials from used
equipment, your contribute significantly to protecting the environment.
- For more information on collection points for used equipment, ask your town
hall, waste treatment centre or the store where you purchased the product.
Document not contractual, subject to modification
in case of typographic error – MKG05/08
20
 Loading...