

Page 1
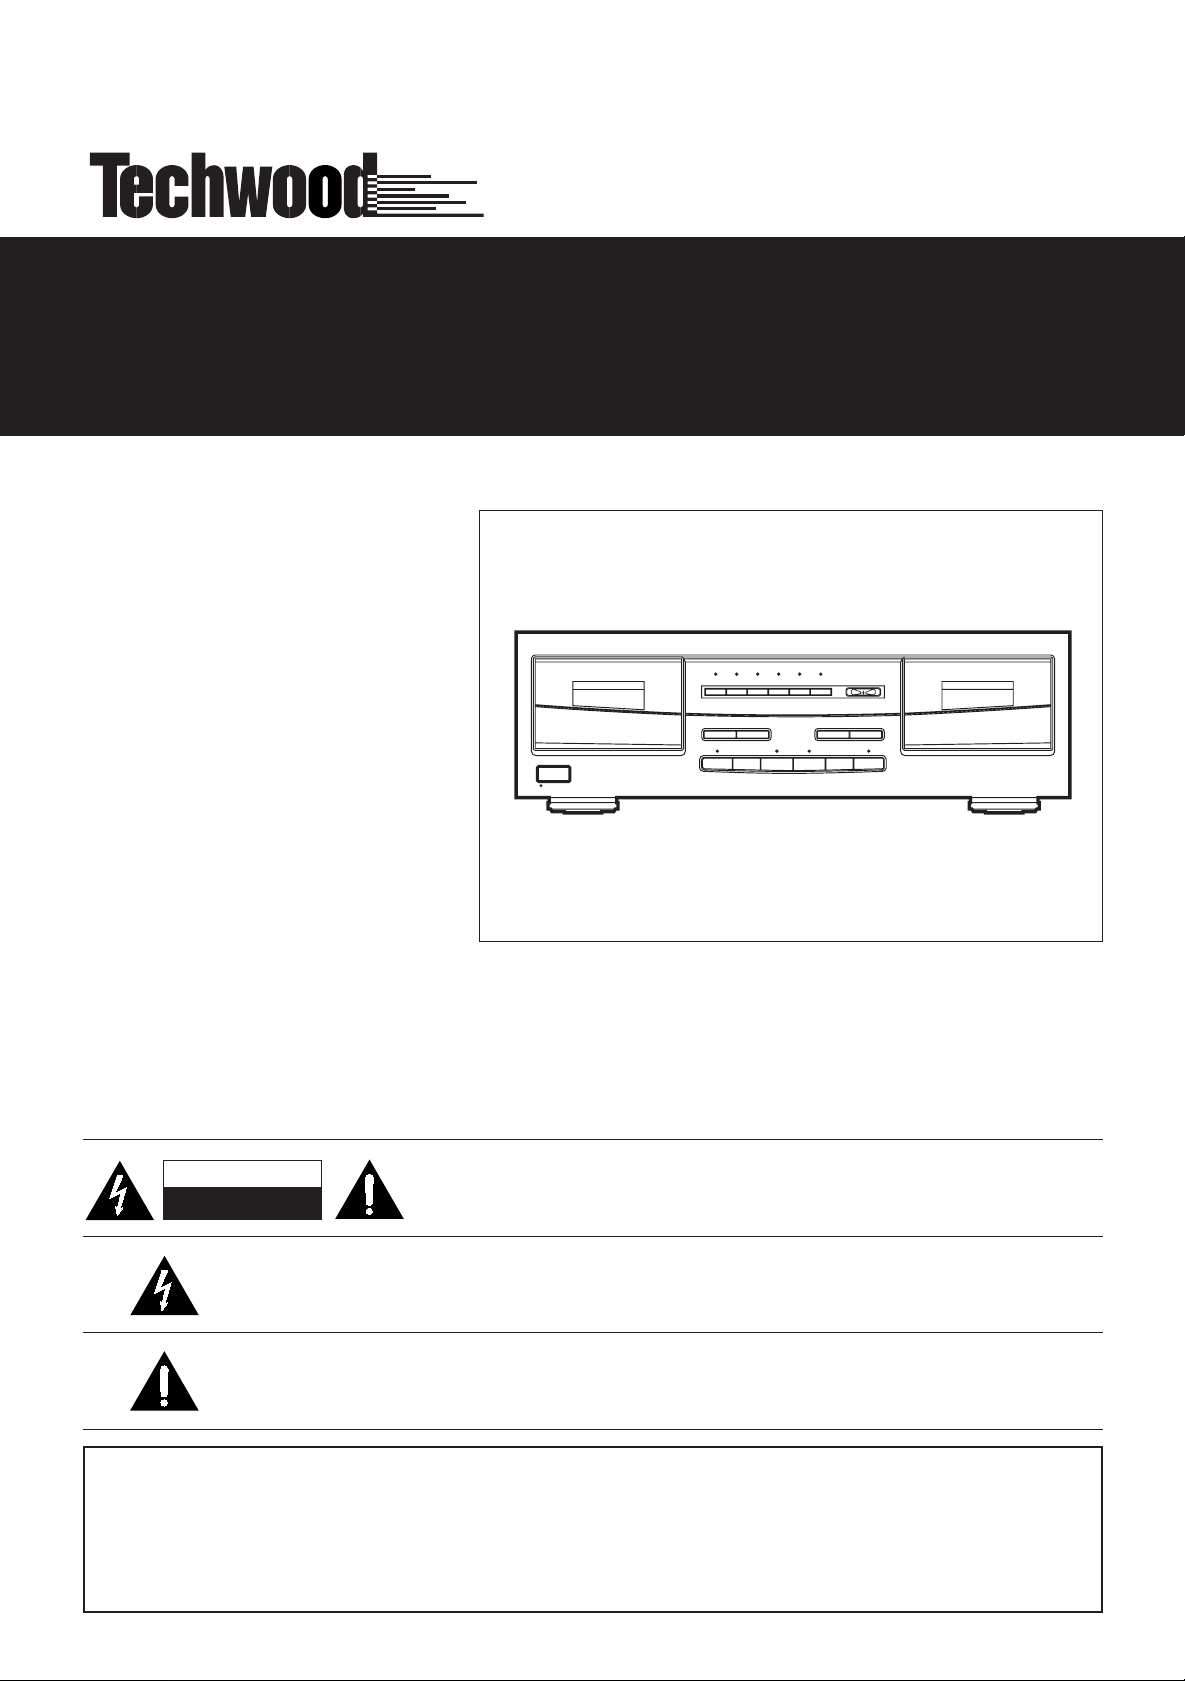
TDX-8
5
DUAL CASSETTE DECK
OWNER’S MANUAL
CAUTION
RISK OF ELECTRIC SHOCK
DO NOT OPEN
The lightning flash with arrowhead symbol, within an equilateral triangle, is intended to alert the user
to thepresence of uninsulated “dangerous voltage” within the product’s enclosure that may
be of sufficient magnitude to constitute a risk of electric shock to persons.
The exclamation point within an equilateral triangle is intended to alert the user to the
presence of important operating and maintenance (servicing) instructions in the literature accompanying the appliance.
WARNING: TO PREVENT FIRE OR SHOCK HAZARD, DO
NOT EXPOSE THIS APPLIANCE TO RAIN OR
CAUTION: TO REDUCE THE RISK OF ELECTRIC SHOCK, DO NOT
REMOVE COVER (OR BACK). NO USER-SERVICEABLE PARTS INSIDE.
REFER SERVICING TO QUALIFIED SERVICE PERSONNEL.
MOISTURE.
Page 2

IMPORTANT SATETY INSTRUCTIONS
CAUTION:
• Read all of these instructions.
• Save these instructions for later use.
• Follow all warnings and instructions marked on the audio
equipment.
1) Read instructions - All the safety and operating instructions
should be read before the product is operated.
2) Retain instructions - The safety and operating instructions should
be retained for future reference.
3) Heed Warnings - All warnings on the product and in the operating
instructions should be adhered to.
4) Follow Instructions - All operating and use instructions should be
followed.
5) Cleaning - Unplug this product from the wall outlet before cleaning.
Do not use liquid cleaners or aerosol cleaners. Use a damp cloth for
cleaning.
6) Attachments - Do not use attachments not recommended by the
product manufacturer as they may cause hazards.
7) Water and Moisture -Donot use this product near water-for example, near a bath tub, wash bowl, kitchen sink, or laundry tub; in a wet
basement; or near a swimming pool; and the like.
8) Accessories - Do not place this product on an unstable cart, stand,
tripod, bracket, or table. The product may fall, causing serious injury to
a child or adult, and serious damage to the product. Use only with a
cart, stand, tripod, bracket, or table recommended by the manufacturer, or sold with the product. Any mounting of the product should follow
the manufacturer’s instructions, and should use a mounting accessory
recommended by the manufacturer.
9) A product and cart combination should be moved with care. Quick
stops, excessive force, and uneven surfaces may cause the product
and cart combination to overturn.
10) Ventilation - Slots and openings in the cabinet are provided for
ventilation and to ensure reliable operation of the product and to protect it from overheating, and these openings must not be blocked or
covered. The openings should never be blocked by placing the product on a bed, sofa, rug, or other similar surface. This product should
not be placed in a built-in installation such as a bookcase or rack
unless proper ventilation is provided or the manufacturer’s instructions
have been adhered to.
11) Power Sources - This product should be operated only from the
type of power source indicated on the marking label. If you are not
sure of the type of power supply to your home, consult your product
dealer or local power company. For products intended to operate from
battery power, or other sources, refer to the operating instructions.
12) Grounding or Polarization - This product may be equipped with
a polarized alternating-current line plug (a plug having one blade wider
than the other). This plug will fit into the power outlet only one way.
This is a safety feature. If you are unable to insert the plug fully into the
outlet, try reversing the plug. If the plug should still fail to fit, contact
your electrician to replace your obsolete outlet. Do not defeat the safety purpose of the polarized plug.
13) Power-Cord Protection - Power-supply cords should be routed
so that they are not likely to be walked on or pinched by items placed
upon or against them, paying particular attention to cords at plugs,
convenience receptacles, and the point where they exit from the product.
14) Outdoor Antenna Grounding - If an outside antenna or cable
system is connected to the product, be sure the antenna or calbe system is grounded so as to provide some protection against voltage
surges and built-up static charges. Article 810 of the National Electrical
Code, ANSI/NFPA 70, provides information with regard to proper
grounding of the mast and supporting structure, grounding of the leadin wire to an antenna discharge unit, size of grounding conductors,
location of antenna-discharge unit, connection to grounding electrodes, and requirements for the grounding electrode.
“Note to CATV system installer:
This reminder is provided to call the CATV system installer’s attention
to Section 820-40 of the NEC which provides guidelines for proper
grounding and, in particular, specifies that the cable ground shall be
connected to the grounding system of them building, as close to the
point of cable entry as practical.
Example of Antenna Grounding as per National
Electrical Code, ANSI/NFPA 70
ELECTRIC
SERVICE
EQUIPMENT
NEC-NATIONAL ELECTRICAL CODE
GROUND
CLAMP
POWER SERVICE GROUNDING
ELECTRODE SYSTEM
(NEC ART 250,PART H)
ANTENNA
LEAD IN
WIRE
ANTENNA
DISCHARGE UNIT
(NEC SECTION 810-20)
GROUNDING CONDUCTORS
(NEC SECTION 810-21)
GROUND CLAMPS
15) Lightning -For added protection for this product during a lightning
storm, or when it is left unattended and unused for long periods of
time, unplug it from the wall outlet and disconnect the antenna or cable
system. This will prevent damage to the product due to lightning and
power-line surges.
16) Power Lines -An outside antenna system should not be located in
the vicinity of overhead power lines or other electric light or power circuits, or where it can fall into such power lines or circuits. When
installing an outside antenna system, extreme care should be taken to
keep from touching such power lines or circuits as contact with them
might be fatal.
17) Overloading - Do not overload wall outlets, extension cords, or
integral convenience receptacles as this can result in a risk of fire or
electric shock.
18) Object and Liquid Entry - Never push objects of any kind into
this product through openings as they may touch dangerous voltage
points or short-out parts that could result in a fire or electric shock.
Never spill liquid of any kind on the product.
19) Servicing - Do not attempt to service this product yourself as
opening or removing covers may expose you to dangerous voltage or
other hazards. Refer all servicing to qualified service personnel.
20) Damage Requiring Service - Unplug this product from the wall
outlet and refer servicing to qualified service personnel under the following conditions:
a) When the power-supply cord or plug is damaged.
b) If liquid has been spilled, or objects have fallen into the product.
c) If the product has been exposed to rain or water.
d) If the product does not operate normally by following the operating
instructions. Adjust only those controls that are covered by the operating instructions as an improper adjustment of other controls may result
in damage and will often require extensive work by a qualified technician to restore the product to its normal operation.
e) If the product has been dropped or damaged in any way.
f) when the product exhibits a distinct change in performance-this indi-
cates a need for service.
21) Replacement Parts - When replacement parts are required, be
sure the service technician has used replacement parts specified by
the manufacturer or have the same characteristics as the original part.
Unauthorized substitutions may result in fire, electric shock, or other
hazards.
22) Safety Check - Upon completion of any service or repairs to this
product, ask the service technician to perform safety checks to determine that the product is in proper operating condition.
23) Wall or Ceiling Mounting - The product should be mounted to a
wall or ceiling only as recommended by the manufacturer.
24) Heat -The product should be situated away from heat sources
such as radiators, heat registers, stoves, or other products (including
amplifiers) that produce heat.
2
Page 3

CONTENTS
IMPORTANT SAFETY INSTRUCTIONS ..................................................................................................................2
CONTENTS...............................................................................................................................................................3
PRECAUTIONS.........................................................................................................................................................4
Read This Before Operating..................................................................................................................................4
Handling the Cassette tape...................................................................................................................................4
CONNECTIONS ........................................................................................................................................................5
CONTROLS AND INDICATORS...............................................................................................................................6
Front Panel............................................................................................................................................................6
OPERATIONS...........................................................................................................................................................7
Basic Operations...................................................................................................................................................7
Continuous play of cassette tape..........................................................................................................................7
Playing by use of SKIP button...............................................................................................................................
Recording of a cassette tape.................................................................................................................................8
Dubbing of a cassette tape....................................................................................................................................9
OPERATION ACCORDING TO SELECTED MODE ..............................................................................................10
8
TROUBLESHOOTING ............................................................................................................................................11
SPECIFICATIONS...................................................................................................................................................11
3
Page 4
PRECAUTIONS
Read This Before Operating
Choose the installation location of your unit carefully.
Avoid placing it in direct sunlight or close to a source of
heat. Also avoid locations subject to vibrations and
excessive dust, heat, cold or moisture.
Do not open the cabinet as this might result in damage to
the circuitry or electrical shock. If a foreign object should
get into the set, contact your dealer.
When removing the power plug from the wall outlet,
always pull directly on the plug, never yank the cord.
Do not attempt to clean the unit with chemical solvents
as this might damage the finish. Use a clean, dry cloth.
Keep this manual in a safe place for future refernce.
Handling the cassette tape
Cassette Tape
Tape Selection :
For the automatic tape select function to work properly,
metal and chrome (cobalt) tapes must have identification
holes.
Normal Tapes
Chrome (Cobalt)
Tapes
Metal Tapes
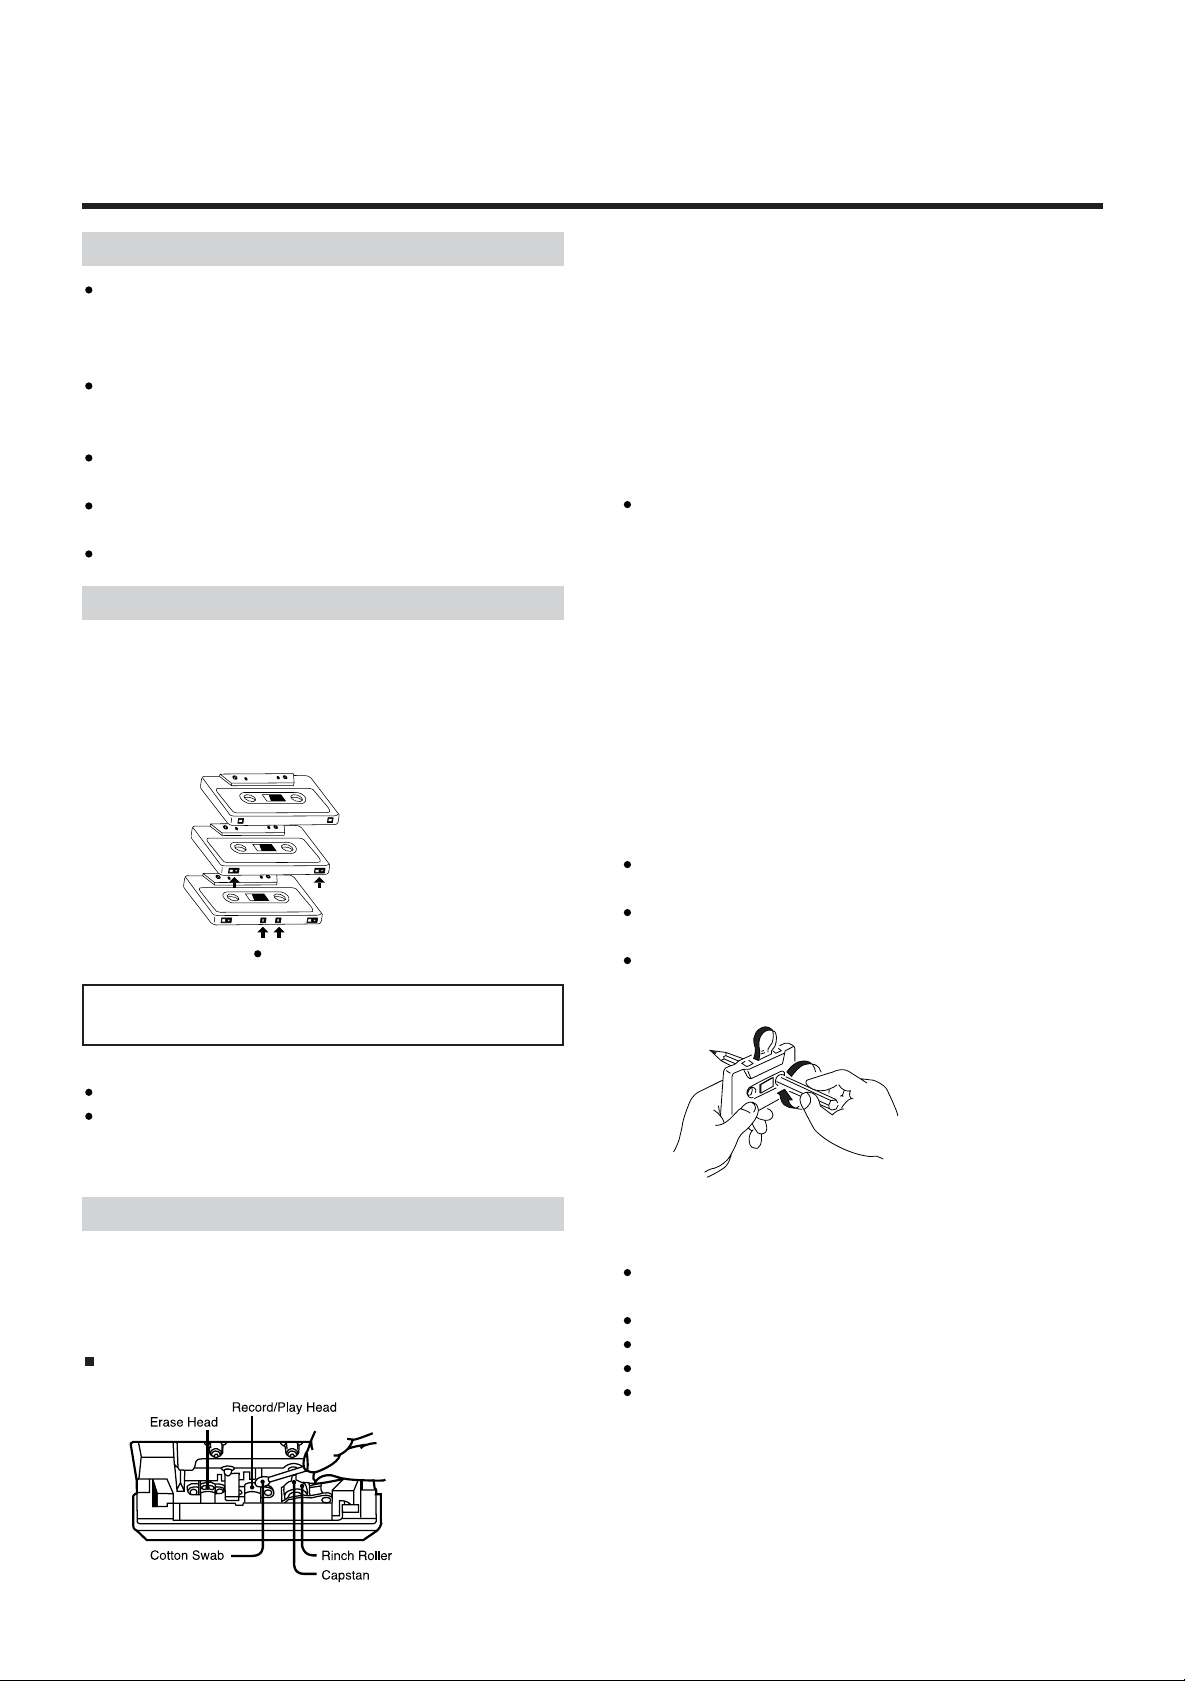
Tape position indentification holes.
IMPORTANT :
Do not use C-120 tape.
Head demagnetization
The head assembly should be demagnetized after about
each 50 hours of use in order to maintain good sound
quality.
The head assembly becomes magnetized, causing noise in
recordings and unwanted erasure of valuable recordings, if
a magnetized screwdriver or other metal tools come near
the head assembly, and when the heads have been used
for a long period of time. If the heads become magnetized,
use a head demagnetizer (option).
When demagnetizing the head assembly, be sure to first
push the power switch to the “off” position.
Maintenance of external surfaces
To clean, use a soft dry cloth.
If the surfaces are extremely dirty, use a soft cloth, dipped
into a soap and water solution or a weak detergent solution.
Wring cloth well before wiping the unit.
Wipe once again with a soft dry cloth.
Never use alcohol, paint thinner, benzene, or a chemically
treated cloth to clean this unit.
Such chemicals may damage the finish of your unit.
Maintenance of the cassette tape
Observe the following to prevent the tape from being twisted.
Don’t pull the tape out of the upper opening of the cassette tape.
If the tape is wound loosely inside the cassette, use the
tape deck on fast forward or reverse to tighten.
If a small portion of tape is unwound from the cassette,
make the tape tight as shown in the figure below.
Cleaning with a Head Cleaning Tape
Insert a Head Cleaning Tape into the cassette deck.
Turn the power on, press PLAY button and the surface of
the head will be cleaned in a short time.
Maintenance
Maintenance of the head section
The head assembly, capstans and pinch rollers should be
cleaned after about each 10 hours of use in order to maintain good sound quality.
Cleaning with a cotton swab
(If the parts are
very dirty, use a
small amount of
alcohol on the
cotton swab.)
Use a pencil to take
up the slack and
rotate it in the arrow
direction.
Environment
Avoid using the deck in the following conditions:
At high temperatures (near a heater, exposed to direct
sunlight, etc.)
At extremely low temperatures.
Where there is excessive humidity.
In a dusty atmosphere.
Where power line voltage fluctuations are severe (in which
case the use of a voltage regulator may be advisable).
4
Page 5

CONNECTIONS
1. LINE OUT jacks
Connect these jacks to the TAPE PLAY jacks on the amplifier:
White pin-plug White jack (L-Ch)
Red pin-plug Red jack (R-Ch)
2. LINE IN jacks
Connect these jacks to the TAPE REC jacks on the amplifier :
White pin-plug White jack (L-Ch)
Red pin-plug Red jack (R-Ch)
3. REMOTE CONTROL jacks
Connect the supplied remote control cables to the
REMOTE CONTROL jacks as shown in the above diagram.
Connect the other end of the remote control cable to the
rear of the matching STR-84 or PLR-85 receiver. The
remote control function of this tape deck will only operate
when connected to a matching Techwood receiver.
IMPORTANT :
A remote control is not included with this tape deck.
4. AC power cord
Plug this AC power cord into a 120 Volt, 60 cycle grounded
AC wall socket or the AC OUTLETS on the rear of the
STR-84 or PLR-85 receiver.
If humming occurs during playback
Interference from the receiver may cause a hum during
tape playback. If this occurs, change the location of the
tape deck from above the receiver to below it.
Recording from AM radio broadcasts is difficult. This
is not recommended since recordings often have a hum
or noise.
5
Page 6

CONTROLS AND INDICATORS
Front Panel
1. POWER STANDBY / ON button and Indicator
2. Cassette Holder
3. Deck I operation button
Forward/Rewind button ( / )
Play button ( / )
Stop button ( )
4. Dubbing button and Indicator
Press when dubbing the tape from Deck I to Deck II.
5. High speed dubbing button and Indicator
Press when dubbing the tape at a hi-speed.
6. Auto dubbing button and Indicator
It is convinient to use this function when dubbing a whole
cassette tape from beginning to end at a normal speed or
hi-speed.
7.Dolby noise reduction button and Indicator
OFF : Select for the tape recorded without DOLBY B
NR.
DOLBY B : Select for the tape recorded with DOLBY B NR.
9. Pause button ( ) and Indicator
Press the button When you need to stop the tape temporaily
during recording or playing.
10. Reverse mode selector
: Auto stop mode.
: Auto reverse mode.
: Continuous play mode.
Refer to page 10.
*
11. Deck II operation button
Forward/Rewind button ( / )
Play button ( / )
Stop button ( )
8. Recording button and Indicator
Press this button to record a tape inserted in Deck II.
6
Page 7

OPERATIONS
Basic Operations
1. Open the cassette holder by pressing “ ” PUSH OPEN
lightly and
holders.
2. Select the correct DOLBY NR type according to how the
tape was recorded.
OFF : Select for the tape recorded without DOLBY B NR.
DOLBY B : Select for the tape recorded with DOLBY B NR.
3. Select the desired reverse mode.
Refer to page 10.
*
insert the desired tape into either of the cassette
: Auto stop mode.
: Auto reverse mode
: Continuous play mode
Continuous Play of cassette tape
This function is to play a cassette tape continuously until
you stop the operation of the cassette tape.
1. Open the cassette holder by pressing “ ” PUSH OPEN
lightly and
sette holders.
2. Select the mode.
- Continuous play mode.
3. Press play button Deck I or Deck II as applicable.
- The indicator will light up and playing will start.
insert the desired tape into either of the cas-
4. Select the desired play direction by pressing one of the
play button ( / ).
: For the forward play.
: For the reverse play.
5. Press the stop ( ) button when you want to stop playing to tape.
Note :
If you press play button of Deck II while the cassette tape
of Deck I is being played, the cassette tape of Deck II will
begin to play.
7
Page 8

Playing by use of SKIP button
Recording of a cassette tape
This function is used when you want to listen to the previous
or next music item while playing the cassette tape.
1. Press play button , playing will start.
2. Press skip button.
button
If you press button while playing in forward direction, the forward direction indicator will blink and the
system will play the next music item to the one being
played.
button
If you press button while playing in forward direction, the backward direction indicator will blink and the
system will search for the previous music item just
before the one being played and play it.
A cassette can only be recorded in Deck II.
Select the source to record from on your amplifier (CD,
VCR, TUNER, etc,.)
1. Open the cassette holder on Deck II by pressing “ ”
PUSH OPEN lightly and
on into the cassette holder.
2. Select the correct DOLBY NR type according to how the
tape was recorded.
OFF : Select if recording from another tape recorded
without DOLBY B NR.
DOLBY B : Select for all other sources.
3. Select the desired reverse mode.
: To record on one side only.
, : To record on both sides.
Refer to page 10.
*
4. Press pause button
- The indicator will light up and the system is now ready
to record.
5. Press record button.
- Record indicator will turn on and the play direction indi-
cators will flash.
insert the desired tape to record
6. Select the direction to record in by pressing either of the
play ( / ) buttons.
7. Press the pause button again.
- Pause indicator will turn off and recording will start.
Notes :
If you want to record both sides of the cassette tape
when reverse mode switch is in or in , be sure to
press forward direction play ( ) button.
Otherwise, if the backward direction play ( ) button is
pressed only side B of the cassette tape will be recorded
on.
When recording of both sides has been completed Deck
II will automatically stop.
This system has Automatic input Level Control circuit,
when recording.
8
Page 9

Dubbing of a cassette tape
1. Open the cassette holder by pressing “ ” PUSH OPEN
lightly and
tape to be recorded on into Deck II.
insert the tape to be played into Deck I and the
To Prevent erasing of recorded sound
Tab for side1
Tab for side2
The tab with driver
Tab
2. Press dubbing button.
- Record and Dubbing indicator will light up, and direction
indicators ( / ) will blink.
3. Select the direction of the cassette tape for recording in
Deck II.
- The indicator in the selected button will stop blinking,
and the other one will go out.
4. Select the direction of the cassette tape for playing in
Deck I.
- Dubbing will start in the selected direction.
Auto Dubbing
It is convenient to use this function when dubbing the
entire cassette tape from beginning to end.
Press Auto dub button.
- The cassette tapes of Deck I and Deck II will wind them
selves backward to their end.
When rewinding is completed. Auto dubbing will start.
Both sides of a cassette tape are recorded from beginning
*
to end automatically regardless of the mode.
Using HI-SPEED button
Press the Hi-speed button when dubbing the cassette
tape at a high speed.
If the tab is removed, recording is impossible even though
you press REC button. This prevents recorded sound from
being erased.
To record again
cover the solt with adhesive tape.
When dubbing at a high speed, you can not listen to the
*
sound out of the speaker.
9
Page 10

OPERATION ACCORDING TO SELECTED MODE
While playing, dubbing or recording the operation of the deck will be determined according to mode selection switch.
1. Mode
Play
Record
Dubbing
2. Mode
Play
Record
When a tape is played only in one direction to
its end, deck will stop automatically.
When the tape is recorded in one direction to
its end, deck will stop automatically.
In case of dubbing of a tape, Deck I and Deck II
will stop automatically at the end of a tape.
When a tape reaches the end, the tape starts
to play the reverse side of the tape automatically.
The tape continues to play from one direction
to other direction until pressing stop button
When the tape is recorded in “ ” direction to
its end, the deck starts to record automatically
in “ ” direction and will stop at the end.
Note : When recording in this mode, always
select direction “ ” first.
.
When playing a side 1 of the cassette tape.
When playing a side 2 of the cassette tape.
Deck I
Deck II
Deck II
Only
Deck I : Play
Deck II : Record
Deck I
Deck II
Deck II
3. Mode
Play
Record
Both sides of the tape in Deck I will play first,
then Deck II will automatically play both sides
of its tape.
Playing continues until the stop button.
When the tape is recorded in “ ” direction to
its end, deck starts to record automatically in
“ ” direction and will stop at the end of the
tape.
Deck I
Deck II
Continuous auto reverse playing of the tape from
Deck I to Deck II.
Deck II :
Record
10
Page 11

TROUBLESHOOTING
To determine any problem with your tape deck, always check the most obvious possible causes first. If any problem still remains
after your have checked the items below, consult your nearest TECHWOOD dealer.
Problem Probable Cause Remedy
No sound while the tape is operating.
Volume of stereo amplifier is set to “0”.
Adjust the volume properly.
Poor tone quality.
REC button can not be operated.
Low volume or weak sound with mute
intervals.
Poor operation of repeat and skip function.
No remote control functions.
Noise reduction switch is not in a correct
position.
Erase-prevention tabs on cassette are
removed.
Playback head is dirty.
The blank recorded length between two
successive songs is not enough.
Remote control cable is not connected
to receiver.
Not used with compatible receiver
SPECIFICATIONS
DECK I (only for playing)
Track system : 4 Track, 2-channel stereo
Tape Speed : 4.8 cm/sec
Motor : DC Motor
Frequency response :
Normal: 40~14,000 Hz
CrO
2 : 40~15,000 Hz
Metal : 40~16,000 Hz
FF and REW Time : 120 sec (C-60 cassette tape)
Set the switch appropriate to the kind of
recorded tape.
Cover the slots with adhesive tape.
Clean the head with tape head cleaner.
Make the blank tape length longer than
4 seconds between songs.
Use supplied remote cable and connect
to receiver.
.
Remote functions only operate with
matching STR-84 or PLR-85 receivers.
General
Power Requirements : 120 V AC, 60 Hz
Power Consumption : 11 W
Dimensions (W x H x D) : 435 x 145 x 320 mm
Weight (net) : 4.9 kg
Standard Accessories :
Audio Connection Cord x 2
Remote Control Connection Cord x 1
Owner’s Manual x 1
DECK II (for recording/playing)
Track system : 4 Track, 2-channel stereo
Recording system : AC bias
Erasing system : AC erasing
Tape Speed : 4.8 cm/sec
Motor : DC Motor
Frequency response :
Normal : 40~14,000 Hz
CrO
2 : 40~15,000 Hz
Metal : 40~16,000 Hz
FF and REW Time : 120 sec (C-60 cassette tape)
Wow / Flutter : 0.13% (JIS, WRMS)
S/N ratio : DOLBY B NR OFF : 55 dB (CCIR/ARM)
DOLBY B NR ON : 65 dB (CCIR/ARM)
Improvements may result in specifications and
features changing without notice.
Illustrations may differ slightly from production
models.
11
Page 12

WELTON U.S.A.
11625 COLUMBIA CENTER DR. SUITE 100
DALLAS, TEXAS 75229
PHONE: 972-243-5602
FAX: 972-243-5958
 Loading...