


© Tait Limited November 2012
www.taitradio.com
402-00046-01
TMAA10-08 Desktop Microphone
Installation Instructions
Introduction
The TMAA10-08 desktop microphone is an
omnidirectional Electret microphone which
can be used in dispatch situations, where the
microphone is positioned on a flat surface.
The desktop microphone plugs into the
microphone socket on the radio control head.
The desktop microphone has an internal preamplifier and an adjustable output control on
the underside of the desktop microphone base.
Operation
Press the PTT key to transmit. Speak clearly into
the microphone and release the
PTT key when
you have finished talking.
To use the Monitor function, press the
MONITOR key and check whether the channel is clear. When Monitor is active, the MONITOR
LED lights up. Press the
MONITOR key again to turn Monitor off. The LED goes out. If the
channel is clear, press the
PTT key to transmit.
If the
FUNCTION key is programmed, press it to activate the function.
Installation
Notice The desktop microphone grommet must be installed whenever the desktop
microphone is plugged into the microphone socket. When installed, the grommet has two
functions:
■ to prevent damage to the microphone socket when there is movement of the
microphone cord, and
■ to ensure that the control head is sealed against water, dust and other environmental
hazards.
1. Make sure that the radio is turned off.
2. Plug the microphone cord into the microphone socket on the radio control head.
3. Slide the grommet along the cord and push two adjacent corners of the grommet into
the microphone socket cavity.
4. Squeeze the grommet and push the remaining corners into position.
5. Check that the grommet is seated correctly in the cavity.
MONITOR key
grommet
PTT key
MONITOR
FUNCTION
2 TMAA10-08 Desktop Microphone
© Tait Limited November 2012
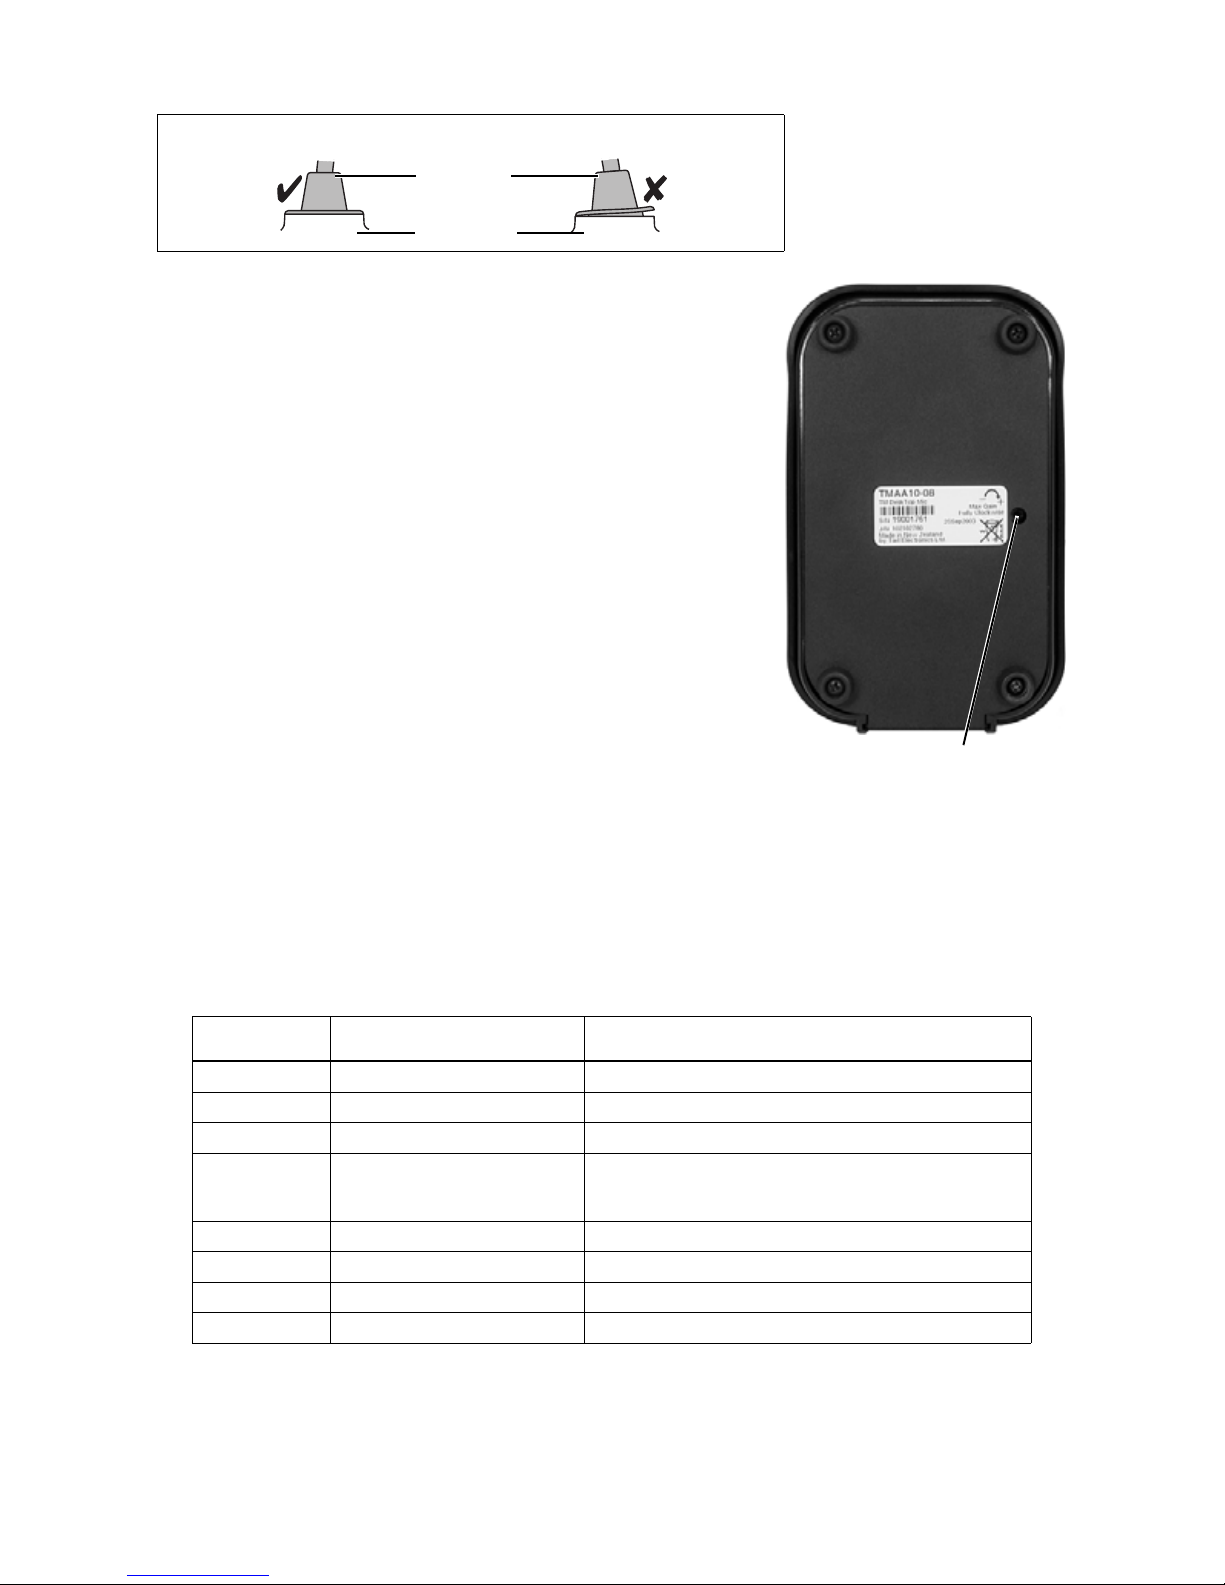
Adjustment
Adjust the output level of the desktop microphone using the
control accessible from the underside of the desktop
microphone.
The microphone sensitivity is set to maximum by turning the
control fully clockwise.
Radio Programming
The desktop microphone has an internal pre-amplifier.
Therefore, the dynamic microphone support in the
UI Preferences form of the radio’s programming application
should not be enabled, the control head microphone gain
should be set to normal (default).
The
FUNCTION key can be programmed by setting CH_GPIO1
to an input (active low), and assigning an action.
The
MONITOR key is programmed according to hookswitch
settings in the programming application. Select the
Hookswitch Monitor check box (Networks > Basic Settings form > Receiver Monitoring
tab), and select an option in the Hookswitch Monitor Overrides field. For more information
on these and other hookswitch settings, refer to the online help of the programming
application.
RJ45 Pin Outs
More Information
Refer to your radio provider for more information about this product.
Correct desktop microphone grommet seating
J1 (RJ45) pin Function Comment
1 not used
2 +13V8_SW Power supply range +6.3 to 16.5V
3 not used
4 PTT/Monitor
• PTT: switch to ground
• Monitor: 12K to ground (actions ‘hookswitch’
function)
5 Mic Audio
6GND
7 not used
8 CH_GPIO1 ‘Function’ button. Momentary action: switch to GND
microphone
grommet
control head
adjust output level here
 Loading...