

TAB900 8GB
User Manual
For Model No.

This manual contains important safety precautions and information of correct use.
Please be sure to read this manual carefully before use so as to avoid any accidents.
Do not place the product in hot, wet or dusty environment, especially in summer, do not leave the
product inside a car with all windows closed.
Avoid dropping, impacting or shaking the product violently, otherwise it may cause damages or
malfunctions. Select a proper volume to avoid ear problem when using earphones.
Do not cross the road or drive vehicles ,using headphones to avoid traffic accidents.
Be sure to use the provided chargers and accessories in the package.
Be sure to charge the product when the following situations take place,
- The battery icon shows lower or empty.
- System automatically shut down and it turns off soon after restart.
- Operation keys do not respond properly.
- The device shows on down right corner.
Page 2
Important Notice
- If the device is freezing or stuck, press
the reset button(a small hole) or long
press power button for 7 seconds.
- When the performance is slow after using
some applications, it is recommended to
close running application in setting menu.
Caution
- For charging, be sure to use the power
adapter(DC5V) that is provided in the
package, otherwise, the device may be
damaged
and does not work.
- The device is equipped with high
performance processor. It may heat in
case of using long or while charging.

1. Power On/Off
Long press power button to turn on/off the device. It may take a minute to boot the device.
Short press power button to turn on/off the screen.(Standby mode. refer to 3. below)
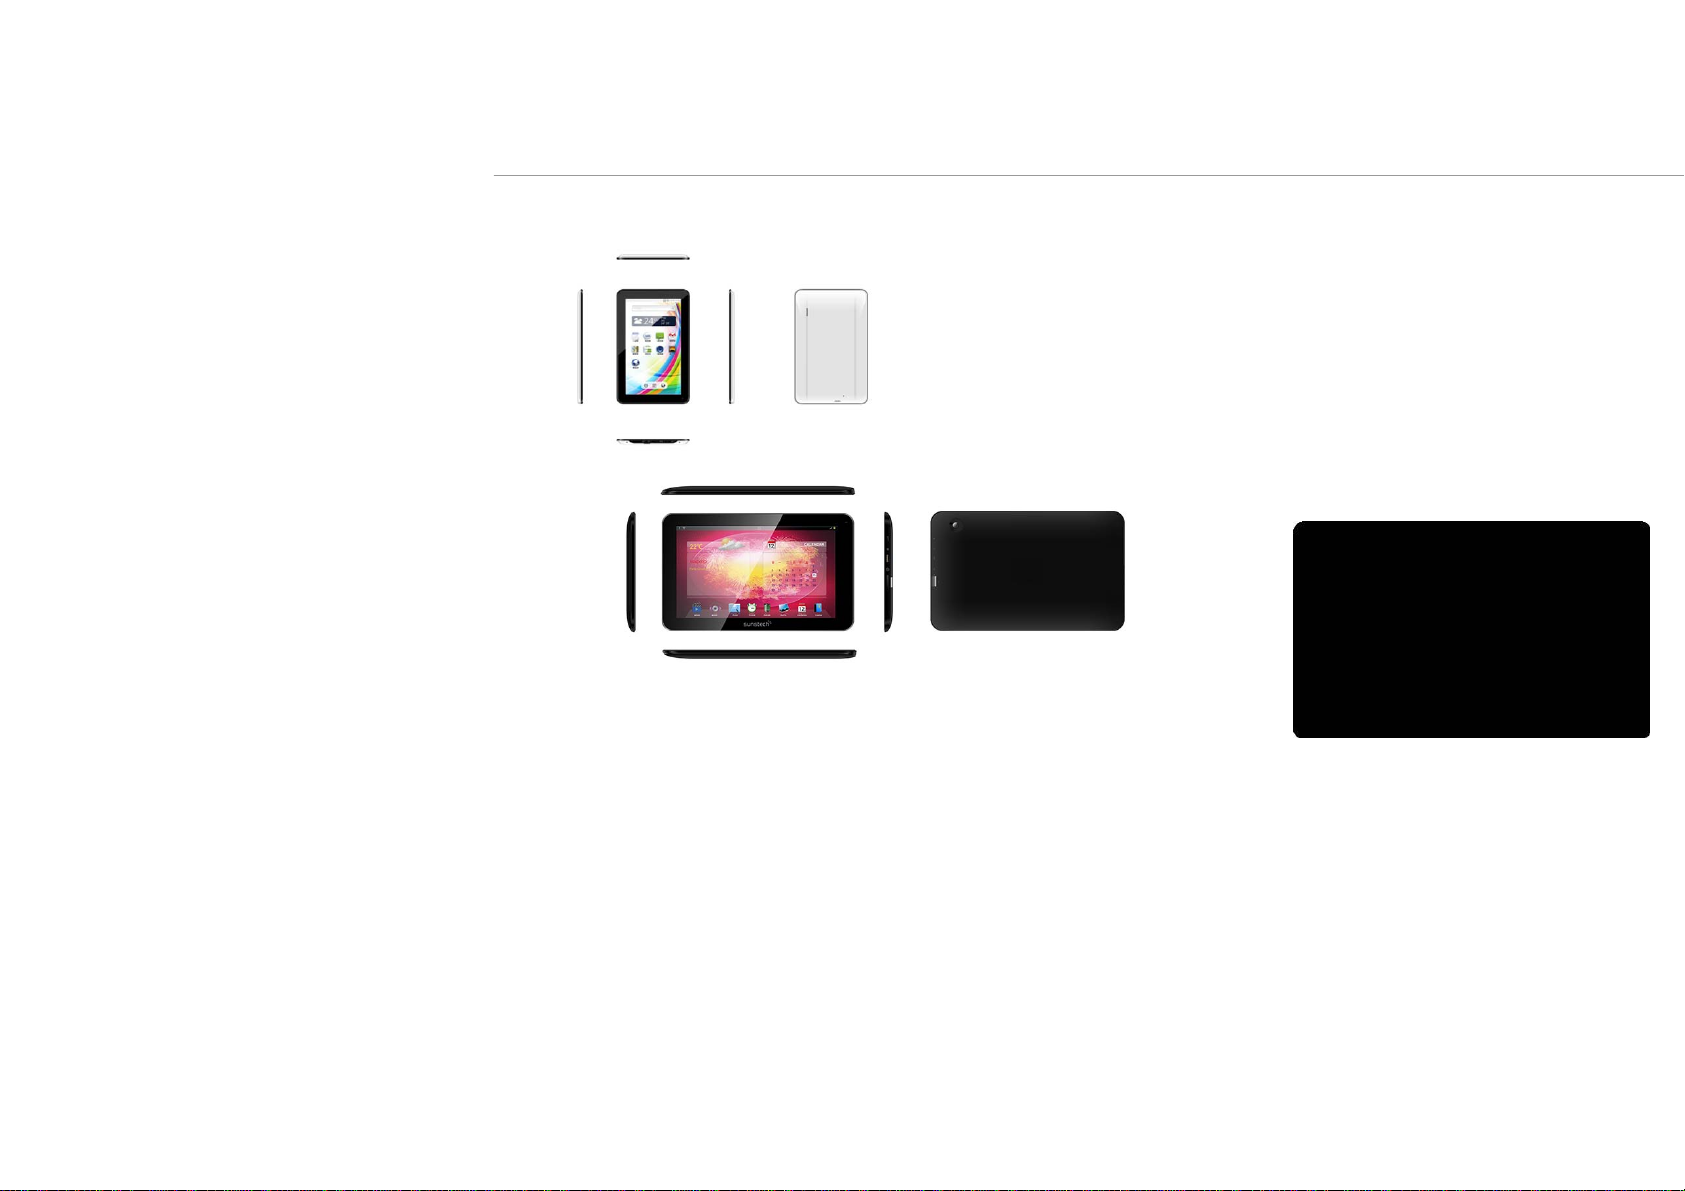
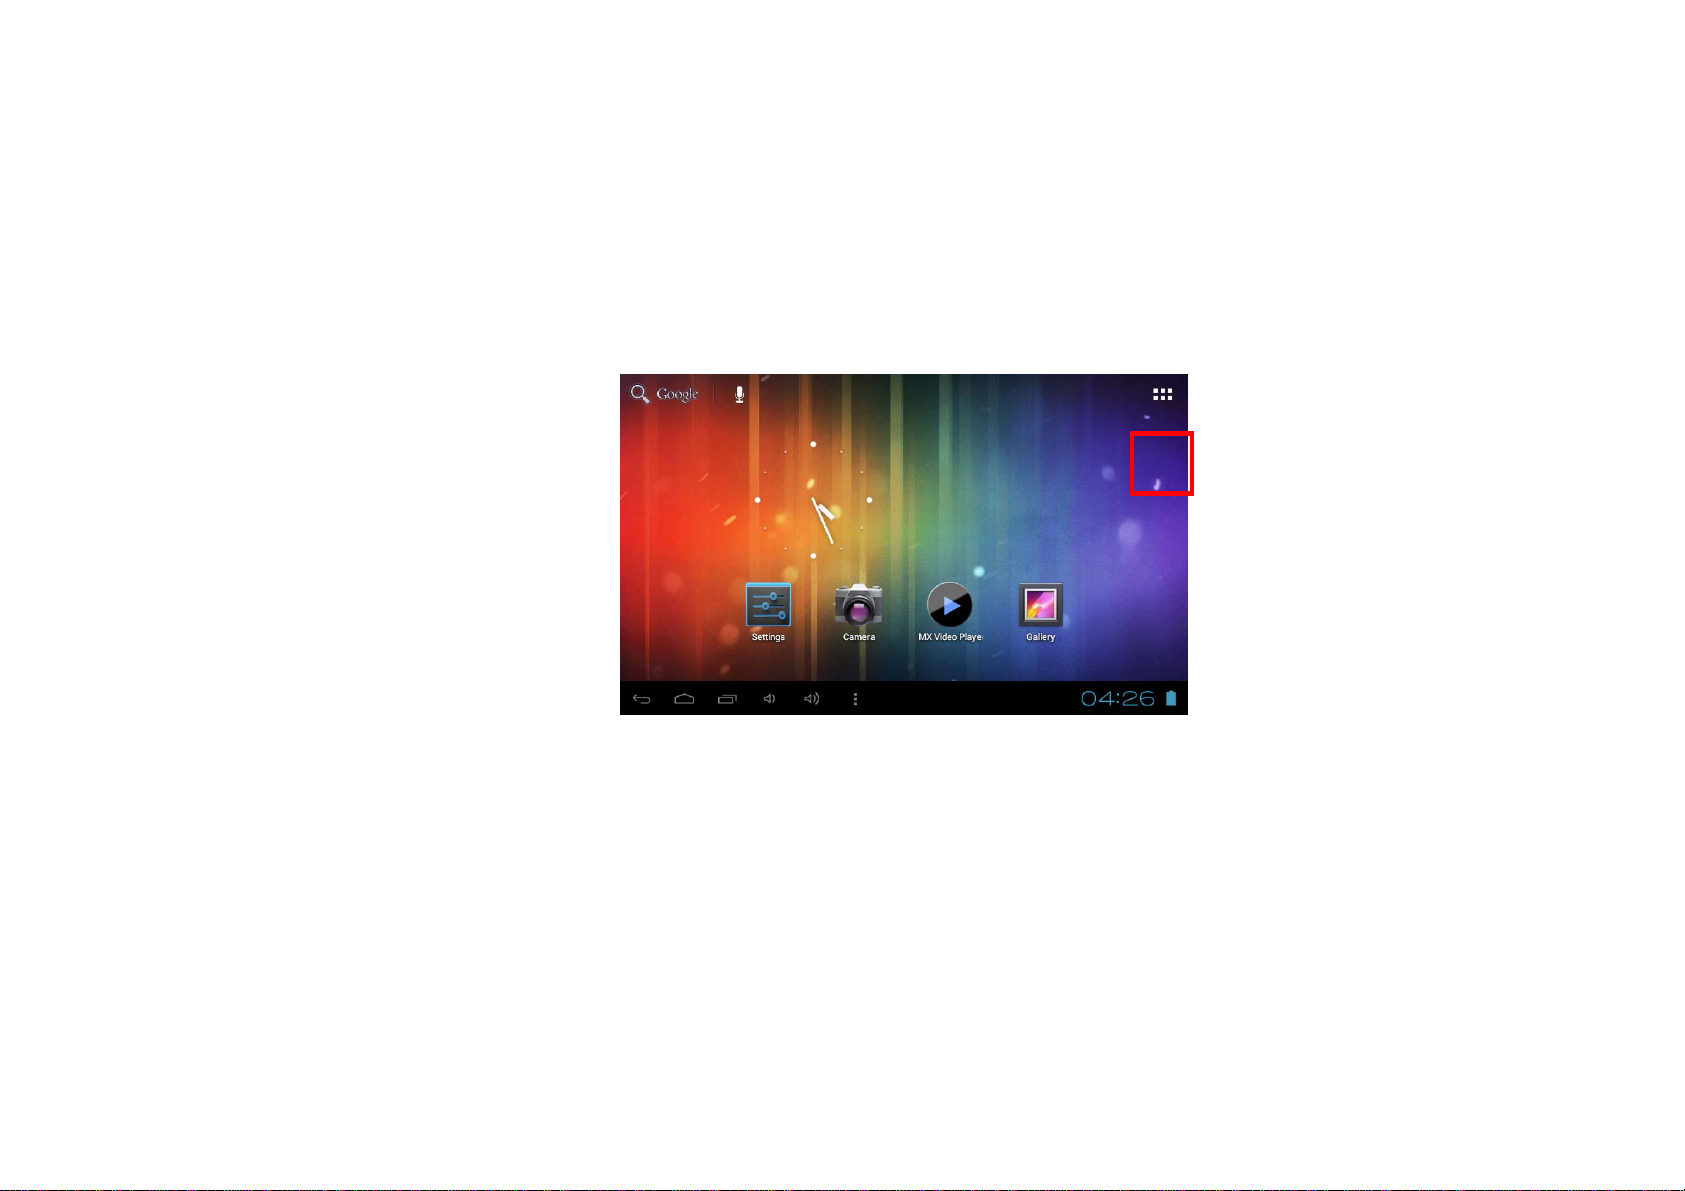
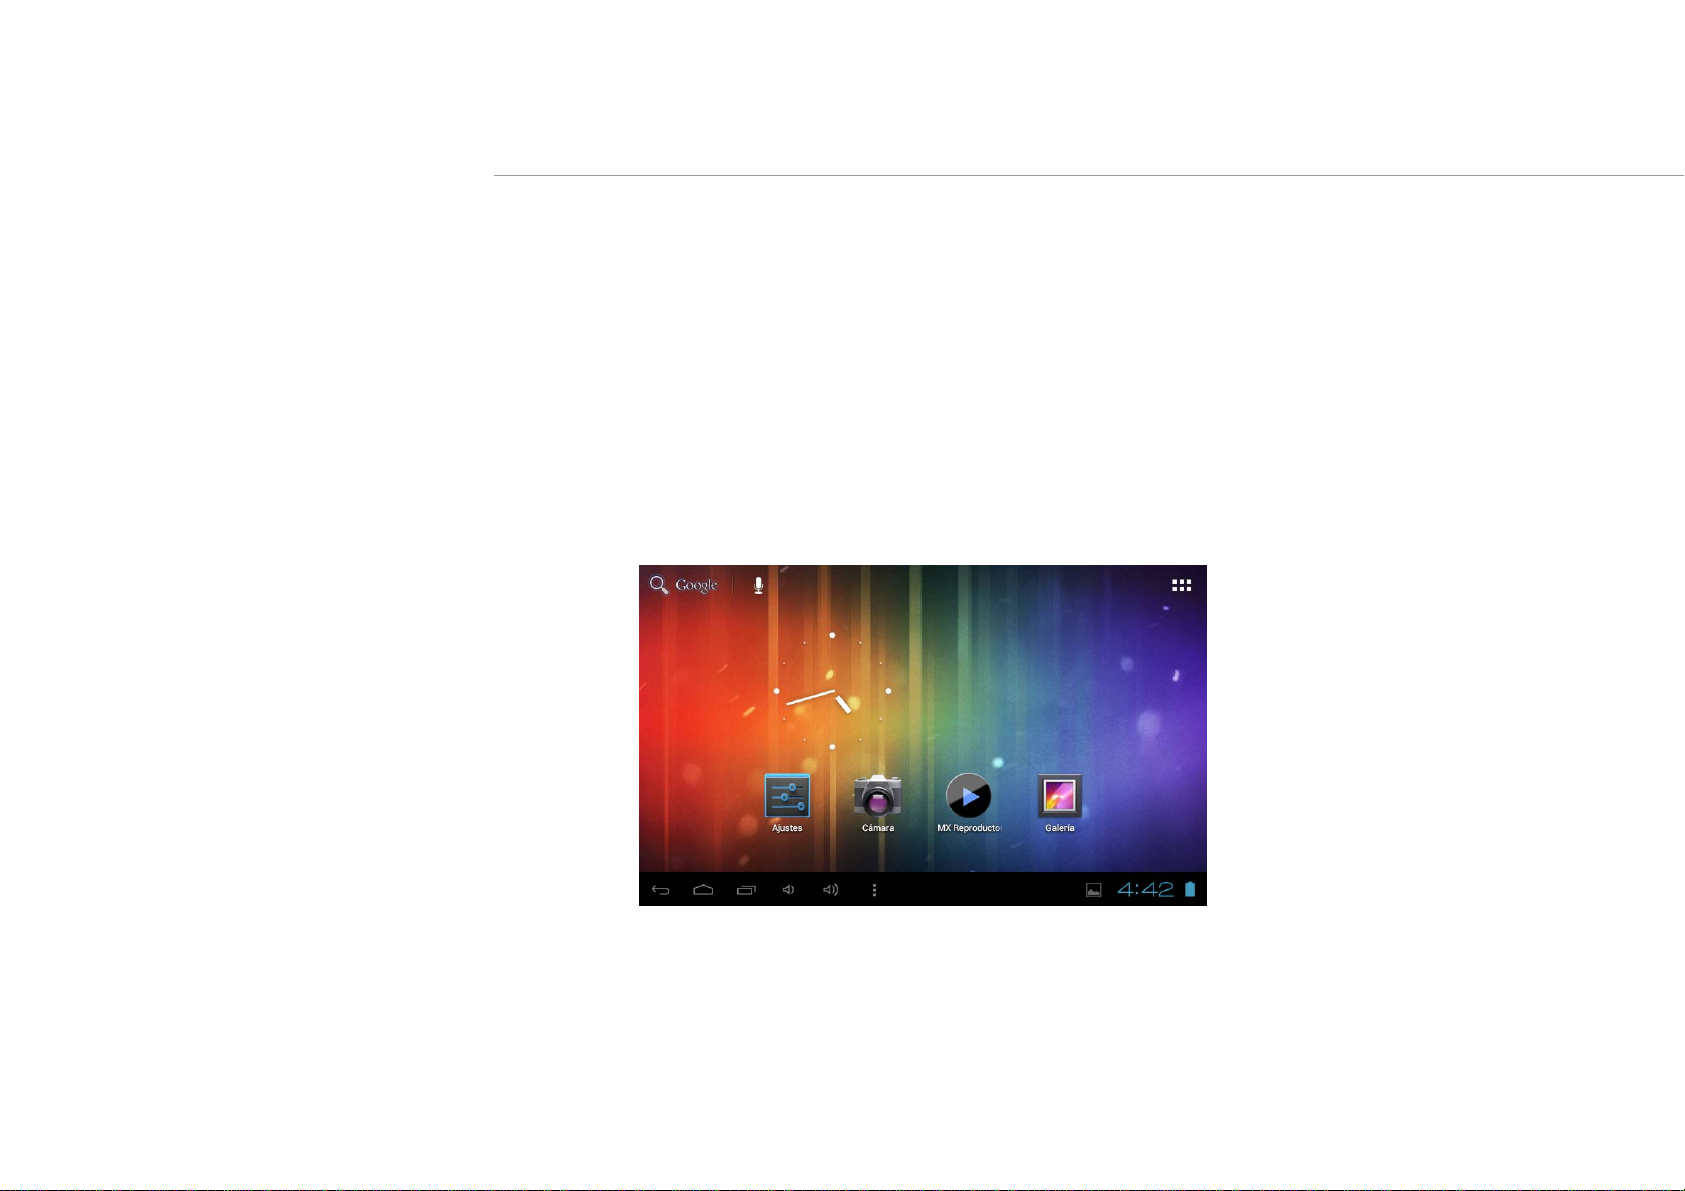
2. Desktop
After turning on the device, desktop displays with shortcut icons and arrow panel at the right side
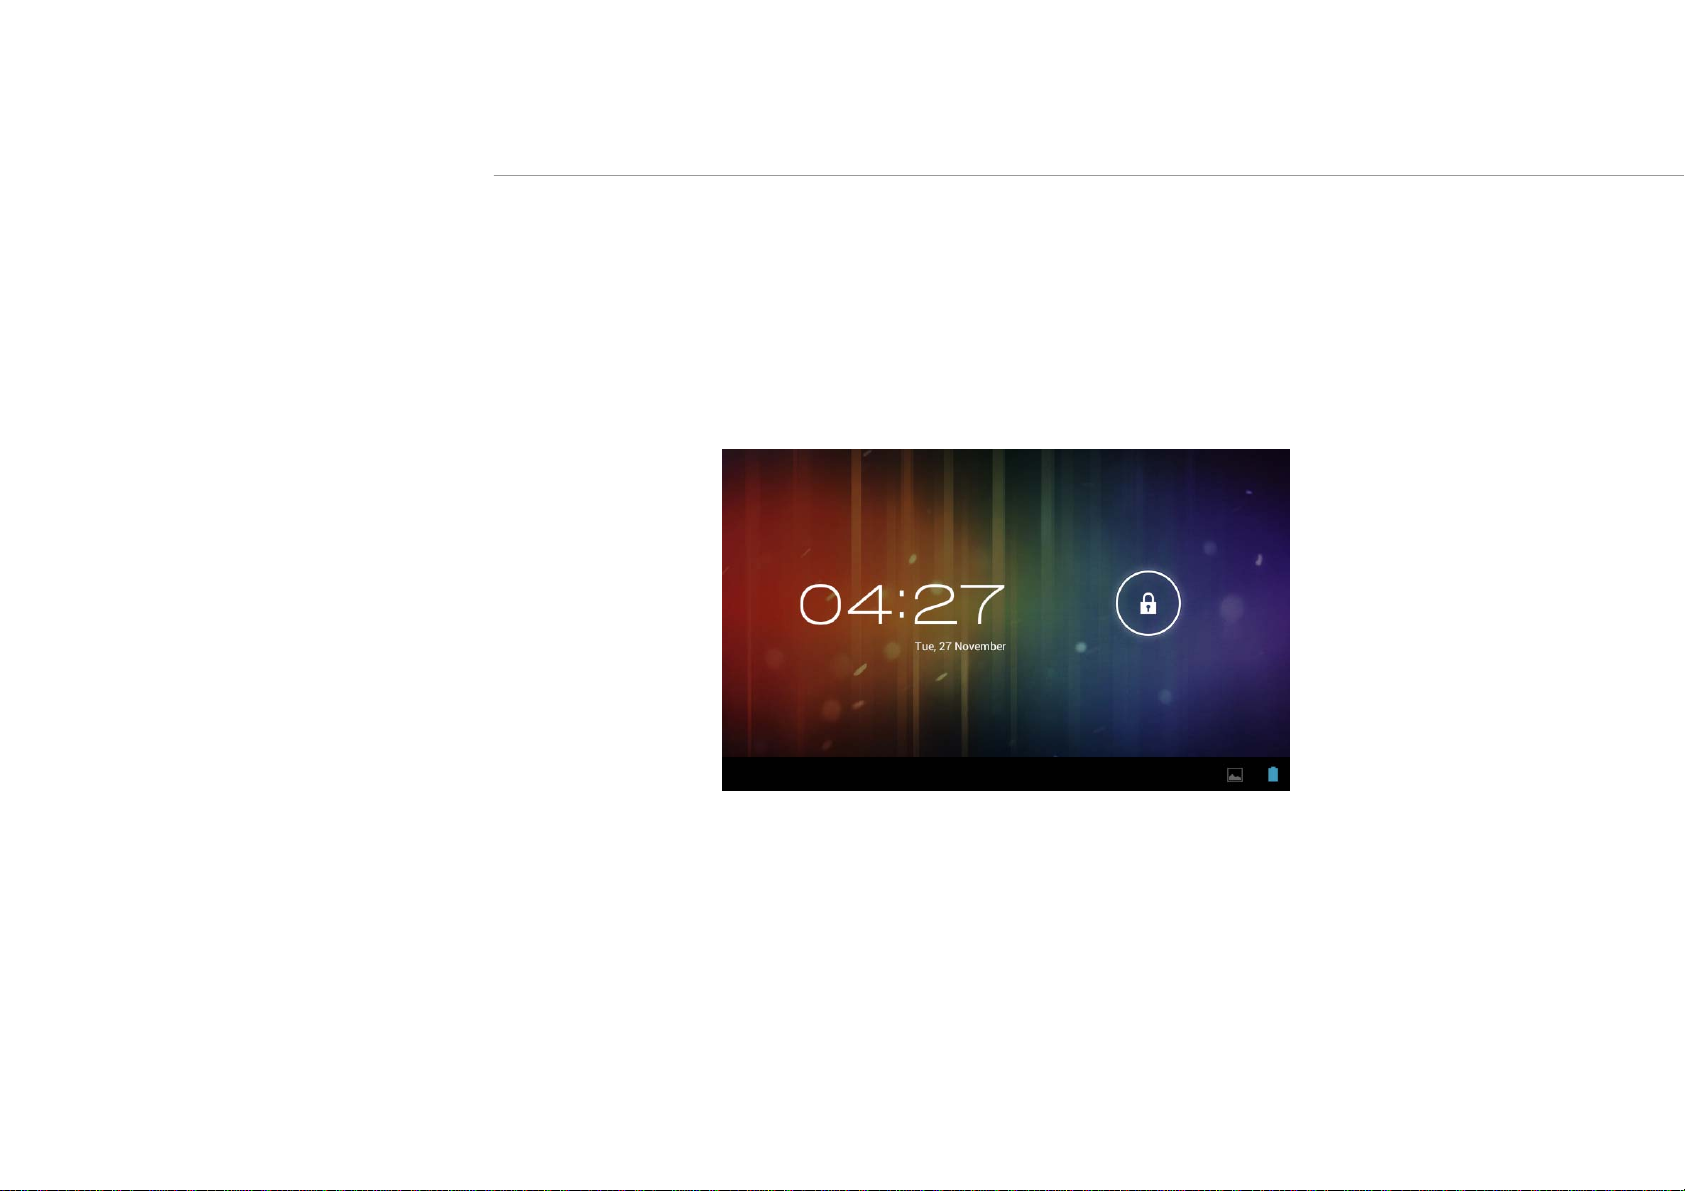
3. Standby mode(Screen off mode) /
Unlock the screen
Short press the power button to turn on/off the screen (Standby mode on/off).
After standby mode , slide the lock icon in order to unlock the screen.
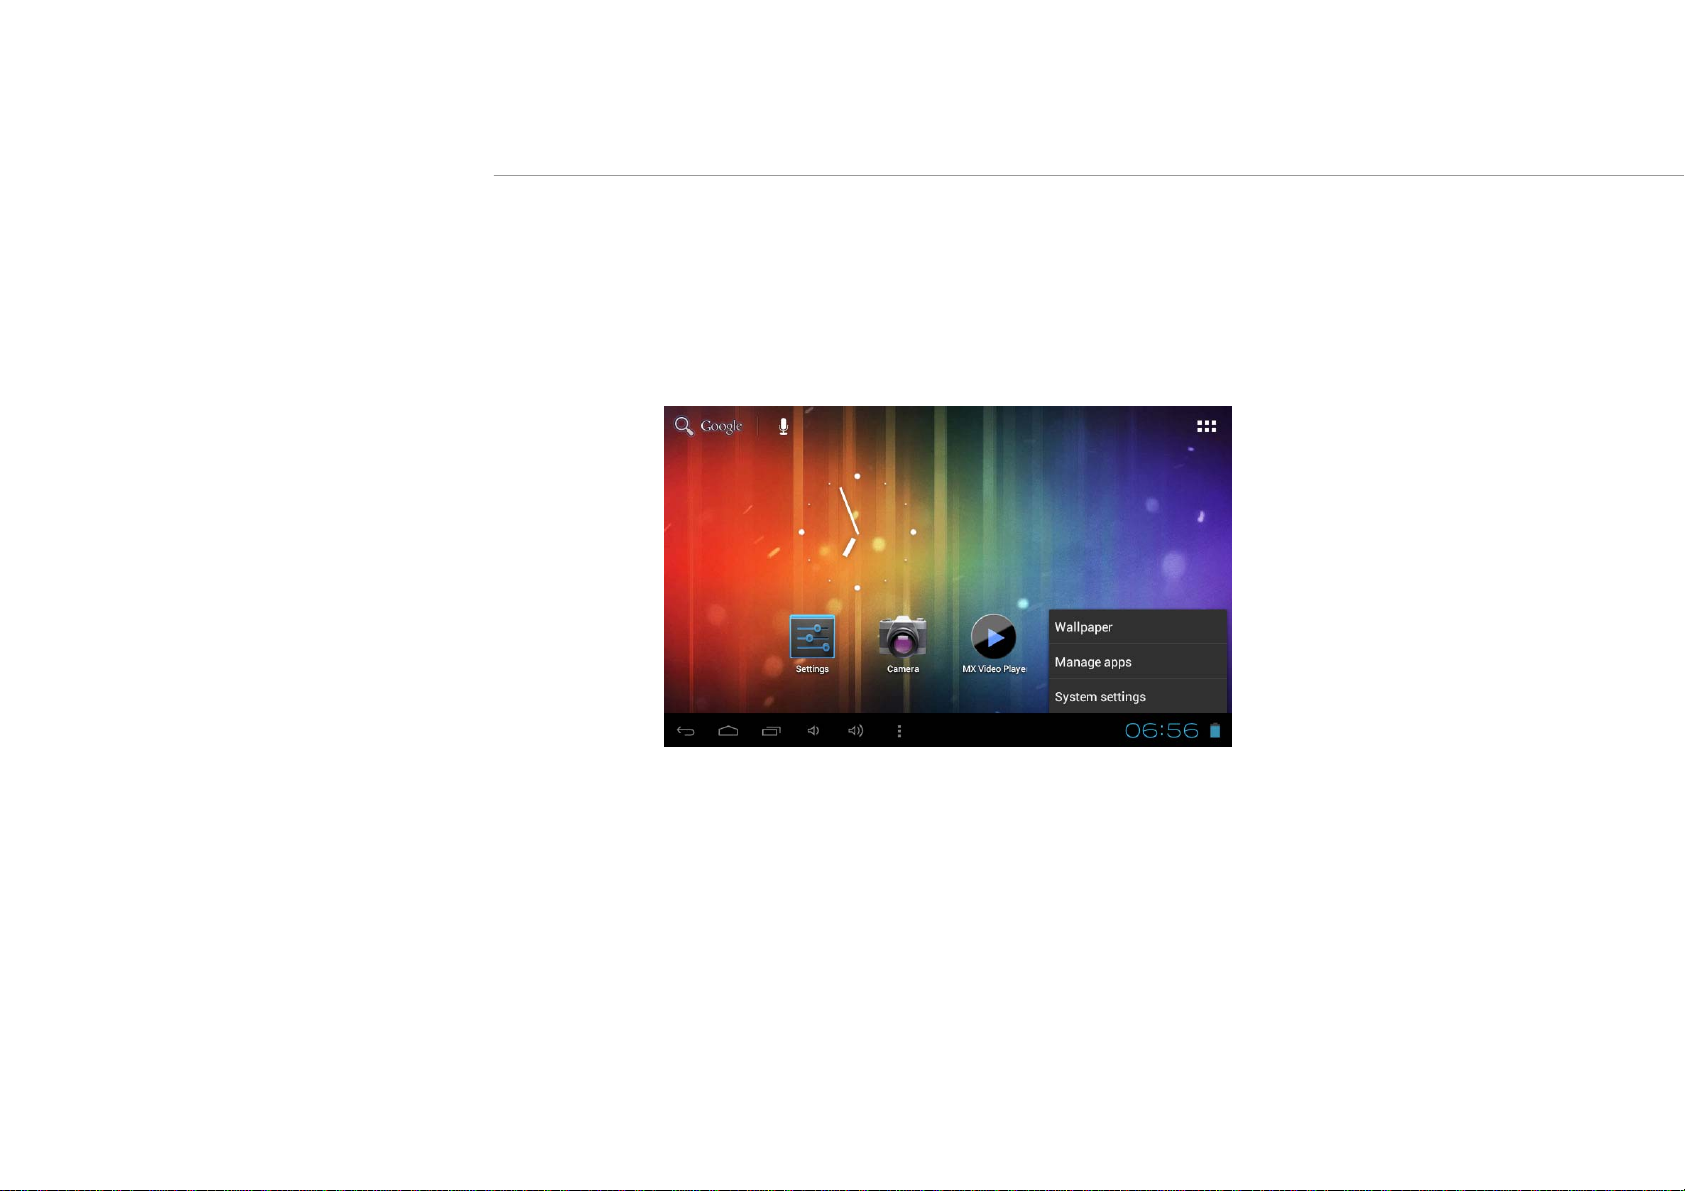
4. System settings
On the desktop, press menu button and select system settings.
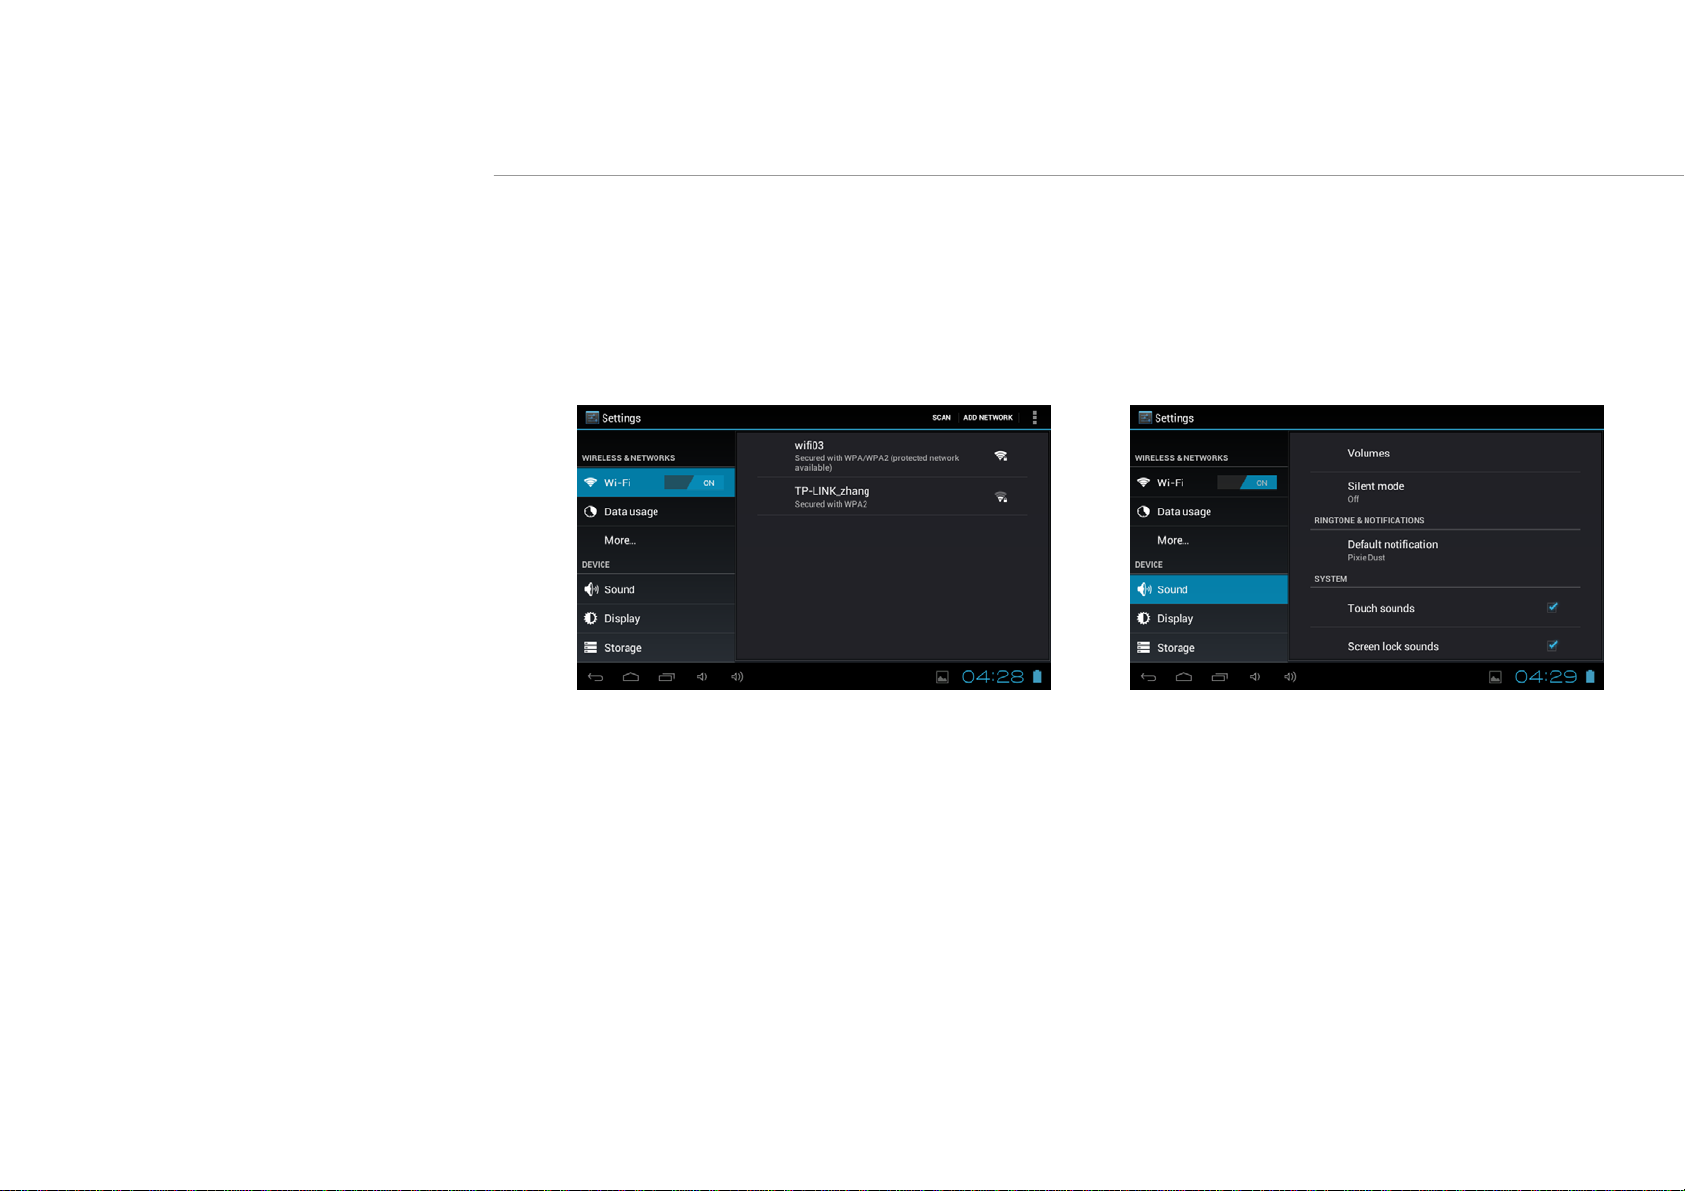
Press System Settings
1.Wireless & networks 2. Sound
Wi-Fi - Press Wi-Fi to turn on/off Set up each setting as you
like.
Wi-Fi settings - Press Wi-Fi settings, then the device
will automatically search the available Wi-Fi
signals. Select the network you want to connect
with.

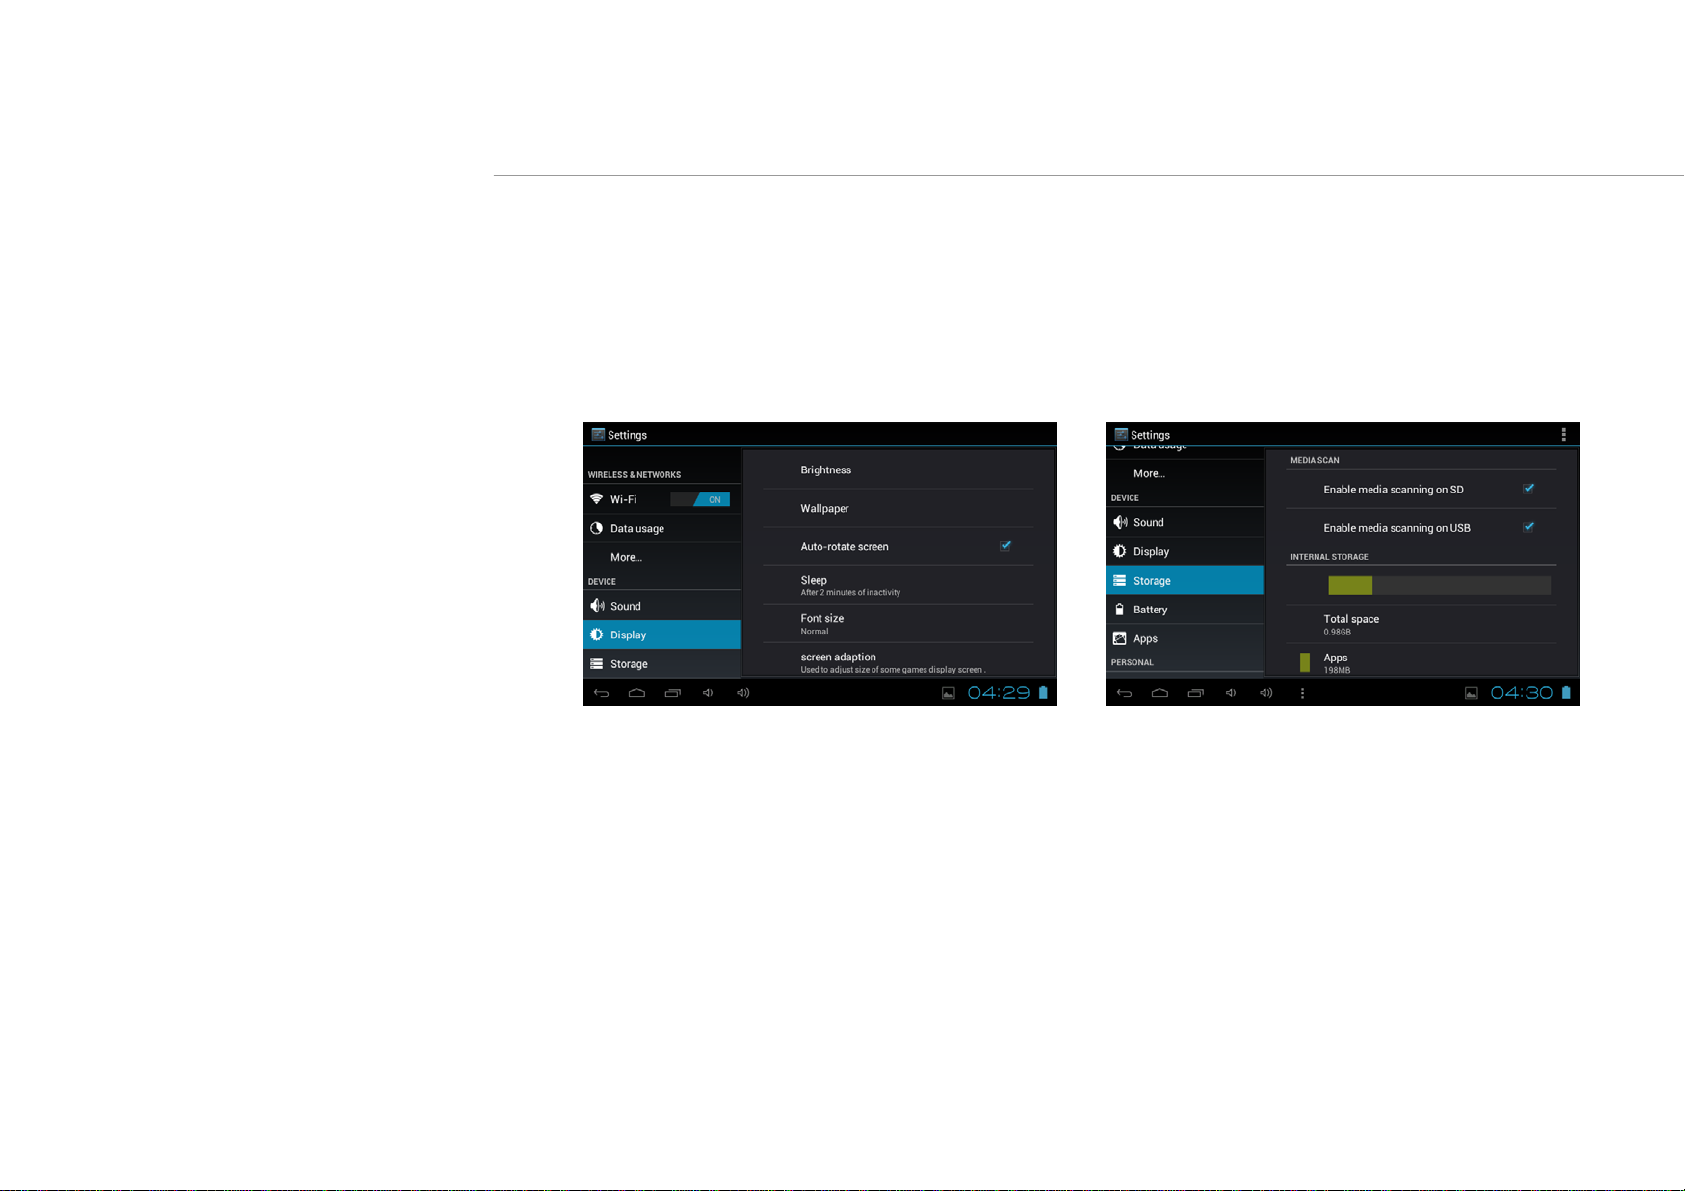
3. Display 4. Storage
Set up each setting as you like.
Check device memory and microSD card
status. Unmount SD card – Unmount the
SD card for safe removal.
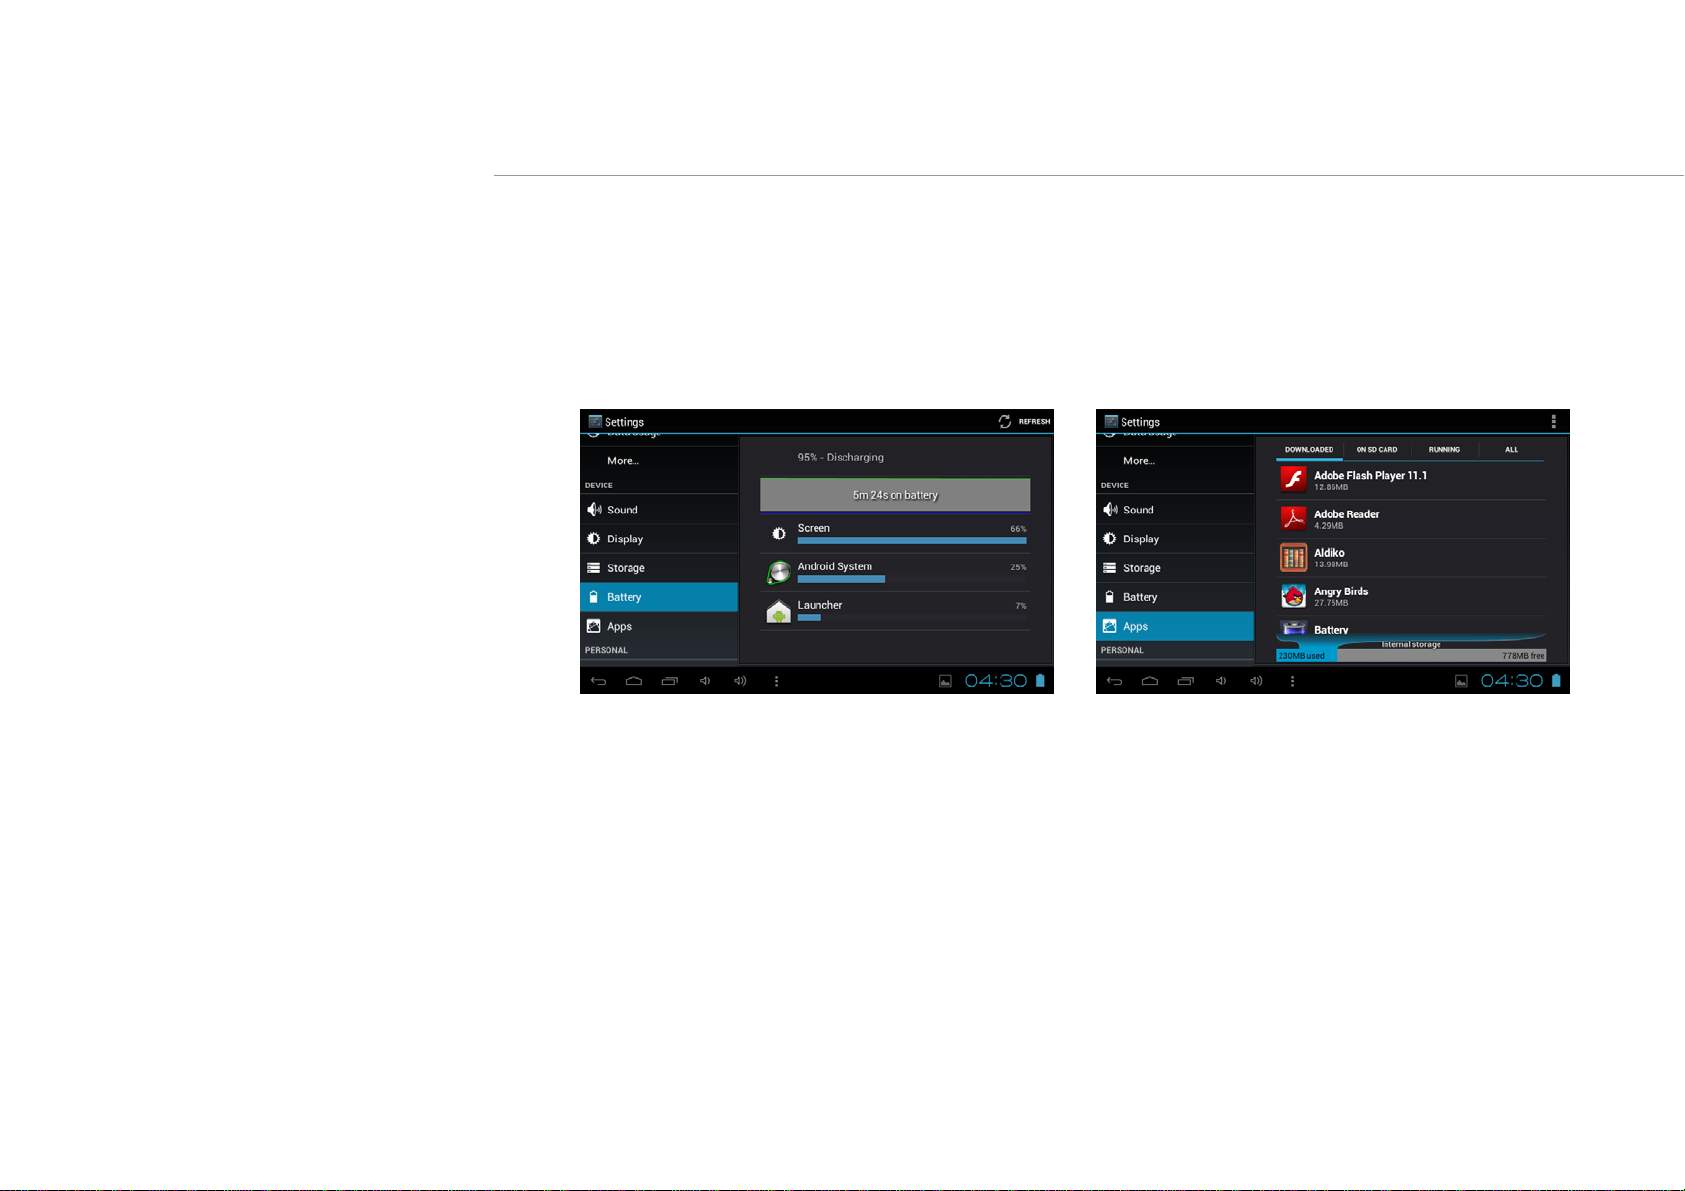
5. Battery 6. Apps
Check battery usage status. Manage downloaded or running applications.
Downloaded All installed application are
listing.
.
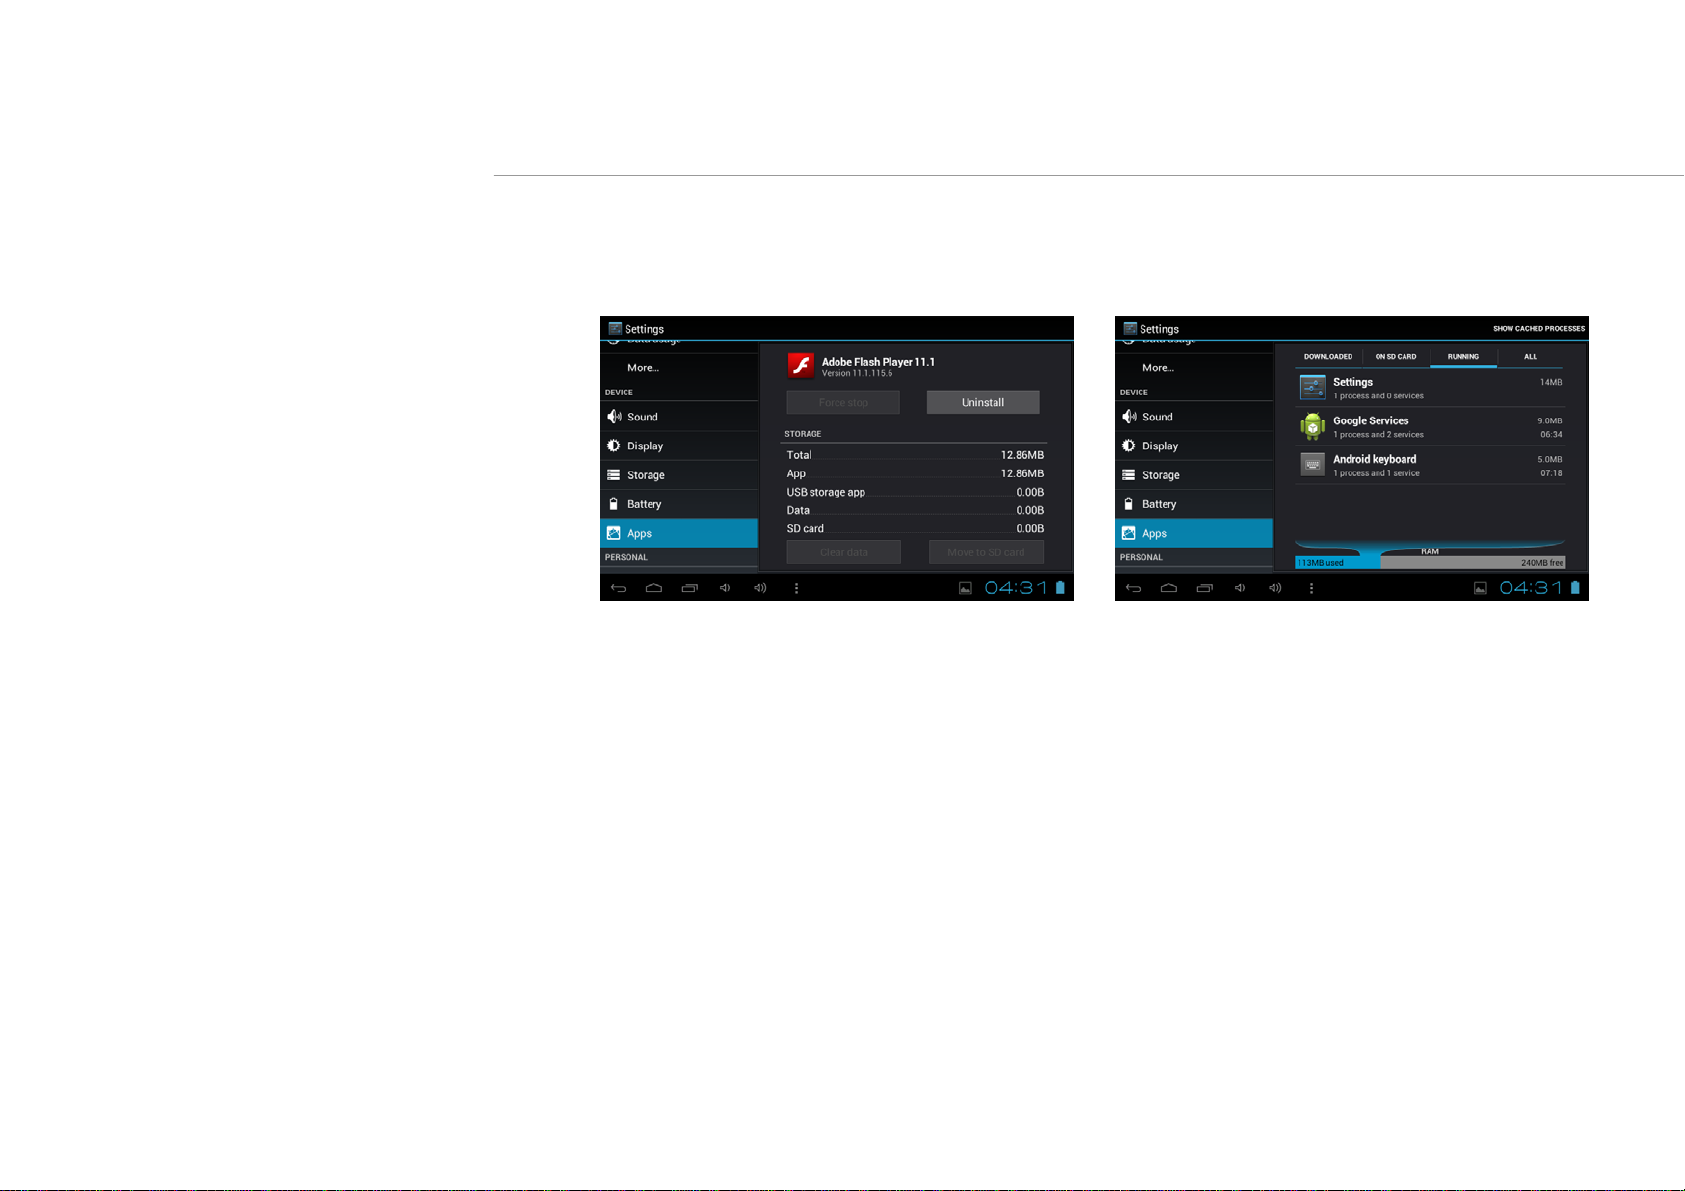
Keep pressing an application to manage. Running services
Press Uninstall to uninstall the selected application. View and control currently running
services.

7. Account & sync
Create your account. After connecting Wi-Fi network, the e-mailing system synchronizes
your account with the device. Emails are automatically downloaded into the device.
8. Location services
Google’s location service - Let apps use data from sources such as WiFi and mobile networks
to determine your approximate location
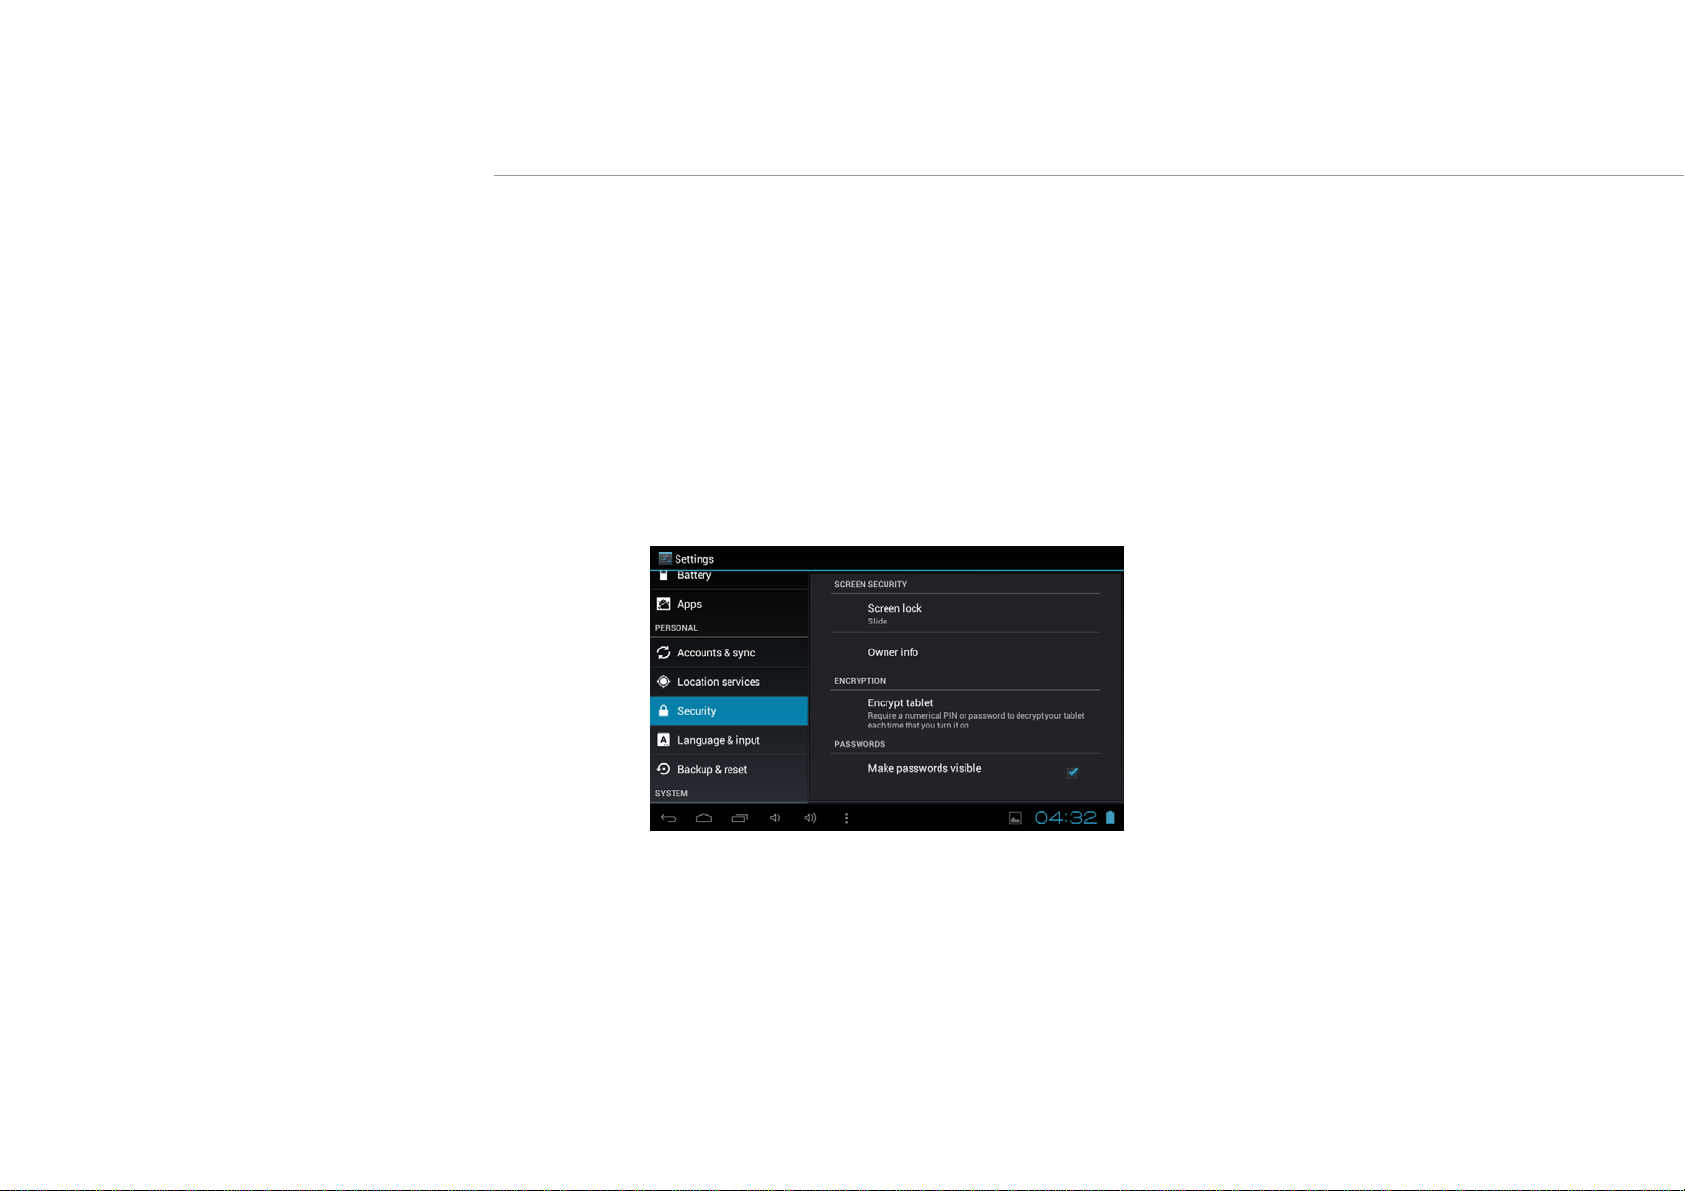
9. Security
Screen lock – Protect your device from unauthorized use by creating a personal screen
unlock pattern. Make passwords visible – Show password as you type.
Unknown sources - If you want to allow installation of non-Market
Applications, Press Unknown sources and presses OK.
Install from SD card – Install encrypted certificates from SD card.
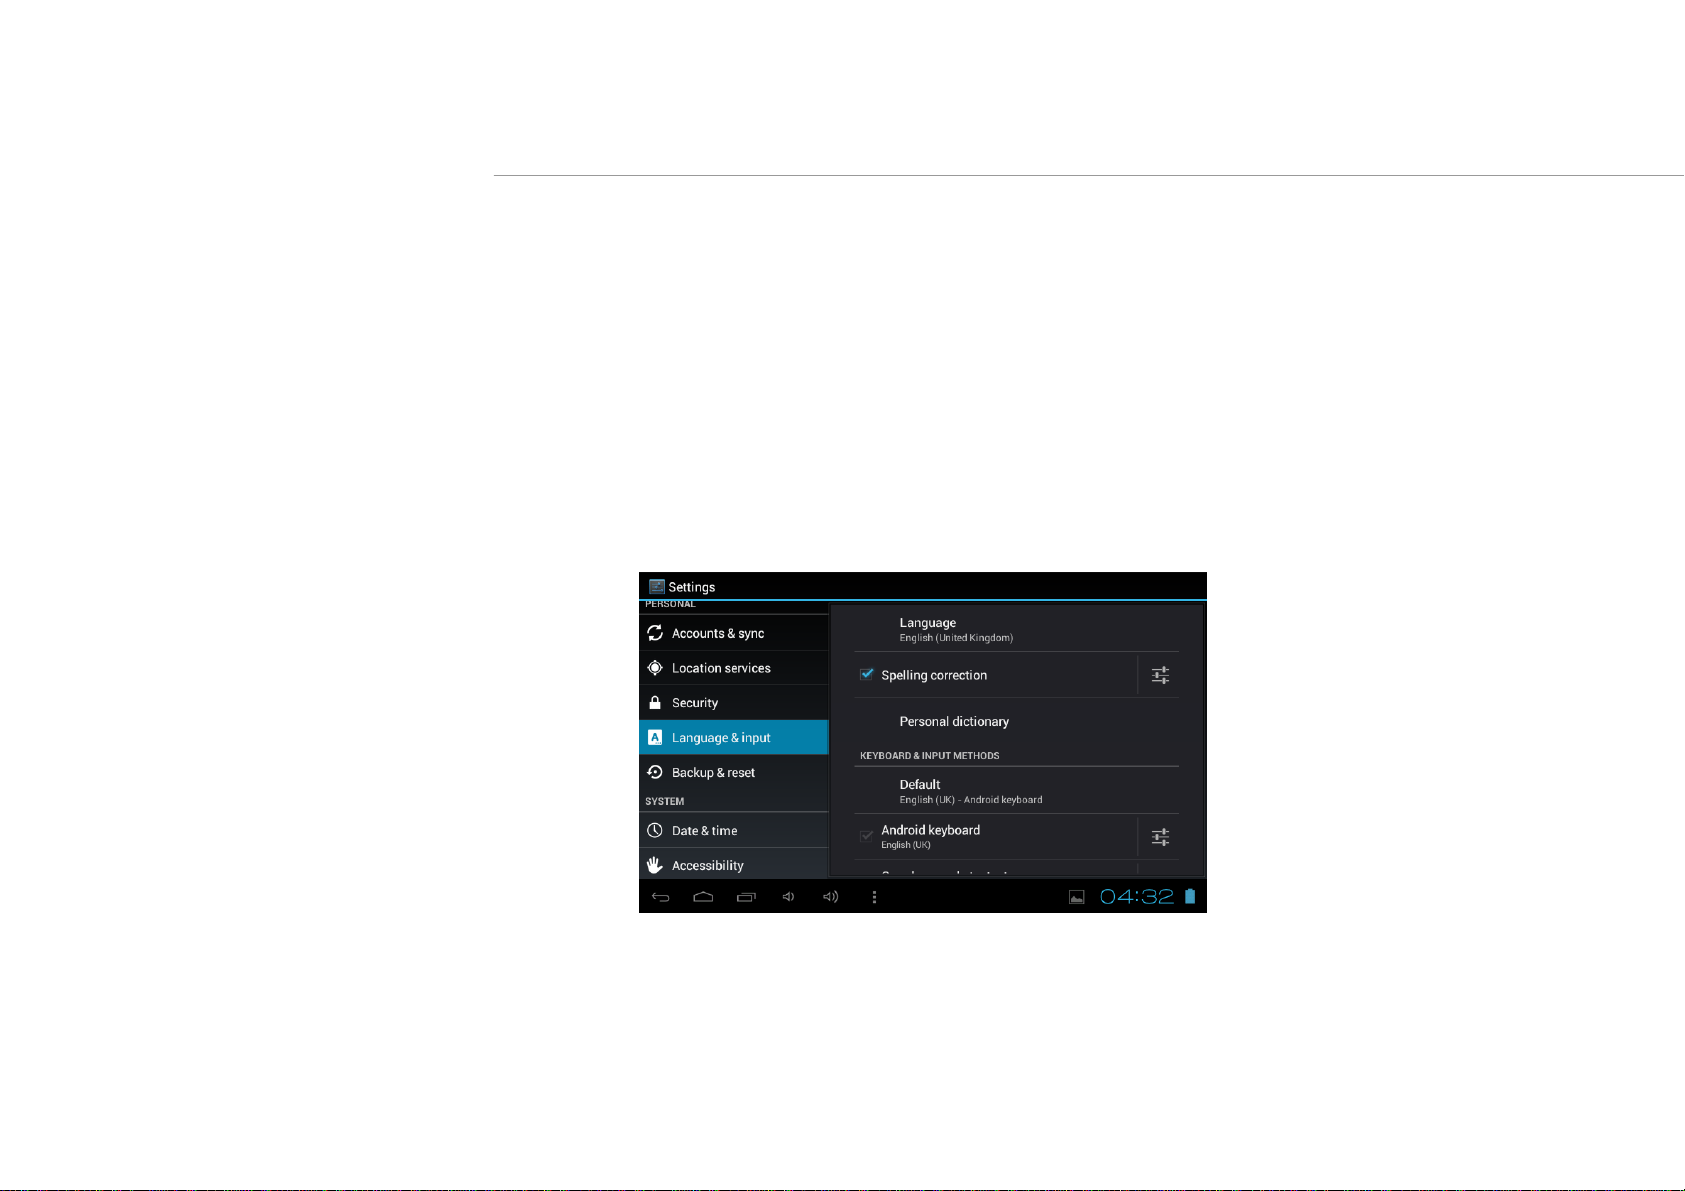
10. Language & input
Language – Choose your preferable language.
Keyboard & input method – Change keyboard & keyboard settings.
On Language & input settings, if you need other languages besides English on
keyboard, press the relevant keyboard and enter the chosen Keyboard settings,
select Keyboards, press the language you need.

11. Date & time
Set date & time and format
12. Developer options
Set options for application development
13. About tablet
See status, legal information, ETC
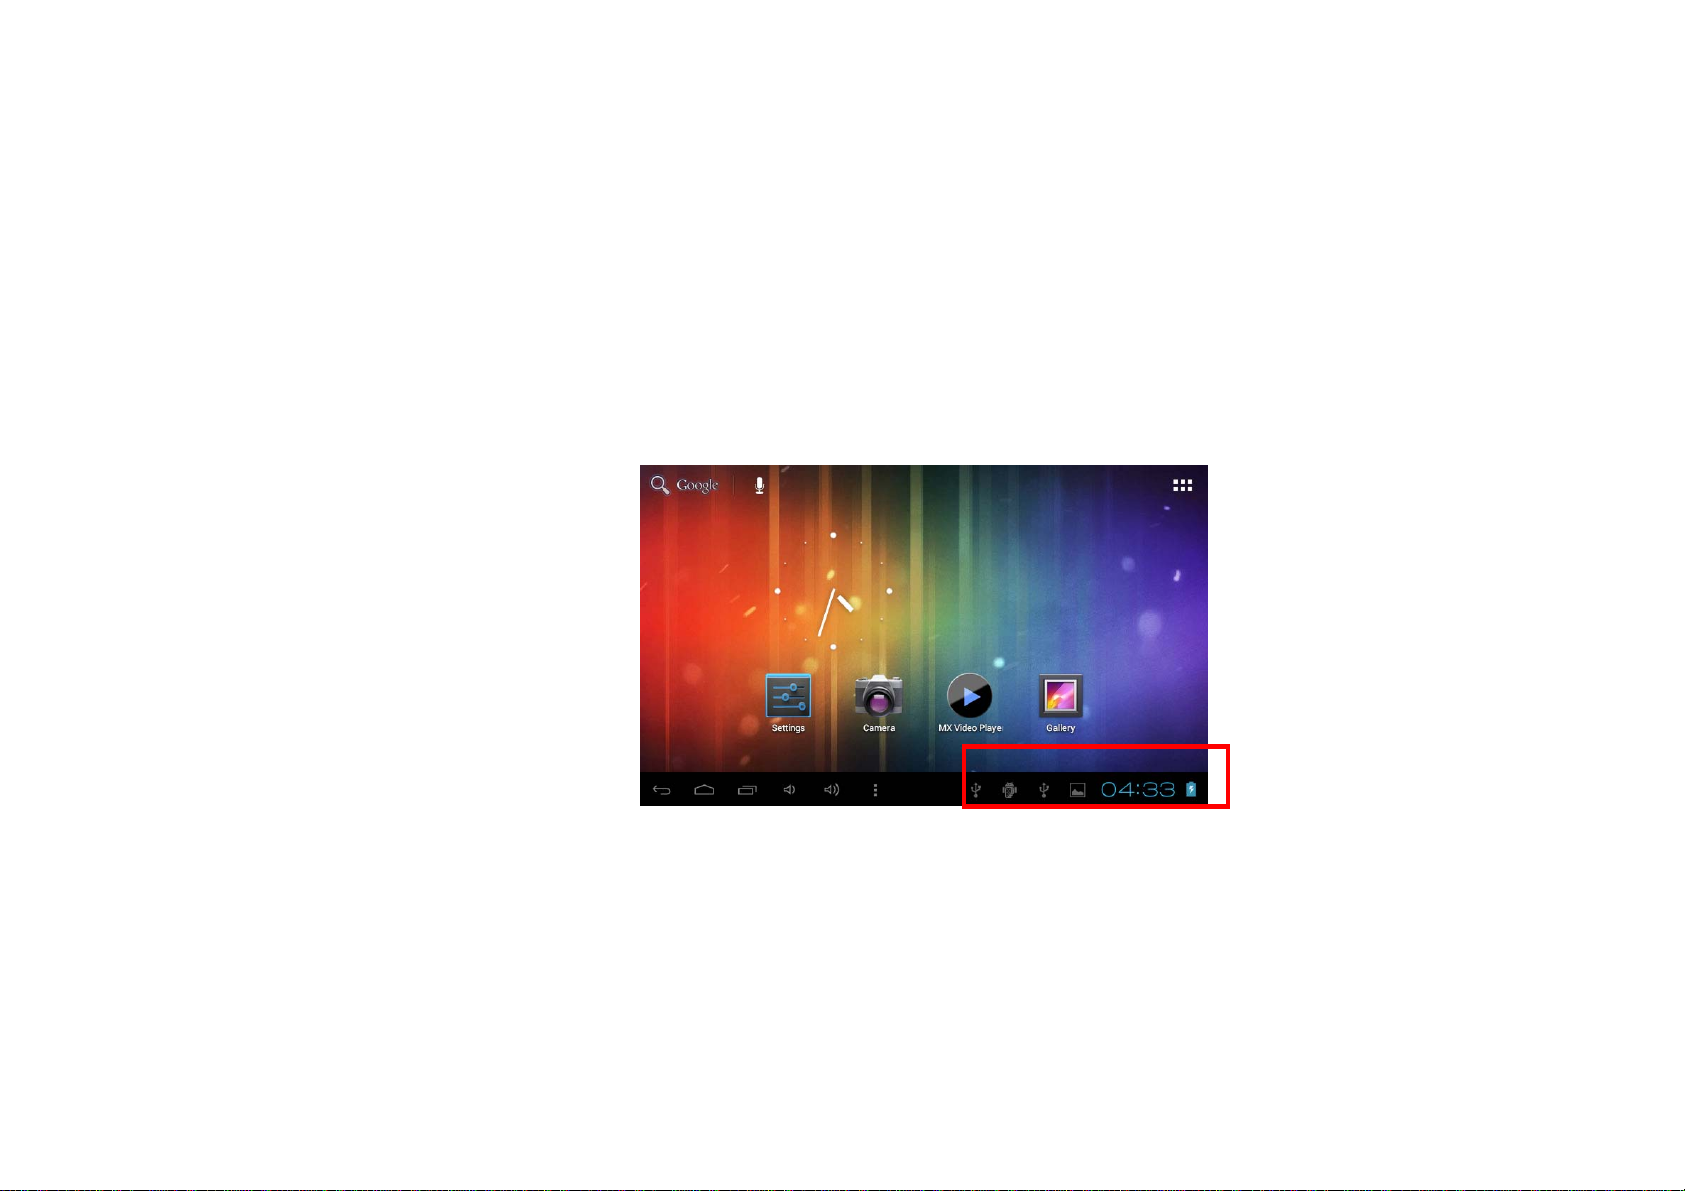
How to connect/disconnect the
device with/from the computer
On main desktop, connect the device with the PC,
touch right side of the status bar on the bottom of desktop
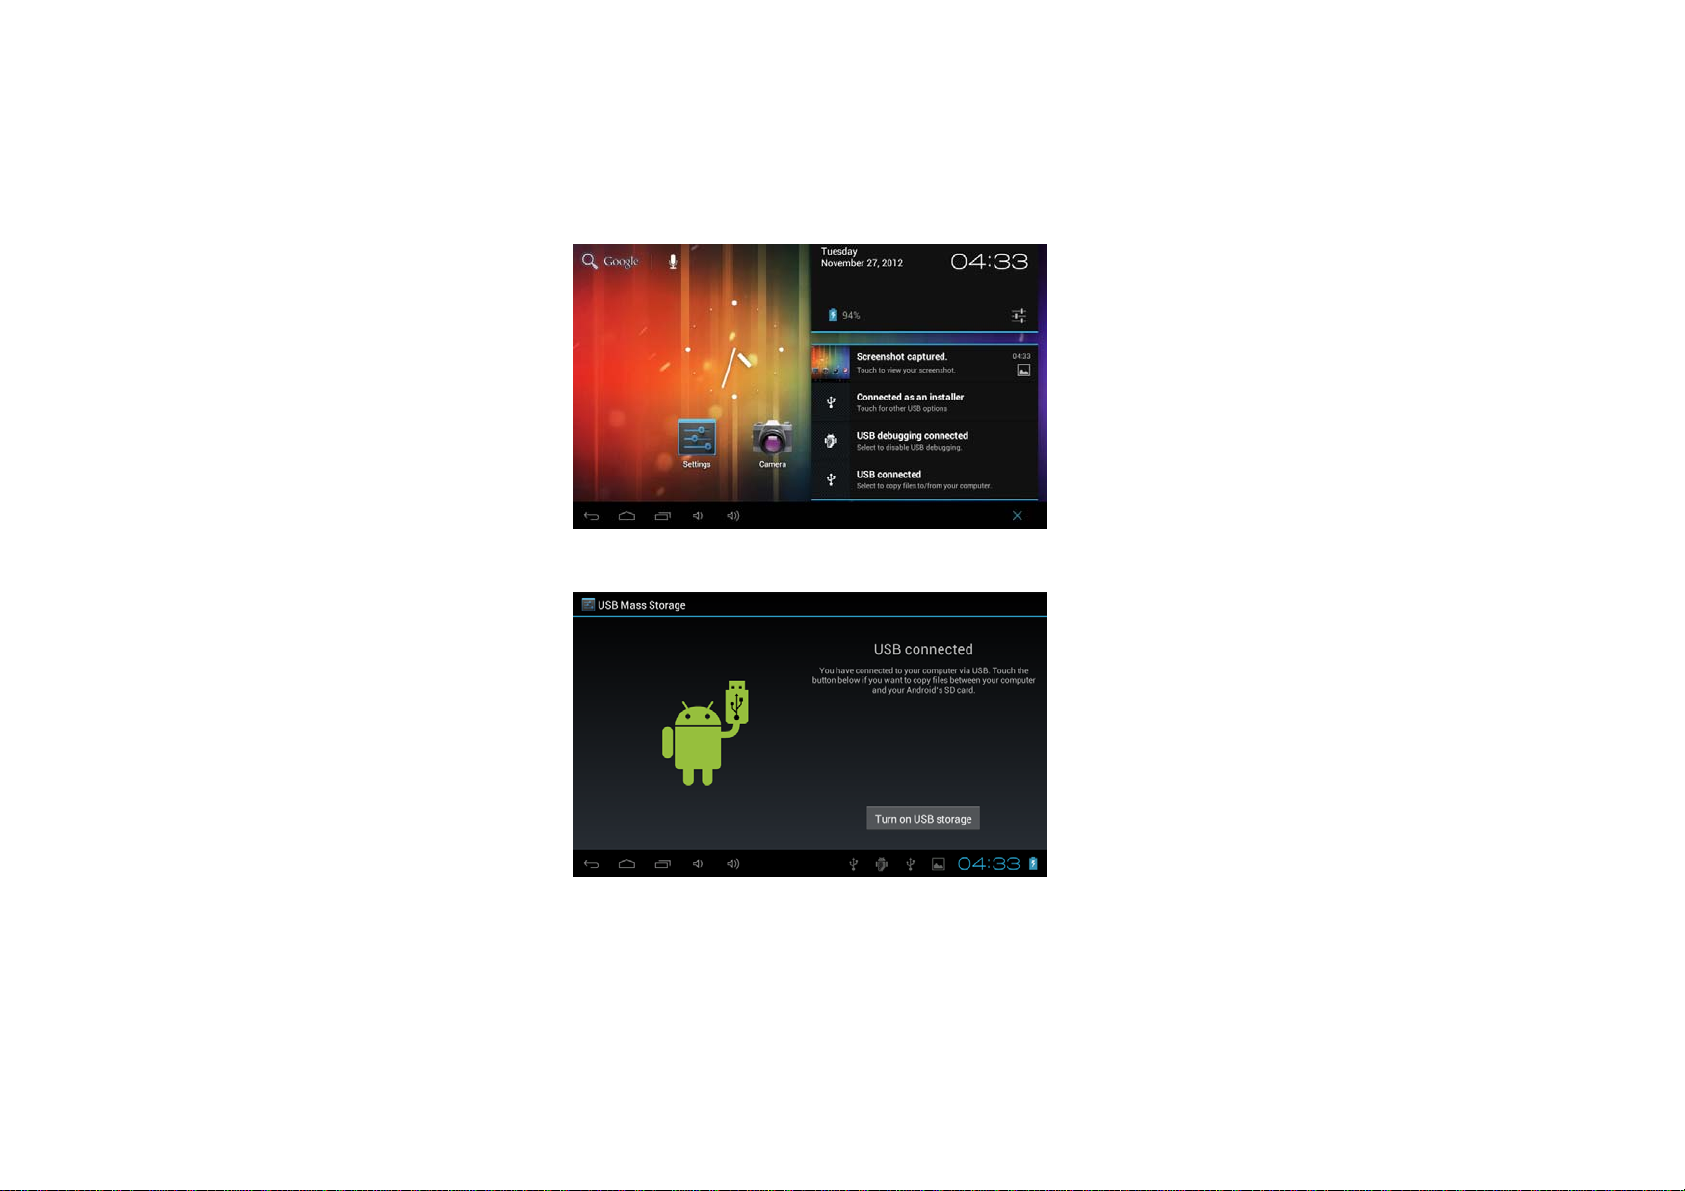
Press “USB connected”, select “Turn on USB storage”.
The device is recognized at Explorer of the computer.
Now you can use it as an external storage.
After finishing your work,
Press "Turn off USB storage" to unmount it.

How to install Applications(.apk file) into the device
Method 1.
1. Connect the device with internet. See above [1.Wireless & networks] in order to connect internet.
2. Run “Play Store” and search the applications you want to install.
3. Follow the instruction on the screen for installation.
Method 2.
1. With your computer, search application file(.apk) that you want to install into the device.
2. Download the file(.apk) into your computer.
3. Connect the device with your computer.
See above [How to connect/disconnect the device with/from the computer.]
4. Copy and paste .apk file into the device and disconnect it from your computer.
5. Run “File browser” and .apk file that was copied into the device.
6. Press the file to install and follow the instruction on the screen.
Note
You may only download adult applications if you are at least 18 years of age, or at least the age of majority in the jurisdiction where
you reside or from which you download adult applications. If you do n ot meet these req uirements, then you do not have permission
to download adult applications.
In case of any problems including legal issues from the breach by end-user’s own decision, the manufacturer shall not be
responsible.
How to make desktop icons
Press the upper right side icon of desktop, the pop-up
disp
lays
.
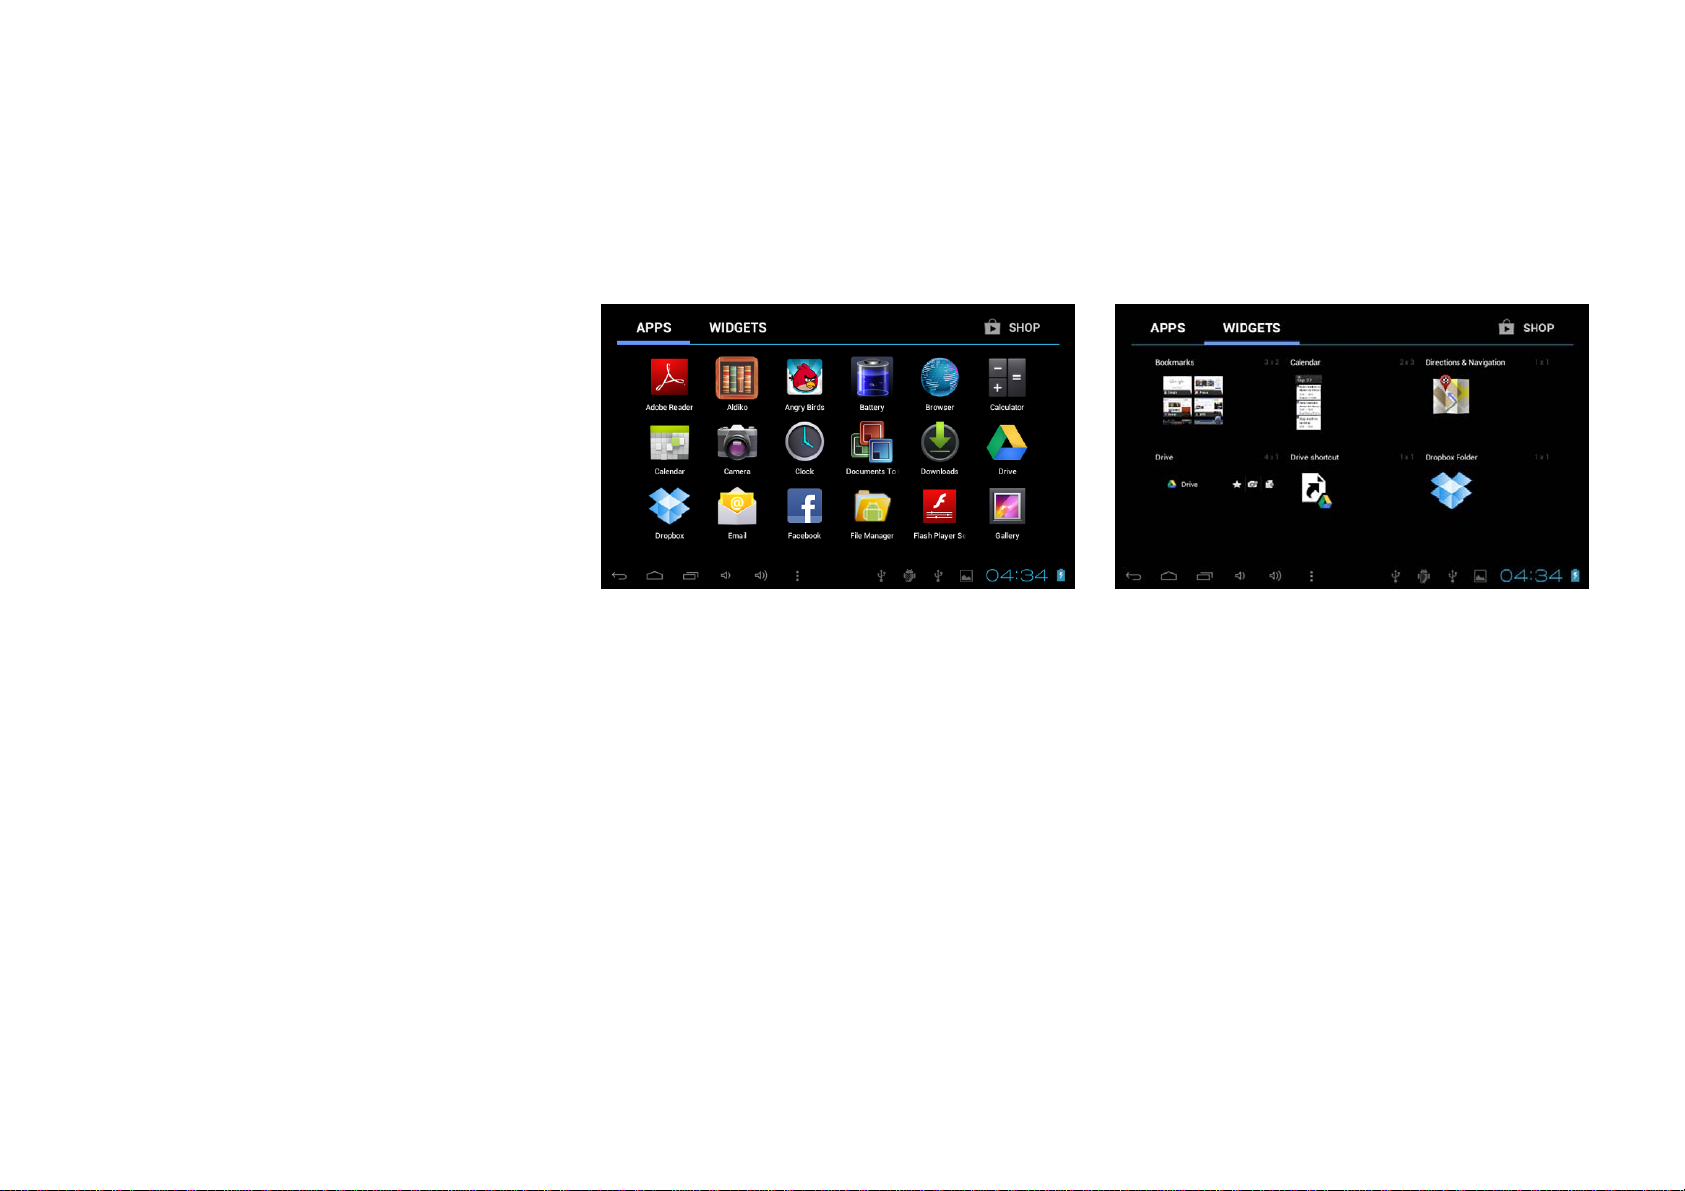
Shortcuts
Long press your desired APK icon and
put it on the desktop.
Widgets
Press Widgets and press your desired icon to
put it on the desktop.
Wallpaper
Long press the desktop, press Wallpapers and
select one of categories of wallpaper.
Select one you desire and press Set wallpaper.
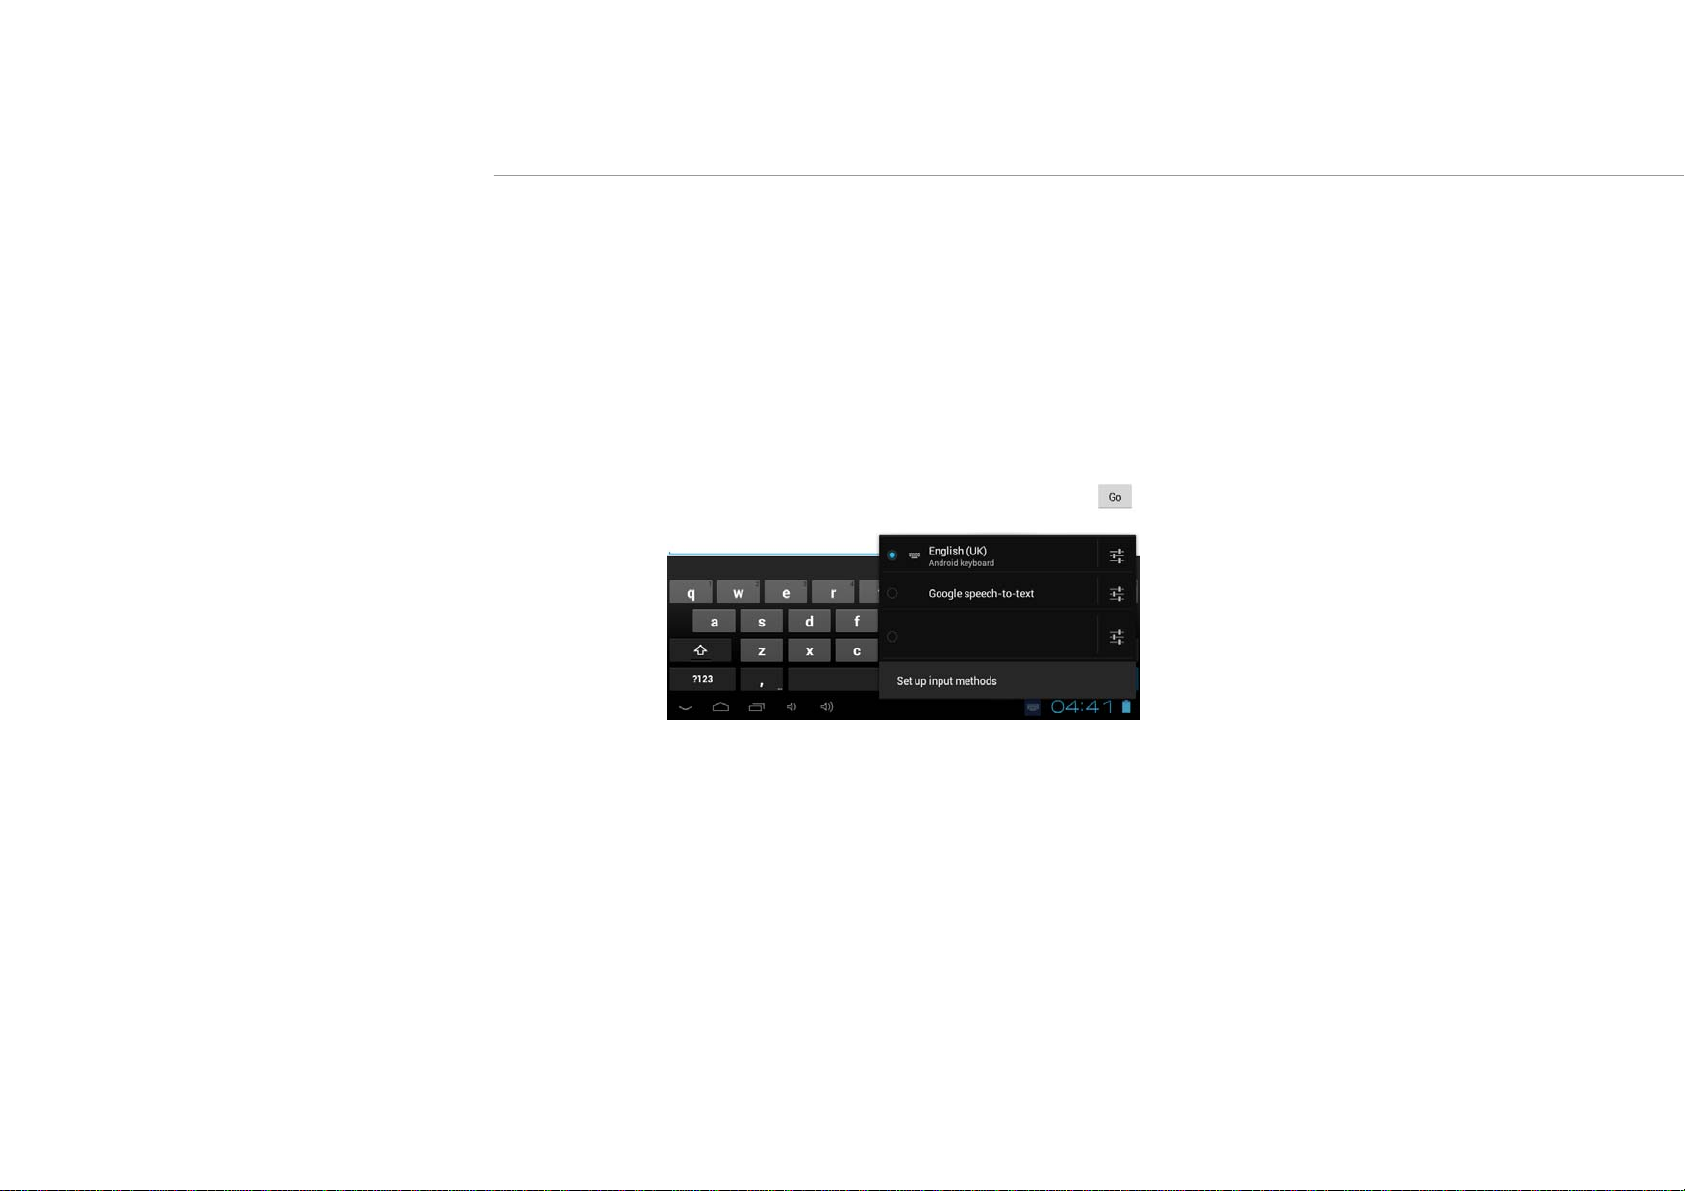
Change Input Method
If your device was installed with other more input method, long press setting icon of
keyboard, and the pop-up displays.
Select the installed keyboard, then the keyboard will appear with your desired language you installed.

Specification
OS Android 4.0 ICS
CPU ARM cortex A8 processor
SDRAM
Display 9" TFT 800*480 Capacitive touch panel
Multi-touch screen 5 point multi-touch
Flash memory 8GB
Audio port 3.5ø earphones
USB port
DC port 5V, 2A
Micro SD Micro SD card up to 32GB (support SDHC)
IO PORTS
Button Power, VOL-, VOL+, reset,
Speaker
G-sensor Yes
Camera 0.3M pixel (front),2.0M pixel (rear)
Wi-Fi 802.11b/g/n
Power Adaptor 5V -2A
Battery 3.7V Li-Polymer 5500mA
Dimension 239.1 x 148.7 x 11.5mm
3G Support external 3G
Language Multilingual
OTG port Same with micro USB port
DDR3 512MB (3D accelerator possible for 4D games)
1 x 5pin micro USB port (support USB host and OTG)
1.5W, Frequency response : 20Hz – 20k Hz, N/S : >85%
Warranty conditions
- The warranty of this product is for 2 years since the purchase date.
- The warranty will exclude breakdowns caused by bad use of the product, wrong installation or
installation in not desirable places for a proper maintenance of the product, rips, updates of the
products that are not the supplied by the brand, pieces wore away for its use or for not domestic or
inappropriate use. Also are excluded breakdowns caused for manipulations of the products by
people or companies alien to our company.
- For any request regarding the warranty terms, the purchase receipt must be attached.
ag
TAB900 8GB
Manual de usuario
Para modelo n.º

Este manual contiene instrucciones de seguridad importantes e información del uso
correcto. Por favor, asegúrese de leer atentamente este manual antes de usar el
producto para evitar cualquier accidente.
No coloque el producto en ambientes cálidos, húmedos o con polvo, sobre todo en verano, no
deje el producto en el interior de un automóvil con las ventanillas cerradas.
Evite las caídas, impactos o sacudir violentamente el producto, de lo contrario puede causar daños o
fallos de funcionamiento. Seleccione un volumen adecuado para evitar problemas auditivos cuando
utilice auriculares.
No cruce la carretera ni conduzca ningún vehículo usando auriculares para evitar accidentes de
tráfico.
Asegúrese de usar los cargadores y los accesorios proporcionados en el paquete.
Asegúrese de cargar el producto cuando se den las siguientes situaciones:
- El icono de la batería aparece bajo o vacío.
- El sistema se apaga automáticamente y se apaga poco después de reiniciar.
- Las teclas de funcionamiento no responden correctamente.
- El dispositivo muestra en la parte inferior derecha.
-
Aviso Importante
- Si el dispositivo se congela o queda
atascado, pulse el botón de reinicio
(un pequeño agujero) o pulse
prolongadamente el botón de
encendido durante 7 segundos.
- Cuando el rendimiento es lento después de
usar
algunas aplicaciones, se recomienda
cerrar la aplicación en funcionamiento en
el menú de configuración.
Precaución
- Para cargar, asegúrese de utilizar el
adaptador de corriente (5V CC) que se
proporciona en el paquete, de lo
contrario, el dispositivo puede resultar
dañado y no funcionar.
- El dispositivo está equipado con un
procesador de alto rendimiento. Se
puede calentar en caso de usarlo de
manera prolongada o mientras se carga.
1. Encendido / Apagado
Presione de forma continuada el boton power para encender/apagar el aparato. El arranque le
puede llevar un minuto.
2. Escritorio
Después de encender el dispositivo, aparece el escritorio con iconos de acceso directo y el
panel de flecha a la derecha

3. Modo de espera (Modo de pantalla
apagada) / Desbloquee la pantalla
Presione ligeramente el botón del power para encender/apagar la pantalla (modo
encendido/apagado del stanby: modo de espera).
Después del modo en espera, deslice el icono de bloqueo para desbloquear la
pantalla.
 Loading...