

Sunfire Symphonic User Manual
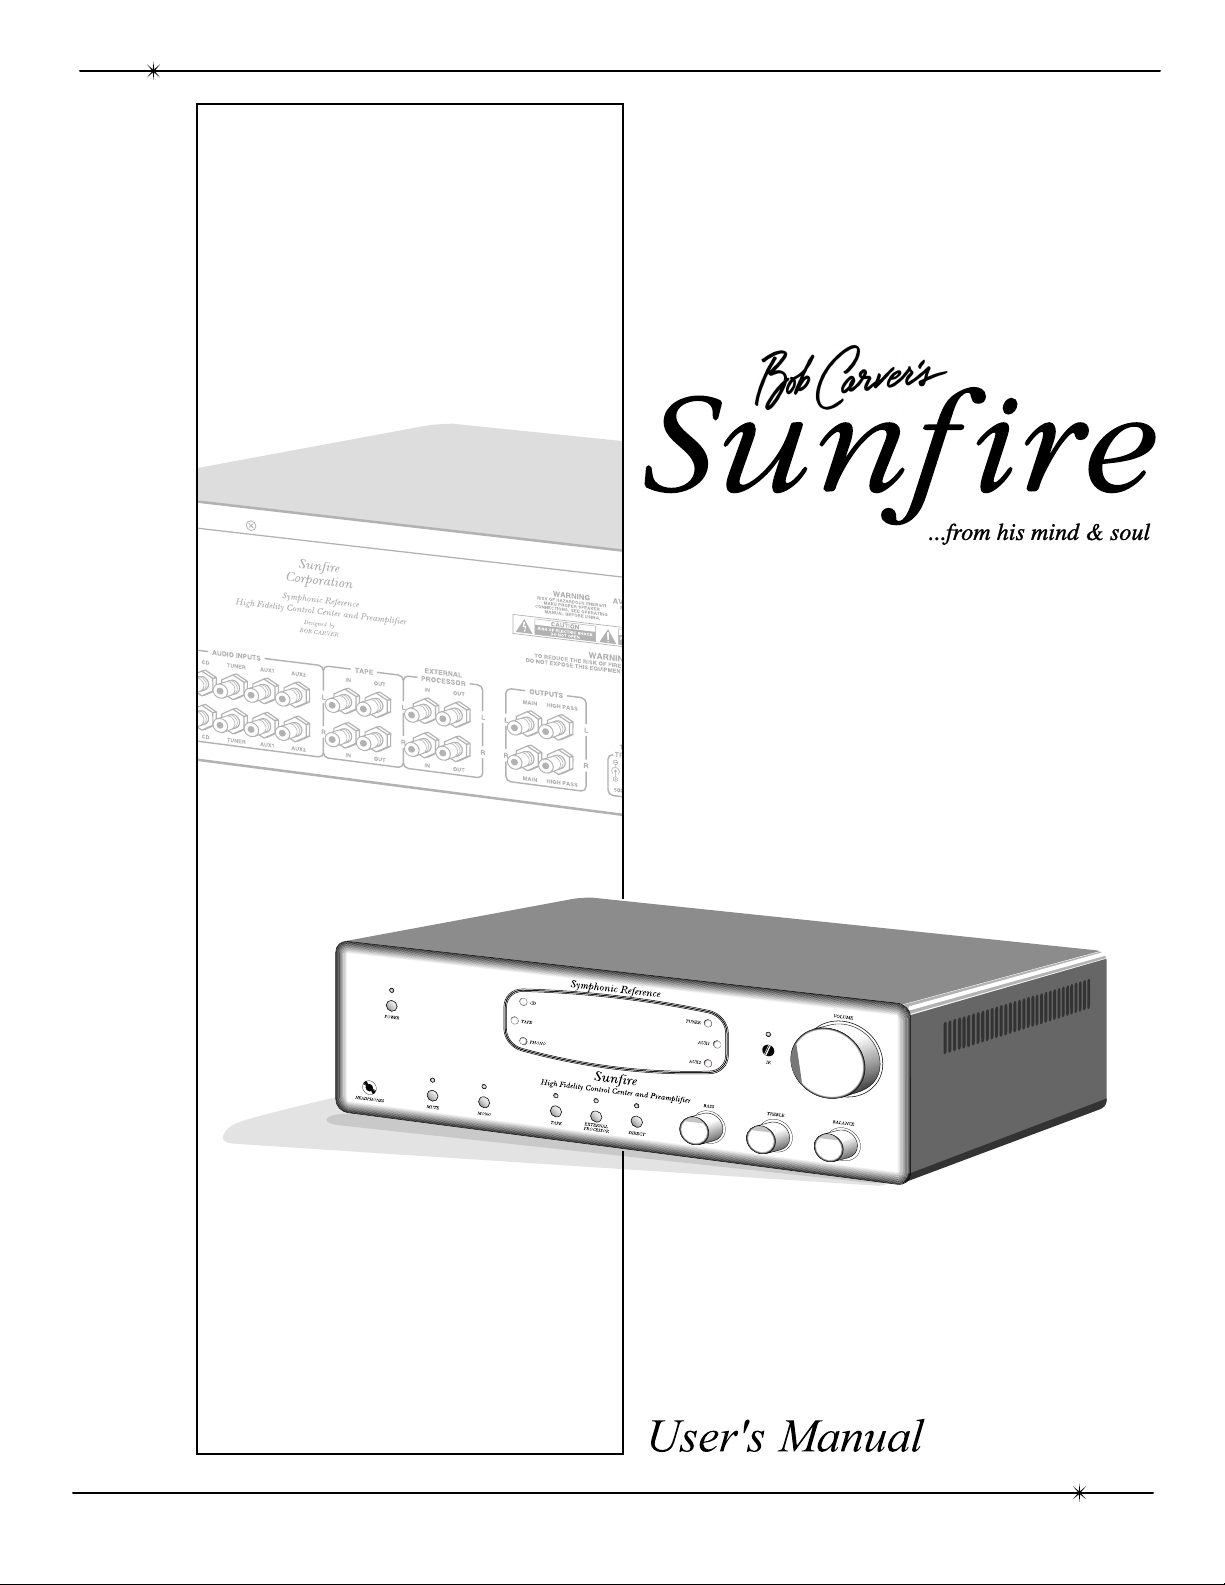
Symphonic
Reference
High Fidelity Control Center
and Preamplifier
SAFETY
Safety
In struc tions
1. Read In struc tions -– All the safe ty
and op er a tion instructions should be
read before the SunÞ re Com po nent is
operated.
2. Retain Instructions — The safety
and operating in struc tions should be
kept for future reference.
3. Heed Warnings — All warnings on
the Com po nent and in these op er at ing
in struc tions should be followed.
4. Follow Instructions — All operating and other in struc tions should be
followed.
5. Water and Moisture — The
Component should not be used near
water - for example, near a bathtub,
wash bowl, kitchen sink, laundry tub, in
a wet base ment, or near a swim ming
pool, etc.
6. Ventilation — The Component
should be situated so that its location
or position does not interfere with its
proper ven ti la tion. For example, the
Component should not be situated on
a bed, sofa, rug, or similar surface that
may block any ven ti la tion open ings; or
placed in a built-in installation such as
a bookcase, cabinet, or closed equipment rack that may impede the ß ow of
air through ven ti la tion openings.
8. Power Sources — The Com po nent
should be con nect ed to a power supply only of the type de scribed in these
op er a tion in struc tions or as marked on
the Com po nent.
9. Power Cord Protection — Powersupply cords should be routed so that
they are not likely to be walked upon
or pinched by items placed upon or
against them, paying particular at ten tion to cords at plugs, con ve nience
re cep tacles, and the point where they
exit the Com po nent.
10. Cleaning — The Com po nent should be cleaned only as
recommended in this manual.
11. Non-use Pe ri ods—The pow er
cord of the Com po nent should be un plugged from the outlet when unused
for a long pe ri od of time.
12. Ob ject and Liq uid En try — Care
should be taken so that objects do not
fall into and liquids are not spilled into
the inside of the Component.
13. Damage Re quir ing Service
— The Com po nent should be serviced
only by qualiÞ ed service per son nel
when:
A. The power-supply cord or the plug
has been dam aged; or
B. Objects have fallen, or liquid has
spilled into the Component; or
C. The Com po nent has been exposed
to rain; or
D. The Com po nent does not appear to
operate normally
or exhibits a marked change in per for mance; or
E. The Component has been dropped,
or its cabinet dam aged.
14. Servicing — The user should not
attempt to service the Component
beyond those means de scribed in this
operating manual. All other servicing
should be referred to qualiÞ ed service
personnel.
7. Heat — The Com po nent should be
situated away from heat sources such
as radiators, or other devices which
produce heat.
2
User's Manual
SAFETY
15. To prevent electric shock, do not
use this polarized plug with an ex ten sion cord, receptacle or other outlet
unless the blades can be fully inserted
to prevent blade ex po sure.
Pour préevenir les chocs électriques
ne pas utiliser cette Þ che polariseé
avec un prolongateur, un prise de
courant ou une autre sortie de courant, sauf si les lames peuvent être
insérées à fond sans laisser aucune
parIIIe à découvert.
WARNING – TO REDUCE THE RISK OF FIRE OR ELECTRIC SHOCK,
DO NOT EXPOSE THIS AP PLI ANCE TO RAIN OR MOIS TURE.
CAUTION: TO PREVENT ELECTRIC SHOCK, MATCH WIDE BLADE
ATTENTION: POUR
DUIRE LA LAME LA PLUS LARGE DE LA FICHE DANS LA BORNE
CORRESPONDANTE DE LA PRISE ET POUSSER JUSQU’AU FOND.
16. Grounding or Po lari za tion —
Pre cau tions should be taken so that
the grounding or polarization means
of the Com po nent is not defeated.
This apparatus does not exceed the
Class A/Class B (which ev er is ap pli ca ble) limits for radio noise emis sions
from digital apparatus as set out in the
radio interference regulations of the Canadian Department of Com mu ni ca tions.
OF PLUG TO WIDE SLOT, FULLY INSERT.
ÉVITER LES CHOCS ÉLECTRIQUES, INTRO-
ATTENTION — Le présent appareil numérique n'émet pas de bruits
radioélectriques dépassant las limites
applicables aux appareils numériques
de class A/de class B (selon le cas)
prescrites dans le règlement sur le
brouillage radioélectrique édicté par
les ministere des com mu ni ca tions du
Canada.
Contents
Safety Instructions................................... 2-3
Chapter 1: Introduction ...............................4
Unpacking and List of Features .................4
Front Panel.................................................5
Rear Panel..................................................6
Installation ..................................................7
Remote Control ..........................................7
Chapter 2: System ConÞ gurations .............8
Appendix:
Troubleshooting Guide .............................13
SpeciÞ cations ...........................................14
Limited Warranty ......................................15
Service Assistance ...................................15
Please read the Safety Instructions
carefully before connecting and
using your SunÞ re PreampliÞ er.
Chapter 1 is a general introduction
to the features, details and installation of the preampliÞ er.
Chapter 2 shows options for con-
necting your source equipment and
power ampliÞ er.
The Appendix shows some addition-
al information, including a troubleshooting guide, the Warranty, and
service assistance details
To Þ nd out more about this and other
SunÞ re products, please visit our
website: www.sunÞ re.com
User's Manual
3
CHAPTER 1
Introduction
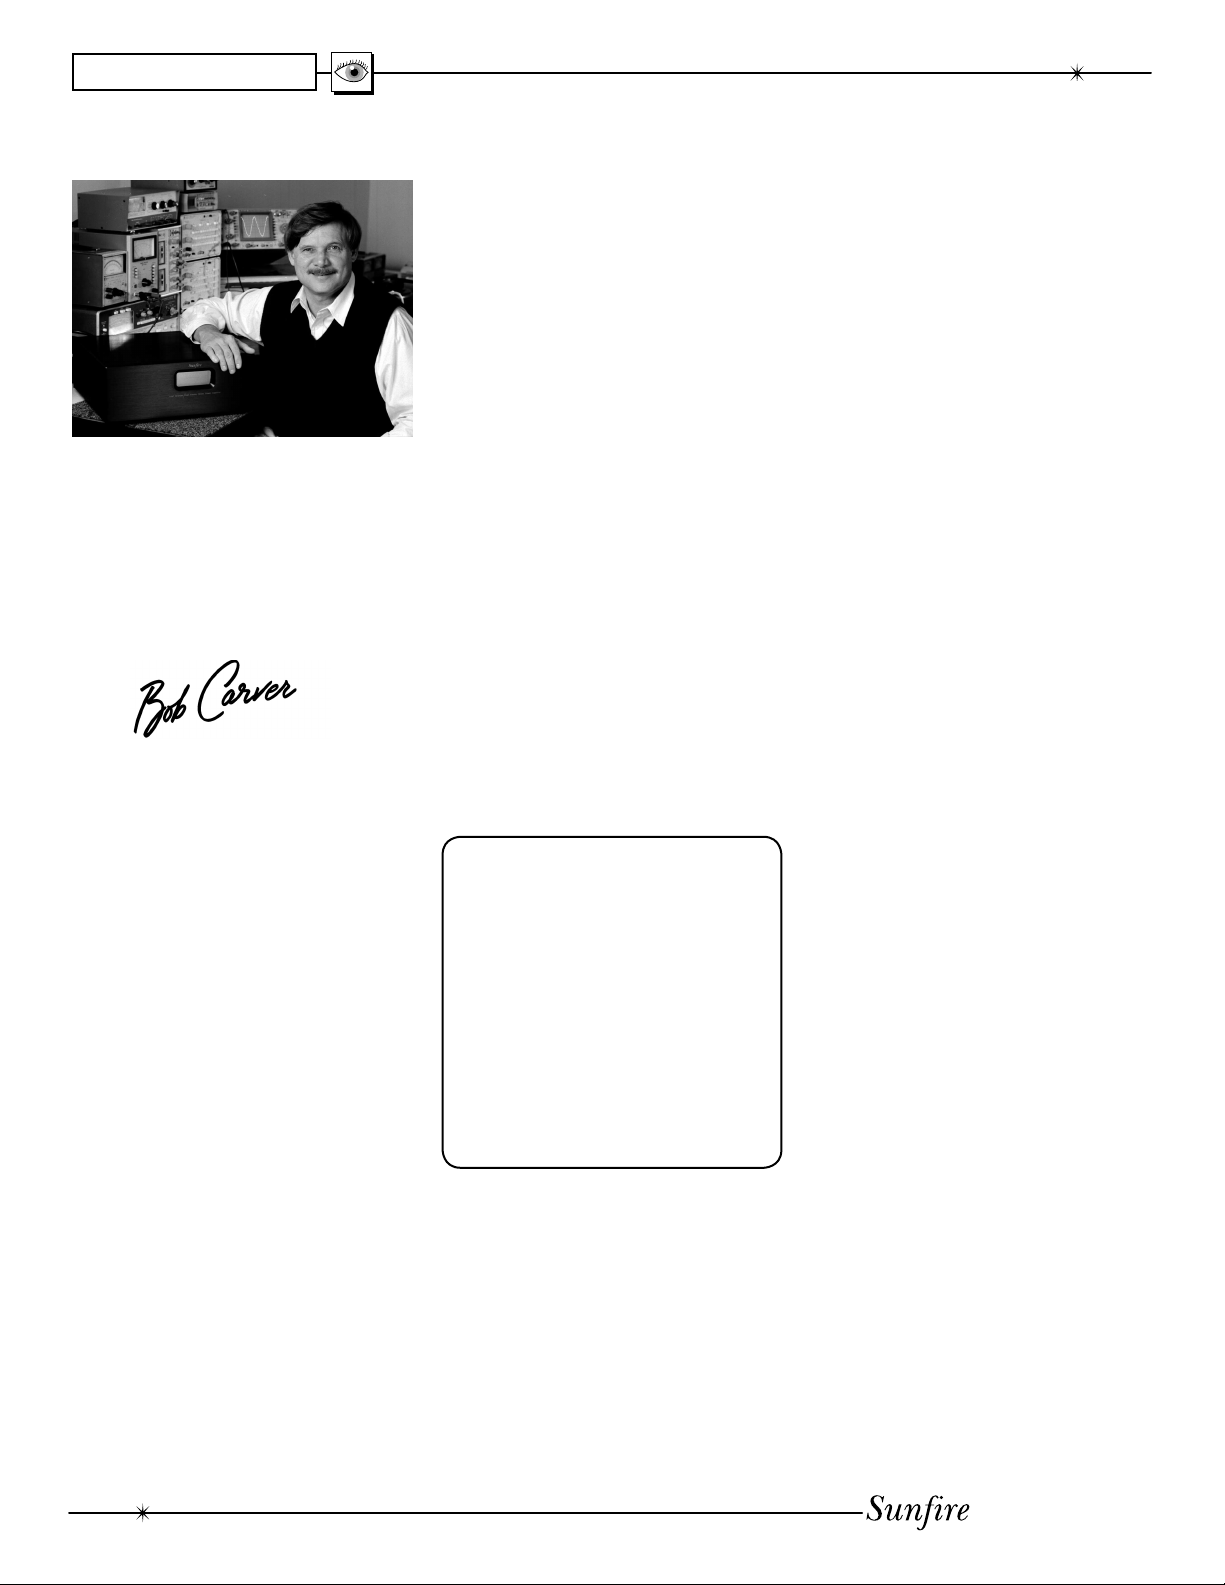
Dear Friend,
Thank you for pur chas ing my
SunÞ re Symphonic Reference
PreampliÞ er. I hope that you enjoy it
and the music it makes as much as I
have en joyed creating it for you.
Unpacking
Your SunÞ re PreampliÞ er should
reach you in perfect con di tion. If
you do notice any shipping damage,
please contact your SunÞ re Dealer
immediately.
Gently lift out the unit and remove
all the packing material and ac ces so ries. It is im por tant to save all the
packing ma te ri als and the box in case
your preampliÞ er ever needs to be
moved or shipped for repair.
Make sure that you keep your
sales receipt. It is the only way to
establish the duration of your Limited
Warranty and it may come in useful
for insurance pur pos es.
Please take a moment to Þ ll
out and mail the SunÞ re Customer
Response card. Also read the serial
num ber located on the rear panel and
record it here:
Serial #:
___________________________
Purchased at:
___________________________
___________________________
___________________________
___________________________
Features
• Pure Stereo PreampliÞ er
• Five line-level L/R inputs
• Full range line-level L/R output
• High-pass line-level L/R output
• Low noise Phono section with
Moving Magnet and Moving Coil
cartridge selector switch
• Tape Monitor loop
• External Processor loop
• Direct bypass mode
• Treble and Bass Tone controls
• Balance control
• Motorized Volume control with
remote control
• Front panel IR window and LED
• Mute switch
• Mono switch
• 1/4" Headphones jack
• Illuminated input switches
• Indicator LEDs
• Two rear panel IR ports
• 12 VDC trigger for turning on
SunÞ re ampliÞ ers
• IEC removable power cord
• Three unswitched convenience
outlets
• High quality styling and Þ nish
• 17 inches wide
• Remote control with matching
styling and Þ nish
4
Date: _______________________
User's Manual
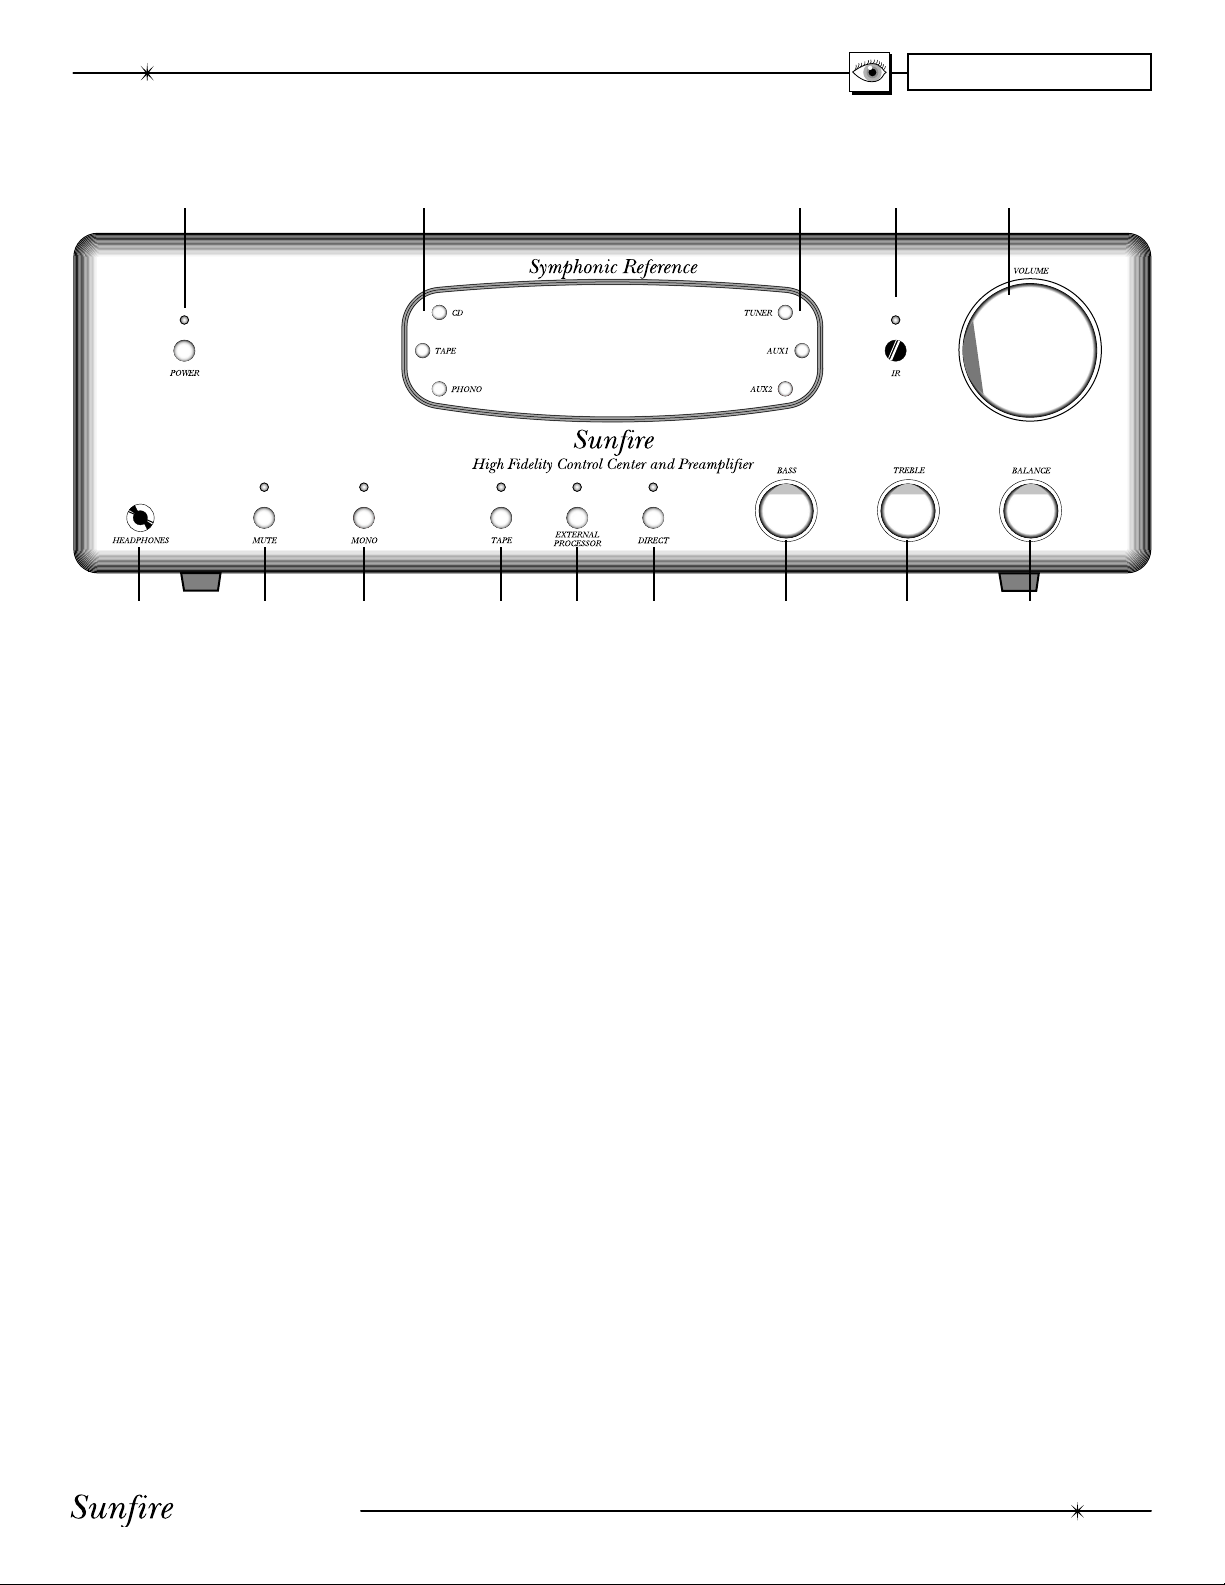
Front Panel Features
CHAPTER 1
143
1. Power
This turns the preampliÞ er on or
off. It is a non-latching mo men tary
button.
2. Input Selectors
Press one of these illuminated
buttons to select the source you
want to listen to. The selected button will change color.
3. Infrared Remote Control
Window
This window should be clean and
free from ob struc tion. The LED
will light when a remote control
infrared command is received.
4. Volume
Rotate this control clock wise to
increase the volume. The control
is motorized, and will rotate when
the remote control is used to
adjust the volume. Make sure its
rotation is not restricted.
5. Balance
Rotate this to the left or right until
the soundstage appears equally
balanced.
2 2
6. Tone
These controls apply a cut or
a boost to the Bass and Treble
frequency ranges. In the center
position, there is no effect on the
audio signal. The controls work
independently of each other.
7. Direct
This bypasses the Tone controls
and allows the shortest signal
path through the preampliÞ er. Use
this to obtain the cleanest direct
sound through your system.
8. External Processor
Press this to route the preampliÞ er signals through an external
processor or graphic equalizer.
9. Tape Monitor
Press this to engage the Tape
Monitor Loop. This is used for
Tape players such as three-head
designs, which allow you to
monitor the actual sound being
recorded.
For example, if you wanted to
record a CD, you would select
the CD input and then press this
Tape button. When you set your
566789101112
Tape player to record, you will
then hear the CD sound as it will
appear on the tape. You will also
hear any adjustments you make
with your Tape player's controls,
such as record level, bias or record balance.
Note: The rear panel Tape output,
and External Processor output,
are not affected by the preampliÞ -
er's Volume, Balance, Mute, Mono
or Tone controls.
10. Mono
Press this to listen to Mono sources. The left and right signal paths
are joined, so Mono sources can
be heard from both speakers.
When engaged, a correctly set up
system should produce a strong
center image directly between the
two speakers.
11. Mute
This turns off the sound. Press it
again to turn the sound back on.
12. Headphones
Use this jack to connect a pair of
your favorite headphones.
User's Manual
5
 Loading...