

Page 1
IMPORTANT
File in your
maintenance
records
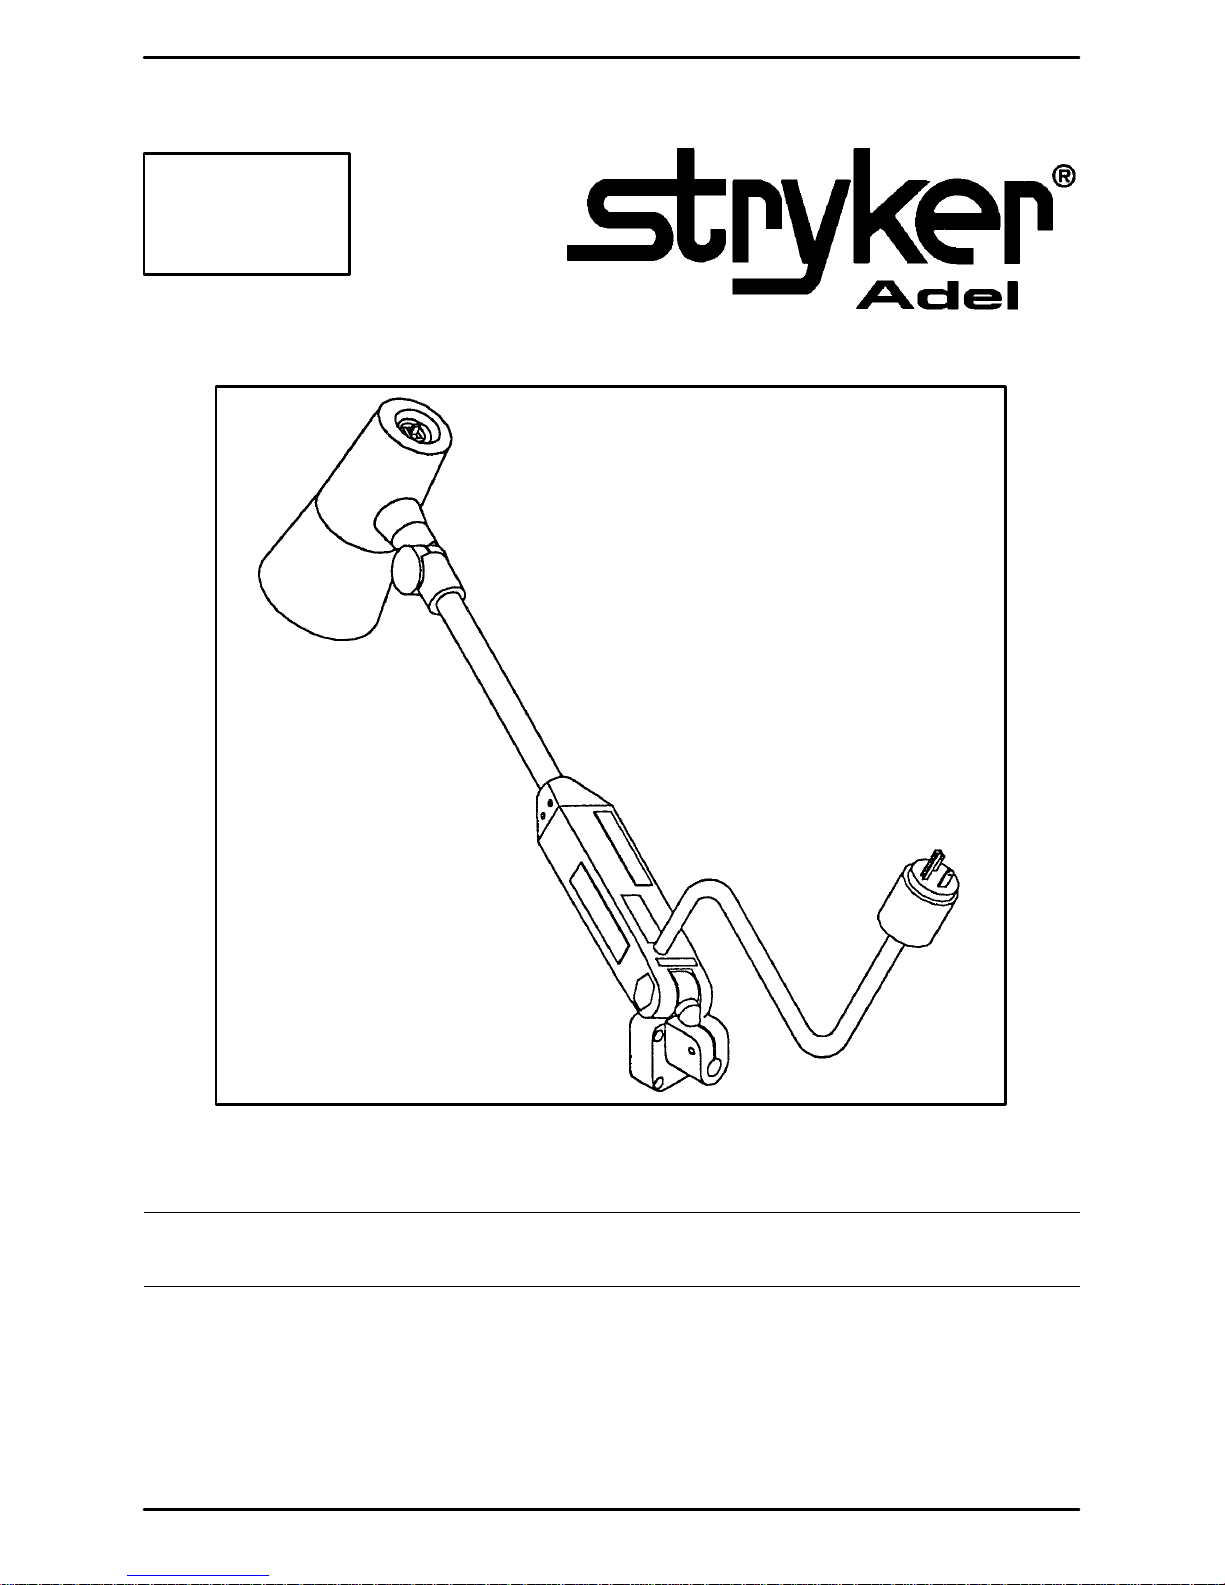
Infant Warmer Care Station Cabinet Light
OPERATIONS AND MAINTENANCE MANUAL
For Parts or Technical Assistance
1–800–327–0770
Page 2

Introduction
WARNING
The Adel Cabinet Light is equipped with a hospital grade plug for protection against shock hazard. Grounding
reliability can only be achieved when a hospital grade receptacle is used.
To ensure proper use of the light and the safety of patients and staff, the Cabinet Light should not be used
where the light could shine directly into anyone’s eyes. When the light is used together with the Adel Infant
Warmer, the mattress tray MUST be marked with the following labels:
Label 1:
WARNING
WHEN LIGHT IS IN USE, DO NOT POSITION THE LIGHT SO THE
CENTER OF THE BEAM MAY SHINE INTO THE INFANT’S EYES.
Label 2:
WARNING
WHEN LIGHT IS IN USE, THE INFANT SHOULD ALWAYS BE
POSITIONED WITH HEAD AT THIS END OF BED.
See page 4 for installation instructions for these labels.
SPECIFICATIONS
120V 0.2A
60Hz 20VA
12V 1.7A
Light Bulb: 12v, 20w Halogen
WARNING / CAUTION / NOTE DEFINITION
The words WARNING, CAUTION and NOTE carry special meanings and should be carefully reviewed.
WARNING
The personal safety of the patient or user may be involved. Disregarding this information could result in injury
to the patient or user.
CAUTION
These instructions point out special procedures or precautions that must be followed to avoid damaging the
equipment.
NOTE
This provides special information to make maintenance easier or important instructions clearer.
2
Page 3

Installation Instructions
INSTALLING THE INFANT WARMER CARE STATION LIGHT
Required Tools:
Drill with 3/32” Bit Phillips Screwdriver Standard Screwdriver
6mm Allen Wrench
Procedure:
1. If the Infant Warmer being worked on was ordered with a light, and has pilot holes already installed, omit
step two.
2. Facing the front of the Infant W armer, the light must be mounted on the left side (opposite the control panel). Using the drill and the 3/32” bit, drill four pilot holes as shown in diagram B.
WARNING
Mount the light only in the specified location.
3. Install the light mount as shown in diagram D, using the four 1 1/4” screws supplied in the kit. The light
pivot screw should face the front of the unit.
4. Push the light base stud into the mount and tighten the pivot screw, using either a standard screwdriver
or a 6mm Allen wrench.
5. Affix the warning labels to the plastic diffuser tray as shown in diagram A.
6. Using the dimensions in diagram C, drill two pilot holes for the cord cleat. Install the cleat with the screws
supplied in the kit.
3
Page 4

Installation Instructions
DIAGRAM A
Label 1:
WHEN LIGHT IS IN USE, DO NOT POSITION THE LIGHT SO THE
CENTER OF THE BEAM MAY SHINE INTO THE INFANT’S EYES.
Label 2:
WHEN LIGHT IS IN USE, THE INFANT SHOULD ALWAYS BE
POSITIONED WITH HEAD AT THIS END OF THE BED.
DIAGRAM B
WARNING
WARNING
4
Page 5

Installation Instructions
DIAGRAM C
DIAGRAM D
5
Page 6

Maintenance Instructions
CLEANING INSTRUCTIONS
WARNING
Unplug the power cord from the wall socket before performing any maintenance on the light or personal injury
could result.
1. Turn off power to the light and unplug the power cord from the wall socket.
2. Use a damp cloth and mild cleaning solution to wipe soiled areas.
CAUTION
Do not submerge or autoclave the light assembly or damage to the unit could result.
BULB REPLACEMENT
WARNING
Unplug the power cord from the wall socket before performing any maintenance on the light or personal injury
could result.
1. Turn off power to the light and unplug the power cord from the wall socket.
2. Remove the three screws holding the lens and shroud. Remove the lens and shroud.
3. Ensure the bulb is not hot and remove it from the light.
4. Install a new bulb, using a clean cloth to handle the bulb. Do not touch the bulb with bare fingers, since
skin oils can cause premature bulb failure. Do not move the bulb from side to side while installing it; push
it straight in.
5. Replace the shroud, lens, and the three screws to hold them in place.
6. Plug the power cord into the wall socket and turn on the light.
Bulb reorder number: 88–1133–15–00
6
Page 7

Warranty
Limited Warranty:
Stryker Adel warrants to the original purchaser that its products should be free from defects in material and
workmanship for a period of one (1) year after date of delivery . Stryker Adel ’s obligation under this warranty
is expressly limited to supplying replacement parts and labor for, or replacing, at its option, any product which
is, in the sole discretion of Stryker Adel, found to be defective. Stryker Adel warrants to the original purchaser
that the frame and welds on its beds will be free from structural defects for as long as the original purchaser
owns the bed. If requested by Stryker Adel, products or parts for which a warranty claim is made shall be
returned prepaid to Stryker Adel’s factory. Any improper use or any alteration or repair by others in such manner as in Stryker Adel’s judgement affects the product materially and adversely shall void this warranty. No
employee or representative of Adel is authorized to change this warranty in any way.
This statement constitutes Stryker Adel’s entire warranty with respect to the aforesaid equipment. STRYKER
ADEL MAKES NO OTHER WARRANTY OR REPRESENTATION, EITHER EXPRESSED OR IMPLIED,
EXCEPT AS SET FORTH HEREIN. THERE IS NO WARRANTY OF MERCHANTABILITY AND THERE
ARE NO WARRANTIES OF FITNESS FOR ANY PARTICULAR PURPOSE. IN NO EVENT SHALL STR YKER ADEL BE LIABLE HEREUNDER FOR INCIDENTAL OR CONSEQUENTIAL DAMAGES ARISING
FROM OR IN ANY MANNER RELATED TO SALES OR USE OF ANY SUCH EQUIPMENT.
To Obtain Parts and Service:
Stryker Adel products are supported by a nationwide network of dedicated Stryker Adel Field Service Representatives. These representatives are factory trained, available locally, and carry a substantial spare parts
inventory to minimize repair time. Simply call your local representative, or call Stryker Adel Customer Service
at (800) 327–0770.
Supplemental Warranty Coverage:
Stryker Adel has developed a comprehensive program of extended warranty options designed to keep your
equipment operating at peak performance at the same time it eliminates unexpected costs. We recommend
that these programs be activated before the expiration of the new product warranty to eliminate the potential
of additional equipment upgrade charges. Stryker Adel offers the following Supplemental Warranties:
Extended (Parts and Labor)
S All replacement parts (excluding mattresses and consumable items)
S Labor and travel for all scheduled and unscheduled calls
S Biannual Preventive Maintenance Inspections and repairs
S JCAHO paperwork for preventive maintenance
S Priority Emergency Service
Standard (Labor Only):
S Labor and travel for all scheduled and unscheduled calls
S Biannual Preventive Maintenance Inspections and repairs
S JCAHO paperwork for preventive maintenance
S Priority Emergency Service
Basic (Parts Only):
S All replacement parts (excluding mattresses and consumable items)
S Priority Emergency Service
Please call your local representative, or call (800) 327–0770 for further information
7
Page 8

Warranty
Return Authorization:
Merchandise cannot be returned without approval from the Stryker Adel Customer Service Department. An
authorization number will be provided which must be printed on the returned merchandise. Stryker Adel reserves the right to charge shipping and restocking fees on returned items.
SPECIAL, MODIFIED, OR DISCONTINUED ITEMS NOT SUBJECT TO RETURN.
Damaged Merchandise:
ICC Regulations require that claims for damaged merchandise must be made with the carrier within fifteen
(15) days of receipt of merchandise. DO NOT ACCEPT DAMAGED SHIPMENTS UNLESS SUCH DAMAGE
IS NOTED ON THE DELIVERY RECEIPT AT THE TIME OF RECEIPT. Upon prompt notification, Stryker
Adel will file a freight claim with the appropriate carrier for damages incurred. Claim will be limited in amount
to the actual replacement cost. In the event that this information is not received by Stryker Adel within the
fifteen (15) day period following the delivery of the merchandise, or the damage was not noted on the delivery
receipt at the time of receipt, the customer will be responsible for payment of the original invoice in full.
Claims for any short shipment must be made within thirty (30) days of invoice.
8
Page 9

6300 Sprinkle Road, Kalamazoo, MI 49001–9799 (800) 327–0770
DH 5/96 1133–14–00 REV B
 Loading...