

Page 1
Sony Digital Photo Printer
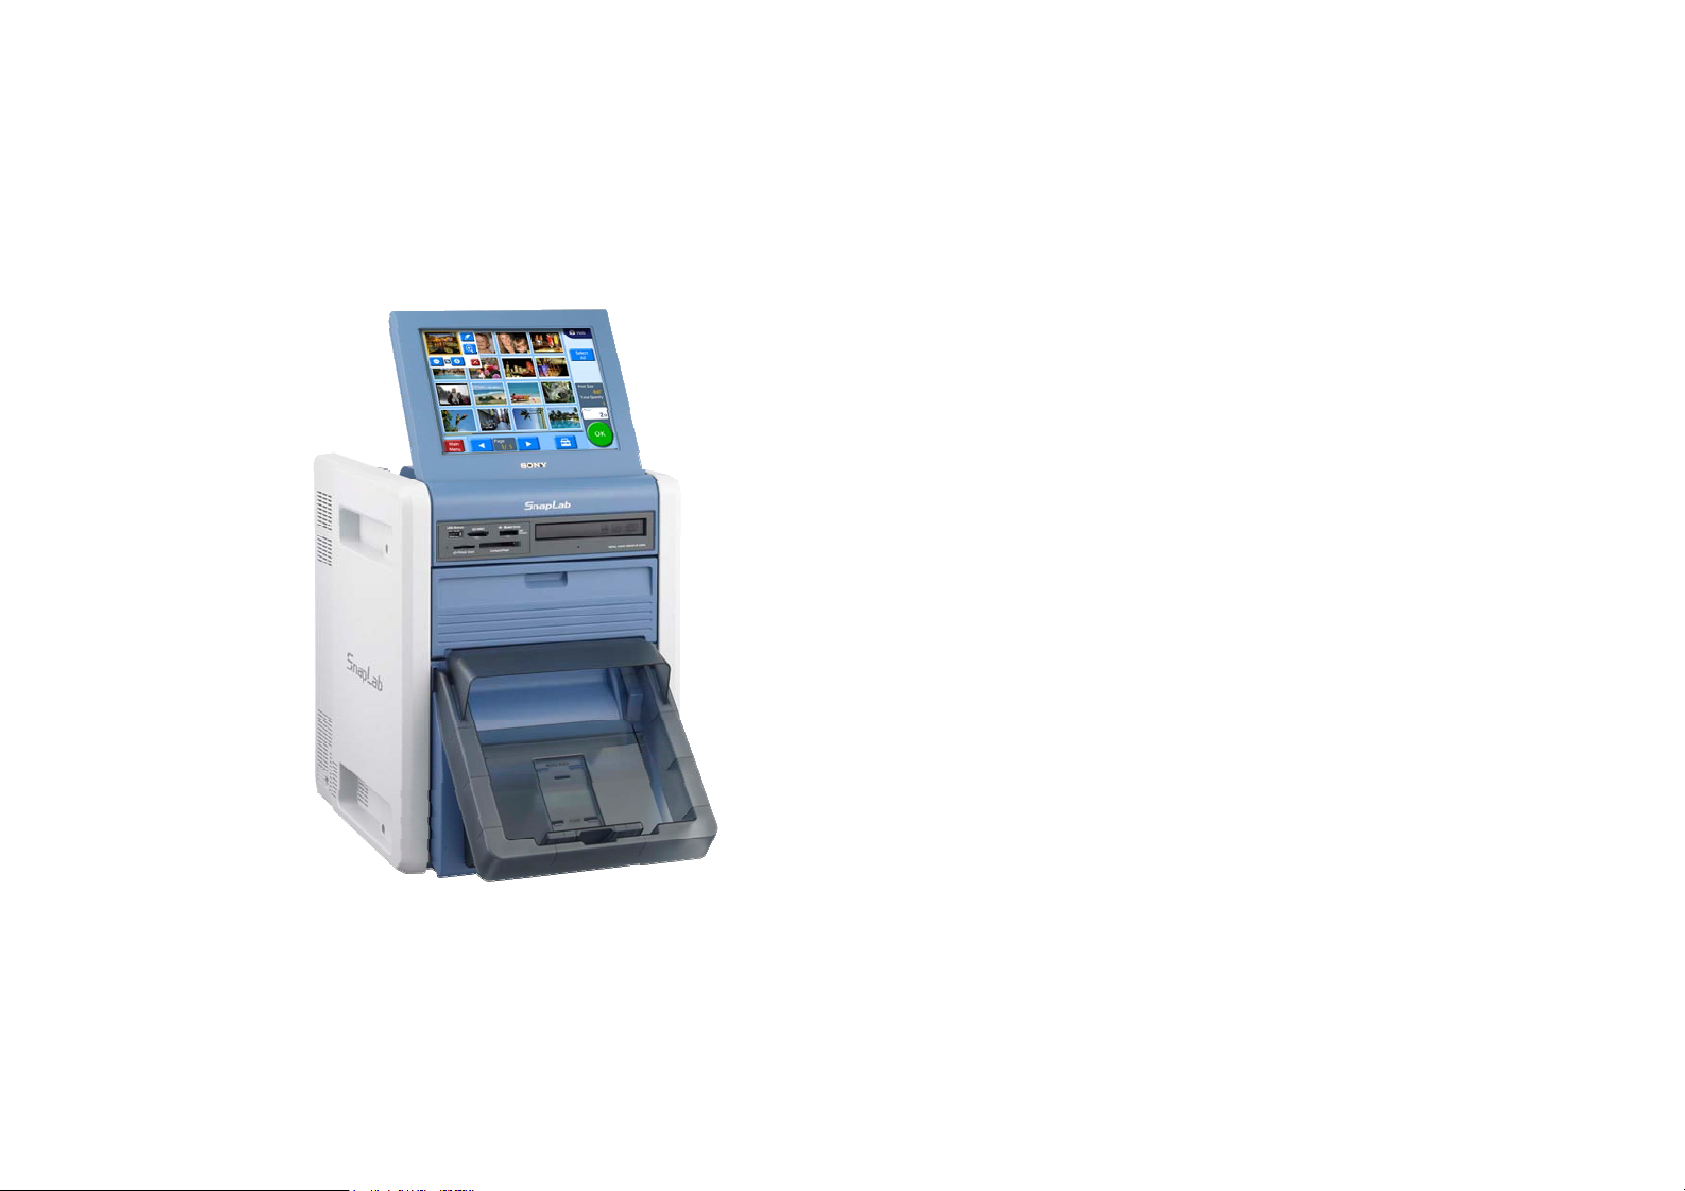
UP-CR20L
How to create:
-Border data
- Logo stamp data
Page 2

1. Creating a Template
UP-CR20L
Create a border design using image editing software.
Image Size
Create image data with the correct size, as follows.
Printer
UP-CR20L
UP-DR200
UP-DR80
Print Size
(inch) (cm)
3 x 5 9 x 13 1728 x 1210
4 x 6 10 x 15 2048 x 1382
5 x 7 13 x 18 2380 x 1728
6 x 8 15 x 20 2724 x 2048
4 x 8 10 x 20 2472 x 1220
8 x 10 20 x 25 3056 x 2472
8 x 12 20 x 30 3660 x 2472
Image Size
(pixels)
Transparent
The transparent is effective in the border.
Set the transparent level.
0
0
1
y
t
i
c
a
p
O
%
P
R
I
A
N
T
M
P
L
E
4
0
%
S
O
p
a
c
i
t
y
Data Format
Only image data in PNG format can be used.
Please save the data as PNG.
The color tone which can be handled is 32 bits (24 bits RGB + 8 bits alpha channel ).
Page 3

1. Creating a Template
UP-CR20L
Create a border design using image editing software.
Area which may not be printed
A portion close to each edge of the image may not be printed.
However, you can set guide lines via the Photoshop Guide View to check that important parts of the image are inside this portion.
Choose [View] > [New Guide].
1
In the dialog box, select Horizontal or Vertical orientation,
2
enter a position, and click [OK].
65
Enter a position.
Position list
Print Size
(inch) (cm)
3 x 5 9 x 13
4 x 6 10 x 15
5 x 7 13 x 18
6 x 8 15 x 20
4 x 8 10 x 20
8 x 10 20 x 25
8 x 12 20 x 30
Horizontal Vertical
Top Bottom Left Right
65 1145 65 1663
65 1317 65 1983
65 1663 65 2315
65 1983 65 2659
48 1172 64 2408
64 2408 48 3008
64 2408 48 3612
Position (pixel)
You will now see the guide line on the image.
3
If you want to lock all guides,
choose [View] > [Lock Guides].
Guide Line Guide Line
Guide
Guide
Line
Line
Page 4

2. Using the Utility Software
UP-CR20L
Windows only
Export the image data to the template data.
Double click on the “SonySnapLabUtility.exe”.
1
Select the “UP-CR20L” and click the [Browse Folder].
2
Select the “UP-CR20L”
Select the drive where the template data will be stored.
3
And click [OK].
Click the “PNG Export Tool”.
4
Click the [Brows…].
5
Select the PNG file to be used for the template and
6
click the [Open].
Select the drive.
Page 5

2. Using the Utility Software
UP-CR20L
Windows only
Export the image data to the template data.
Input the “Name” and click the [Export].
7
Input the template name.
Template Name:
If creating a Border, this can be:
- Any name, except prohibited characters in
Windows, characters using 2 bytes code,
and KANA characters.
- Any name, except the following:
AUX, CON, NUL, PRN, CLOCK, COM0 to
COM9, LPT0 to LPT9
If creating a Logo Stamp, use one of the following:
__SnapLabPrintLogo
(Note: “__” is a double underscore.)
When the Utility software is used, the following
folders and files are created on the destination drive.
Page 6

3. Transferring Templates
UP-CR20L
Utility Software
Copy the template data to an expansion CompactFlash card.
Export the template data to an
expansion CompactFlash card
by specifying its drive letter.
To write the template data directly to an expansion CompactFlash card…
If your PC does not have a CompactFlash slot…
Export the template data to a
memory card by specifying its
drive letter.
Insert the memory card and
expansion CompactFlash card
into the UP-CR20L.
Insert the expansion
CompactFlash card into the
designated CompactFlash
slot on the UP-CR20L.
Copy the data from the memory
card to the expansion
CompactFlash card, using the
template tab of the administration
screen.
 Loading...