

Page 1
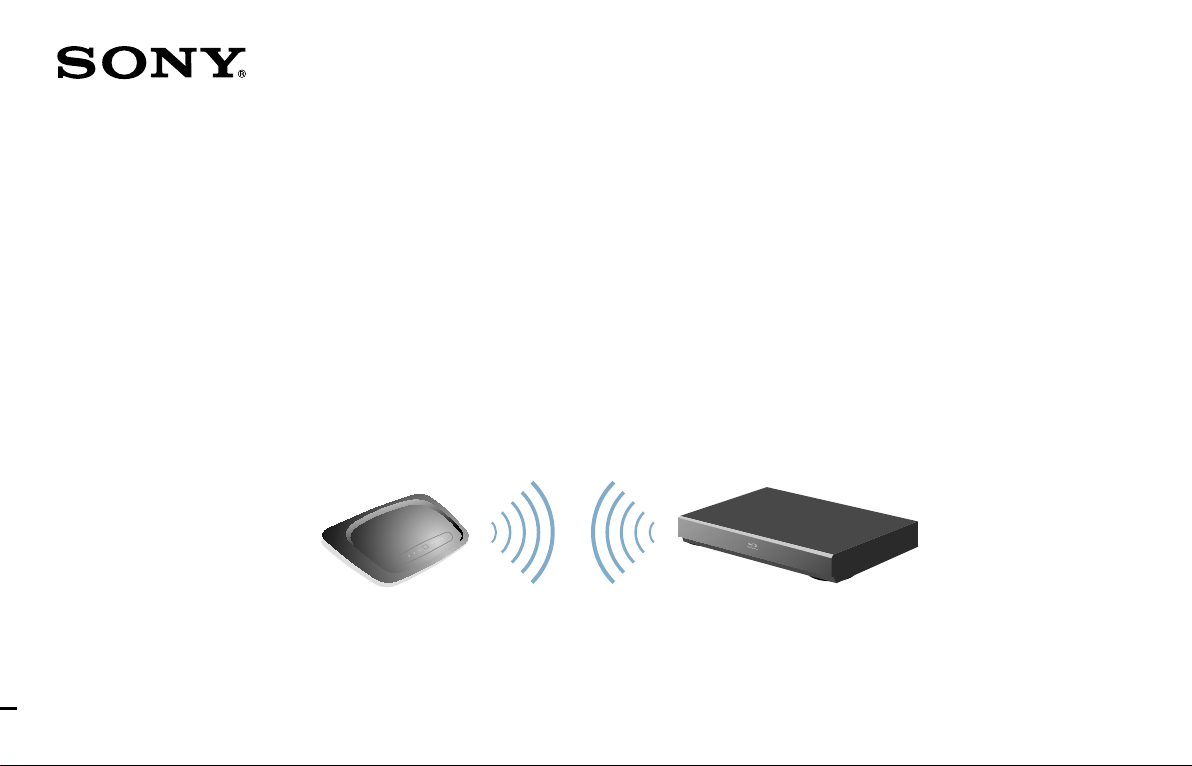
Connecting your Blu-ray Disc™ / DVD Player
to your Wi-Fi Network
4-151-271-11(1)
© 2009 Sony Corporation
Page 2
2
Welcome
This guide illustrates how to connect the player to your Wi-Fi network (wireless network).
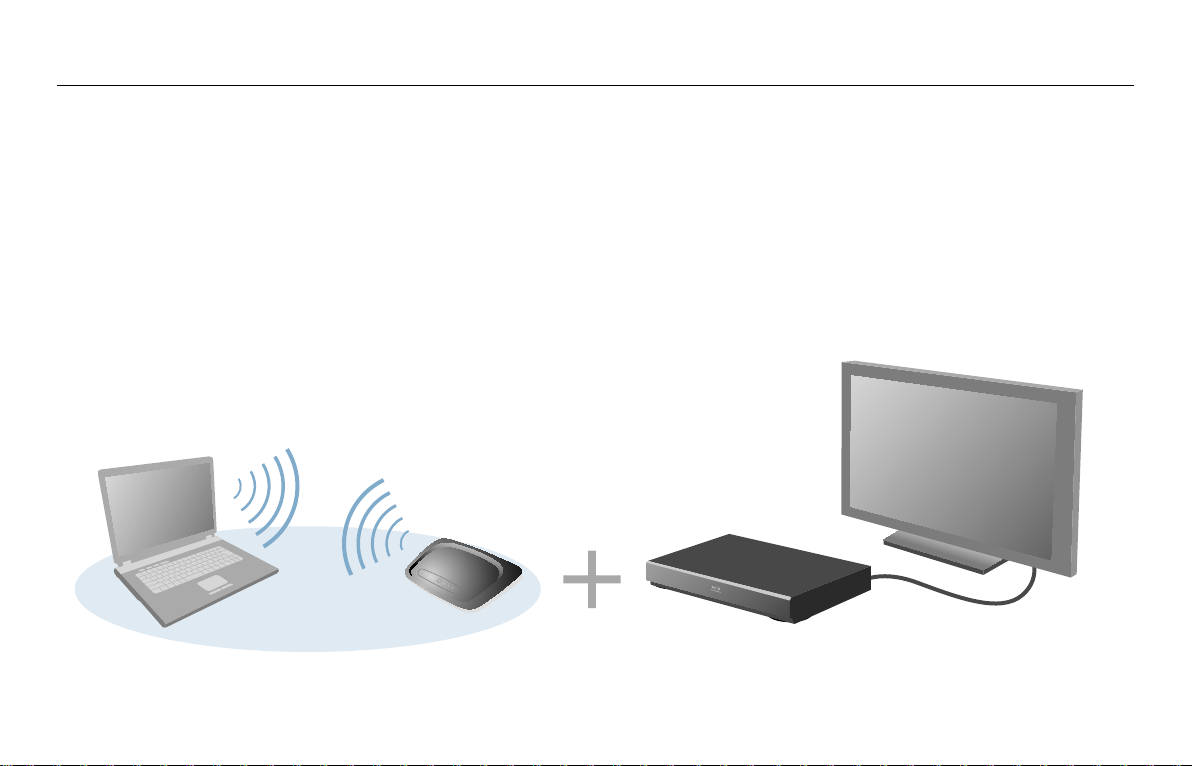
Before setting up the Wi-Fi network for the player, be sure to:
– Connect the player to your TV.
– Establish the Wi-Fi network, using your PC and wireless LAN router.
Refer to the player’s Operating Instructions, and also to the instruction manuals supplied with the router.
Page 3

Why I Should Connect the Player to My Wi-Fi Network
By setting up a wireless network:
– You can enjoy bonus interactive features on BD-LIVE™ enabled Blu-ray Disc™ movies.
– You can stream photos to your player from your home server, such as a DLNA certified PC.
– You can update the player’s software via the network.
3
Page 4
4
Check Your Wi-Fi Network and Wireless LAN Router Type
The setup procedure differs depending on the type of Wi-Fi network and wireless LAN router you use.
Check your configuration using the chart below.
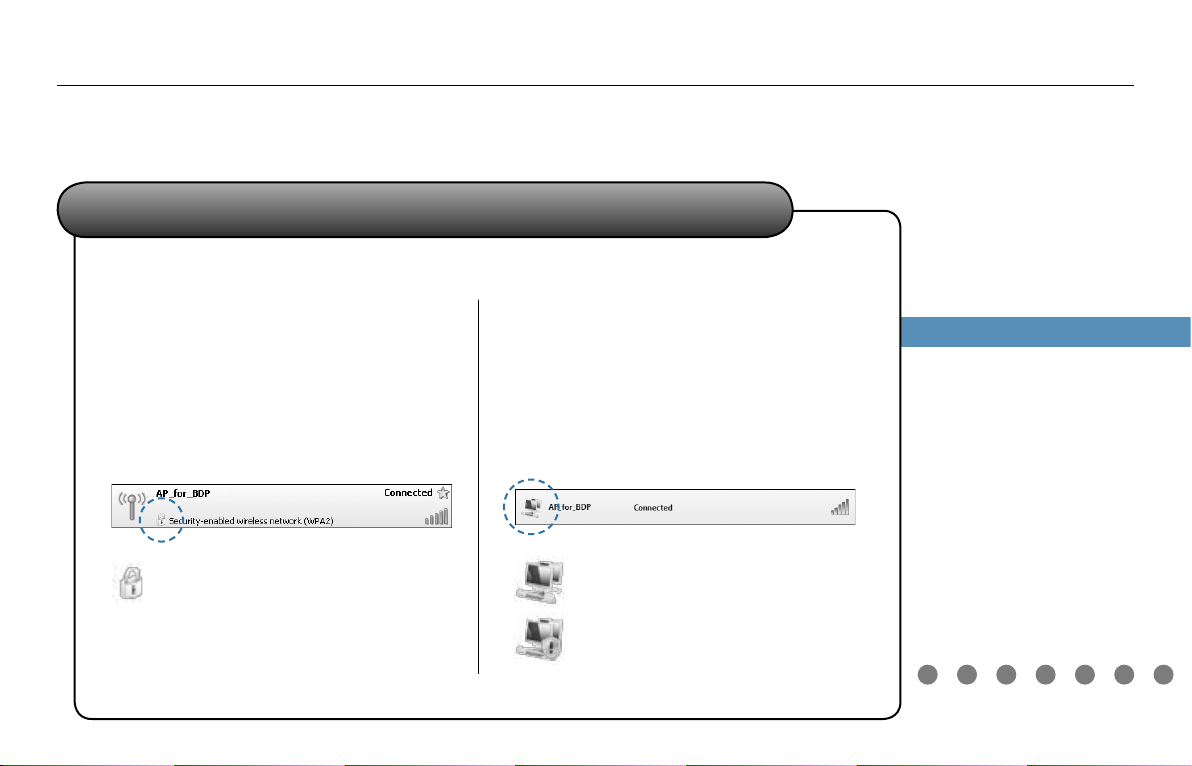
Are you accessing a secure Wi-Fi network?
Q
How to find:
YES
On Microsoft® Windows® XP, On Microsoft® Windows Vista®,
click “start” – “Connect To” – “Wireless
Network Connection” – “View Wireless
Networks.”
Check the network displayed
“Connected” in the network list.
Secure Network
No mark
Unsecured Network
click “Start” – “Connect to.”
Check the network displayed
“Connected” in the network list.
Secure Network
Unsecured Network
NO
Page 5
Are you using a wireless LAN router compatible with Wi-Fi
Q
Protected Setup (WPS)?
What is Wi-Fi Protected Setup (WPS)?
The Wi-Fi Protected Setup standard easily sets the security of a wireless
home network by pressing the WPS button of the wireless LAN router.
This player supports Wi-Fi Protected Setup (WPS).
To check if your wireless LAN router supports Wi-Fi Protected Setup (WPS),
refer to the instruction manual supplied with your router, or consult the
manufacturer of the router.
Note
The wireless settings of the router may change automatically if you use the Wi-Fi Protected Setup
function before adjusting the settings of the router. In this case, you may need to change the
wireless settings of your PC accordingly.
YES
NO
(page 6)
(page 8)
(page 14)
5
Page 6

6
Setup
Internet Settings
Check network settings and connections.
Network Connection Diagnostics
Connection Server Settings
Select the wireless LAN setting method.
Internet Settings - Wireless LAN Setting Method
Manual registration
Access point scan
Automatic registration (WPS)
Wi-Fi Network: Secure / Wireless LAN Router: WPS Compatible
Locating WPS button on the router Setting up the player for connection to the router
Check the position of the WPS button on
the wireless LAN router and verify how to
use it.
Tip
The position of the WPS button and how to use it
differs depending on your router.
For details, refer to the instruction manual supplied
with the router.
Press HOME and select (Setup) –
(Network Settings) – “Internet Settings,”
and press ENTER.
“Start Setting” screen:
Press ENTER to start.
“Connection Method” screen:
Select “Wireless”, and press ENTER.
Select “Automatic registration (WPS),”
and press ENTER.
Page 7

To automatically add the player (as a client device) to your wireless home
network, make sure your access point (a wireless router) is WPS-enabled or
supports Wi-Fi Protected Setup and locate the WPS button (actual
or virtual) on the access point. To register the player,
you will be requested to press this button in the next step.
Internet Settings - Automatic Registration(WPS)
Start
Internet Settings - Network Connection Diagnostics
Do not perform
Perform network connection diagnostics?
Diagnostics cannot be stopped midway.
Network connection diagnostics can also be performed under "Setup".
Perform
List of settings
Settings are complete.
Connection Method
Wireless LAN Setting Method
SSID
Security Setting
WPA Key
IP Address Settings
IP Address
Wireless
Automatic registration
AP_for_BDP
WPA2-PSK (AES)
********
Auto Acquisition
192.168.011.002
Internet Settings - Complete Settings
Finish
Press ENTER to start.
Press and hold the WPS button on the
wireless LAN router until the indicator on
the router starts to blink.
The message “Access point registration is
complete.” appears.
“Proxy Server” screen:
Select “Do not use” (unless your Internet service
provider has a specific proxy server setting), and
press ENTER.
Network Connection Diagnostics show
you if your networks are set up correctly.
Select “Perform,” and press ENTER.
Press ENTER when “Network connections
are correct.” appears.
If an error message appears, follow the onscreen instructions.
For further details, visit the following
website and check the FAQ contents:
http://www.sony.com/blurayupdate
Notes
If the player does not detect a wireless LAN
router, wait a moment, then repeat from step 3.
In some cases, depending on the security of
the wireless LAN router, it may not be
possible to use Wi-Fi Protected Setup (WPS).
In this case, follow the on-screen instructions,
and change the settings of the router.
Press ENTER when “Settings are
complete.” appears.
Wi-Fi Setup is finished.
Tip
If an error message appears in the network
diagnostic results, check the message. Then, set
the network settings again or perform the
network diagnostic again.
7
Page 8

8
http://192.168.1.1
(example)
Wi-Fi Network: Secure / Wireless LAN Router: Not Compatible with WPS
To add the player to your home network, you will need
to know the SSID (wireless network name) and security
key (WEP or WPA key).
The following steps will provide guidance how to
retrieve this information from your router.
You can go directly to page 10 if you know both SSID
and security key.
What is SSID (Wireless Network Name)?
The name of the Wi-Fi network. Select this name in the
player’s settings.
What is Security key (WEP or WPA key)?
The password assigned to the Wi-Fi network for the
security protection. Only authorized users who know
the security key can access the network. You need to
enter this password in the player’s settings.
Getting your SSID and security key from your router setup
Check the IP address, user name, and password of your
wireless LAN router to access its setting screen.
If you do not know them, visit the following website or
consult the manufacturer of the wireless LAN router (access
point):
http://www.sony.com/blurayupdate
Enter the IP address you found in step 1 into the URL input
field of the Web browser, and access the setting screen of
the wireless LAN router.
Enter the user name and password you found in step 1, if
required.
Page 9

Find the SSID and security key in the setting screen of the
wireless LAN router, and place them in the appropriate spaces below.
SSID (Wireless Network Name):
Security key (WEP or WPA key)* :
* Security key (WEP or WPA key) may be displayed as “passphrase” or “network key” depending on the wireless LAN router.
continued
9
Page 10

10
Setup
Internet Settings
Check network settings and connections.
Network Connection Diagnostics
Connection Server Settings
Select the wireless LAN setting method.
Internet Settings - Wireless LAN Setting Method
Manual registration
Automatic registration (WPS)
Access point scan
Select the access point to use.
Internet Settings - Access Point Scan
Not selected. Select and go to the next screen.
WPA2-PSK (AES)
Security
AP_for_BDP
SSID
WPA-PSK (TKIP)Network 1
WPA-PSK (AES)Network 2
WEPNetwork 3
100%
78%
45%
20%
Signal Strength
(continued)
Setting up the player for connection to the router
Press HOME and select (Setup) –
(Network Settings) – “Internet Settings,”
and press ENTER.
“Start Setting” screen:
Press ENTER to start.
“Connection Method” screen:
Select “Wireless”, and press ENTER.
Select “Access point scan,” and press
ENTER.
The player will detect nearby access
points (Wi-Fi Network) and display the
SSID and security settings.
Select the SSID you checked on page 9,
and press ENTER.
Tip
When your access point is not detected, press
RETURN and repeat from step 2 after a while.
Page 11

Select the security method.
Internet Settings - Security Settings
WPA-PSK (AES)
None
WEP
WPA2-PSK (AES)
WPA-PSK (TKIP)
Enter the WPA key.
Not entered. Enter and go to the next screen.
Internet Settings - WPA Key Entry
FinishSymbolA/aLetter Type
Space 0
W X Y Z 9T U V 8P Q R S 7
M N O 6 J K L 5G H I 4
D E F 3 A B C 2. @ / 1
. @ / 1
WPA Key Entry
Cancel
Clear All
Clear
Check the security and press ENTER.
Tip
The appropriate security is automatically
selected. You do not normally need to change
the security.
Press ENTER to input the WEP or WPA
key.
Input the WEP or WPA key you checked
on page 9.
Make sure the WEP or WPA key is correctly
entered before finishing.
Select “Finish,” and press ENTER.
The screen returns to step 5.
Note
You can check the WEP or WPA key before you
press . Once you proceed to step 7, you
cannot check it.
Press to proceed to step 7.
continued
11
Page 12

12
Select the method for setting IP address.
Internet Settings - IP Address Setting Method
Manual
Auto Acquisition
Select the method for setting DNS.
Internet Settings - DNS Setting Method
Manual
Auto
Use the proxy server?
Select "Do not use" if you are unsure.
Internet Settings - Proxy Server
Use
Do not use
(continued)
Select “Auto Acquisition” (unless you use
a static IP address), and press ENTER.
Select “Auto” (unless you specify a DNS
server), and press ENTER.
Select “Do not use” (unless your Internet
service provider has a specific proxy
server setting), and press ENTER.
Page 13

Internet Settings - Network Connection Diagnostics
Do not perform
Perform network connection diagnostics?
Diagnostics cannot be stopped midway.
Network connection diagnostics can also be performed under "Setup".
Perform
Network Connection Diagnostics
Network connections are correct.
Finish
List of settings
Settings are complete.
Connection Method
Wireless LAN Setting Method
SSID
Security Setting
WPA Key
IP Address Settings
IP Address
Wireless
Access point scan
AP_for_BDP
WPA2-PSK (AES)
********
Auto Acquisition
192.168.011.002
Internet Settings - Complete Settings
Finish
Network Connection Diagnostics show
you if your networks are set up correctly.
Select “Perform,” and press ENTER.
Press ENTER when “Network connections
are correct.” appears.
If an error message appears, follow the onscreen instructions.
For further details, visit the following
website and check the FAQ contents:
http://www.sony.com/blurayupdate
Press ENTER when “Settings are
complete.” appears.
Wi-Fi Setup is finished.
Tip
If an error message appears in the network
diagnostic results, check the message and set
the network settings again.
13
Page 14

14
Setup
Internet Settings
Check network settings and connections.
Network Connection Diagnostics
Connection Server Settings
Select the wireless LAN setting method.
Internet Settings - Wireless LAN Setting Method
Manual registration
Automatic registration (WPS)
Access point scan
Select the access point to use.
Internet Settings - Access Point Scan
Not selected. Select and go to the next screen.
None
Security
AP_for_BDP
SSID
WPA-PSK (TKIP)Network 1
WPA-PSK (AES)Network 2
WEPNetwork 3
100%
78%
45%
20%
Signal Strength
Wi-Fi Network: Unsecured / Wireless LAN Router: Any type
Setting up the player for connection to the router
Press HOME and select (Setup) –
(Network Settings) – “Internet Settings,”
and press ENTER.
“Start Setting” screen:
Press ENTER to start.
“Connection Method” screen:
Select “Wireless”, and press ENTER.
Select “Access point scan,” and press
ENTER.
The player will detect nearby access
points (Wi-Fi Network) and display the
SSID and security settings.
Select the SSID of your wireless LAN
router, and press ENTER.
Tip
The SSID of your wireless LAN router is displayed
in the wireless network list on your PC. Check
your connected network SSID (page 4).
Page 15

Select the security method.
Internet Settings - Security Settings
WPA-PSK (AES)
WEP
WPA2-PSK (AES)
WPA-PSK (TKIP)
None
Select the method for setting IP address.
Internet Settings - IP Address Setting Method
Manual
Auto Acquisition
List of settings
Settings are complete.
Connection Method
Wireless LAN Setting Method
SSID
Security Setting
IP Address
Subnet Mask
Wireless
Access point scan
AP_for_BDP
None
192.168.011.002
255.255.255.000
IP Address Settings Auto Acquisition
Internet Settings - Complete Settings
Finish
Check that “None” is selected, and press
ENTER.
Select the following items on the
respective screens.
“IP Address Setting Method” screen:
Select “Auto Acquisition” (unless you use a static
IP address), and press ENTER.
“DNS Setting Method” screen:
Select “Auto” (unless you specify a DNS server),
and press ENTER.
“Proxy Server” screen:
Select “Do not use” (unless your Internet service
provider has a specific proxy server setting), and
press ENTER.
“Network Connection Diagnostics” screen:
Select “Perform,” and press ENTER.
If an error message appears, follow the onscreen instructions.
For further details, visit the following
website and check the FAQ contents:
http://www.sony.com/blurayupdate
Press ENTER when “Settings are
complete.” appears.
Wi-Fi Setup is finished.
Tip
If an error message appears in the network
diagnostic results, check the message and set
the network settings again.
15
Page 16

For Inquiries and Information
– How can I find the SSID and security key (WEP or WPA key) of my wireless LAN router?
Visit Sony website:
http://www.sony.com/blurayupdate
– I do not know whether my wireless LAN router is compatible with Wi-Fi Protected Setup (WPS).
– I cannot find the instruction manuals of the wireless LAN router.
Consult the manufacturer of the wireless LAN router.
– I am not sure whether my Wi-Fi network is secure.
– How can I show the Wi-Fi network list on my PC?
Refer to “Check Your Wi-Fi Network and Wireless LAN Router Type” on page 4 first.
For more details, see Microsoft® Windows® Help.
Copyrights and trademarks
“Wi-Fi®” is a registered trademark of the Wi-Fi Alliance.
“Wi-Fi Protected Setup™” is a trademark of the Wi-Fi Alliance.
Microsoft, Windows and Windows Vista are either registered trademarks of Microsoft Corporation in the United States and/or
other countries.
Printed on 70% or more recycled paper using VOC (Volatile Organic Compound)-free vegetable oil based ink.
Printed in Japan
4-151-271-11(1)
 Loading...