

Page 1

USER’S GUIDE
Click for English Guides Summary
Click for English Guides Summary
AUTOTUNE SERIES
HIGH INTENSITY ULTRASONIC PROCESSOR
MICROPROCESSOR CONTROLLED
100 Watt Model • 130 Watt Model
TABLE OF CONTENTS
Warranty
Important Safeguards
Low Surface Tension Liquids - Organic Solvents
SECTION 1 – INSTALLATION
Inspection
Electrical Requirements
Installing the Ultrasonic Processor
SECTION II – OPERATION
Principles of Ultrasonic Disruption
Functions of Controls, Indicators, and Connectors
Preparations for Use
Using the Ultrasonic Processor
SECTION III – SERVICE INFORMATION
Overload Condition
Return of Equipment
SECTION IV – OPERATING SUGGESTIONS AND TECHNIQUES
The Ultrasonic Processor supplied with this instruction manual is constructed of the finest
material and the workmanship meets the highest standards. It has been thoroughly tested
and inspected before leaving the factory and when used in accordance with the
procedures outlined in this manual, will provide you with many years of safe and
dependable service.
Rev. April 2004
Page 2

p
p
p
p
Table of Contents
Table of Contents
WARRANTY
Your Ultrasonic Processor is warranted and backed by the manufacturer for a
eriod of three years from the date of shipment against defects in material and
workmanship under normal use as described in this instruction manual. During the
warranty period, the manufacturer will, at its option, as the exclusive remedy,
either repair or replace without charge for material and labor, the part(s) which
rove to be defective, provided the unit is returned to us properly packed with all
transportation charges prepaid.
Ultrasonic probes are guaranteed against defects for a period of one year from date
of shipment. A defective probe will be replaced once without charge, if failure
occurs within the warranty period. Wear resulting from cavitation erosion is a
normal consequence of ultrasonic processing, and is not covered by this warranty.
The manufacturer neither assumes nor authorizes any person to assume for it any
other obligations or liability in connection with the sale of its products. The
manufacturer hereby disclaims any warranty of either merchantability or fitness
for a particular purpose. No person or company is authorized to change, modify, or
amend the terms of this warranty in any manner or fashion whatsoever. Under no
circumstances shall the manufacturer be liable to the purchaser or any other person
for any incidental or consequential damages or loss of goodwill, production, or
rofit resulting from any malfunction or failure of its product.
This warranty does not apply to equipment that has been subject to unauthorized
repair, misuse, abuse, negligence or accident. Equipment which, shows evidence
of having been used in violation of operating instructions, or which has had the
serial number altered or removed, will be ineligible for service under this
warranty.
All probes are manufactured to exacting specifications and are tuned to vibrate at a
specific frequency. Using an out-of-tune probe will cause damage to the
equipment and may result in warranty nullification. The manufacturer assumes no
responsibility for probes fabricated by another party or for consequential damages
resulting from their usage.
The aforementioned provisions do not extend the original warranty period of any
roduct that has either been repaired or replaced by the manufacturer.
2
Page 3
Table of Contents
Table of Contents
IMPORTANT SAFEGUARDS
READ BEFORE INSTALLING OR
USING THE EQUIPMENT
Your Ultrasonic Processor has been designed with safety in mind. However, no design
can completely protect against improper usage, which may result in bodily injury and/or
property damage. For your protection and equipment safeguard, observe the following
warnings at all times, read the operating instructions carefully before operating the
equipment, and retain this instruction manual for future reference. If the ultrasonic
Processor is used in a manner contrary to that specified in this instruction manual, the
protection features designed into the unit may be impaired.
• When mounting the probe, always clamp the converter housing. Never clamp the
probe.
• Make sure the Ultrasonic Processor is properly grounded via a 3-prong outlet.
• High voltage is present in the power supply. Do not remove the cover. Refer all
servicing to qualified service personnel.
• To avoid electric shock, disconnect the electrical power cord before removing the
cover prior to servicing.
• Never operate the power supply unless it is connected to the converter.
• Never secure anything to the probe, except at the nodal point (point of no activity).
• Never touch a vibrating probe.
• Never allow a microtip to vibrate in air for more than 10 seconds.
• Never operate a threaded probe without a replaceable tip.
• Air-cool the converter when sample temperature exceeds 100° C, and when working
at high intensity for more than 30 minutes.
• It is recommended that a sound abating enclosure or ear protection be used when
operating the Ultrasonic Processor.
WARNING or CAUTION
Where you see this alert symbol and WARNING
or CAUTION heading, strictly follow the warning
instructions to avoid personal injury or equipment
failure.
3
Page 4

Table of Contents
Table of Contents
CAUTION
LOW SURFACE TENSION LIQUIDS – ORGANIC SOLVENTS
The probes (solid or with a replaceable tip) are tuned elements that resonate at a specific
frequency. When using a ½” (13 mm) probe with a replaceable tip, if the replaceable tip
is removed or isolated from the rest of the probe, the probe will no longer resonate at that
frequency, and the power supply will fail.
Unlike aqueous (water based) solutions, which rarely cause problems, samples containing
solvents or low surface tension liquids are problematic. These liquids penetrate the
probe/replaceable tip interface, and force the particulates into the threaded section
isolating the tip from the probe.
When processing samples containing solvents or low surface tension liquids ALWAYS
use a solid probe
SECTION 1 – INSTALLATION
INSPECTION
Prior to installing the Ultrasonic Processor, perform a visual inspection to detect any
evidence of damage, which might have occurred during shipment. Before disposing of
any packaging material, check it carefully for small items.
The Ultrasonic Processor was carefully packed and thoroughly inspected before leaving
our factory. The carrier, upon acceptance of the shipment, assumed responsibility for its
safe delivery. Claims for loss or damage sustained in transit must be submitted to the
carrier.
If damage has occurred, contact your carrier within 48 hours of the delivery date. DO
NOT OPERATE DAMAGED EQUIPMENT. Retain all packing materials for future
shipment.
4
Page 5
Table of Contents
Table of Contents
ELECTRICAL REQUIREMENTS
The Ultrasonic Processor requires a fused, single phrase 3-terminal grounding type
electrical outlet capable of supplying 50/60 Hz at 100 volts, 115 volts, 220 volts, or 240
volts, depending on the voltage option selected. For power requirements, check the label
on the back of the unit.
Should it become necessary to convert the unit for different voltage operation, proceed as
follows.
1. Ensure that the power cord is not connected to the electrical outlet.
2. Open the fuse holder cover using a small screwdriver.
3. Pull out the red fuse holder from its housing.
4. To convert from 100/115V to 220/240V replace the two 3 Amp slow blow fuses,
with 1.6 Amp fuses.
5. To convert from 220/240V to 100/115V reverse the procedure above.
6. Rotate the fuse holder 180º from its original position, and reinsert it into its
housing. For 100/115V operation the voltage displayed should be 115. For
220/240V operation the voltage display should be 220.
7. Change the electrical power cord as required.
WARNING
For your personal safety, do not, under any
circumstances, defeat the grounding feature of the
power cord by removing the grounding prong.
Operating the equipment with voltages different from those specified, or with voltages with high
power transients, will cause components within the power supply to fail.
CAUTION
INSTALLING THE ULTRASONIC PROCESSOR
The Ultrasonic Processor should be installed in an area that is free from excessive dust,
dirt, explosive and corrosive fumes, and extremes of temperature and humidity.
5
Page 6

SECTION II – OPERATION
p
Table of Contents
Table of Contents
PRINCIPLES OF ULTRASONIC DISRUPTION
The ultrasonic power supply converts 50/60 Hz line voltage to high frequency electrical
energy. This high frequency electrical energy is transmitted to the piezoelectric
transducer within the converter, where it is changed to mechanical vibrations. The
vibrations from the converter are intensified by the probe, creating pressure waves in the
liquid. This action forms millions of microscopic bubbles (cavities), which expand during
the negative pressure excursion, and implode violently during the positive excursion. As
the bubbles implode, they cause millions of shock waves and eddies to radiate outwardly
from the site of collapse, as well as generate extremes in pressures and temperatures at
the implosion sites. Although this phenomenon, known as cavitation, lasts but a few
microseconds, and the amount of energy released by each individual bubble is minimal,
the cumulative amount of energy generated is extremely high. The larger the probe tip,
the larger the volume that can be processed but at a lesser intensity. For information
regarding the processing capability of each probe, consult the tables below.
NOTE
The Ultrasonic Processor is available with five probes – a 2 mm (
1
mm (
/8”) microtip, a 6 mm (1/4”) microtip, a 13 mm (1/2”) probe, and a 13 mm (½”)
5
/64”) microtip, a 3
robe with replaceable tip.
• The 2 mm microtip is optional, and can process between 150 microliters and 5
milliliters.
• The 3 mm microtip is optional, and can process between 250 microliters and 10
milliliters.
• The 6 mm microtip is standard, and can process between 10 and 25 milliliters.
• The 13 mm probe is optional, available with or without replaceable tip, and can
process between 50 and 150 milliliters.
6
Page 7
FUNCTIONS OF KEYS, CONTROLS, INDICATORS, AND CONNECTORS
Table of Contents
Table of Contents
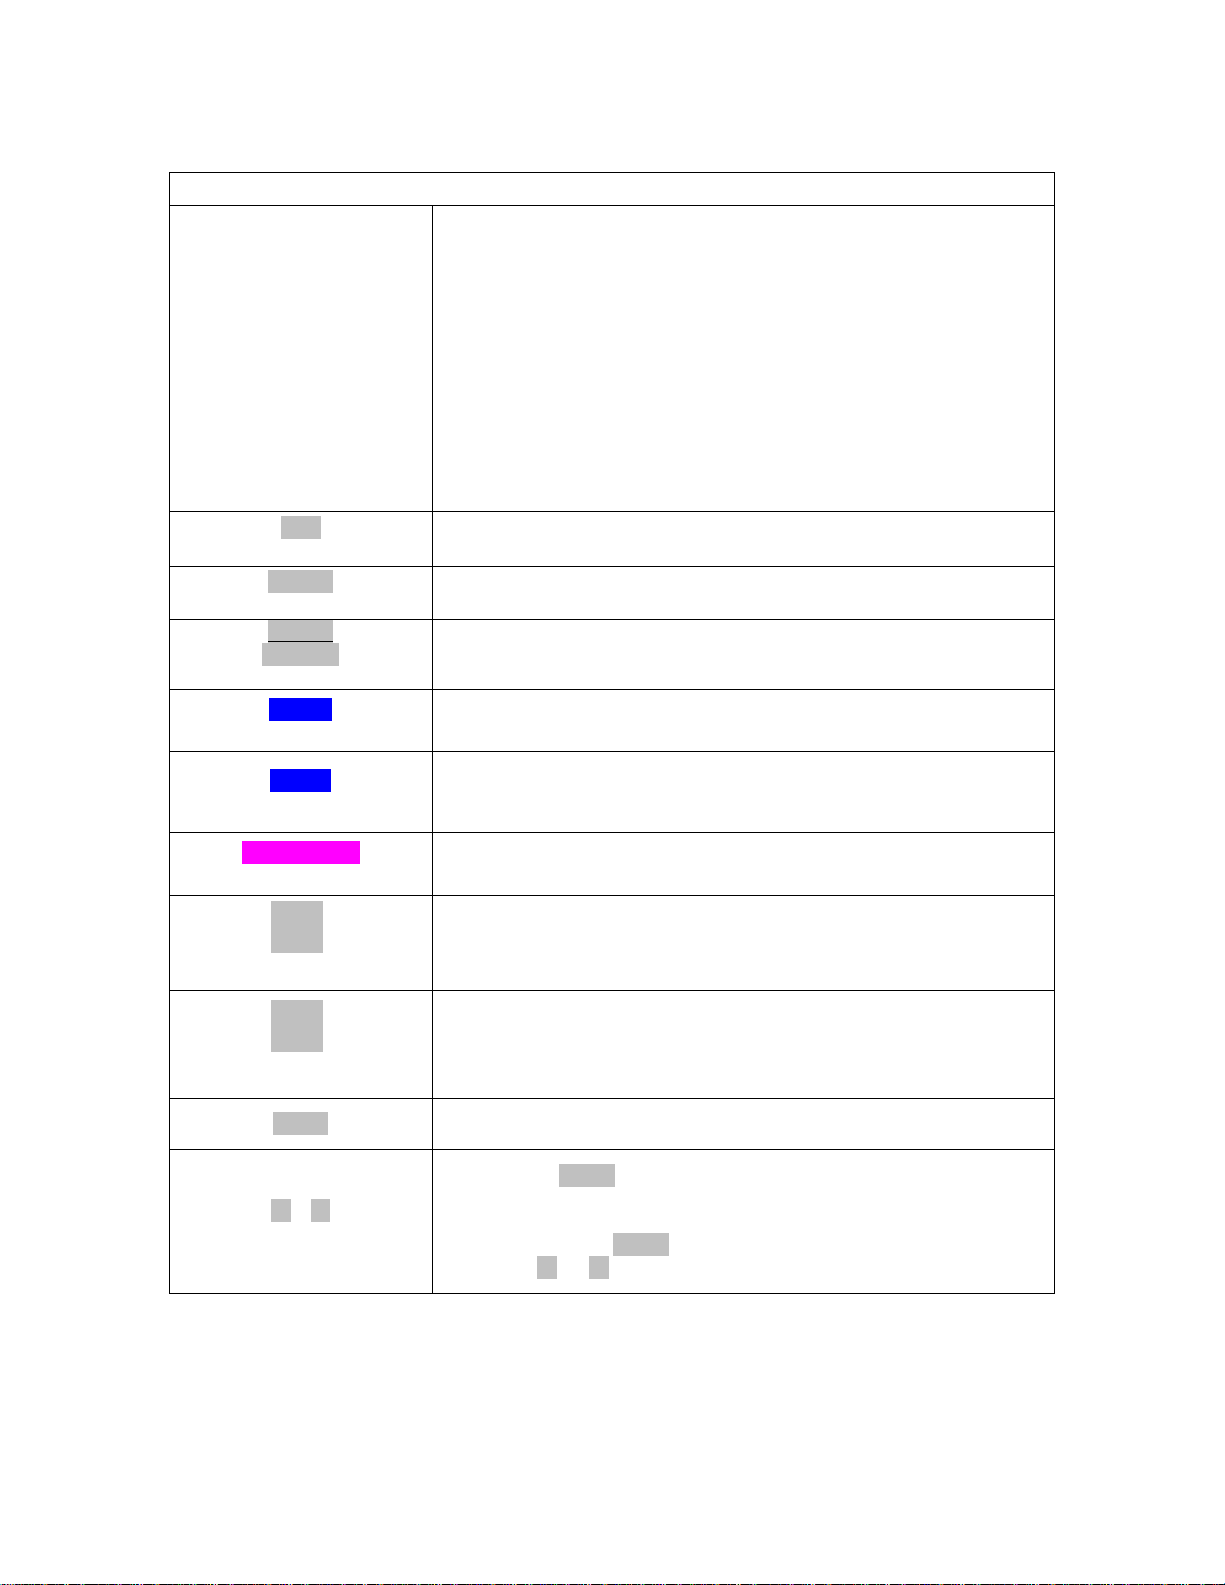
Displays prompts and the following control parameters:
FRONT PANEL
• Amplitude selected
Amount of output power delivered to the probe in watts, and as a
•
percentage of either 100 watts or 130 watts.
• Selected duration of processing
LCD screen
Actual processing time
•
• Elapsed time
Pulse duration
•
Accumulated amount of energy in Joules delivered to the probe.
•
0 – 9
key
CLEAR
key
ENTER
REVIEW
key
TIMER
key
Inputs digits.
Clears preceding entry.
Enters data into the program, and selects various parameters for display on
the screen.
Used with the numeric keys to set the duration of ultrasonic application –
from 1 second to 9 hours, 59 minutes, 59 seconds.
PULSE
key
START/STOP
key
|
key
O
key
AMPL
▲ ▼
key
Used with the numeric keys to set the pulse mode. The ON cycle and OFF
cycle can be set independently from 01 second to 59 seconds. Red
indicator lights when pulser is in the OFF portion of the cycle.
Starts or stops the ultrasonics. In the STOP mode the red indicator goes
off.
Switches the main power on.
Switches the main power off.
Controls the amplitude of vibration at the probe tip.
Used with the AMPL key when the unit is on stand-by to set the amplitude
of vibration at the probe tip. Also used to increase or decrease the
amplitude in small increments while the unit is running. To accomplish
this task, depress the AMPL key to display Amplitude Setting, then
depress the ▲ or ▼ key as required.
7
Page 8
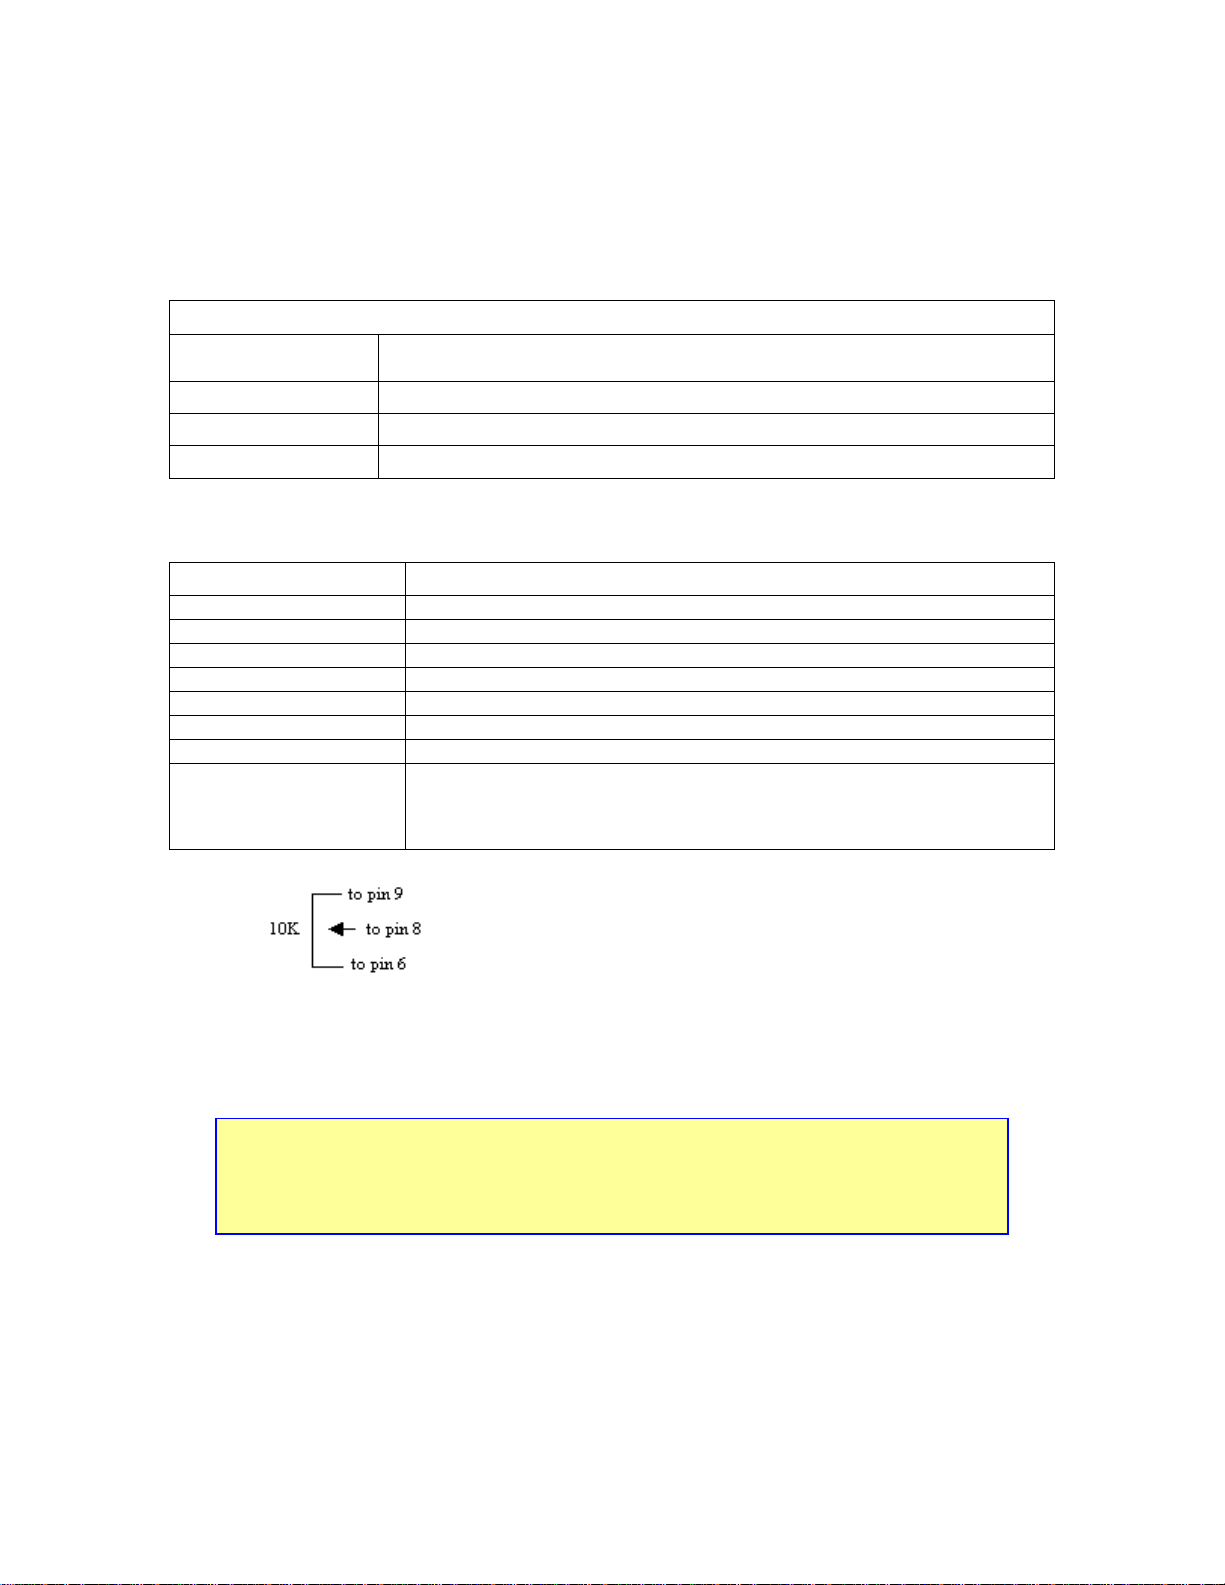
Table of Contents
Table of Contents
FUNCTIONS OF KEYS, CONTROLS, INDICATORS, AND CONNECTORS (cont.)
REAR PANEL
9 pin D-sub connector
Footswitch jack Connects to the footswitch cable.
Coax connector Connects to the converter.
Power module Connects to the electrical line cord and encases the fuse(s).
Pin No. Description
1 Not connected
2 Not connected
3 Not connected
4 Enables connection to a frequency counter.
5 Enables connection to an external power monitor (5 mv = 1 watt)
6 Ground
7 Energizes the ultrasonics when connected to ground.
8 and 9
Connects to external actuation device, and enable power and frequency
monitoring.
9-PIN D-SUB CONNECTOR
Enables the intensity to be remotely adjusted using an external 10k
potentiometer. See below
NOTE
To vary the intensity remotely using a variable DC power supply (0-5V) instead of a 10 K
potentiometer, connect positive to pin 8 and negative to pin 6.
8
Page 9

N
N
p
p
p
p
Table of Contents
Table of Contents
PREPARATION FOR USE
CAUTION
Do not operate an Ultrasonic Processor that has been in a very cold
or hot environment for a prolonged period of time. Wait until it has
reached room temperature.
1. Plug the electrical line cord into the electrical outlet, if the unit is already on; depress
the key.
O
2. If the optional footswitch is used, insert the plug into the jack located on the rear
panel. Make sure that the plug is inserted forcefully all the way in.
3. If the converter / probe assembly is not already assembled; screw the probe into the
converter and secure with wrenches provided.
CAUTION
ever place a washer between the probe and the converter.
ever apply grease to the mating surfaces or threads of the
converter, probe, replaceable tip or microtip.
4. Mount the converter / probe assembly in a laboratory stand, secure the clamp to the
upper section of the converter housing only. Do not secure the clamp to the probe.
5. Connect the converter cable to the power supply.
NOTE
Should it become necessary to remove a probe, use the wrenches
supplied. If the probe has been attached to the converter for a long
eriod of time it might be necessary to use a vise. Be sure the vise has
soft jaws or other means to prevent scratching. Secure the wide
diameter portion of the probe in the jaws of the vise. Never grip the
converter in the vise. Using a wrench, twist the converter off the
robe. Should it become difficult to disconnect the probe from the
converter tap the end of the wrench with a hammer, or for extra
torque, elongate the wrench by sliding the end of the wrench into a
ipe approximately 40” (1 m) in long. Never attempt to remove the
robe by twisting the converter housing, as this may damage the
electrical connections within the housing.
9
Page 10

p
d
p
p
p
Table of Contents
Table of Contents
USING THE ULTRASONIC PROCESSOR
The speed control on an automobile, can, to a certain extent, be compared to an
Ultrasonic Processor. The speed control is designed to maintain the vehicles rate of
travel constant. As the terrain elevations change, so do the power requirements. The
speed control senses these requirements, and automatically adjusts the amount of
ower delivered by the engine in order to compensate for these ever changing
conditions. The greater the terrain rate of incline and greater the resistance to the
movement of the vehicle, the greater the amount of power that will be delivered by
the engine to overcome that resistance.
The Ultrasonic Processor is designed to deliver constant amplitude. As the
resistance to the movement of the probe increases, additional power will be delivere
by the power supply to ensure that the excursion at the probe tip remains constant.
Using a more powerful power supply will not deliver more power into the liquid.
Rather, it is the resistance to the movement of the probe that determines how much
ower will be delivered into the sample.
The AMPLITUDE control allows the ultrasonic vibrations at the probe tip to be set
to any desired level. Although the degree of cavitation required to process the
sample can readily be determined by visual observation, the amount of power
required cannot be predetermined. A sensing network continuously monitors the
output requirements, and automatically adjusts the power to maintain the amplitude
at the preselected level. The greater the resistance to the movement of the probe due
to higher viscosity, deeper immersion of the probe into the sample, larger probe
diameter or higher pressure, the greater the amount of power that will be delivered to
the probe. Setting the AMPLITUDE control to 100% will not cause the maximum
ower to be delivered to the sample. The maximum power (100 or 130 watts) that
the Ultrasonic Processor is capable of delivering will only be delivered when the
resistance to the movement of the probe is high enough to draw maximum wattage.
This phenomenon can be demonstrated as follows: depress the probe down against a
iece of wood. The greater the down pressure, and consequent greater resistance to
the movement of the probe, the greater the amount of power that will be delivered by
the power supply.
10
Page 11

p
Table of Contents
Table of Contents
CAUTION
• Do not operate the power supply unless it is connected to the converter.
• Never allow liquid to spill into the converter. Do not use the cup horn without a
splash shield
• Do not allow a microtip to vibrate in air for more than 10 seconds.
• Do not allow the vibrating microtip to contact anything but the sample.
• When working with samples containing solvents or low surface tension liquids, do
not use a probe with a replaceable tip.
• Never energize a threaded probe without the replaceable tip.
NOTE
Refer to Section IV, for general operating suggestions and ultrasonic processing
techniques.
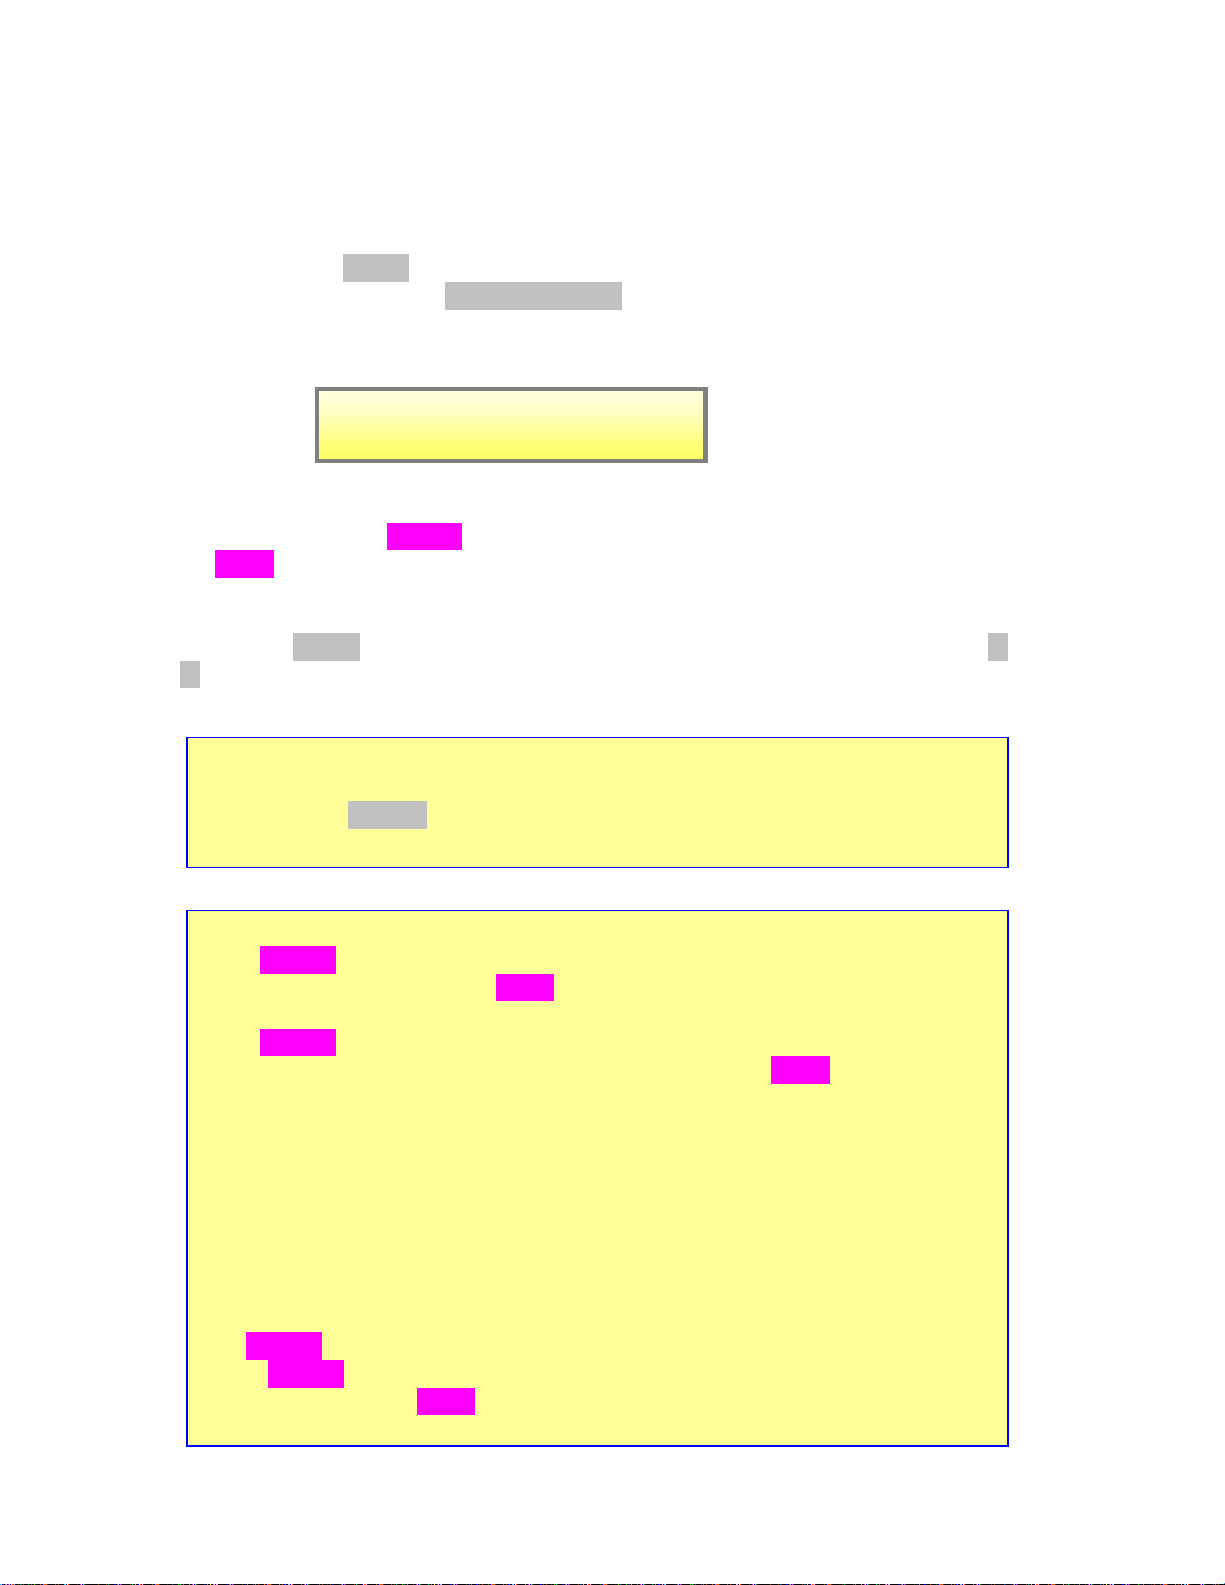
Press the key. The screen will display the power rating of the Ultrasonic Processor,
|
and the following control parameters.
Time - : -- : --
-- -- Am
Pulse
l -- %
11
Page 12
AMPLITUDE: The amplitude is the only parameter that must be set in order for
p
Table of Contents
Table of Contents
the Ultrasonic Processor to be operational. The other control parameters – Time
and Pulse, do not have to be set for continuous operation. AMPL. displays the
amplitude selected e.g. 40%. To set the amplitude when the ultrasonics is off,
press the AMPL key and the numeric keys for a 40% reading on the screen –
Ampl 40%, and the ENTER/REVIEW key.
The screen will display:
Time - : --: --
Pulse
-- -- Am
l 40 %
The Ultrasonic Processor is now ready for continuous operation. To energize the
ultrasonics, press the START key or the footswitch. To de-energize the ultrasonics, press
the STOP key or release the footswitch. If the Time or Pulse functions must be used, refer
to the appropriate paragraph(s) below.
To increase or decrease the amplitude in small increments when the ultrasonics is on,
depress the AMPL key to display Amplitude Setting on the screen, then depress the ▲ or
▼ key, as required.
NOTE
Any combination of functions can be selected in any order. To clear an erroneous
entry press the CLEAR key.
NOTE
If the START key is pressed and the time limit has not been set, processing will
remain uninterrupted until the STOP key is depressed.
If the START key is pressed and the time limit has been set, processing will
remain uninterrupted until the set time limit expires, or the STOP key is pressed –
whichever occurs first.
If a footswitch is used, and the time limit has not been set, processing will remain
uninterrupted as long as the footswitch is depressed.
If a footswitch is used, and the time limit has been set, processing will remain
uninterrupted until the time limit expires or the footswitch is released – whichever
occurs first.
The START key and footswitch are mutually exclusive. If the process is initiated
by the START key, the footswitch becomes inoperative. If the process is initiated
by the footswitch, the STOP key becomes inoperative.
12
Page 13
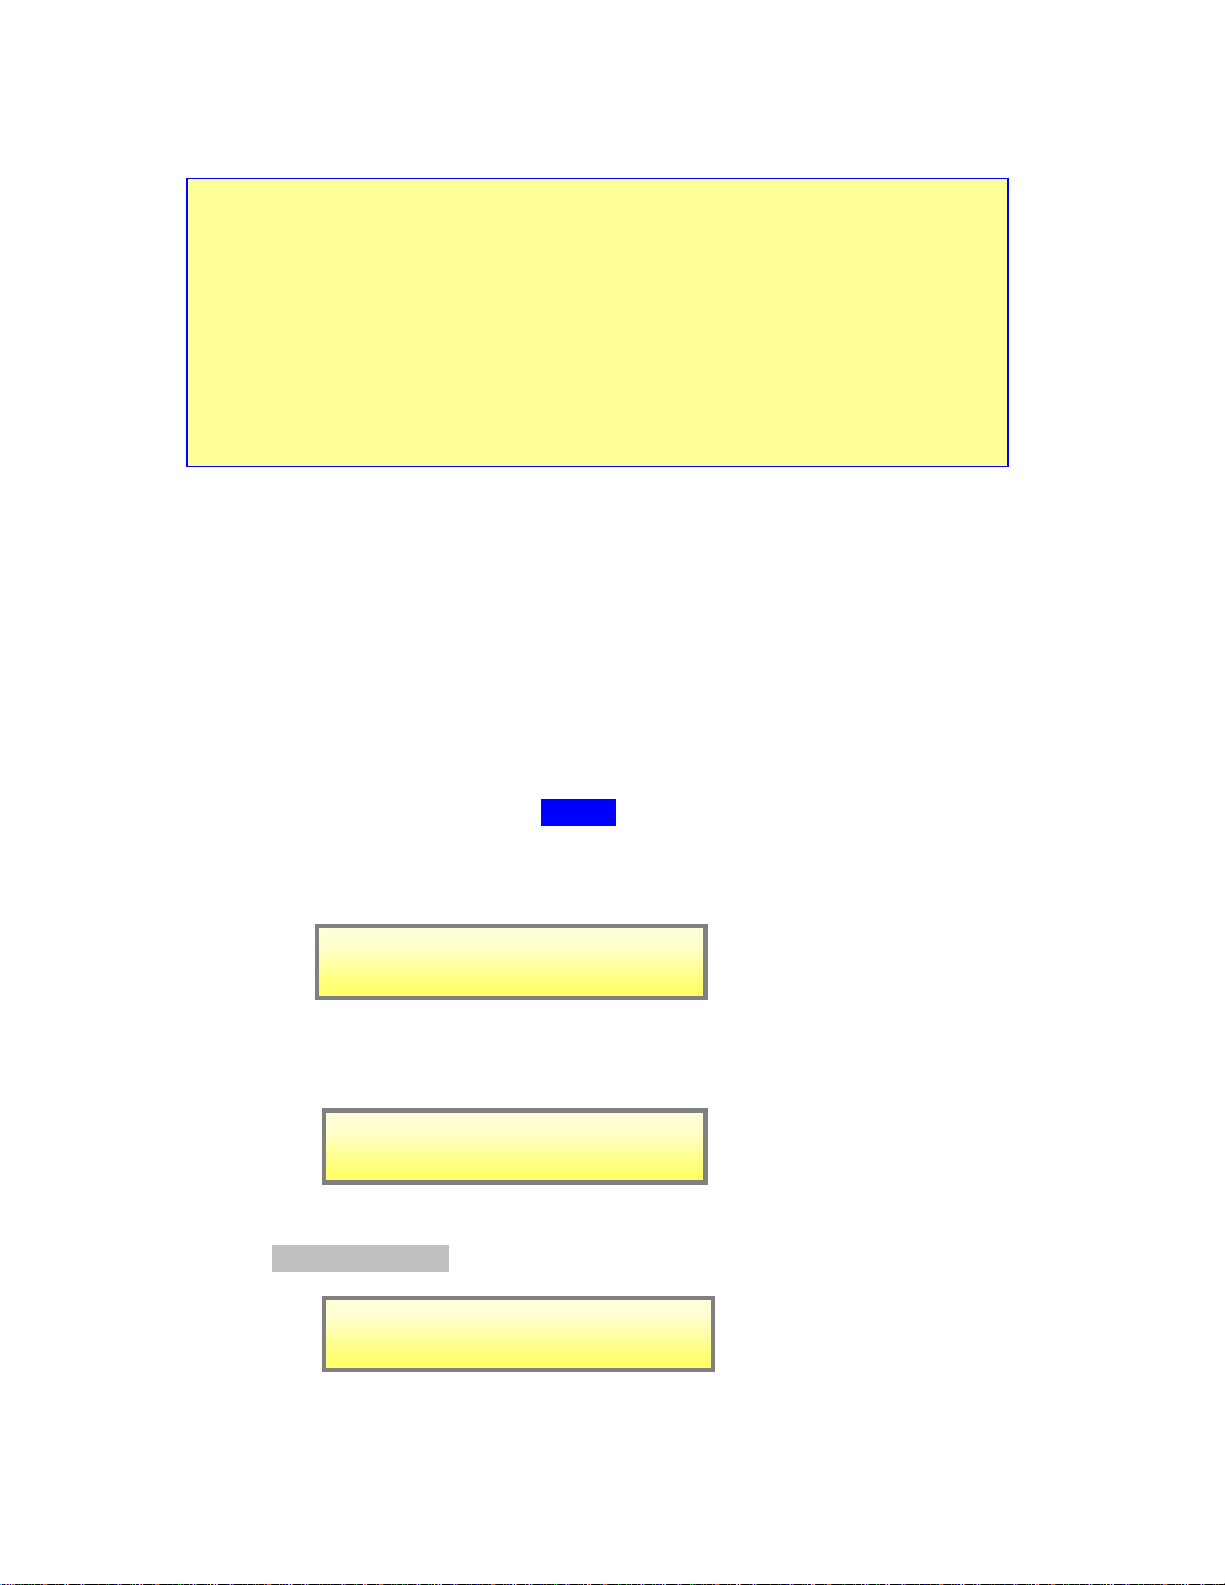
Table of Contents
Table of Contents
NOTE
The probe is tuned to vibrate at a specific frequency. If the resonant frequency of
the probe has changed, due to cavitation erosion or fracturing, a minimum reading
will not be obtained. If an overload condition exits, or if minimum reading cannot
be obtained (less than 20%) with the probe out of the sample, check the
instrument without the probe to determine which component might be defective.
If minimum reading is obtained using the converter without the probe, the probe
is defective and should be replaced with a new one.
A loose probe will usually generate a loud piercing sound.
Refer to Section III if an overload condition exists.
Immerse the microtip half way into the sample. If the probe is immersed to an insufficient
depth, air will be injected into the sample, causing the sample to foam.
Since the amplitude required is application dependent and subject to the volume and
composition of the sample, it is recommended that the amplitude be selected empirically,
by increasing or decreasing the level of intensity as required as the sample is being
processed.
TIMER: In the pulsed mode the processing time will be different from the
elapsed time because the processing time function monitors and controls only the
ON portion of the duty cycle. For example, for 1 hour processing time, the
elapsed time will be 2 hours if the ON and OFF cycle are set for 1 second. To set
the processing time, press the TIMER key.
The screen will display:
Time Setting
- Min: -- Sec: --
Hrs:
Using the numeric keys, set the processing time as required:
e.g.
Time Setting
Hrs: 0 Min: 30 Sec: 00
Press the ENTER/REVIEW key. The screen will display:
Time 0:30:00
-- -- Ampl 40 %
Pulse
13
Page 14
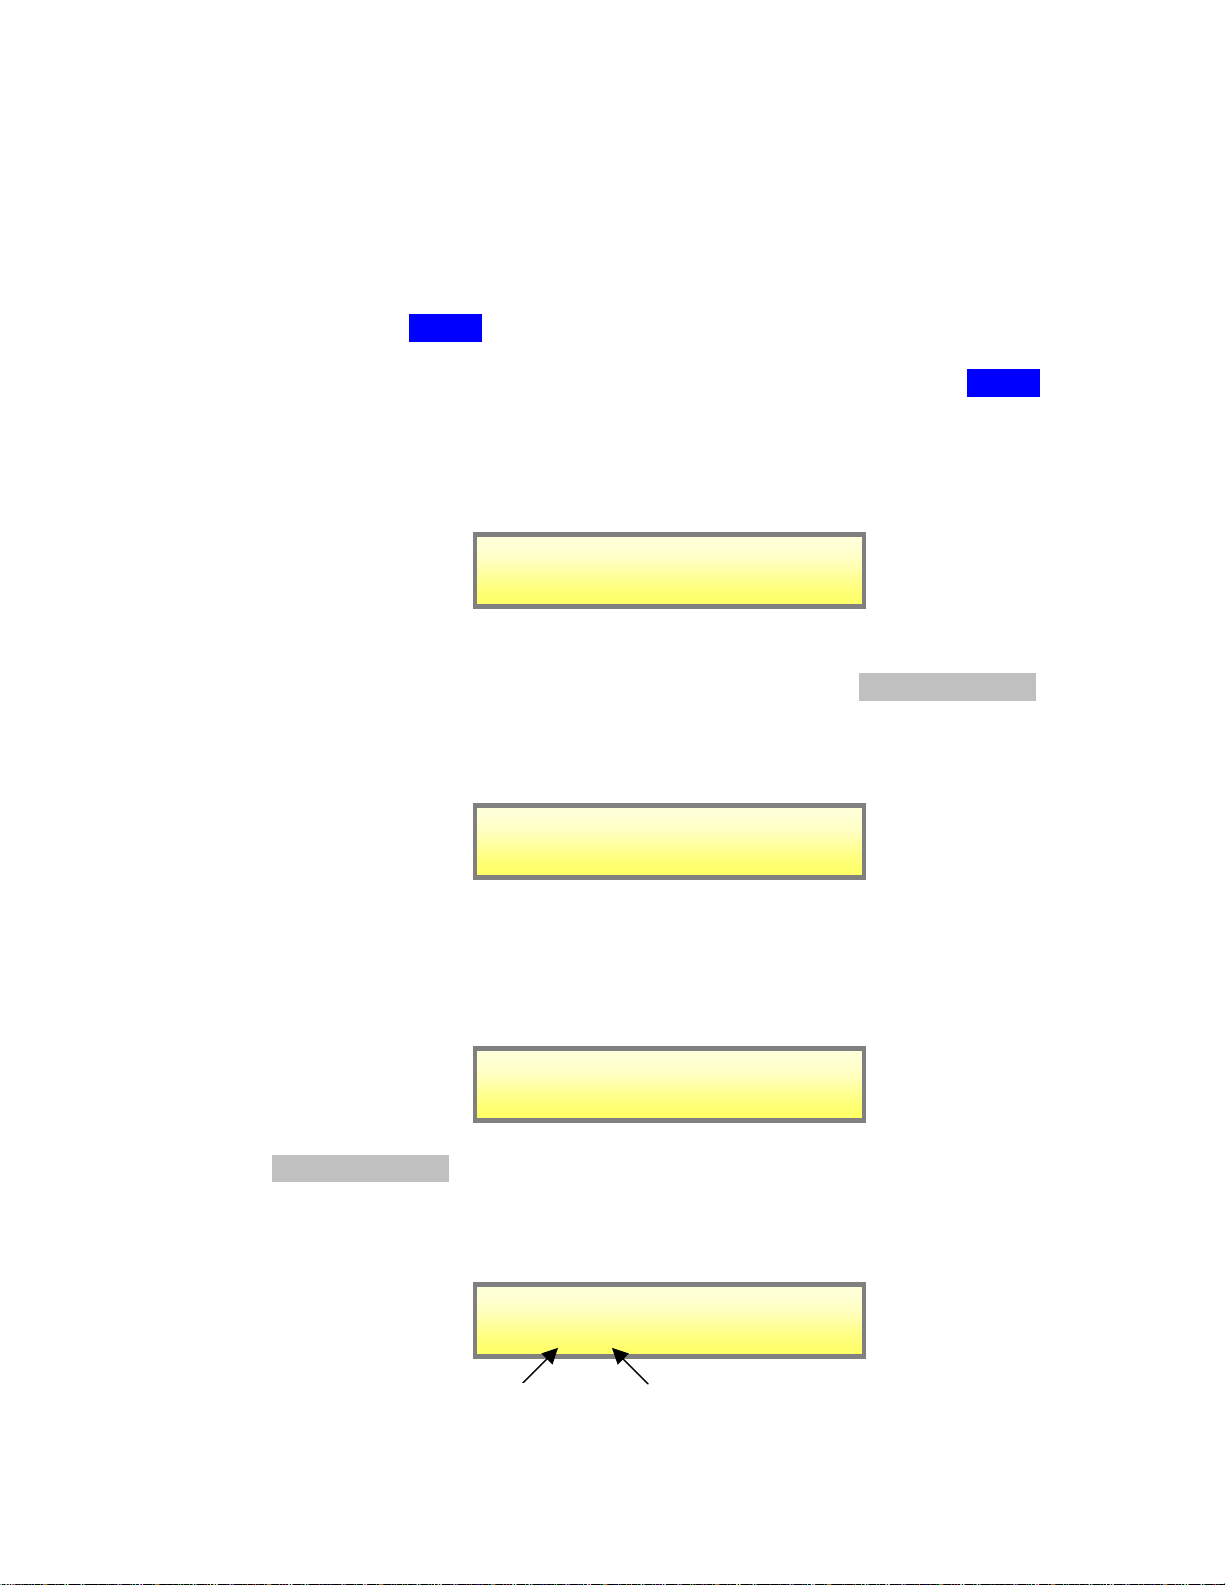
Table of Contents
Table of Contents
PULSER: By inhibiting heat build-up in the sample, the pulse function enables
safe treatment of temperature sensitive samples at high intensity. In addition,
pulsing enhances processing by allowing the material to settle back under the
probe after each burst. The ON and OFF pulse duration can be set independently
from 01 second to 59 seconds. During the OFF portion of the cycle, the red
indicator on the PULSE key will illuminate. If the OFF portion of the cycle
exceeds three seconds, a cautionary message - Sonics in OFF Cycle - will warn
the operator against touching the ultrasonic probe. To set the pulser, press PULSE
key.
The screen will display:
Pulse on -- sec
Pulse off
-- sec
Using the numeric keys, set the ON portion of the cycle, and press the ENTER/REVIEW
key.
The screen will display:
e.g.
Pulse on 01 sec
Pulse off
-- sec
Using the numeric keys set the OFF portion of the cycle.
The screen will display:
e.g.
Pulse on 01 sec
Pulse off 01 sec
Press the ENTER/REVIEW key.
The screen will display:
Time 0:30:00
Pulse 01 01 Ample 40
Off Cycle On Cycle
%
14
Page 15

Table of Contents
Table of Contents
REVIEW: The REVIEW function provides a “window” on the process by displaying
various operating parameters without process interruption. Pressing the
ENTER/REVIEW key repeatedly during processing will consecutively display the
following information.
a) Selected amplitude:
e.g. Amplitude 40%
b) Selected processing time and elapsed processing time:
e.g. Set 0:30:00 Time 0:22:10
c) Selected pulsing cycle, and actual pulsing cycle:
e.g. Pulse 01 01 / 01 00
d) Amount of power in watts, and accumulated amount of energy in JOULES
delivered to the probe:
e.g. 20 watts 0000000 Joules
e) Elapsed time since processing was initiated:
e.g. Elapsed time 0:44:20
NOTE
The amount of energy displayed will be only for one cycle. Initiating a new cycle
will reset the display to zero.
IMPORTANT
Proper care of the probe is essential for dependable operation. The intense
cavitation will, after a prolonged period of time, cause the tip to erode, and
the power output to decrease without showing up on the wattmeter. The
smoother and shinier the tip, the more power will be transmitted into the
sample. Any erosion of the probe tip will increase the rate of future erosion.
For that reason it is recommended that after every use the tip be examined,
and if necessary, polished very carefully with emery cloth or an abrasive
wheel. Since the probe is tuned to vibrate at a specific frequency, it is most
important that only the contaminated surface be removed. This procedure can
be repeated as long as the wattmeter reads less than 10 watts with the probe
out of the sample, when the AMPLITUDE is set at 100. If the wattmeter
reads over 10 watts, the probe or replaceable tip should be replaced with a
new one.
15
Page 16
SECTION III – SERVICE INFORMATION
Table of Contents
Table of Contents
Your Ultrasonic Processor was designed to provide you with years of safe and
dependable service. Nevertheless, because of component failure or improper usage, the
possibility does exist that it might not perform as it should, shut down due to an overload
condition or that it will stop working all together. The most probable causes for
malfunction are listed below and should be investigated.
The unit was plugged into an electrical outlet that provides a different voltage from
that required. See Electrical Requirements.
The probe and/or microtip is not secured properly.
If the probe has a replaceable tip, the tip is not secured properly, or the probe has
been used with samples containing solvents or low surface tension liquids.
A fuse(s) has failed. If a fuse(s) has failed, proceed as follows:
1. Turn the unit off by depressing the key, and disconnect the line cord from
the electrical outlet.
2. Open the fuse holder cover using a small screwdriver, and pull out the red fuse
holder from its housing.
3. Replace the fuse(s).
4. Reconnect the line cord to the electrical outlet, press the key and set the
O
|
amplitude to 100. With the probe in air (out of the sample), the wattmeter should
read below 10 watts. If the reading exceeds 10 watts, press the key, and
disconnect the probe from the converter.
5. Press the key. If the wattmeter reads below 10 watts, the probe has failed or
is out of tune due to excessive erosion, and should be replaced, if the wattmeter
reads above 10 watts, either the converter or power supply has failed and the
complete Ultrasonic Processor should be returned for repair.
|
O
16
Page 17

OVERLOAD CONDITION
Table of Contents
Table of Contents
If the Ultrasonic Processor stops working, and an OVERLOAD indication is displayed on
the screen, check for possible causes as outlined in the previous section, then press the
key to switch the unit off, and the key to switch the unit back on.
|
O
RETURN OF EQUIPMENT
It is suggested that an Ultrasonic Processor in need of repair be sent back to the factory.
In order to receive prompt service; always contact the factory before returning any
instrument. Include date of purchase, model number and serial number. For instruments
not covered by the 3-year warranty, a purchase order should be forwarded to avoid
unnecessary delay. Care should be exercised to provide adequate packing to insure
against possible damage in shipment. The Ultrasonic Processor should be sent to the
“Service Department” with all transportation charges prepaid and return of shipment
indicated.
Please obtain a Return Authorization Number prior to returning the instrument.
IMPORTANT
I CERTIFY THAT THE ULTRASONIC PROCESSOR AND / OR ACCESSORIES RETURNED
FOR REPAIR ARE FREE OF ANY BIOHAZARDOUS OR RADIOACTIVE MATERIAL AND ARE
SAFE FOR HANDLING.
DO NOT RETURN ANY EQUIPMENT UNLESS SUCH CERTICATION CAN BE MADE.
17
Page 18

SECTION IV - OPERATING SUGGESTIONS AND TECHNIQUES
Table of Contents
Table of Contents
DISRUPTING CELLS
The disruption of cells is an important stage in the isolation and preparation of
intracellular products. From research levels through to production, many areas of
biotechnology, particularly recombinant technology, necessitate the use of ultrasonics for
cell disruption. Although some biological products are secreted from the cell or released
during autolysis, many others require sonication to release intracellular material. Cell
disruption focuses on obtaining the desired product from within the cell, and it is the cell
wall that must be disrupted to allow cell contents extraction.
Single-cell organisms (micro-organisms) consist of a semipermeable, tough, rigid outer
cell wall surrounding the protoplasmic membrane and cytoplasm. The cytoplasm is made
up of nucleic acid, protein, carbohydrates, lipids, enzymes, inorganic ions, vitamins,
pigments, inclusion bodies, and about 80% water. In order to isolate and extract any of
these substances from inside the cell, it is necessary to break the cell wall and
protoplasmic membrane. In some cases the cell may excrete the desired substance
without assistance, but in most cases, the cells must be lysed and sonicated in order for
these substances to be released. Breaking cell membranes and releasing the contents
present significant challenges. The process must be fast and thorough to maximize the
protein yield. Because the energy applied must be great enough to break the cell
membranes or walls, yet gentle enough to avoid physically or chemically damaging cell
contents, the Vibra-Cell with its variable intensity capability is ideally suited for this
application.
The level of intensity that should be used is application dependent. For example high
intensity might be recommended for the break up of cells, but should never be used when
the release of intracellular components might be objectionable e.g. Organelle isolation.
The ability to control the amplitude at the probe tip is a prerequisite for process
optimization. And because each application requires its own set of processing parameters,
due to variation in volume and composition, the optimum amplitude can only be
determined empirically. When processing a new sample, it is recommended that the
amplitude be set first at 50% (30% with a microtip) and then increased of decreased as
required.
Yeast, gram-positive bacteria, and to a lesser extent, gram-negative bacteria have
considerably harder cell walls in comparison to animal cells, and require relatively high
power for cell disruption.
Gram negative bacteria typically require 10 to 15 minutes of processing, while
staphylococcus requires 20 to 30 minutes.
18
Page 19

Microorganisms differ greatly in their sensitivity to ultrasonic disintegration. For
Table of Contents
Table of Contents
example, the most readily disintegrated are the rod-like forms (bacilli), while the
spherical organisms (cocci) are much more resistant. The group Mycobacteria, to which
the tuberculosis organism belongs, is particularly difficult to disrupt. Generally, animal
cells are more easily disintegrated that plant cells, and red blood cells are more readily
disintegrated than muscle cells because they lack a protective cell wall.
Cellular disruption is the first step in RNA isolation and one of the most critical steps
affecting yield and quality of the isolated RNA. Typically, cell disruption needs to be fast
and thorough. Slow disruption, for example placing cells or tissue in guanidinium
isothiocyanate (GITC) lysis solution for a long time prior to sonication, may result in
RNA degradation by endogenous RNases released internally. This is especially a concern
when working with tissues high in endogenous RNase such as spleen and pancreas.
Disrupting frozen tissue is more time consuming and cumbersome that processing fresh
tissue, but freezing samples is sometimes necessary. Samples are usually frozen when, 1)
they are collected over a period of time and thus, cannot be processed simultaneously; 2)
there are many samples, 3) samples are collected in the field, or 4) mechanical processing
of fresh samples is insufficient for thorough disruption. A mortar and pestle or bag and
hammer are typically used when the starting material is frozen. RNA will remain intact in
tissues for a day at 37ºC, a week at 25ºC a month at 4ºC and indefinitely at subzero
temperatures.
Ultrasonic processing will typically cause the temperature of the sample to increase
especially with small volumes. Since high temperatures inhibit cavitation, the sample
temperature should be kept as low as possible - preferably just above its freezing point.
This can be accomplished by immersing the sample vessel in an ice-salt-water bath.
Temperature elevation can also be minimized by using the pulser.
Increasing hydrostatic pressure (typically 15-60 psi) and viscosity can enhance cell
disruption. For microorganisms, the addition of glass beads in the 0.5 to 1mm size range
promotes cell disruption. Beads are almost a prerequisite when working with spores and
yeast. A good ratio is one volume of beads to two volumes of liquid. Glass beads are
available from Cataphote, Inc. P.O. Box 2369, Jackson, Mississippi 39225-2369 USA,
phone (800) 221-2574 or (601) 939-4612, FAX (601) 932-5339, Jayco Inc. 675 Rahway
Ave., Union NJ 07083 USA, phone (908) 688-3600, FAX (908) 688-6060 or Sigmund
Lindner GmbH. P.O. Box 29. D-95483 Warmensteinach, Germany. Phone (49) 0 92 77 9
94 10, FAX (49) 0 92 77 9 94 99.
When processing difficult cells such as yeast, pretreatment with an enzyme is beneficial.
Lysozyme, byaluronidase, glycosidase, glucalase, lyticase, zymolase and lysostaphin
digestion are among the enzymatic methods frequently used with yeast and Lysozyme
with bacteria. Enzymatic treatment is usually followed by sonication in a GITC lysis
buffer. Collogenase may be used with collogen, lysostaphin with staphylococcus, and
trypsin hyaluronidase with liver and kidney.
19
Page 20

If enzymes cannot be used, the following procedures should be considered: Freezing the
Table of Contents
Table of Contents
sample at -70°C overnight, then thawing it in water immediately prior to ultrasonic
processing.
Most animal tissues can be processed fresh (unfrozen). It is important to keep fresh tissue
cold and to process it quickly (within 30 minutes) after dissection. When working with
fresh tissue, the cells must be sonicated immediately at the time the GITC lysis solution is
added. This can be done by dispensing the lysing solution in the tube, adding the tissue
and immediately sonicating. Samples should never be left sitting in lysis solution,
undisrupted. Large samples of hard tissues should be first treated in a blender or a
mechanical homogenizer.
Animal tissues that have been frozen after collection should be disrupted by grinding in
liquid nitrogen with a mortar and pestle. During this process, it is important that the
equipment and tissue remain at cryogenic temperatures. The tissue should be dry and
powdery after grinding. Grinding should be followed by thorough sonication in a GITC
lysis buffer. Processing frozen tissue in this way is cumbersome and time consuming, but
effective.
Cultured cells are normally easy to disrupt. Cells grown in suspension are collected by
centrifugation, rinsed with PBS to remove culture medium, and then lysed by sonicating
in a GITC lysis buffer. Placement of the vessel on ice while washing and lysing the cells
will further protect the RNA from endogenous RNases released during the disruption
process.
Soft, fresh plant tissue can often be disrupted by sonicating in a lysis buffer. Other plant
tissues, like pine needles, need to be ground dry, without liquid nitrogen. Some hard,
woody plant materials require freezing and grinding in liquid nitrogen prior to being
ultrasonically processed. Plant cell suspension cultures and calluses can typically be
sonicated in a lysis buffer within 2 minutes. The diversity of plants and plant tissue make
it impossible to give a single recommendation for all. However, most plant tissues
typically contain polysaccharides and polyphenols that can coprecipitate with RNA and
inhibit downstream assays. Treating a plant tissue lysate with polyvinylpyrrolidone
(PVP) will precipitate such problematic components from the lysate before the actual
RNA isolation is carried out.
Whenever possible, the tissues should be diced very small to permit movement within the
liquid. Tough tissues such as skin and muscle should be macerated first in a blender or
the like for about 10 seconds, and confined to a small vessel during ultrasonic treatment.
If sub-cellular particles are desired intact, the amplitude should be kept low, and the
processing time increased.
Yeast can be extremely difficult to disrupt because their cell walls may form capsules or
nearly indestructible spores. To process yeast, sonicate in a tube containing the sample,
guanidinium-based lysis buffer and small glass beads (0.5 – 1 mm). Pretreatment with
20
Page 21

zymolase, glucalase and / or lyticase to produce spheroplasts that are readily lysed may
Table of Contents
Table of Contents
also be useful.
To disrupt filamentous fungi, scrape the mycelial mat into a cold mortar, add liquid
nitrogen and grind to a fine powder with a pestle. The powder can then be thoroughly
sonicated in lysis buffer to solubilize completely. As fungi may also be rich in
polysaccharides, pretreatment with polyvinylpyrrolidone (PVP) may be beneficial.
Bacteria, like plants, are extremely diverse; therefore, it is difficult to make one
recommendation for all bacteria. Ultrasonic processing will lyse most Gram positive and
Gram negative bacteria, including mycobacteria. Although it is recommended that glass
beads and lysis solution be used; it is possible to lyse some Gram negative bacteria by
sonicating in lysis solution without beads. Bacteria cell walls can be digested with
lysozyme to form spheroplasts. Gram positive bacteria usually require more rigorous
digestion and longer processing time. The spheroplasts are then lysed with sonication in
GITC lysis buffer.
Disruption of cells found in soil and sediments is accomplished one of two ways. One
technique isolates the bacterial cells from the material prior to the RNA isolation
procedure. This is accomplished by homogenization of wet soil in a mechanical blender
followed by a slow speed centrifugation to remove fungal biomass and soil debris. The
supernatant is centrifuged again at a higher speed to pellet the bacteria cells. Cells can
then be lysed as described above for bacteria. Other techniques describe RNA isolation
from the soil or sediment directly. For example, one method requires soil to be added to a
diatomaceous earth and lysis buffer, and then sonicated. The sample is then centrifuged
to remove solid debris.
Always immerse the probe deep enough below the surface of the sample to inhibit
aerosoling or foaming, foaming substantially reduces cavitation. Processing at a lower
power setting without foam is much more effective than processing at a higher power
setting with foam. Decreasing the power, increasing processing time and lowering the
temperature of the sample will usually prevent aerosoling and foaming. Do not use any
antifoaming agents or surfactants.
During cavitation, free radicals are formed which, if they are allowed to accumulate, can
greatly affect the biological integrity of the sample by reacting with proteins,
polysaccharides, or nucleic acids. Although during short periods of processing their
formation is not normally considered a problem; for longer durations, the addition of free
radical scavengers such as, carbon dioxide, N
O, cysteine, reduced glutahione,
2
dithiothreitol or other SH compounds, might be beneficial. Saturating the sample with a
protective atmosphere of helium or nitrogen gas, or dropping a small pellet of dry ice in
the sample, will also inhibit free radical formation. Whereas it is true that gas is required
for effective cellular disruption, it is not necessary that the vapor phase be oxygen or air
since any gas except carbon dioxide will work just as well.
21
Page 22

Various methods can be used to measure the efficiency of the disruption. For example, a
Table of Contents
Table of Contents
visual count can be made using a microscope.
For greater accuracy, a protein assay could be used. This procedure is widely recognized
as a good method for measuring cell disruption by taking into account the amount of
protein released after disruption. The disrupted cells are then tested and checked against
this number for percentage breakage.
There are several types of protein assays. One commonly used is the Folin Reaction
(Lowry Assay) method, as it is comparatively simple and provides consistent results.
This colorimetric method has a sensitivity to protein of around 8
µg / mL in the assay
solution.
The assay turns blue in the presence of proteins due to the reaction of copper ions in the
alkaline solution with protein and the reduction of phosphomolybdate- phosphotungstic
acid in the Folin reagent by aromatic amino acids in the treated protein.
Fractional protein release, Rp, is calculated using the following equation and multiplying
the result by 100:
Rp =
Cf – Cb
Ct – Cb
Cf = Free protein
Ct = total protein
Cb = Background protein
This gives the actual disruption percentage, taking into account the background levels of
protein before disruption.
Since the greatest concentration of energy is beneath the probe, it is imperative that the
sample be kept as close to the tip as possible, liquids are easily processed because the free
moving cells circulate repeatedly below the probe. Solid materials however have a
tendency to be repelled by the ultrasonic, and should be processed in a vessel large
enough to accommodate the probe, yet small enough to restrict sample movement. For
small samples, conical shaped test tubes are recommended.
Allowing the probe to contact the vessel will decrease the power output, and cause
minute grey glass particles to migrate into the sample. Although these glass particles will
not adversely affect the chemical composition of the sample, they will form a thin grey
layer on centrifuging. If the probe has to come in contact with a solid sample, use a
standard 20mm (3/4”) diameter stainless steel centrifuge tube cut to 70mm (3”) length.
Do not use a glass tube. Microtips must never allowed to come in contact with anything
but the liquid, because the stress resulting at the point of contact with a hard surface will
cause the microtip to fracture. Although larger probes will not fracture if they come in
contact with a glass vessel, they may cause the vessel to fracture.
Before each application, place the tip in water or alcohol and energize the power supply
for a few seconds to remove any residual substances. If concerned about contamination
from previous use, clean the probe with a 20% Virkon solution and rinse with distilled
water. Because Virkon®, Dupont's broad spectrum cleaner / disinfectant is effective
against a wide range of virus, bacteria and fungi, it is ideally suited for that purpose.
For further information regarding Virkon® contact BiosafetyUSA, Inc. 10220 NW 50th
Street, Sunrise Florida 33351, 954-578-6580 *124 or e-mail [email protected]
For critical application, probes may be autoclaved.
22
Page 23

To inhibit sample loss in test tube due to sticking, siliconize the test tube as follows:
Table of Contents
Table of Contents
Wash and dry the test tube thoroughly, coat with silicone, then air dry. “Sigmacote”
manufactured by Sigma Chemical Co., 3050 Spruce Street, St. Louis, Missouri 63103,
USA, phone (314) 771-5765, is ideally suited for that purpose.
High viscosity and concentration are problematic. 2,000 cps and 15% concentration by
weight are maximum limits. Because with ultrasonics the sound waves are propagated
through the sample, if the sample is so thick that it will not pour or circulate easily, it is
too thick for ultrasonic processing.
Use the Cup Horn for processing pathogenic, radioactive, and biohazardous materials in
complete isolation without probe intrusion. Because plastic tubes have a tendency to
absorb vibrations, it is preferable, whenever possible, to contain the sample in a stainless
steel tubes or glass tubes when working with a cup horn. To expedite processing, add
glass beads to the sample. If desired, crushed ice can also be added to the water inside the
cup horn, in order to optimize cooling. Processing samples in a Cup Horn will usually
take 4 times longer than processing with the direct probe intrusion method.
23
 Loading...