

Page 1
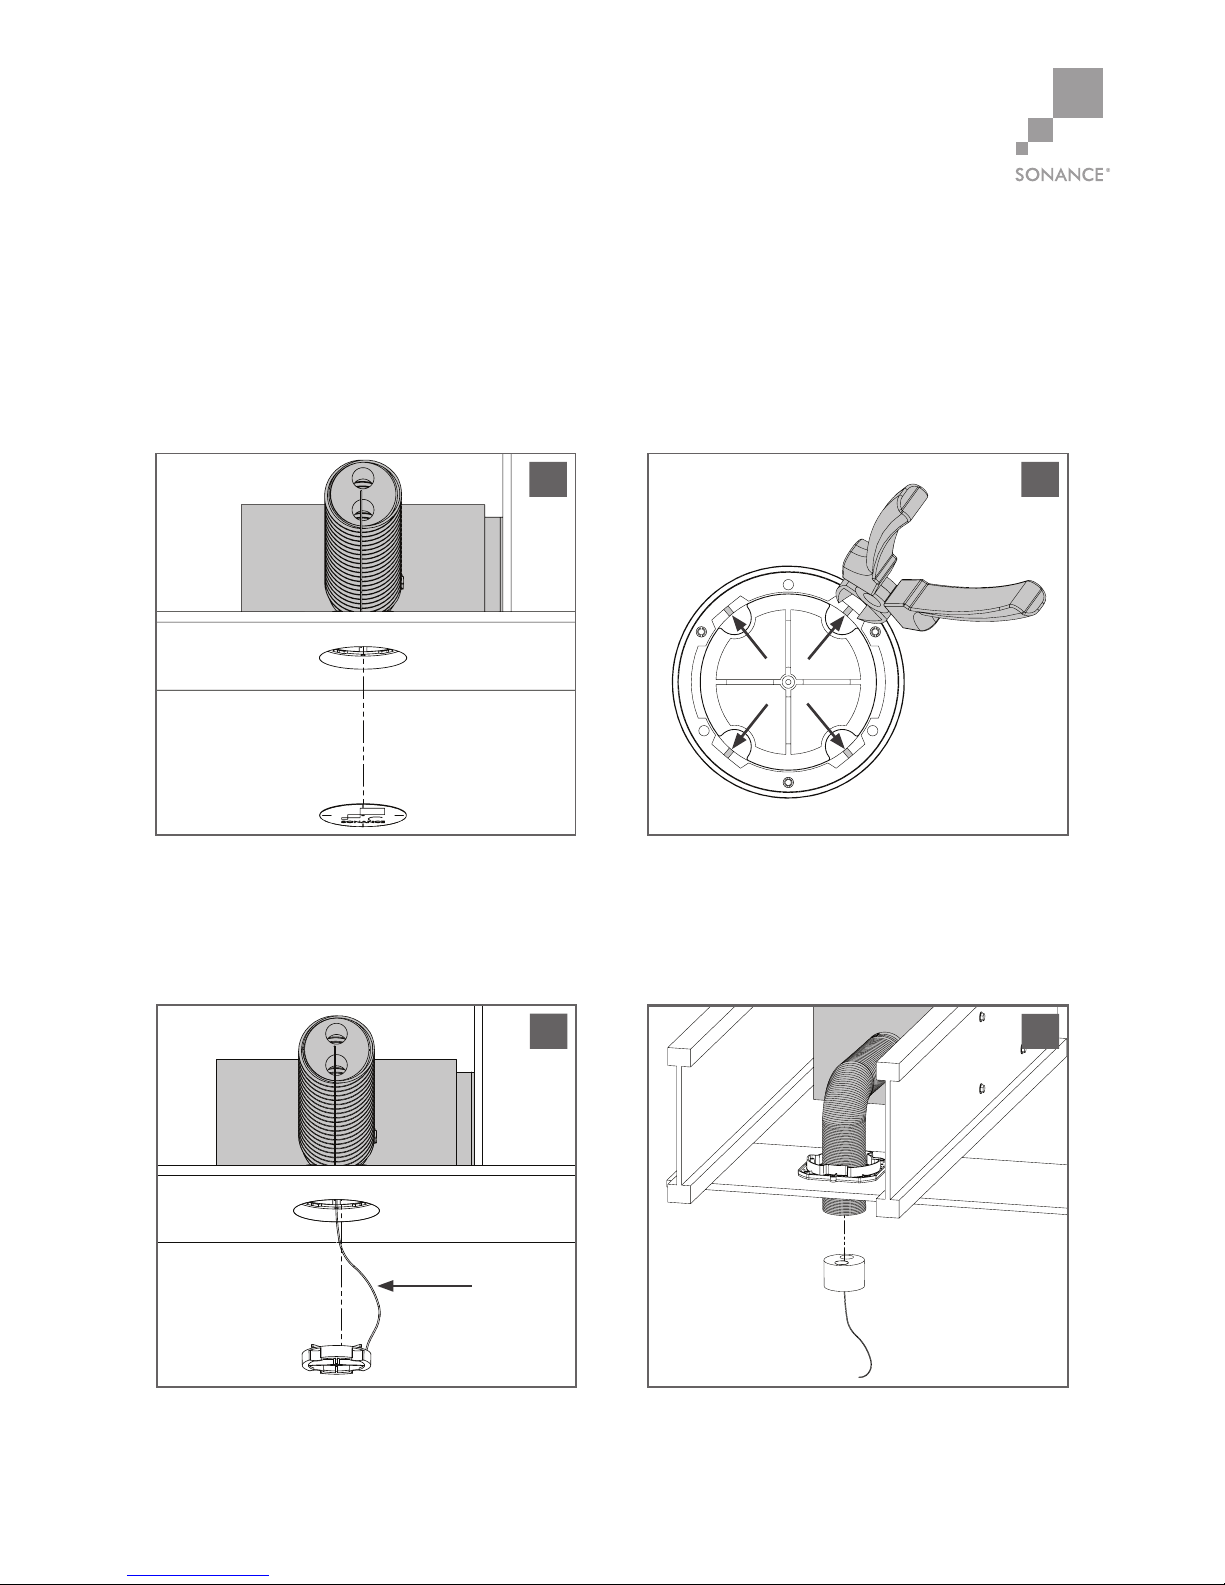
Remove the paint shield from the finished
mounting platform.
Cut the four tabs on the sanding shield support
structure on the bracket. NOTE: The port
tube tether is connected to the zip tie for
easy access.
Remove sanding shield support structure.
Use the tether to guide the port tube through
the back of the mounting platform. Do not
remove foam insert from port tube yet.
1
3
2
Port Tube
Tether
Expose 6” (152mm) of port tube through speaker
opening. Remove foam insert from port tube.
4
(1) Quickstart guide
(1) Bandpass connector
(1) Round grille
(1) Square grille
(1) Hose clamp for port tube
(1) Grille painting instructions
(1) Set of speaker screws w/ Loctite
®
Box Contents
AS BANDPASS CONNECTOR QUICKSTART GUIDE
ASBPC3RS AND ASBPC6RS (ROUND AND SQUARE)
SONANCE ARCHITECTURAL SERIES
®
Page 2
©2014 Sonance. All rights reserved.
Sonance and Architectural Series are registered trademarks of Dana Innovations.
Due to continuous product improvement, all features and specifications are subject to change without notice.
For the latest Sonance product specification information, visit our website: www.sonance.com
SONANCE • 212 Avenida Fabricante • San Clemente, CA 92672-7531 USA
(800) 582-7777 or (949) 492-7777 • FAX: (949) 361-5151 • Technical Support: (800) 582-0772
www.sonance.com
05.15.1433-5947
Place the hose clamp (A) around the ASBPS port
tube. Slide the port tube over the bandpass
connector (B). Orient the port tube on the bandpass
connector so the mounting screw locations in the
bracket and bandpass connector line up.
5
6
7 8
A
B
For wiring diagrams and detailed
eManual scan the QR code or visit
www.sonance.com/in-wall-in-ceiling/
architectural-series
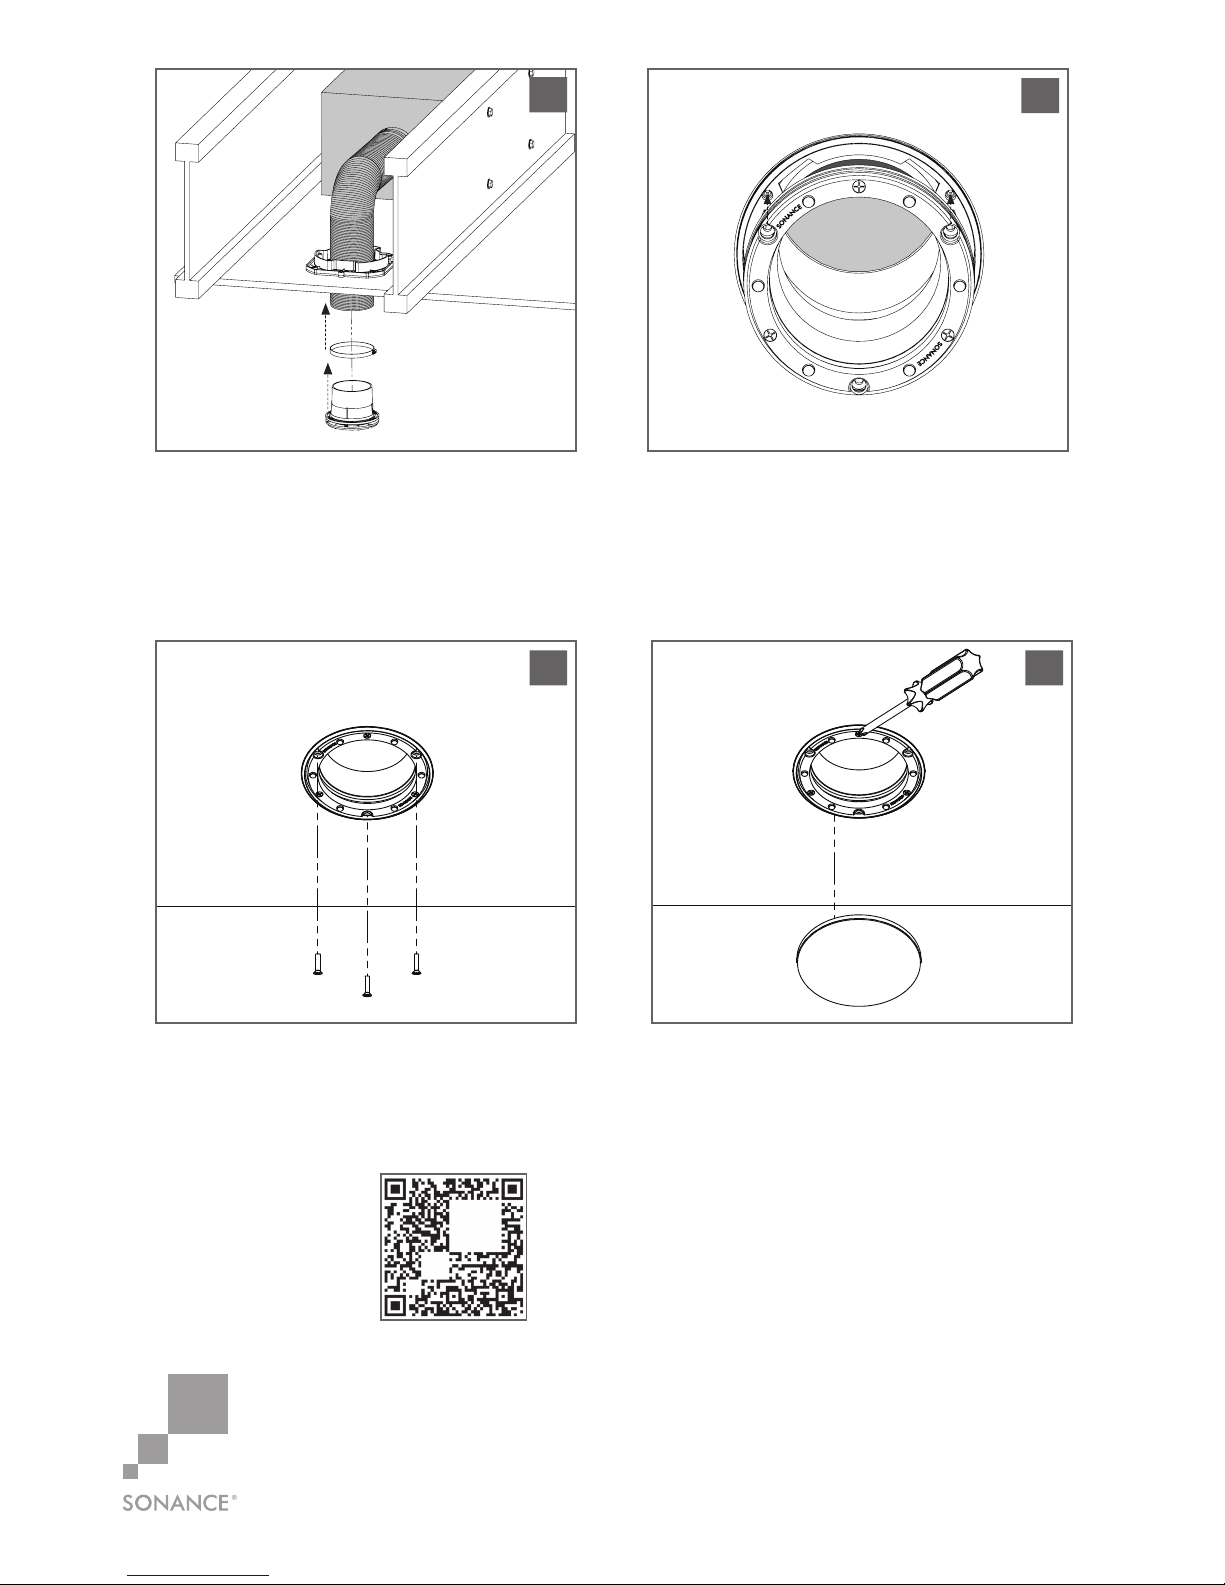
Tighten the hose clamp around the bandpass
connector and port tube. The slots in the mounting
platform allow clearance for the hose clamp.
Orient the hose clamp to go through one of the
openings. Place the port tube and connector into
the mounting platform.
Apply Loctite
®
to screws and screw bandpass
connector to mounting platform.
The leveling ring is for fine adjustment.
If necessary adjust the magnetic grille leveling
ring with a screwdriver and install magnetic grille.
NOTE: See grille painting instructions.
 Loading...