

Page 1
Thank you for choosing this product.
This product is guaranteed to be free of defects in materials and workmanship for a period
of 3 years from the purchase date.
If you experience a problem, return the product direct to us, with the original receipt at :
Silverline Tools Limited
PO Box 2988
Yeovil
BA21 1WU
We do not refund carriage. This guarantee is for Great Britain only and does not affect your
statutor
y rights. As you would expect fair wear and tear are not covered.
Users Manual
Air Brush Kit
Product Code 282460
© June 2005
Page 2
Introduction
Carefully read and understand this manual before using this
product. Keep these instructions with the product for future
reference. Ensure all persons who use and service this product
are acquainted with this manual.
General Safety Instructions
It is important to read and understand your instruction manual and
any label attached to the power tool. Learn its application, as well
as it's limitations and the potential hazards associated with this
power tool. Even when used as prescribed it is not possible to
eliminate all residual risk factors. Use with caution.
Keep guards in position
• Always keep guards in position, in good working order, correctly
adjusted and aligned. Never attempt to use a power tool without
any guard supplied with it.
Remove adjusting keys
• Always check to see that keys and adjusting wrenches are
removed from power tool before turning on.
Clean work area
• Accidents occur where benches and work areas are cluttered or
dirty, floors must be kept clear
slippery due to sawdust or wax.
Dangerous environment
• Do not use power tools in damp or wet conditions, or expose
them to rain. Provide adequate surrounding work space and
keep area well lit. Do not use power tools where there is a risk
of explosion or fire from combustible material, flammable
liquids, flammable gases or dust of an explosive nature. When
using power tools avoid contact with any earthed items such as
pipes, radiators, cookers, refrigerators, metal baths and taps.
Children & Pets
• Children and pets should always be kept at a safe distance
from your work. Make your workshop child-proof. Lock tools
away where children can't get access to them. Remove
batteries from cordless tools.
Don't use excess force.
• Your power tool will give you much better service if you do
not use excessive force when using it.
Use the correct power tool
• Don't force, or attempt to use a power tool for a purpose it was
not designed for. Do not use a small tool to do the job of a
heavy duty tool.
Wear correct clothing and footwear.
• Don't wear loose clothing, neckties or jewellery or other items
which may get caught in moving parts. Wear non-slip footwear,
cover or tie back long hair. Use safety footwear if necessary.
Protect your head
• Wear safety goggles at all times, every day glasses are not
sufficient for eye protection, as lenses are not impact resistant
and could shatter. Use an approved face or dust mask when
operation creates dust. Ensure dust extraction equipment is
functioning and correctly used. Hearing protection should be
used if the sound intensity level for the operator could exceed
85dB(A). Use a hard hat where there is a risk of falling objects
or striking your head on low level obstructions.
Protect yourself from vibration.
• Hand held power tools may produce vibration. Vibration can
cause disease. Gloves to keep the operator warm and dry and
therefore maintain good blood circulation in the fingers may
help.
Secure work
• Always secure work. Where practical use a clamp or vice, it
will allow you to use both hands to operate your power tool.
Keep your balance
• Don't over reach, keep proper footing at all times to ensure
correct balance.
Maintain your power tool
• Keep your power tool in good working order, keep tools
sharp and clean for best and safest performance. Ensure
ventilation holes are kept clean and unrestricted at all times.
Always disconnect
• Before changing tools, always ensure they are disconnected
, avoid working where the floor is
from the power source.
A
void accidental starting
•
Make sure the switch is in the OFF position before plugging
in the mains lead.
Accessories
•
The use of any attachment or accessory other than those
mentioned in this manual could result in damage or injury
use of improper accessories could be dangerous.
Never stand on your power tool
• Standing on your power tool or its stand could cause serious
injury if the tool is tipped or if the cutting tool is accidentally
contacted. Do not store materials above or near the tool so that
it is necessary to stand on the tool or its stand to reach them.
Switch off before connecting.
• Ensure the power tool is switched off before connecting to the
power source. If the power tool stops unexpectedly turn the
power switch to off.
Do not abuse the power cord.
• Be sure your cable/extension cable is properly wired and in
good condition. Always replace a damaged cable/extension
cable or have it repaired by a qualified person before using it.
Never yank or pull the cable to disconnect it from the power
socket. Never carry your power tool by it’s cable. Keep the
cable away from damp, heat, oil, solvents, and sharp edges.
Check for damaged or missing parts.
• Before each use check if any part of the power tool is damaged
or missing, check carefully that it will operate properly and
perform its intended function. Check alignment of moving parts
for binding. Any guard or other part that is damaged should be
correctly repaired or replaced. Do not use if the power switch
does not turn the power on and off. Check any other condition
that may affect the safety of the power tool. DO NOT USE IF
DEFECTIVE.
Direction of feed
• Feed work into a blade or cutter against the direction of rotation
of the blade or cutter only.
Don't leave the tool running unattended
• Always wait until your power tool has come to a complete stop
before leaving it and then disconnect from power source.
. The
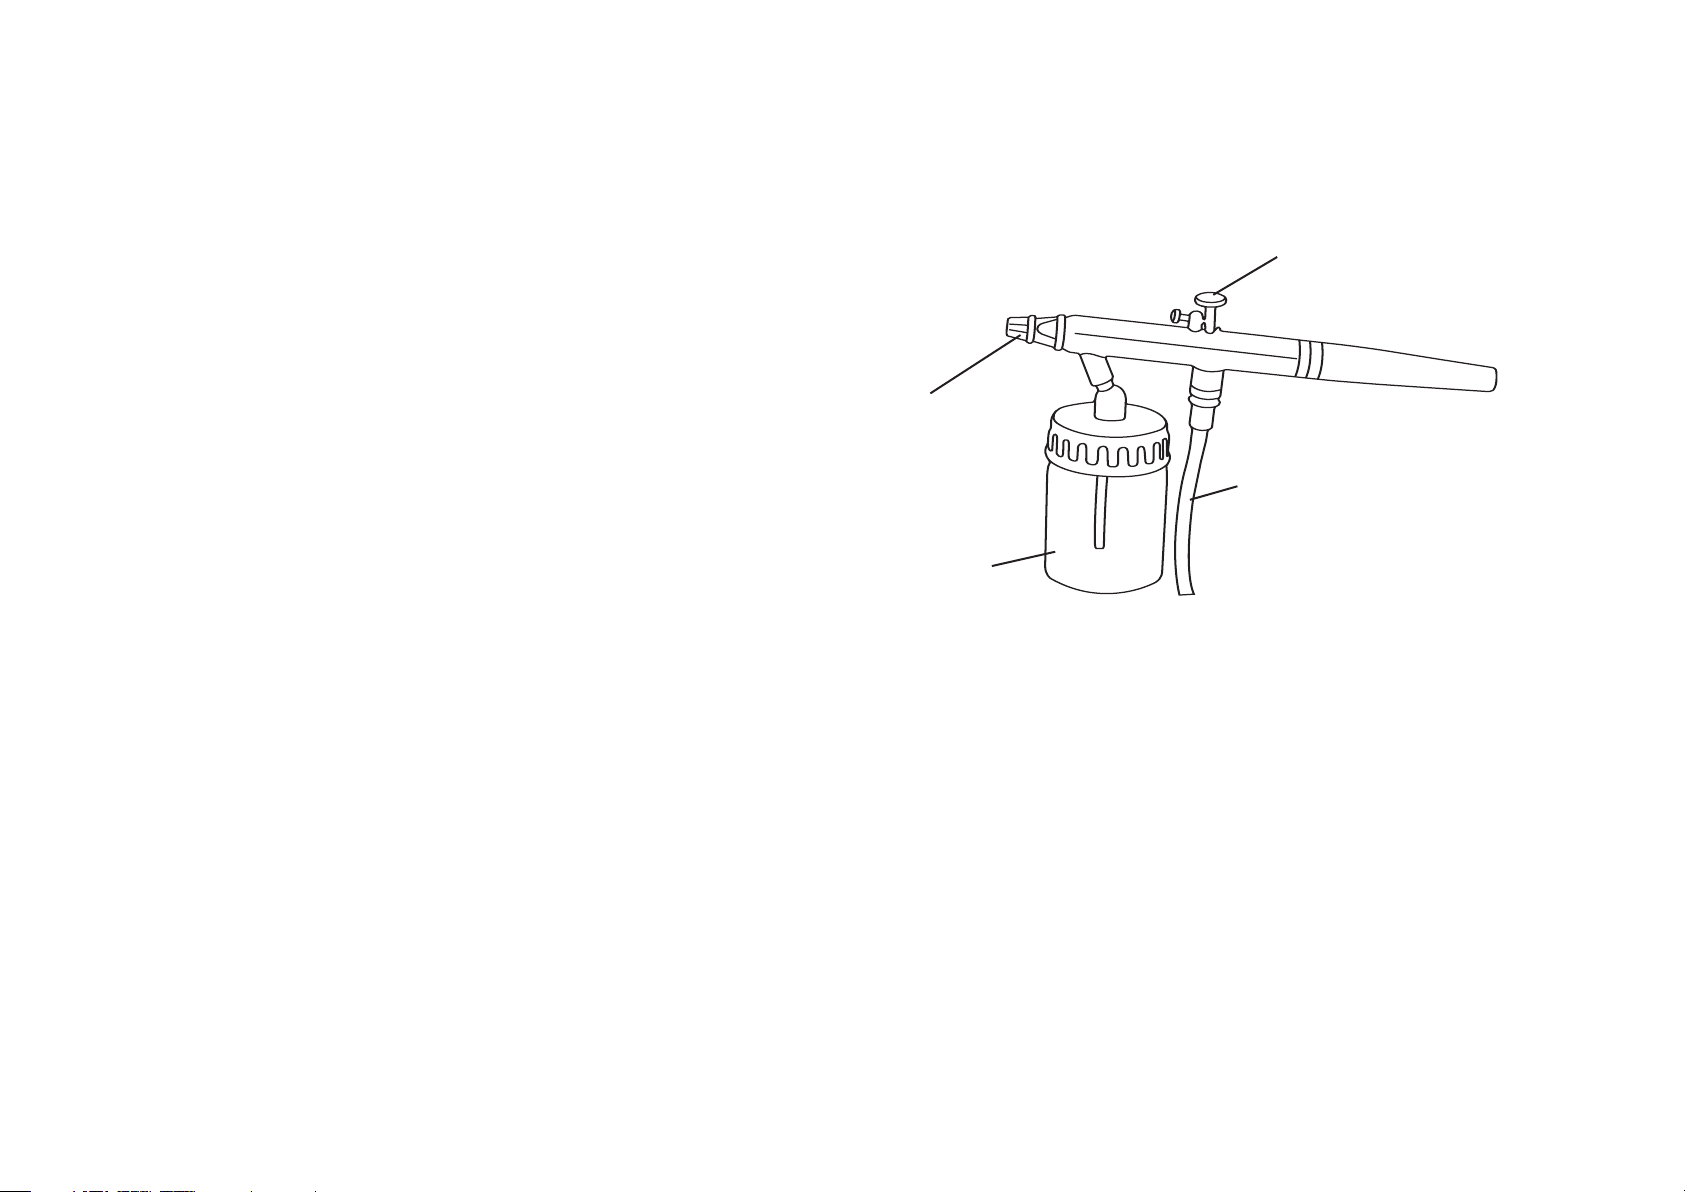
Product Familiarisation
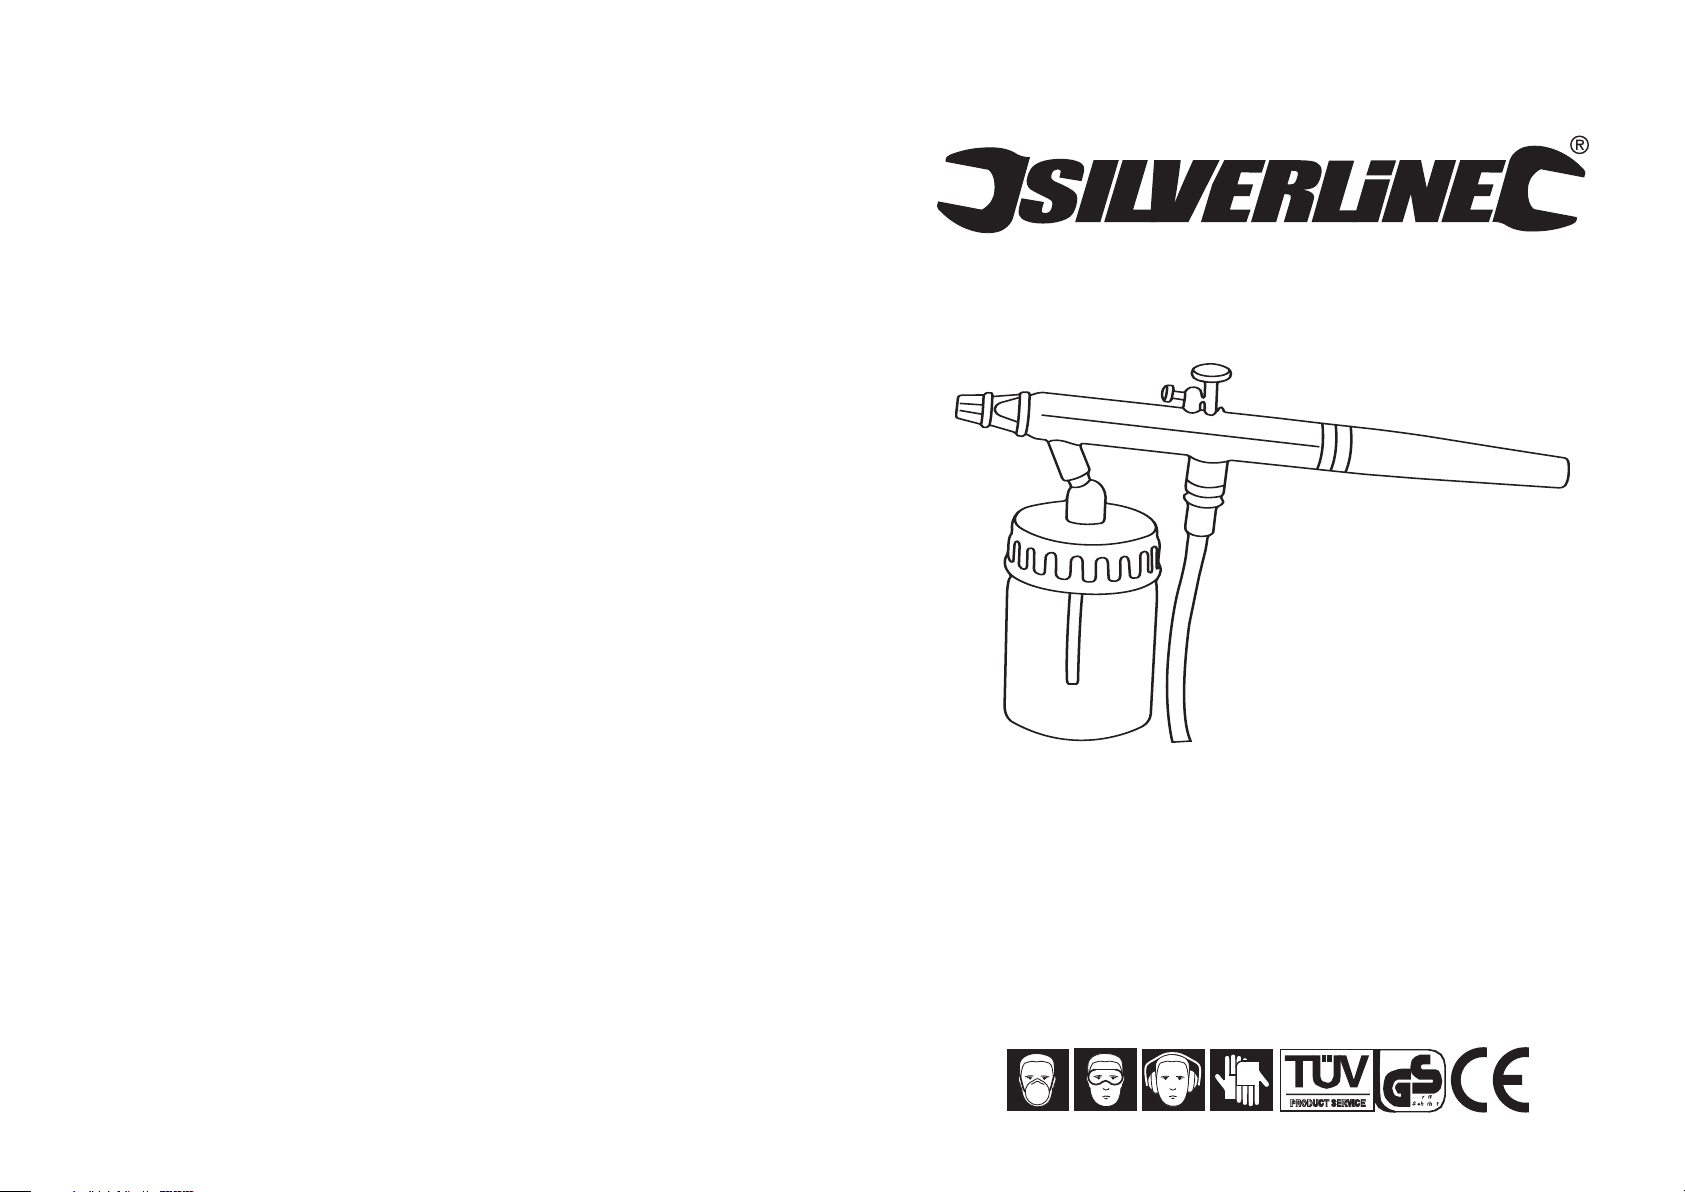
Air Brush Kit
1. Nozzle
2. Finger Lever
3. Air Hose
4. 22cc Paint Bottle
1
4
SPECIFICATION
Nozzle 0.35mm
Capacity 22cc
Average Consumption 0.4-0.7CFM
Air Pressure Required 20-45PSI
ADDITIONAL SAFETY INSTRUCTIONS FOR AIR TOOLS
• Always wear safety goggles or safety glasses.
• Always wear ear protection.
• Always make sure that the machine is switched OFF before
connecting to the air supply.
• Disconnect any machine from the air supply before changing
blades or discs.
• Disconnect any machine from the air supply before performing
any servicing.
• Ensure you keep machines clean and lubricated. Lubrication is
essential to prevent corrosion of internal parts leading to
machine failure.
• Ensure that the machine is oiled daily to prevent corrosion.
Never wear jewellery (not limited to but including. watches,
•
rings, bracelets or necklaces) or loose clothing when operating
air tools.
• Use lightweight coil hoses from the tool to the wall, or
compressor coupling.
• Do not overload the machine. Allowing the machine to work at
its optimum speed prolongs life and is more ef
• Do not increase air pressure above the recommended level,
excessive overload leads to wear of moving parts and possible
tool failure, it can also cause the machine casing to split.
ficient.
2
3
Weight
Min Hose Size 5mm
• Always ensure the machine has fully stopped before putting it
down after use.
• Make sure that the work piece is firmly secured allowing the
operator to control the machine with both hands.
• Ensure that any blades or accessories are rated for use with
the machine.
• Always make sure that blades, discs or other accessories are
correctly secured and fastened before connecting the machine
to an air supply.
• Always fit a whip hose to the air tool.
• Use a straight hose only with spray guns. Do not use coil type
hoses.
• Do not aim the spray gun at people or animals.
• When spraying keep away from heat and naked flames.
• Never spray corrosive or flammable liquids eg. Petrol etc.
Always wear protective equipment including, but not limited to
•
overalls, gloves, facemask etc.
• When spraying it is essential that you have a clean filtered air
supply.
Spray in a well ventilated area or a specialist spray booth.
•
0.7KG
Page 3

OPERA
DO NOT INSTALL
QUICK COUPLING HERE
TO YOUR
AIR TOOL
LEADER HOSE
NIPPLE
QUICK COUPLER
WATER SEPARATION
OILER
NIPPLE
REGULATOR
DRAIN DAILY
AIR SUPPLY
RECOIL HOSE
TING INSTRUCTIONS
Silverline air tools generally operate within a maximum operating
air pressure of 90psi (see specification details).
should be controlled with a combined regulator oil/water filter
ensuring a constant supply of dry air and oil to the machine.
Always check the machines operating pressure and set the
regulator accordingly.
W
ater collects in the compressor tank and this water will cause
serious corrosion to your machines, the tank must be drained on
a daily basis to prevent any water build in the air supply. Dirty
wet air will rapidly corrode the internal working parts of your
machine and shorten its working life significantly
The air pressure
.
Recommended Air Supply
Operation and Use
• Always lubricate the needle with oil at the beginning of the
working day, it will increase working order and durability.
• Never remove the nozzle with pliers always use the correct
size and type of spanner
• Operating pressure is stated in the specification details, perfect
working pressure can vary depending on the density of the
liquid to be sprayed.
• The paint quantity can be adjusted by the needle and by
adjusting the paint control knob.
Filling
Remove the pot from the gun by unscrewing anti-clockwise. Fill
the pot with the desired volume of liquid to be applied. Tightly
screw the pot back on to the gun.
Note. Before connecting the spray gun to the air supply set the
air supply to the correct pressure.
Before spraying mask-up all areas. Avoid taking breaks during
the spraying process as this could allow time for the paint to dry
inside the nozzle and clog the spray gun.
Using Your Air Tool
1. Fill fluid in the cup after thinning appropriately.
2. Hold the airbrush lightly in your hand.
3. By pressing the finger lever, a stream of air emerges. Then
draw it backward gradually for colour atomization.
4. The spray pattern is in accordance with the distance between
the work surface and air brush.
5. For fine line, remove the needle cover and hold the air brush
near the work surface.
MAINTENANCE
1. Empty the fluid cup and wash it out with water.
2. Refill cup with water, then block the needle cover
with a finger and spray. The air flows backward into nozzle,
to clean the paint remaining in the air brush.
TROUBLE SHOOTING
Symptom
Fluttering or spitting. Dry or worn needle
Pattern is an arc. Dust or foreign matter on
Pattern is not evenly
spread.
The centre of the
pattern is too narrow.
Pattern width of fansharp is not enough.
No paint output or very
little.
Problems
packing seat permits air
to seep into fluid passage.
Material container joint
cap leaking.
Packing fluid needle too
loose causing leaking.
air cap clogged horn
holes.
Uneven volume of fluid
from horn holes cause
fluid deviation.
Material builds up on the
outside of the fluid tip or
centre hole or partially
clogs the nozzle orifice.
Loose fluid nozzle
Air pressure is too high.
Material is too thin.
Air pressure is too low
Material too thick.
Fluid passage is clogged
by dirt.
The air holes in the nozzle
of the sprayer are blocked.
Fluid needle stroke is too
small.
Solution
Tighten.
Tighten material
container joint cap.
Tighten or repair them
Remove obstructions
from horn holes or
submerge it in thinner or
suitable solvent and
wipe clean.
Remove obstruction,
never use a wire rod to
unblock the nozzle.
ighten fluid nozzle.
T
Reduce air pressure.
Regulate material
viscosity
.
Increase air pressure.
Regulate material
viscosity
Remove obstructions.
Adjust fluid needle
stroke.
.
.
 Loading...