


Sharp VL-MC500 User Manual
Digital Still Camera Features
Camera Recording
Selecting the Picture
Quality and Image Size
Available mode:
Card Camera
The picture quality of still images recorded on the card depends on the picture quality and image size setting. Select the appropriate setting to match your recording objectives.
Approximate number of recordable images with the supplied 8 MB SD memory card
Picture quality |
Approx. number of |
|
images |
||
setting |
1280 G 960 |
640 G 480 |
|
||
NORMAL |
20 |
90 |
|
|
|
ECONOMY |
40 |
160 |
|
|
|
FINE |
10 |
50 |
|
|
|
Note:
•The number of recordable images differs depending on the combination of picture quality settings used and the images shot.
1 Set the Media Selection switch to u, then hold down the Lock button and set the Power switch to v.
Lock button
2 In Card Camera mode, press the DISPLAY button until the mode screen appears.
G AMMA |
|
|
O F F |
S E L F |
T I ME R |
|
|
M E N U |
ME N U |
|
|
S C E N E |
|
|
 S E L E C T
  S E T
S E T
3 Press l or m on the Operation button to select “MENU”, then press the centre of the Operation button.
4 Press l or m to select Y, then press the centre of the Operation button.
Selecting the Picture Quality
The camcorder compresses each image with the picture quality setting to save memory on a card.
Types
NORMAL: Records images with standard picture quality.
ECONOMY: Allows you to take more shots than in NORMAL mode but with lower quality.
FINE: Records images with higher quality than in NORMAL mode but with a lower number of recordable images.
5 Press l or m to select “REC MODE”, then press the centre of the Operation button.
S E T T I N G 1 |
|
|
||
|
R E C |
G U I D E |
|
N O RMA L |
|
R E C |
MO D E |
||
|
I MA G E S I Z E |
E C O N OMY |
||
|
F L A S H |
F I N E |
||
|
R E D |
E Y E |
|
|
R E T U R N
 S E L E C T
  S E T
S E T
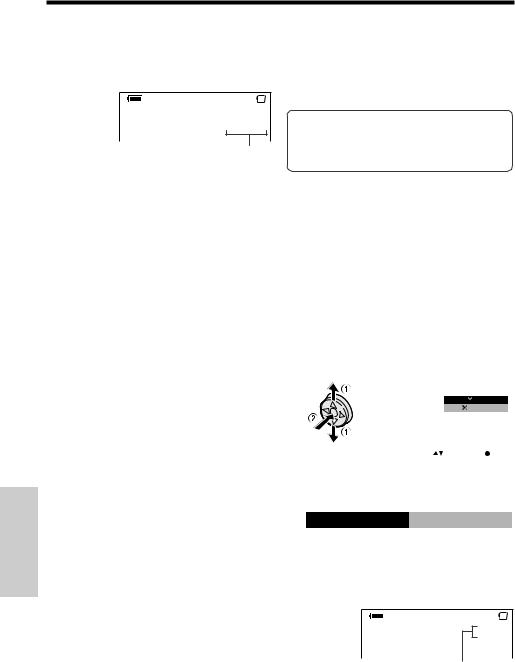
6 Press l or m to select the desired setting, then press the centre of the Operation button.
RE C MODE E C ONOMY
(continued on the next page)
Still DigitalFeatures
Camera
63
Features
Digital Still Camera
Digital Still Camera Features
Camera Recording
7 Press the DISPLAY button to turn off the menu screen.
•The selected picture quality indicator only appears when the on-screen indicators are turned on.
C A R D [ 1 2 8 0 ] 2 1 / 1 9 E C O N OMY
Picture quality indicator
Note:
•The picture quality indicator is also displayed in Card Camera mode. The picture quality indicator displayed during playback is based on the amount of data for that recorded image. Since the amount of data differs depending on factors such as image detail, sometimes the picture quality indicator displayed during playback may not match the picture quality setting used during recording.
Selecting the Image Size
Still images recorded on a card are made up of pixels. You can select the number of pixels in still images. Larger numbers of pixels provide greater image detail, but also use more card memory.
1280G960 (1280): Images are recorded in
1280K960 pixels.
640G480 (640): Images are recorded in
640K480 pixels.
1 In Card Camera mode, press the DISPLAY button until the mode screen appears.
2 Press l or m on the Operation button to select “MENU”, then press the centre of the Operation button.
3 Press l or m to select Y, then press the centre of the Operation button.
4 Press l or m to select “IMAGE SIZE”, then press the centre of the Operation button.
|
|
|
|
|
|
|
|
|
S E T T I N G |
1 |
|
|
|||
|
|
|
R E C |
G U I D E |
|
|
|
|
|
|
R E C |
MO D E |
|
1 2 8 0 9 6 0 |
|
|
|
|
I MA G E S I Z E |
|
|||
|
|
|
F L A S H |
|
|
6 4 0 4 8 0 |
|
|
|
|
R E D |
E Y E |
|
|
|
|
|
|
R E T U R N |
|
|
|
|
|
|
|
|
|
|
|
S E L E C T S E T |
|
|
|
|
|
|
|
|
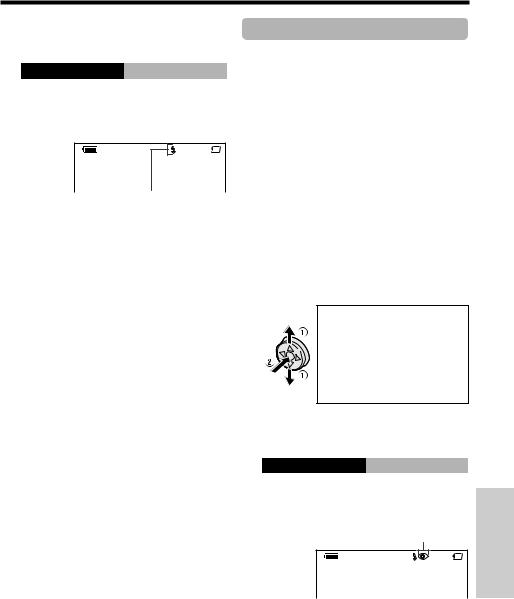
5 Press l or m to select “1280G960” or “640G480”, then press the centre of the Operation button.
IMAGE S I Z E 1 2 8 0 9 6 0
9 6 0
6 Press the DISPLAY button to turn off the menu screen.
•The selected image size indicator appears when the on-screen indicators are turned on.
C A R D [ 1 2 8 0 ]
2 1 / 1 9 E C ON OMY
Image size indicator
64
Card Recording
Available mode:
Card Camera
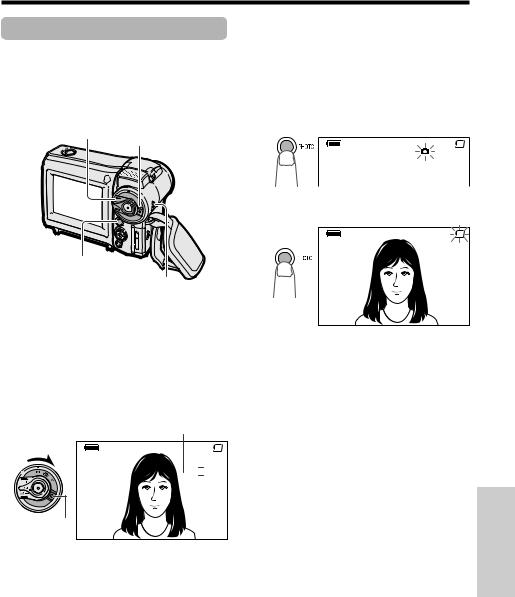
You can take a still picture in the same way as you do with a standard camera and record that image on the card.
Power Zoom control Power switch
PHOTO button
Media Selection switch
1 Insert a card into the camcorder (see page 12).
2 Remove the lens cap.
3 Set the Media Selection switch to u.
4 Hold down the Lock button and set the Power switch to v.
• The picture from the lens now displays.
Number of shots taken/remaining
C A RD [ 1 2 8 0 ]  9 / 1 1 NORMAL
Lock button A U T O
5 Adjust the Power Zoom control to frame the subject as you desire.
6 Press the PHOTO button half-way down to focus on the subject.
•The camcorder automatically focuses on the subject. When it is set, you will hear a sound and see T mark, then the camcorder locks the focus.
C A R D
[ 1 2 8 0 ] 9 / 1 1 NORMAL
7 Press the PHOTO button fully to begin recording.
C A R D [ 1 2 8 0 ] 9 / 1 1 NORMAL
A U T O
•The S indicator flashes red while data is being recorded on the card, and returns to white when recording completes.
•To record another image, release the PHOTO button and make sure the picture is not frozen in the monitor, then perform steps 6 and 7.
Notes:
•Recording under insufficient lighting may result in blurred images. It is recommended that you use a tripod to record insufficiently illuminated subjects.
•Recording under the light of a fluorescent, mercury, or sodium lamp may cause flickering in the image and, depending on the timing of the shot, may result in changes to colour hue in the image.
•Set the BEEP menu item to “OFF” to turn off the focus locking sound.
Caution:
•Do not turn the power off or remove the card while the S indicator is flashing in step 7.
Still DigitalFeatures
Camera
65

Digital Still Camera Features
Camera Recording
Using the Flash |
Selecting Flash Mode |
Available mode: |
Types |
|
Card Camera
Using the flash function enables you to record good-quality still images even in dark locations.
Using
Slide the flash cover release in the direction of the arrow.
• The flash will open automatically.
Closing
Close the flash cover by pressing its centre until it clicks into place.
Features
Digital Still Camera
AUTO: Flash automatically fires in dark locations (when “LIGHT” is displayed on the screen) each time you press the PHOTO button. The s indicator appears when on-screen indicators are turned on.
ON: Flash fires every time you press the PHOTO button. The q indicator appears when on-screen indicators are turned on.
1 Open the flash.
2 In Card Camera mode, press the DISPLAY button until the mode screen appears.
3 Press l or m on the Operation button to select “MENU”, then press the centre of the Operation button.
4 Press l or m to select Y, then press the centre of the Operation button.
5 Press l or m to select “FLASH”, then press the centre of the Operation button.
S E T T I N G |
1 |
|
|
|
|
|||
|
|
R E C |
G U I D E |
|
|
|
|
|
|
|
R E C |
MO D E |
|
|
|
|
|
|
|
I MA G E |
S I Z E |
|
|
|
|
|
|
|
F L A S H |
|
|
|
A U T O |
|
|
|
|
R E D |
E Y E |
|
|
O N |
|
|
|
|
R E T U R N |
|
|
|
|
|
|
|
|
|
|
|
|
|
|
|
 S E L E C T
  S E T
S E T
66
6 Press l or m to select “AUTO” or “ON”, then press the centre of the Operation button.
F L A SH |
ON |
7 Press the DISPLAY button to turn off the menu screen.
•The q (or s) indicator appears when on-screen indicators are turned on.
C A R D [ 1 2 8 0 ] 2 1 / 1 9 E C ON OMY
Flash indicator
Cautions:
•Do not use the flash when shooting a closeup of a person.
•Do not use the flash in front of a person's eyes, especially children, as flashing directly into the eyes from close range can damage vision. Be particularly careful around children and maintain a distance of 1 m or more from your subject.
•Do not touch the opening or lens of the flash with wet hands. It may cause electric shock.
Note:
•The q indicator flashes while the flash is being charged.
Red-eye Reduction
Available mode:
Card Camera
Red-eye reduction allows you to minimize the camera flash capturing the red at the back of the iris.
1 In Card Camera mode, press the DISPLAY button until the mode screen appears.
2 Press l or m on the Operation button to select “MENU”, then press the centre of the Operation button.
3 Press l or m to select Y, then press the centre of the Operation button.
4 Press l or m to select “RED EYE”, then press the centre of the Operation button.
S E T T I N G |
1 |
|
|
|
|
|||
|
|
R E C |
G U I D E |
|
|
|
|
|
|
|
R E C |
MO D E |
|
|
|
|
|
|
|
I MA G E |
S I Z E |
|
|
|
|
|
|
|
F L A S H |
|
|
|
|
|
|
|
|
R E D |
E Y E |
|
|
O F F |
|
|
|
|
R E T U R N |
|
|
|
C O R R E C T |
|
|
|
|
|
|
|
|
|
|
|
 S E L E C T
  S E T
S E T
5 Press l or m to select “CORRECT”, then press the centre of the Operation button.
R E D E Y E |
C O R RE C T |
6 Press the DISPLAY button to turn off the menu screen.
•Red-eye indicator appears when onscreen indicators are turned on.
Red-eye indicator
C A R D [ 1 2 8 0 ] 2 1 / 1 9 E C ON OMY
Notes:
•The flash fires twice when the red-eye reduction is set to “CORRECT”. The first flash is to reduce the “red-eye”, and the second flash is for recording the still image.
•The effect of red-eye reduction depends on individual. Reduction may not be as effective as desired on conditions like shooting distance or the subject not watching the pre-flash.
Still DigitalFeatures
Camera
67
 Loading...