

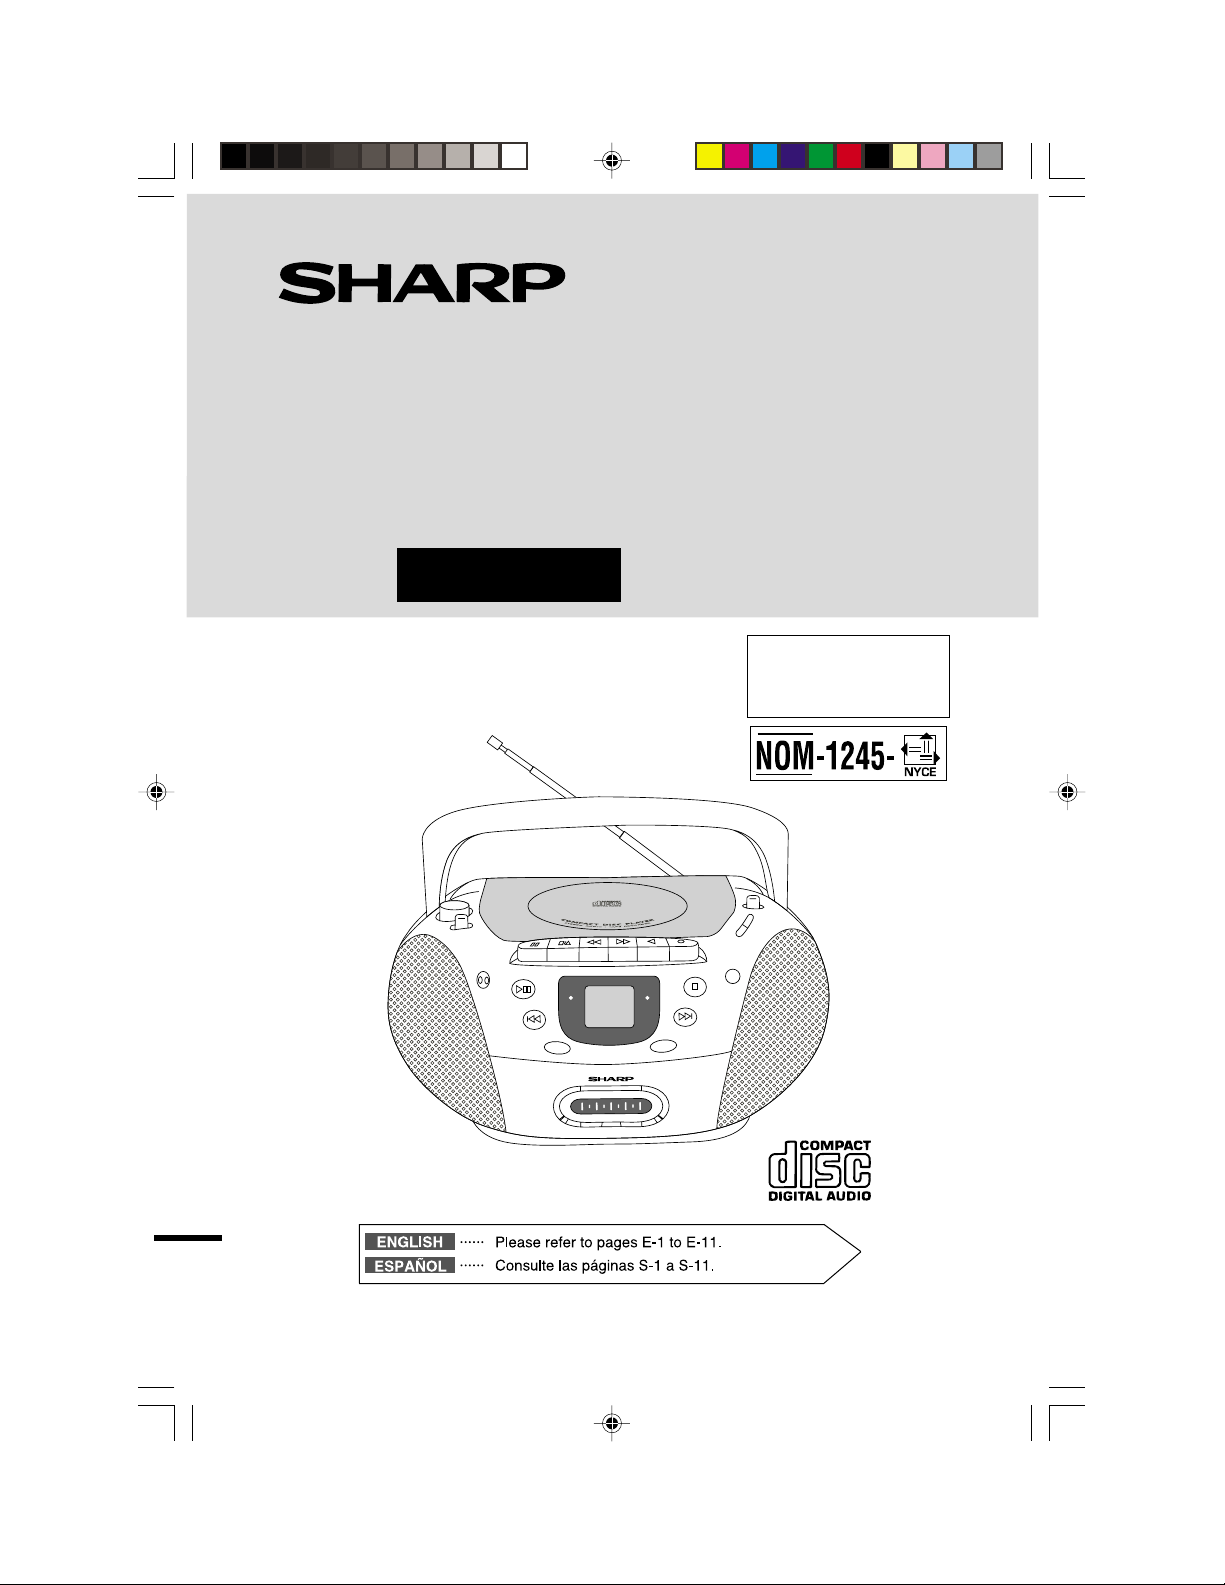
PORTABLE CD STEREO SYSTEM
SISTEMA CD ESTÉREO PORTÁTIL
MODEL
MODELO
QT-CD700W
OPERATION MANUAL
MANUAL DE MANEJO
Thank you for purchasing this SHARP product.
Muchas gracias por haber adquirido este producto SHARP.
MIC
PAUSE
STOP/EJECT
F.FWD
REWIND
PLAY/
PAUSE
DOWN/
F.REVERSE
POWER FM ST
PROGRAM
RECORD
PLAY
UP/
F.FORWARD
REPEAT
ANTES DE USAR ESTE
PRODUCTO FAVOR DE
LEER ESTE MANUAL DE
OPERACIÓN.
RANDOM
STOP
ENGLISH Front 9/2/04, 10:11 AM1
SHARP CORPORATION
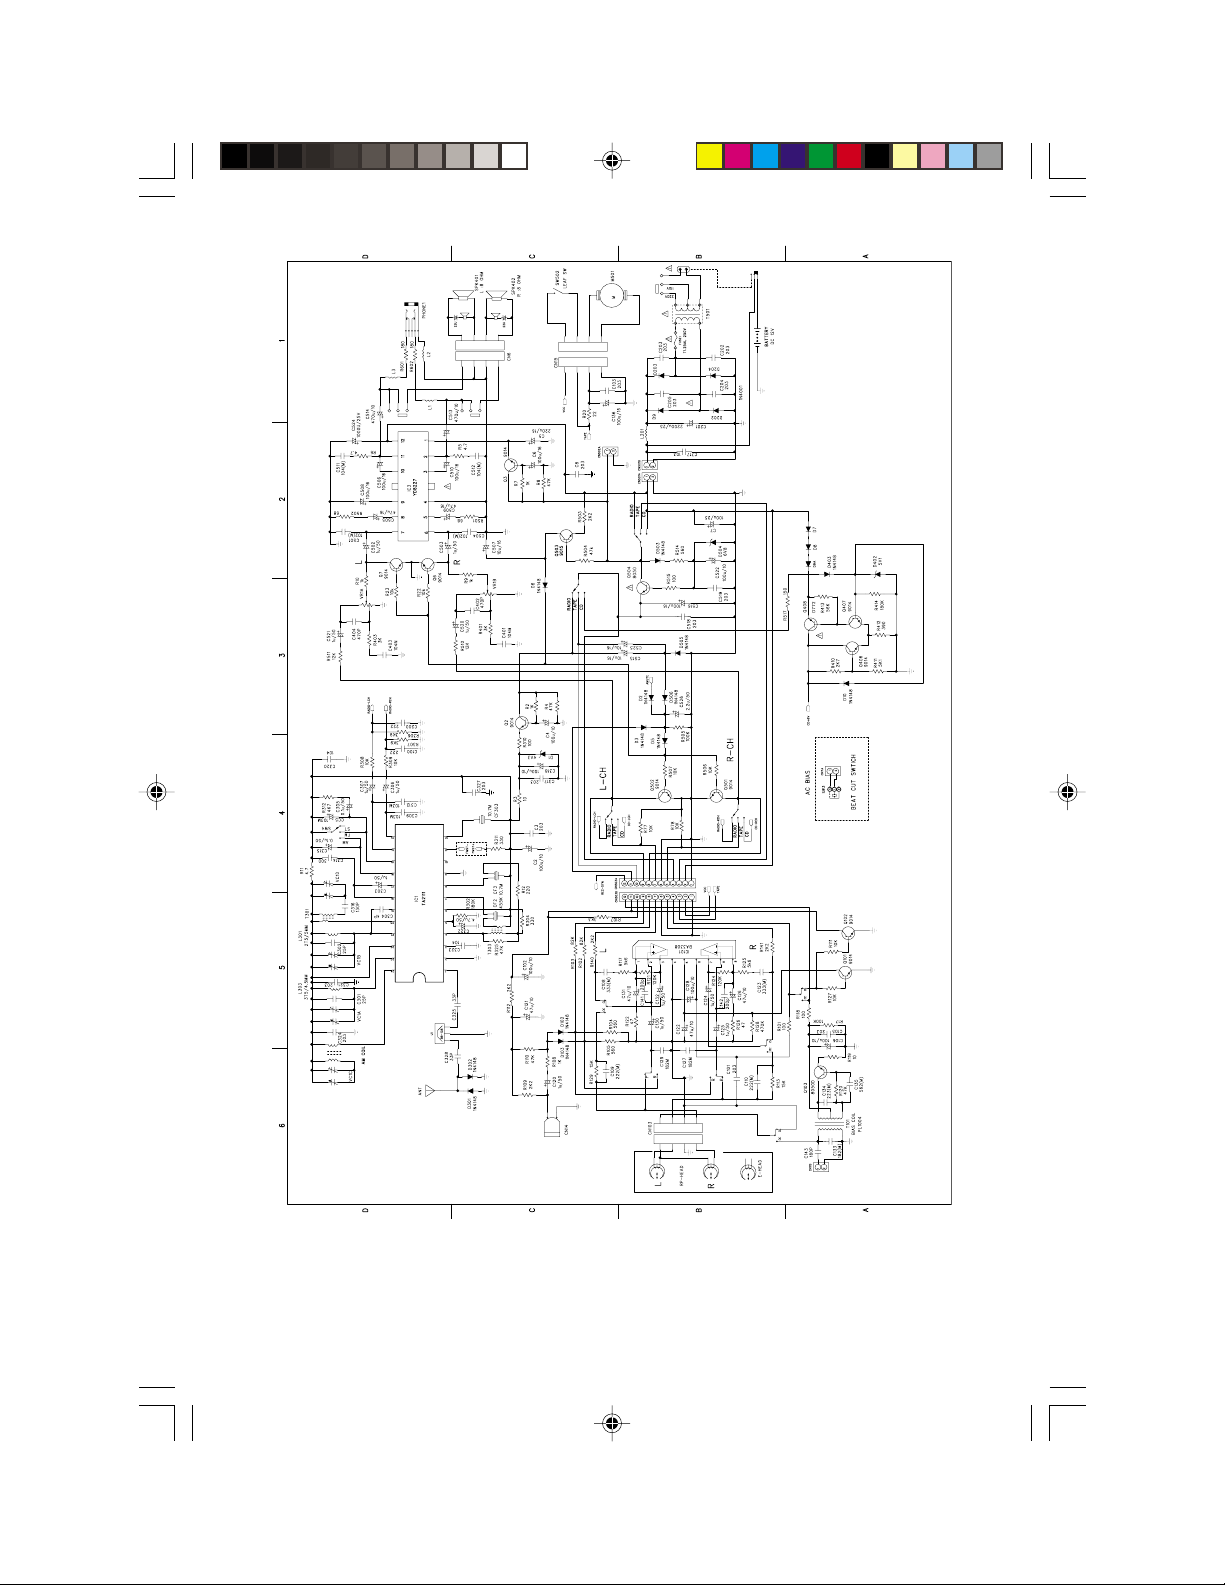
Wiring diagram of this model is subject to change for improvement without prior notice.
•
El diagrama del cableado del presente modelo queda sujeto a cambios sin aviso previo, a fin
•
de mejorarlo.
ENGLISH Front 9/2/04, 10:11 AM2
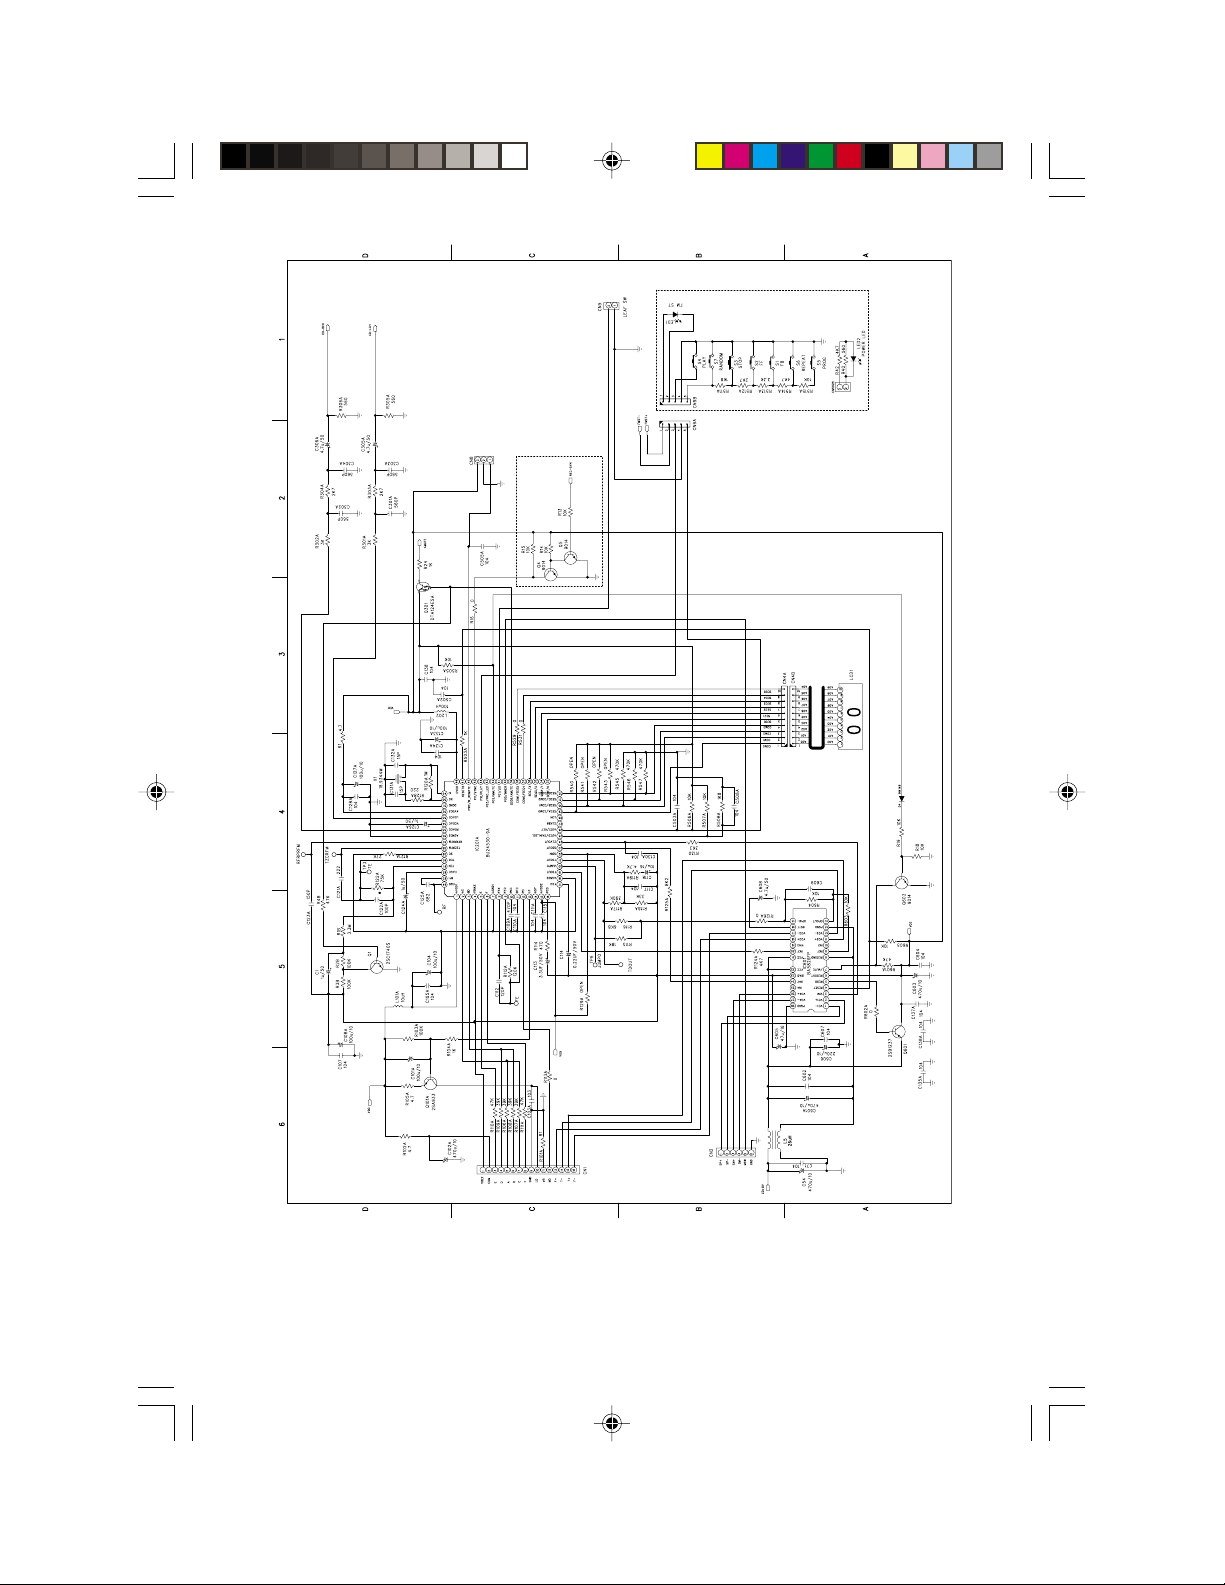
Wiring diagram of this model is subject to change for improvement without prior notice.
•
El diagrama del cableado del presente modelo queda sujeto a cambios sin aviso previo, a fin
•
de mejorarlo.
ENGLISH Front 9/2/04, 10:11 AM3
ENGLISH
Special Notes
I Audio-visual material may consist of
copyrighted works which must not be
recorded without the authority of the owner
of the copyright.
Please refer to the relevant laws in your
country.
I When the FUNCTION switch is set at
STANDBY position, mains voltage is still
present inside the unit.
I The letters in brackets contained in the model
number indicate the colour of the product
only. Operation and specifications are
unaffected.
CAUTION
I This product is classified as a CLASS 1 LASER product.
I This product contains a low power laser device. To ensure continued safety do not remove any
cover or attempt to gain access to the inside of the product. Refer all servicing to qualified
personnel.
Warning:
This unit contains no user serviceable parts.
Never remove covers unless qualified to do so.
This unit contains dangerous voltages, always
remove mains plug from the socket before any
service operation and when not in use for a long
period.
Warning:
To prevent fire or shock hazard, do not expose
this appliance to dripping or splashing. No
objects filled with liquids, such as vases, shall
be places on the apparatus.
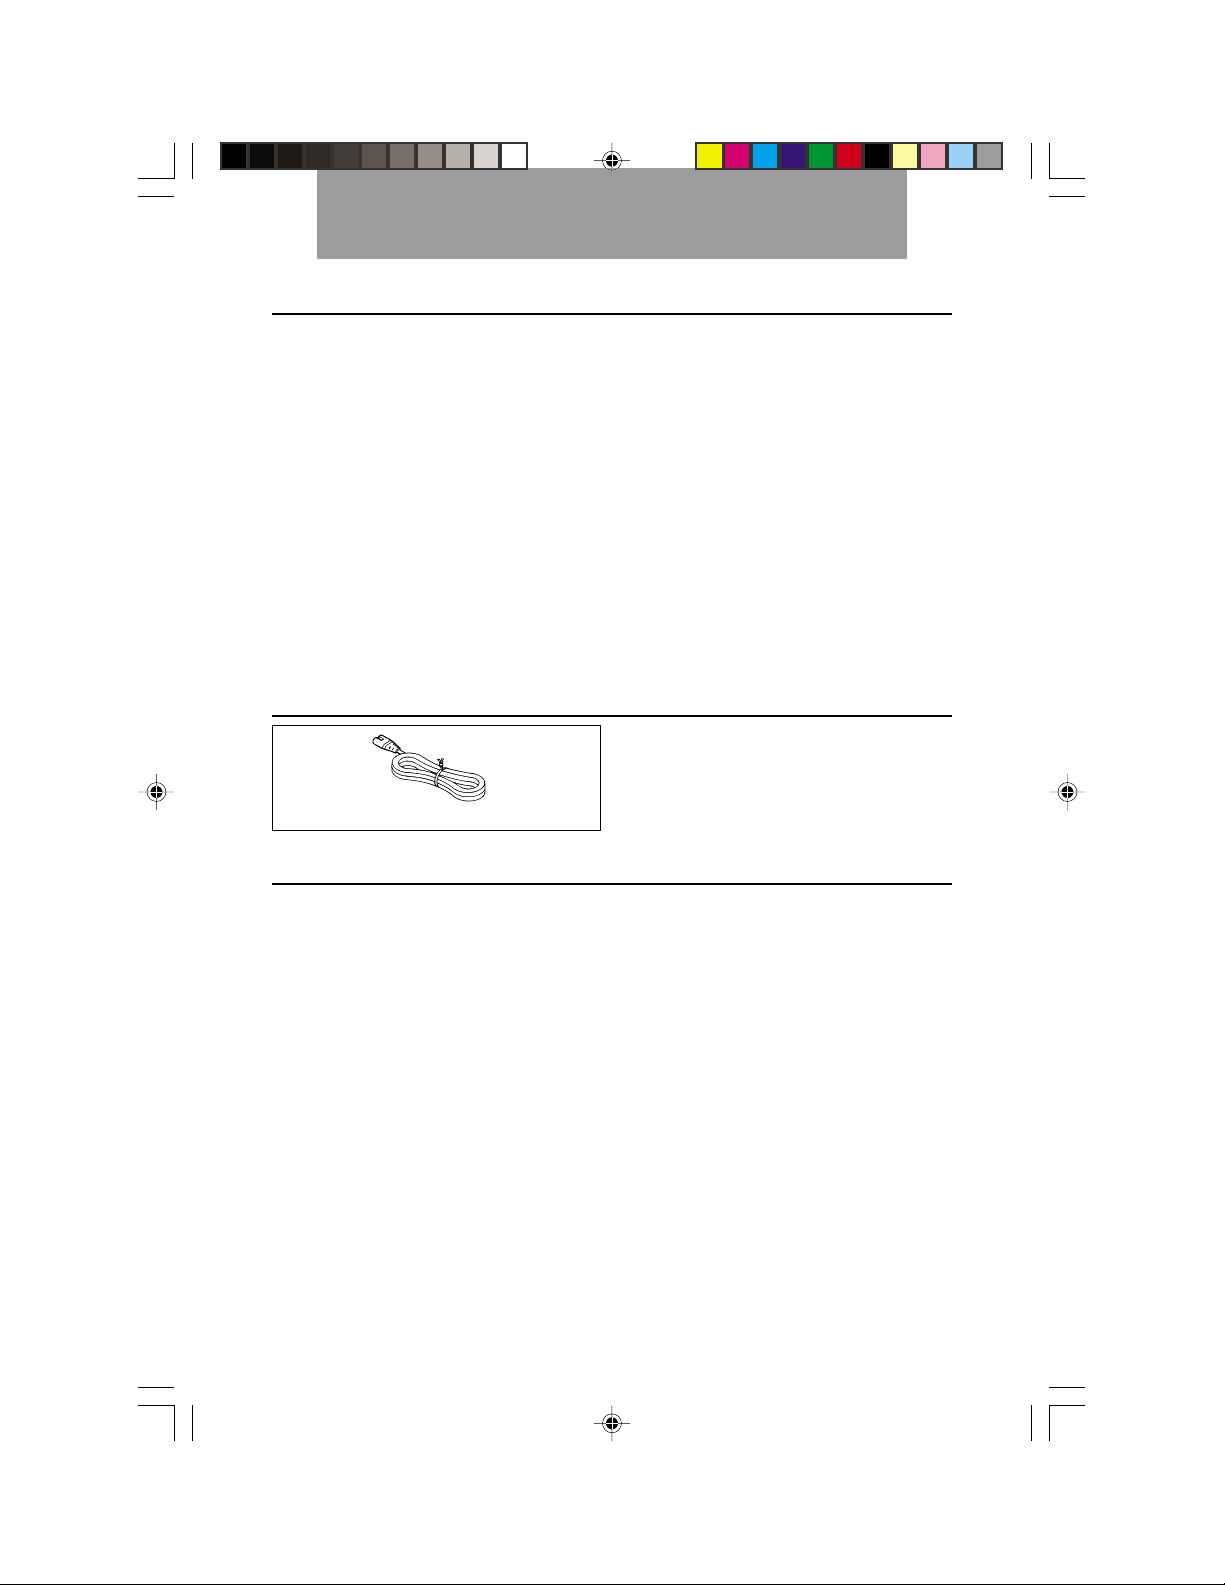
Accessory
Note:
I Only the accessory in the drawing is included.
AC power lead x 1
Precautions
I Do not expose the unit to moisture, to
temperatures higher than 60°C (140°F) or
to extremely low temperatures.
I Keep the unit away from direct sunlight,
strong magnetic fields, excessive dust,
humidity and electronic/electrical equipment
(home computers, facsimiles, etc.) which
generates electrical noise.
I Hold the AC power plug by the head when
removing it from the AC socket as pulling the
lead can damage internal wires.
I When cleaning the heads, pinch roller, etc.,
remove the AC power lead from the AC
socket as the unit contains high voltages. Do
not remove the outer cover, as this may result
in electric shock. For internal service refer to
your local SHARP service facility.
I Use the unit on a firm, level surface free from
vibration, and do not place anything on the
top of the unit.
I If the unit does not work properly, set the
FUNCTION switch to STAND-BY and then
to ON again.
I In case of an electrical storm, unplug the unit
for safety.
ENGLISH NEW 9/3/04, 2:41 PM1
I This unit should only be used within the range
of 5°C - 35°C (41°F - 95°F).
I The ventilation should not be impeded by
covering the ventilation openings with items,
such as newspapers, tablecloths, curtains,
etc.
I No naked flame sources, such as lighted
candles, should be placed on the apparatus.
I Attention should be drawn to the
environmental aspects of battery disposal.
Warning:
I The voltage used must be the same as that
specified on this unit. Using this product with
a higher voltage other than that specified is
dangerous and may result in a fire or other
type of accident causing damage. SHARP
will not be held responsible for any damage
resulting from use of this unit with a voltage
other than that specified.
I CD Players use a laser pickup which can
damage the eyes if viewed directly. Do not
look at the pickup and do not touch the pickup
directly.
E-1
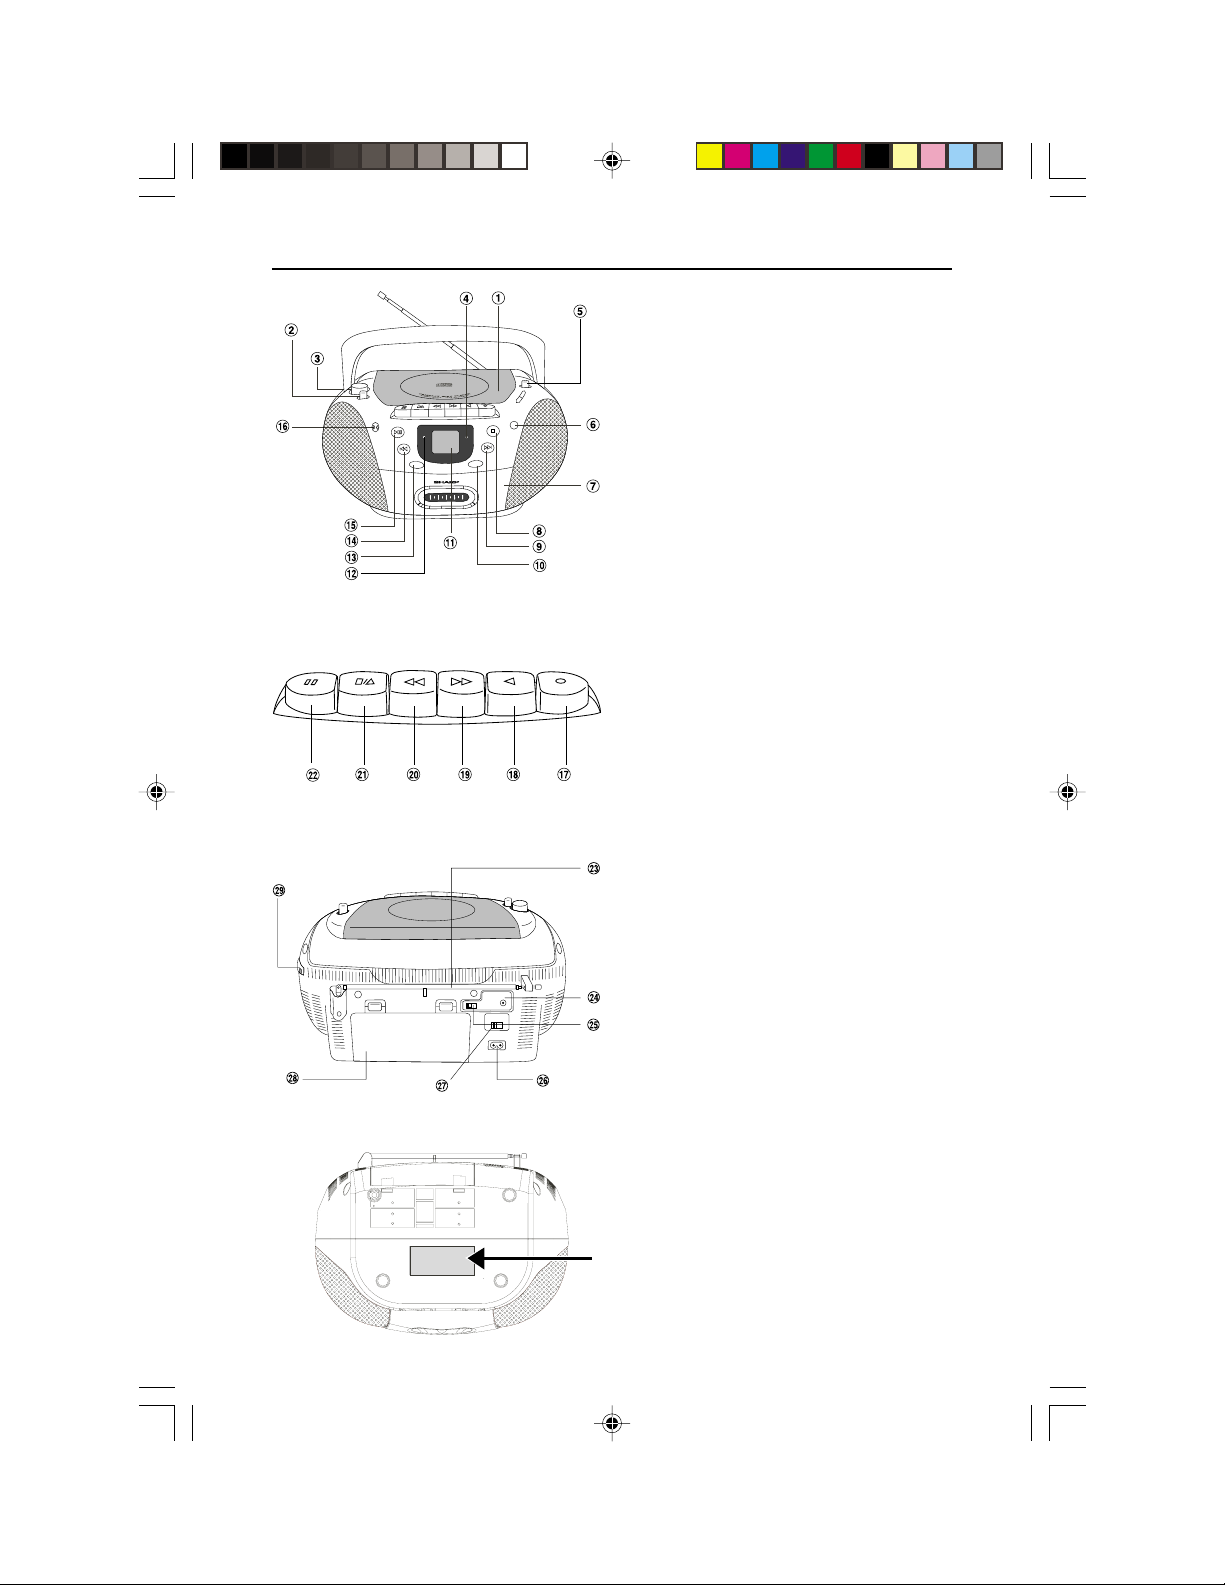
Control and Indicators
MIC
PAUSE
STOP/EJECT
F.FWD
PLAY/
PAUSE
DOWN/
F.REVERSE
REWIND
POWER FM ST
PROGRAM
RANDOM
RECORD
PLAY
STOP
UP/
F.FORWARD
REPEAT
1. CD Compartment
2. Function Switch
3. Volume Control
4. FM Stereo Indicator
5. Band Selector
6. (CD) RANDOM Button
7. Cassette Compartment
8. (CD) STOP Button
9. (CD) TRACK UP/FAST FORWARD
Button
10. (CD) REPEAT Button
11. LCD Display
12. Power Indicator
13. (CD) PROGRAM Button
14. (CD) TRACK DOWN/FAST REVERSE
Button
15. (CD) PLAY/PAUSE Button
16. Built - In Microphone
17. (TAPE) RECORD Button
18. (TAPE) PLAY Button
19. (TAPE) REWIND Button
20. (TAPE) F.FORWARD Button
21. (TAPE) STOP/EJECT Button
22. (TAPE) PAUSE Button
ENGLISH NEW 9/3/04, 2:41 PM2
23. FM Aerial
24. Earphone Socket
25. Beat Cut Switch
26. AC Input Socket
27. AC Voltage Selector
28. Battery Compartment
29. Tuning Control
The rating label is located
on the bottom of the unit.
E-2

Operation with AC Power
VOLTAGE SELECTOR
AC 110-127/220-240 V,
50/60 Hz
1
2
To AC INPUT
Check the setting of the AC voltage selector
located on the rear panel before plugging the
unit into an AC socket, if necessary,
adjust the selector to match the AC power
voltage used in your area.
Selector adjustment:
Slide the selector with a screwdriver to the
appropriate voltage number. (AC 110 -127 V or
AC 220 - 240 V)
AC plug adaptor:
In areas (or countries) where an AC socket as
shown in illustration 2 is used, connect the unit
using the AC plug adaptor supplied with the unit,
Operation with Batteries
1 Disconnect the AC power lead, and re-
move the battery compartment cover.
2 Insert 8 “C”, size batteries (UM/SUM-2,
R14, or similar) into the battery compartment.
I Insert the batteries according to the
direction indicated on the rear panel.
I When inserting or removing the batteries,
push them toward the · battery
terminals.
I Installing the batteries incorrectly may
cause the unit to malfunction.
3 Replace the battery compartment cover.
Battery replacement:
Replace the batteries when they become weak
E-3
To an AC socket
as illustrated. The AC plug adaptor is not
included in areas where the AC wall socket and
AC power plug can be directly connected (see
illustration 1).
Notes:
I If the unit will not be used for a long period of
time, remove the AC power lead from the
AC socket.
I Connection of the AC power lead to the unit
disconnects the batteries.
I Use only the supplied AC power lead. Using
other power leads may cause an electric
shock or fire.
and/or recording or playback is impaired. This
may occur even though radio broadcasts are
audible.
Notes:
I Replace all old batteries with new ones at
the same time.
I Do not mix old and new batteries.
I Remove the batteries if the are weak or if
the unit will not be used for long periods of
time. This will prevent potential damage due
to battery leakage.
I Batteries are not included.
Caution:
Do not use rechargeable batteries (nickelcadmium battery, etc.)
ENGLISH NEW 9/3/04, 2:41 PM3

Listening to a CD
TAPE (STAND-BY)
CD
RADIO
MIC
DOWN/
F.REVERSE
PAUSE
PLAY/
PAUSE
DOWN/
F.REVERSE
PROGRAM
PLAY/
PAUSE
Precautions :
I When “no” or track number is displayed, the
power is connected. If you will not be using
the CD player, set the FUNCTION switch to
STAND-BY.
I Do not open the CD compartment whilst the
disc is rotating.
I If the disc is damaged, dirty, or loaded upside
down, the total number of tracks will not
appear.
Clean, replace, or reload the disc properly.
I Keep foreign objects out of the CD compart-
ment.
I Subjecting the unit to shock or vibration may
cause mistracking.
I Keep the CD compartment closed except
when loading discs.
I Playing certain compact discs at a high
volume may cause mistracking. In this case,
listen at a lower volume.
I If TV or radio interference occurs during CD
operation, move the unit away from the TV
or radio.
STOP
RANDOM
STOP/EJECT
POWER FM ST
RECORD
PLAY
F.FWD
REWIND
STOP
UP/
F.FORWARD
REPEAT
UP/
F.FORWARD
H
Care of compact discs
Compact discs are fairly resistant to damage,
however mistracking can occur due to an
accumulation of dirt on the disc surface.
Follow the guidelines below for maximum
enjoyment from your CD collection and player.
I Do not write on either side of the disc,
particularly the non-label side. Signals are
read from the non-label side. Do not mark
this surface.
I Keep your discs away from direct sunlight,
heat, and excessive moisture.
I Always hold the CDs by the edges.
Fingerprints, dirt, or water on the CDs can
cause noise or mistracking. If a CD is dirty
or does not play properly, clean it with a soft,
dry cloth, wiping straight out from the centre,
along the radius.
NO YES
Correct
ENGLISH NEW 9/3/04, 2:41 PM4
E-4

1 Set the FUNCTION switch to CD. (The
POWER indicator will light up)
2 Open the CD compartment.
3 Place a compact disc on the spindle, label
side up. 8cm (3") discs may be played
without an adaptor.
4 Close the CD compartment.
Label Side Up
5 Press the PLAY/PAUSE 3 8 button to
start playback from track 1.
6 Turn the VOLUME control to increase or
decrease the volume.
To interrupt playback:
I Press the PLAY/PAUSE 3 8 button during
playback.
I Press the PLAY/PAUSE 3 8 button again
to resume playback.
To stop playback:
Press the STOP 7 button.
H
Random Play
Set the function switch to CD
Tracks on one disc can be played in random
order automatically.
Preparation for Random Play
I Whilst in the stop
mode, press the RANDOM button.
I Next press the PLAY/
PAUSE 3 8 button
to begin random play.
To cancel random play:
Press the
Notes:
I Random play ends when all the tracks on
I If you press the ¢ button during random
I In random play, the CD player will select and
I Open CD compartment will cancel the
7 button.
the selected disc are played once.
play, you can move to the track selected next
by the random operation.
play tracks automatically. (You cannot select
the order of the tracks.)
random function.
RNDM
To listen to the track being played again:
During playback, press the DOWN/ F.REVERSE
4 button.
To move to the beginning of the next track:
During playback, press the UP/ F.FORWARD
¢ button.
Notes:
I To skip a number of tracks at one time, press
the DOWN/F.REVERSE 4 or UP/ F.FORWARD ¢ button repeatedly until the
desired track number is shown.
I To start playing a desired track, press the
DOWN/F.REVERSE 4 or UP/F.FORWARD ¢ button whilst in the stop mode
to select the track number, and then press
the PLAY/PAUSE 3 8 button.
To fast forward audibly:
During playback, hold down the UP/F.FORWARD ¢ button.
To fast reverse audibly:
During playback, hold down the DOWN/
F.REVERSE 4 button.
ENGLISH NEW 9/3/04, 2:41 PM5
E-5

H
Repeat Play
Set the function switch to CD
You can repeat one track, all the tracks on the
disc currently played or the programmed tracks.
1 Whilst the disc is playing, press the RE-
PEAT button.
Each time the button is pressed, the repeat
play mode changes in the following order.
H
Programmed play
You can choose up to 20 selections for playback in the order you like.
1 Set the FUNCTION switch to CD.
2 Whilst in the stop mode, press the PRO-
GRAM button to enter the programming
save mode.
ALL1
REPEAT ONE REPEAT ALL
REPEAT DISAPPEAR
(NORMAL PLAY)
2 To return to the normal playback, turn off
“REPEAT ONE” and “REPEAT ALL” by
pressing the REPEAT button several
times.
To repeat a desired track:
Perform steps 1 - 6 in the “Programmed play”
section on page 6 and then press the REPEAT
button with the “REPEAT 1” and “REPEAT ALL”
indicator appear.
To repeat random play:
Whilst random is playing,
I For full disc repeat play, press the repeat
button once and the “REPEAT ALL”
indicator will appear.
To cancel repeat random play:,
I Press the STOP 7 button.
(First desired track
will displayed on)
PROG
3 Press UP/F.FOR-
WARD ¢ or
DOWN/F.REVERSE
PROG
4 button to select
the desired track.
4 Press the PRO-
GRAM button to
save the selected
track number.
Selected Track Number
PROG
5 To programme the next desired tracks,
repeat steps 3 - 4 up to 20 tracks can
be programmed.
6 Press the PLAY / PAUSE 3 8 button
to start playback.
ENGLISH NEW 9/3/04, 2:41 PM6
E-6

* Adding track to the programme
If programme has been previously stopped,
press PROGRAM button repeatedly till last desired track of original track of original programme.
“Prog 00” will be displayed, then repeat steps
3 - 4 for other desired track.
* To overwrite the programme
Press the PROGRAM button to select overwrite
track, press
¢ or 4 button to select new
track. Press PROGRAM button to save the track.
PROG TRACK PROG TRACK
(Before) (After)
Listening to the Radio
Notes:
I If you programmed over 20 tracks, the next
programmed desired track will overwrite first
desired track which has been programmed.
I If the last programmed track has finish
playback or press the STOP
7 button, it will
automatically change to normal condition but
the programmed tracks will not be cancel.
I To restart the previous programmed track
placback, press the PROGRAM button and
follow by pressing the PLAY/ PAUSE
38
button.
I To cancel the programmed, open CD
compartment or set function switch to other.
TAPE (STAND-BY)
CD
RADIO
MIC
PAUSE
STOP/EJECT
F.FWD
PLAY/
PAUSE
POWER FM ST
DOWN/
F.REVERSE
PROGRAM
1 Set the FUNCTION switch to RADIO. (The
POWER indicator will light up)
2 Set the band selector switch to AM, FM or
FM ST.
3 Turn the TUNING control to tune in to the
desired station.
During FM stereo reception, it automatically
switches to monaural when the signal is weak.
BAND
AMFMFM ST
RANDOM
RECORD
PLAY
REWIND
STOP
UP/
F.FORWARD
REPEAT
TUNING
Aerial adjustment:
FM AM
After use:
Set the FUNCTION switch to STAND-BY.
ENGLISH NEW 9/3/04, 2:41 PM7
E-7

Listening to a Cassette Tape
TAPE (STAND-BY)
STOP/EJECT
CD RADIO
PAUSE
F.FWD REWIND
PLAY
RECORD
MIC
PAUSE
STOP/EJECT
F.FWD
PLAY/
PAUSE
DOWN/
F.REVERSE
REWIND
POWER FM ST
PROGRAM
RANDOM
RECORD
PLAY
STOP
UP/
F.FORWARD
REPEAT
1 Set the FUNCTION switch to TAPE.
2 Open the cassette compartment by
pushing the STOP/ EJECT 7 / 0 button.
3 Load a cassette into the cassette
compartment with the side to be played
facing you.
4 Press the PLAY 2 button.
5 To advance the tape, press the STOP/
EJECT 7 / 0 button, then press the F.FWD
1 button. To rewind, press the STOP/
EJECT 7 / 0 button, then press the
REWIND ¡ button.
To interrupt playback:
Press the PAUSE 8 button during playback.
Press the PAUSE 8 button again to resume
playback.
To stop playback:
Press the STOP/ EJECT 7 / 0 button.
H
Cassette Tape
I For playback, use normal or low-noise tapes
for the best sound. (Metal or CrO2 tapes are
not recommended.) For recording, use only
normal tapes.
I Do not use C-120 tapes, or poor-quality
tapes, as they may cause malfunctions.
I Before loading a tape into the cassette
compartment, tighten the slack with a pen
or pencil.
I Cassettes have removable tabs that prevent
accidental recording or erasing. Removing
the tab will protect the corresponding side
from being erased. Cover the tab holes with
adhesive tape to erase or record again.
Side A (1)
Tab for side B (2) Tab for side A (1)
Precautions:
I Be sure not to press the PLAY 2 and
REWIND ¡ buttons simultaneously, or the
tape will become damaged.
I Before changing from one tape operation to
another, press the STOP/ EJECT 7 / 0
button.
I Do not press the PAUSE 8 button whilst the
fast forward or rewind operations are in
progress. The F.FWD 1 or REWIND ¡
button will not be released when the tape
end is reached. Once this occurs, press the
STOP/ EJECT 7 / 0 button.
ENGLISH NEW 9/3/04, 2:41 PM8
H
Earphone
I Before plugging in or unplugging the
earphone, make sure the volume level is
reduced.
I Be sure your earphone has a 3.5 mm (1/8")
diameter plug and impedance between 16
ohms and 50 ohms. The recommended
impedance is 32 ohms.
I When the earphone is connected, the
speakers are disconnected automatically.
Adjust the VOLUME control for the desired
volume.
E-8

Recording to a Cassette Tape
Before recording:
I When recording important selections, make
a preliminary test to ensure that the desired
material is properly recorded.
I SHARP is not liable for damage or loss of
your recording arising from malfunction of
this unit.
TAPE (STAND-BY)
CD RADIO
MIC
PLAY/
PAUSE
PLAY/
PAUSE
H
Recording from a CD
1
Set the FUNCTION switch to CD.
PAUSE
STOP/EJECT
DOWN/
F.REVERSE
PROGRAM
F.FWD
REWIND
POWER FM ST
RECORD
PLAY
UP/
F.FORWARD
REPEAT
2 Load the disc to be recorded.
3 Load a blank cassette into the cassette
compartment with the side to be recorded
on facing toward you.
4 Press the DOWN/ F.REVERSE
F.FORWARD
¢¢
¢ button until the desired
¢¢
44
4 or UP/
44
track number is displayed.
5 Press the RECORD ¶ button to begin
recording.
To stop recording:
Press the STOP/ EJECT 7 / 0 button.
If the STOP 7 or PLAY/PAUSE 3 8 button is
pressed whilst recording, or if the CD comes to
its end, the tape deck will not stop.
To perform programmed recording:
I Programme disc and track (refer to page E-6).
I Press the RECORD ¶ button to begin with
recording.
I The ALC (Automatic Record Level Control)
circuit automatically controls the level of the
input signal used for recording.
I The VOLUME controls may be adjusted with
no effect on the recorded signal. (Variable
Sound Monitor)
I Metal and CrO2 tapes cannot be used for
recording.
RECORD
STOP/EJECT
PAUSE
RANDOM
STOP
H
1
F.FWD REWIND
Recording from the radio:
Set the FUNCTION switch to FM or AM.
PLAY
2 Tune in to the station to be recorded.
3 Load a blank cassette into the cassette
compartment with the side to be recorded
on facing toward you.
4 Press the PAUSE 8 button.
5 Press the RECORD ¶ button.
I If a whistling noise occurs when recording
from an AM station, set the BEAT CUT switch
(at the back of the unit) to A or B, whichever
gives the best reception.
6 Press the PAUSE 8 button again to begin
recording.
To stop recording:
Press the STOP/ EJECT 7 / 0 button.
H Recording from the built-in
microphone
1
Set the FUNCTION switch to TAPE.
2 Load a cassette into the cassette
compartment.
3 Press the PAUSE 8 button.
4 Press the RECORD ¶ button.
5 Press the PAUSE 8 button again to begin
recording.
Notes:
I Monitoring of the recording is not possible.
I Recording from the built-in microphone is not
in stereo.
E-9
ENGLISH NEW 9/3/04, 2:41 PM9

Maintenance
H
Cleaning the lens and tapehandling parts
I Do not touch the laser pickup lens. If the
fingerprints or dust accumulate on the
pickup, clean it gently with a dry cotton
swab.
I Dirty heads, capstan or pinch roller can
cause poor sound and tape jams. Clean
these parts with a cotton swab moistened
with commercial head / pinch roller cleaner
or isopropyl alcohol.
I After long use, the deck’s heads and
capstan may become magnetized, causing
poor sound. Demagnetise these parts once
every 30 hours of playing/recording by using
a commercial tape head demagnetiser.
Read the demagnetiser’s instructions
carefully before use.
C D
A
A Laser pickup lens D Recording/
B Pinch roller Playback head
C Capstan E Erase head
B
E
H
Cleaning the cabinet
Periodically wipe the cabinet with a soft cloth
and a diluted soap solution, then wipe with a
dry cloth.
Caution:
I Do not use chemicals for cleaning (petrol,
paint thinner, etc.). It may damage the
cabinet finish.
I Do not apply oil to the inside of the unit.
It may cause malfunctions.
H
Condensation
Sudden temperature changes, storage or
operation in an extremely humid environment
may cause condensation inside the cabinet
(CD pickup, tape heads, etc.).
Condensation can cause the unit to malfunction.
If this happens, leave the power on with no disc
(or cassette) in the unit until normal playback is
possible (about 1 hour).
ENGLISH NEW 9/3/04, 2:41 PM10
E-10

Specifications
SHARP reserves the right to make design and specification changes for product improvement
without prior notice.
H
General
Power source AC 110-127/220-240 V, 50/60 Hz
Power consumption 12 W
Output power PMPO: 32 W (AC operation, 10% T.H.D)
Speakers 77 mm (8 Ω) full range x 2
Dimensions Width: 295 mm (11-5/8")
Weight 2.1 kg (4.6 lbs) without batteries
H
Compact disc player
Type Compact disc
Signal readout Non-contact, 3-beam semiconductor laser pickup
Audio channels 2
Filter 8 time over sampling digital filter
D/A converter 1-bit D/A converter
Wow and flutter Unmeasurable (less than 0.001% W. peak)
H
Radio
Frequency range FM: 88 - 108 MHz
DC 12 V [ “C” size (UM/SUM-2, R14) battery x 8 ]
RMS: 4 W (2 W + 2 W) (DC operation, 10% T.H.D)
piezo x 2
Height: 153 mm (6")
Depth: 213 mm (8 - 3/8")
AM: 526.5 - 1,606.5 kHz
H
Tape recorder
Frequency response 60 - 12,000 Hz (Normal tape)
Signal/noise ratio 40 dB
Wow and flutter 0.3% (WRMS)
Motor DC 9 V electric governor
Bias system AC bias
Erase system Magnet erase
ENGLISH NEW 9/3/04, 2:41 PM11
E-11
 Loading...