

AR-122E
AR-122EN
AR-152E
AR-152EN
DIGIT AL LASER COPIER
OPERATION MANUAL
CLASS 1 LASER PRODUCT
LASER KLASSE 1
LUKOAN 1 LASERLAITE
KLASS 1 LASERAPPARAT
VAROITUS!
LAITTEEN KÄYTTÄMINEN
MUULLA KUIN TÄSSÄ
KÄYTTÖOHJEESSA MAINITULLA
TAVALLA SAATTAA ALTISTAA
KÄYTTÄJÄN
TURVALLISUUSLUOKAN 1
YLITTÄVÄLLE
NÄKYMÄTTÖMÄLLE
LASERSÄTEILYLLE.
VARNING
OM APPARATEN ANVÄNDS PÅ
ANNAT SÄTT ÄN I DENNA
BRUKSANVISNING
SPECIFICERATS, KAN
ANVÄNDAREN UTSÄTTAS FÖR
OSYNLIG LASERSTRÅLNING,
SOM ÖVERSKRIDER GRÄNSEN
FÖR LASERKLASS 1.
INVISIBLE LASER RADIATION WHEN OPEN AND INTERLOCKS DEFEATED.
CAUTION
AVOID EXPOSURE TO BEAM.
Laserstrahl
Caution
This product contains a low power laser
device. To ensure continued safety do not
remove any cover or attempt to gain access
to the inside of the product. Refer all
servicing to qualified personnel.
VORSICHT
ADVARSEL
UNSICHTBARE LASERSTRAHLUNG WENN ABDECKUNG GEÖFFNET UND
SICHERHEITSVERRIEGELUNG ÜBERERÜCKT. NICHT DEM STRAHL AUSSETZEN.
USYNLIG LASERSTRÅLING VED ÅBNING, NÅR SIKKERHEDSAFBRYDERE ER
UDE AF FUNKTION. UNDGA UDSAETTELSE FOR STRÅLING.
ADVERSEL
VARNING
VARO!
USYNLIG LASERSTRÅLING NÅR DEKSEL ÅPNES OG SIKKERHEDSLÅS BRYTES.
UNNGÅ EKSPONERING FOR STRÅLEN.
OSYNLIG LASERSTRÅLNING NÄR DENNA DEL ÄR ÖPPNAD OCH SPÄRRAR ÄR
URKOPPLADE. STRÅLEN ÄR FARLIG. BETRAKTA EJ STRÅLEN.
AVATTAESSA JA SUOJALUKITUS OHITETTAESSA OLET ALTTIINA NÄKYMÄTÖNTÄ
LASERSÄTEILYLLE. ÄLÄ KATSO SÄTEESEEN.
CLASS 1
LASER PRODUCT
LASER KLASSE 1

CAUTIONS
Cautions on using
Follow the cautions below when using this unit.
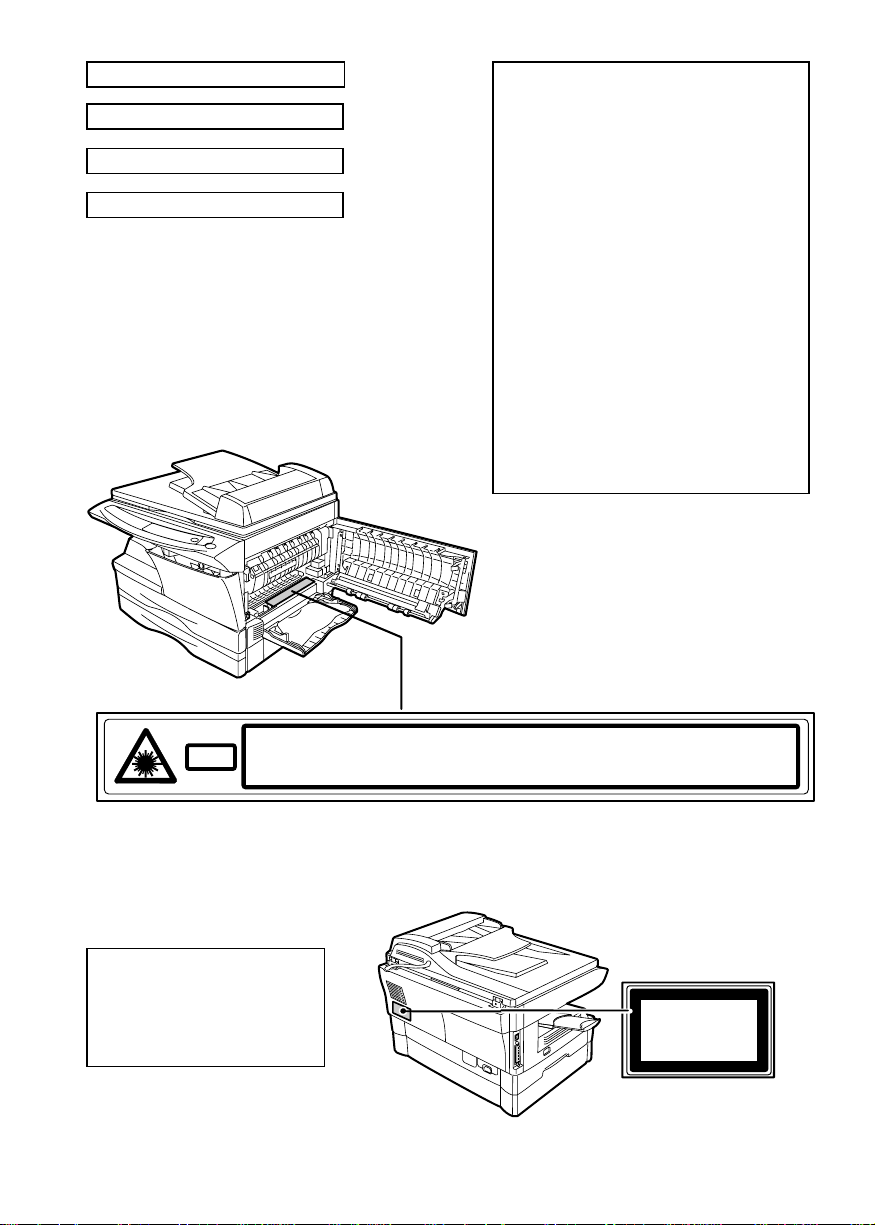
Warning:
• The fusing area is hot. Exercise care in this area when removing misfed paper.
• Do not look directly at the light source. Doing so may damage your eyes.
• Do not switch the unit rapidly on and off. After turning the unit off, wait 10 to 15
seconds before turning it back on.
• Unit power must be turned off before installing any supplies.
Caution:
• Place the unit on a firm, level surface.
• Do not install the unit in a humid or dusty location.
• When the unit is not used for a long time, for example for consecutive holidays,
turn the power switch off and remove the power cord from the outlet.
• When moving the unit, be sure to turn the power switch off and remove the power
cord from the outlet.
• Do not cover the unit with a dust cover, cloth or plastic film while the power is on.
Doing so may prevent heat radiation, damaging the unit.
• Use of controls or adjustments or performance of procedures other than those
specified herein may result in hazardous radiation exposure.
• The socket-outlet shall be installed near the equipment and shall be easily
accessible.
Important points when selecting an installation site
Do not install your unit in areas that are:
• damp, humid, or very dusty
• exposed to direct sunlight
• poorly ventilated
• subject to extreme temperature or humidity changes, e.g., near an air conditioner
or heater.
Be sure to connect the power cord only to a power outlet that meets the
specified voltage and current requirements. Also make certain the outlet is
properly grounded.
Connect the unit to a power outlet which is not used for other electric
appliances. If a lighting fixture is connected to the same outlet, the light
may flicker.
Be sure to allow the required space around the
machine for servicing and proper ventilation.
10cm
20cm
10cm
1

Cautions on handling
Be careful in handling the unit as follows to maintain the performance of this unit.
Do not drop the unit, subject it to shock or strike it against any object.
Store spare toner cartridges in a cool dry place without removing from the
package before use.
• If they are exposed to direct sunlight or excessive heat, poor copies may result.
Do not touch the photoconductive drum (green portion).
• Scratches or smudges on the drum will cause dirty copies.
Cautions on laser
Wave length 770 nm – 795 nm
Pulse times 11.82 µs / 7 mm
Output power 0.17 mW ± 0.01 mW
Proper storage for supplies
Store the supplies (paper and toner cartridges) in a location that is:
• clean and dry
• at a stable temperature
• not exposed to direct sunlight.
Store paper in the wrapper and lying flat.
• Paper stored out of the wrapper or in packages standing on end may curl or get
damp, resulting in paper misfeeds.
Trademark acknowledgements
• Microsoft and Windows are trademarks of Microsoft Corporation in the U.S.A. and
other countries.
• IBM and PC/AT are trademarks of International Business Machines Corporation.
• Adobe and Acrobat are trademarks of Adobe Systems Incorporated.
• All other trademarks and copyrights are the property of their respective owners.
As an ENERGY STAR
this product meets the ENERGY STAR® guidelines for energy
efficiency.
In some areas, the "POWER" switch positions are marked "I" and "O" on the copier
instead of "ON" and "OFF".
The symbol "O" denotes the copier is not completely de-energized but in a stand-by
condition at this "POWER" switch position.
If your copier is so marked, please read "I" for "ON" and "O" for "OFF".
Caution!
For a complete electrical disconnection, pull out the main plug.
The socket-outlet shall be installed near the equipment and shall be easily
accessible.
®
Partner, SHARP has determined that
2

CONTENTS
1 INTRODUCTION
USING THE MANUAL ...................4
PART NAMES ............................... 5
OPERATION PANEL..................... 6
2 LOADING PAPER
PAPER........................................... 7
LOADING THE PAPER TRAY....... 8
BYPASS FEED (including special
paper) .......................................... 10
3 MAKING COPIES
COPY FLOW ...............................11
CONNECTING THE POWER CORD 12
ORIGINAL PLACEMENT............. 14
SET THE COPY QUANTITY ....... 15
EXPOSURE ADJUSTMENT/
PHOTO COPYING ......................15
REDUCTION/ENLARGEMENT/
ZOOM ..........................................17
4 SPECIAL FUNCTIONS
DESCRIPTION OF SPECIAL
FUNCTIONS................................ 18
TONER SAVE MODE.................. 18
USER PROGRAMS.....................19
DISPLAYING TOTAL NUMBER OF
COPIES ....................................... 20
5 MAINTENANCE
TONER CARTRIDGE
REPLACEMENT.......................... 21
TONER CARTRIDGE LIFE ......... 23
CLEANING THE UNIT................. 24
6
TROUBLESHOOTING THE UNIT
TROUBLESHOOTING.................26
STATUS INDICATORS................27
MISFEED REMOVAL ..................28
DEVELOPER REQUIRED ...........31
MAINTENANCE REQUIRED.......31
7
OPTIONAL EUIPMENT (AL-12PKM)
SOFTWARE FOR THE SHARP
PERSONAL MFP SERIES...........32
HARDWARE AND SOFTWARE
REQUIREMENTS ........................33
BEFORE INSTALLATION............33
INSTALLING THE SOFTWARE .........35
INDICATORS ON THE OPERATION
PANEL ......................................... 45
USING THE PRINTER MODE.....46
USING THE SCANNER MODE ...48
HOW TO USE THE ONLINE
MANUAL ......................................56
USING OTHER INSTALLED
DRIVERS .....................................58
CONNECTING THE INTERFACE
CABLE ......................................... 59
8 APPENDIX
SPECIFICATIONS .......................61
ABOUT SUPPLIES AND OPTIONS... 63
INDEX.................................................64
SOFTWARE LICENSE .......................67
1
2
3
4
5
6
7
8
3
 Loading...