

Page 1
AR-151E
CODE: 00ZAR151E/A1E
DIGITAL COPIER
AR-121E
MODEL AR-151E
∗ This Service Manual describes only the differences from
the AR-120E/150E. For the common items with the AR120E/150E, please refer to the AR-120E/150E manual.
CONTENTS
[ 1 ] GENERAL . . . . . . . . . . . . . . . . . . . . . . . . . . 1 - 1
[ 2 ] CONSUMABLE PARTS . . . . . . . . . . . . . . . . . . . 2 - 1
[ 3 ] SIMULATIONS . . . . . . . . . . . . . . . . . . . . . . . . 3 - 1
[ 4 ] USER PROGRAM . . . . . . . . . . . . . . . . . . . . . . 4 - 1
[ 5 ] MAINTENANCE . . . . . . . . . . . . . . . . . . . . . . . 5 - 1
Parts marked with “ ” are important for maintaining the safety of the set. Be sure to replace these parts with specified
ones for maintaining the safety and performance of the set.
SHARP CORPORATION
This document has been published to be used
for after sales service only.
The contents are subject to change without notice.
Page 2
AR-151E
[1] GENERAL
The AR-121E/151E is the SRU model of the AR-120E/150E.
While the AR-120E/150E employs the drum replacement, the AR-121E/151E employs the developer replacement. Therefore, the display on the operation panel is changed from “ ” (drum) to “ ” (developer) accordingly.
1. Major functions
Item
Model
AR-121E 12CPM SB Opt
AR-151E 15CPM SB Opt
Descriptions of items
CPM: Copy speed (Copies Per Minute)
SB/MB: SB = Manual feed single bypass, MB = Manual feed multi bypass
2 tray: Second cassette unit.
SPF: Original feed unit
R-SPF: Duplex original feed unit
FAX: FAX function.
GDI with USB: GDI printer function with USB.
GDI without USB: GDI printer function without USB.
PCL with USB: PCL printer function with USB.
SOPM: Scan Once Print Many function (Many copies are made by one scan.)
Duplex: Auto duplex copy function
Descriptions of table
:
:
CPM SB/MB 2 Tray SPF R-SPF FAX
Standard provision
No function or no option available
GDI
with USB
without
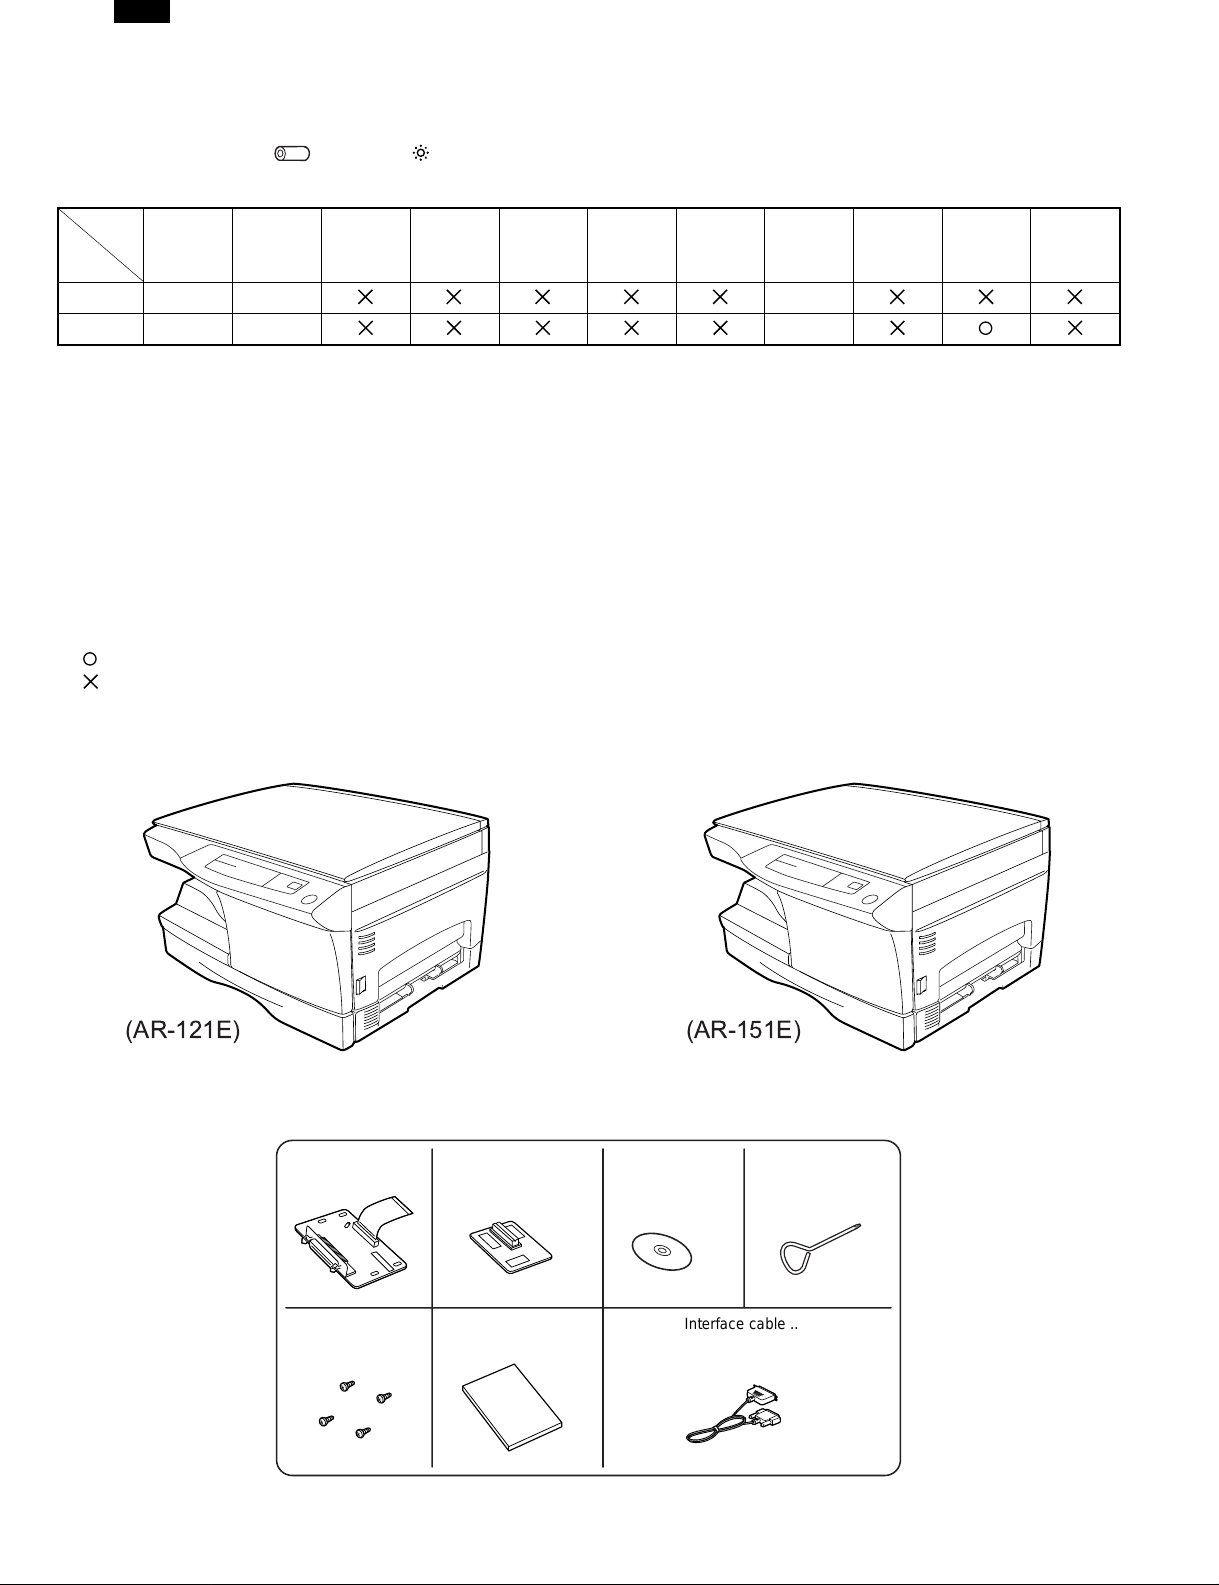
2. System Configuration
GDI
USB
PCL
with USB
SOPM Duplex
(AR-121E)
Options (AL-10PK/AL-11PK)
∗ AR-150E, the memory has been already installed in the machine and is not supplied in the printer upgrade kit(AL-10PK).
Screws ... 4
Memory ... 1 ∗Printer board ... 1
Operation manual ... 1
1 – 1
(AR-151E)
Printer driver
(CD-ROM) ... 1
Interface cable ... 1
(for IBM PC/AT or compatible computers)
Screwdriver ... 1
Page 3
AR-151E
[2] CONSUMABLE PARTS
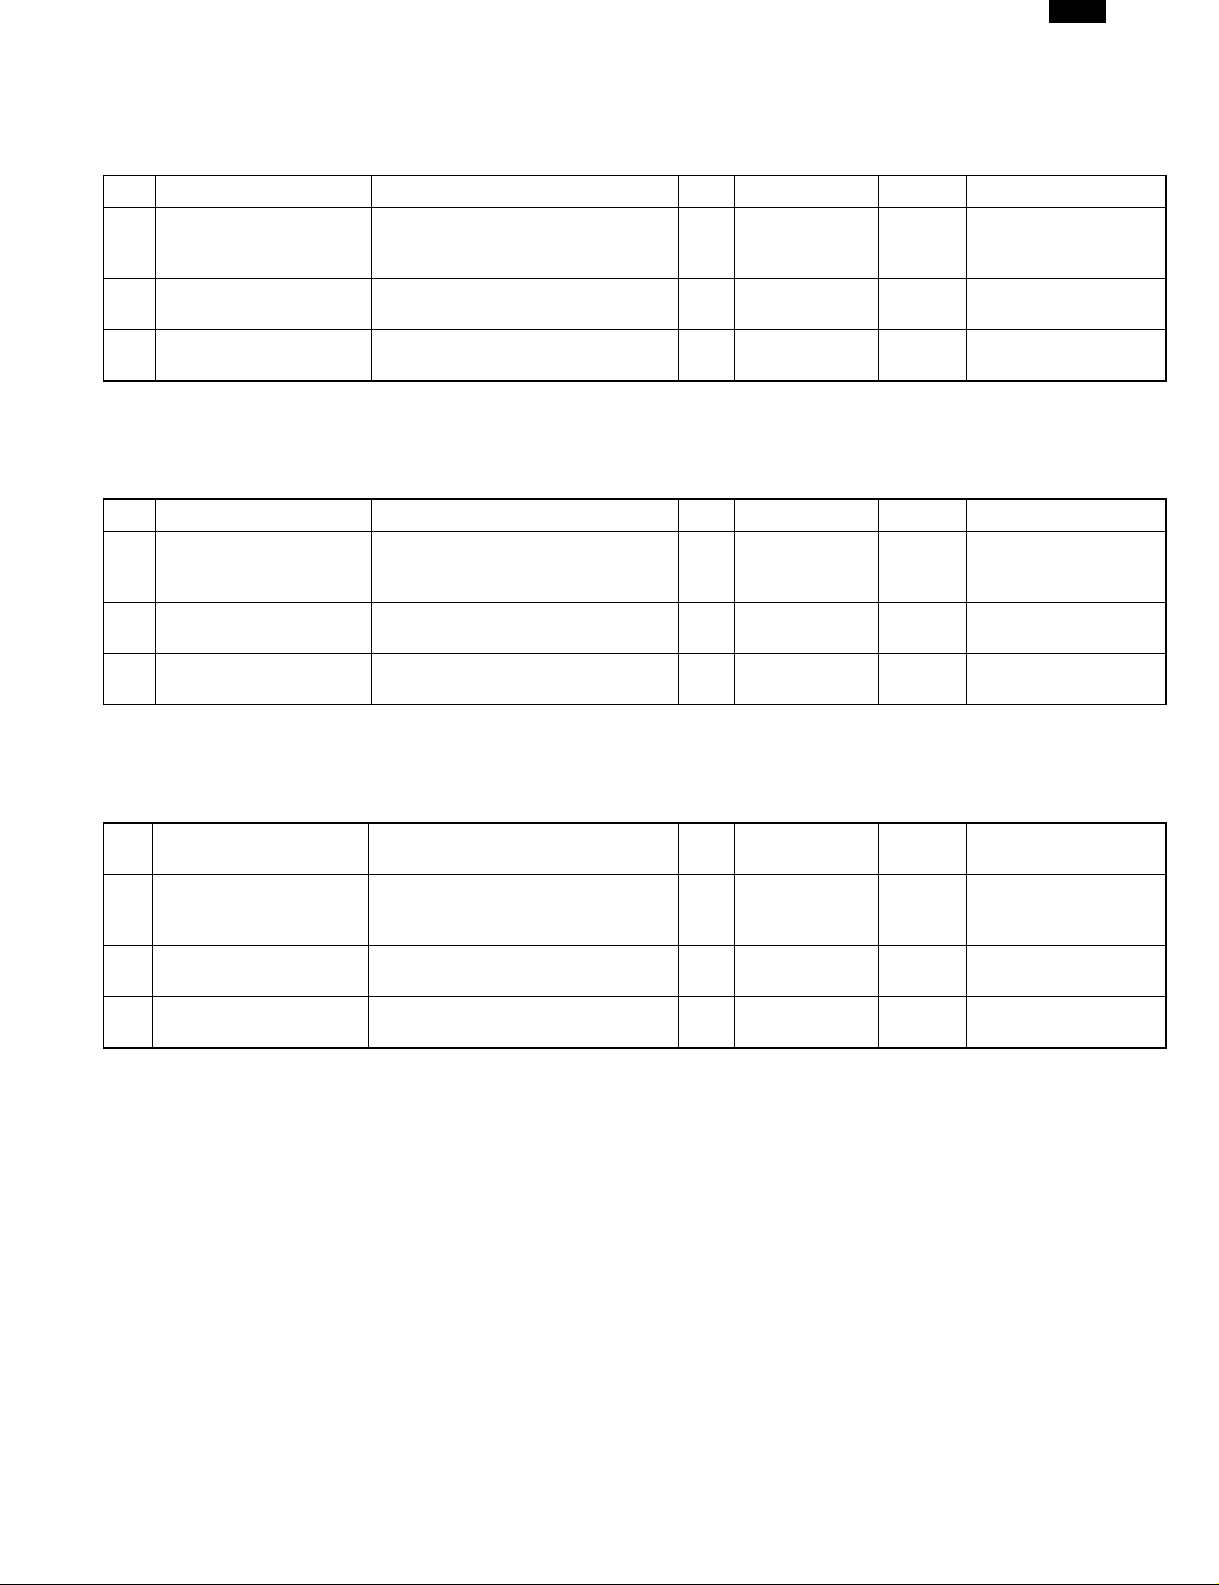
1. Supply system table
A. Europe subsidiaries/East Europe/SCA/SCNZ
No. Name Content Life Product name Package Remark
1 Toner CA(Black) with IC Toner
(Toner :Net Weight 210g)
Polyethylene bag
2 Developer Developer
(Developer :Net Weight 170g)
3 Drum kit Drum
Drum fixing plate
Note: Printing of the master/individual cartons is made in 4 languages, English/French/German/Spanish.
Packed together with the machine: DR 25K/Developer UN/Process UN
B. SMEF (Middle East, Africa) Israel/Russia/CIS/Taiwan/Philippines
No. Name Content Life Product name Package Remark
1 Toner CA(Black) with IC Toner
(Toner :Net Weight 210g)
Polyethylene bag
2 Developer Developer
(Developer :Net Weight 170g)
3 Drum kit Drum
Drum fixing plate
× 10
72K AR-152LT 1 LT=T∗10
× 10
× 10 250K AR-152LD 1 LD=DV∗10
× 1
25K AR-152DM 10
× 1
× 10
72K AR-152ET 1 ∗ Life setup is based
× 10
× 10 250K AR-152CD 1 CD=SD∗10
× 1
25K AR-152DR 10
× 1
on A4 6%.
ET=FT∗10
Note: Printing of the master/individual cartons is made in 4 languages, English/French/German/Spanish.
Packed together with the machine: DR 25K/Developer UN/Process UN
C. Asia (Subsidiary)
No.
1 Toner CA(Black) with IC Toner
2 Developer Developer
3 Drum kit Drum
Note: Printing of the master/individual cartons is made in 4 languages, English/French/German/Spanish.
Packed together with the machine: DR 25K/Developer UN/Process UN
Name Content Life Product name Package Remark
× 10
72K AR-152CT 1 ∗ Life setup is based
(Toner :Net Weight 210g)
Polyethylene bag
(Developer :Net Weight 170g)
Drum fixing plate
× 10
× 10 250K AR-152CD 1 CD=SD∗10
× 1
25K AR-152DR 10
× 1
on A4 6%.
CT=ST∗10
2 – 1
Page 4

AR-151E
2. Developer unit installation
1) 2) 3) Open the side and front cabinets of the copier.
4) Remove the locking tape of the developer unit.
5) Remove the screw which is fixing the copier and Developer unit.
6) Remove Developer unit slowly from the copier.
5
3
7) Remove the screw (1 pc).
8) Remove Upper developer unit.
1
4
2
11) Attach Upper developer unit and fix it with a screw.
12) Rotate the MG roller gear to distribute developer evenly.
Note: Never rotate the gear in the reverse direction.
Note: When carrying Developer unit, do not tilt it extremely as
shown with the arrow in the figure below.
(Prevention of splash of developer)
9) Shake the aluminum bag to stir developer
10) Supply developer from the aluminum bag to the top of the MX
roller evenly.
Note: Be careful not to splash developer outside Developer unit.
13) Insert Developer unit carefully into the copier.
Note: Quick insertion may result in splash of developer. Be sure to
insert carefully.
14) Confirm that Developer unit is completely inserted to the bottom of
the machine, fix Developer unit and the machine with a screw.
15) Completion of Developer unit installation
3. Toner cartridge installation
1) To prevent against uneven distribution of toner, hold Toner unit with
both hands and shake it several times horizontally.
2) Hold the section of Toner unit shown in the figure below, remove
the packing tape, and remove the cushion.
3) Pull out the cushion in the arrow direction.
2 – 2
Page 5

4) Insert Toner unit carefully into the copier.
5) Insert until the hook is engaged with the copier as shown in the figure below.
AR-151E
4. TD cartridge replacement
1) Open the front and side cabinets of the copier.
2) Keep holding Toner lover, and
3) Carefully pull out Toner unit from the copier.
2
3
1
4) Put Toner unit in a collection bag immediately after removing it from
the copier
6) Pull out the shutter in the arrow direction.
Note: Do not hold and carry the shutter. Otherwise the shutter may
drop and Toner unit may drop.
7) Completion of Toner unit installation
Close the front and side cabinets.
Note: Never carry exposed Toner unit. Be sure to put it in the col-
lection bag.
2 – 3
Page 6

AR-151E
[3] SIMULATIONS
1. List of simulations
The table below shows the simulations which are not provided for the AR-120E/150E but newly added to the AR-121E/151E.
Simulation 26-38 of the SR-120E/150E is deleted in the AR-121E/151E.
Main code Sub code Contents
24 Special counter clear 06 Developer counter clear
26 Various setup 37
55
46 Exposure adjustment 19 γ Table adjustment (Copy mode)
2. Contents of simulations
Main code Sub code Content
24 06 Developer counter clear
When the PRINT switch is pressed, the developer count value is reset to 0.
26 37 Cancel of stop at developer life over
When this simulation is executed, the current set code is displayed. Enter a new code and press the PRINT
switch, and the entered code is registered.
Code number Setting
0 Stop at developer life over
1 Stop cancel at developer life over
Cancel of stop at developer over
CRUM destination display
55 CRUM destination display
When this simulation is executed, the current setup of the CRUM destination stored in the machine is displayed.
Code number Setting
46 19 γ table setup
When this simulation is executed, the currently set gamma table code number is displayed. Enter the code
number corresponding to your desired gamma table and press the PRINT switch, and the setup will be changed.
Code number γ table
00 No setup
01 BTA-A
02 BTA-B
03 BTA-C
1 Japan
2 EX Japan
3 – 1
Page 7

AR-151E
[4] USER PROGRAM
The conditions of factory setting can be changed according to the use conditions.
Functions which can be set with the user program
Function Contents Factory setting
●
Auto clear time
Preheat
Auto shut off timer
Stream feeding Only models with SPF. Cancel
Auto shut off
When a certain time is passed after completion of copying, this function returns to the initial state
automatically. The time to reach the initial state can be set in the range of 30 sec to 120 sec by
the unit of 30 sec. This function can be disabled.
●
When the copier is left unused with the power ON, the power consumption is automatically reduced
to about 40Wh/H (∗ Note).
The time to start this function can be set in the range of 30 sec to 90 sec by the unit of 30 sec.
This function cannot be disabled.
●
When this function is operated, the pre-heat lamp on the operation panel lights up.
To return to the initial state, press any key on the operation panel. (When the COPY button is
pressed, a copy is made after returning to the initial state.)
●
When the copier is left unused with the power ON, the power consumption is automatically reduced
to about 18Wh/H (∗ Note). The time to start this function can be set in the range of 2 min to 120
min.
●
When this function is operated, all the lamps except for the pre-heat lamp on the operation panel
turn off.
To return to the initial state, press the COPY button.
●
Used to set or cancel this function. Set
60 sec
90 sec
5 min
∗Note: The power consumption values in preheat and auto shut off may be varied depending on the use conditions.
Setting the power save modes, auto clear time,
and stream feeding mode
1) Pres s and hold dow n the ligh t ( ) and d ark ( ) keys simul taneously for more than 5 seconds until all the alarm indicators
( , , and ) blink and "- -" appears in the display.
2) Use the left copy quantity ( ) key to select a user program number (1: auto clear time, 2: preheat mode, 3: auto power shut-off
timer, 4: stream feeding mode, 5: auto power shut-off mode). The
selected number will blink in the left side of the display.
∗ The remaining toner quantity is displayed by pressing the % key for 5 sec before entering a program code in the user simulation mode.
3) Press th e prin t ( ) key . The e nter ed p rogr am num ber w ill be st ead ily lit a nd the c urre ntly s elect ed pa rame ter nu mber for the prog ram w ill bli nk
on the right side of the display.
4) Select the desired parameter using the right copy quantity ( ) key. The entered parameter number will blink on the right of the display.
Function
name
Auto clear
time
∗ : Factory setting
5) Press th e print ( ) key. The righ t-hand numbe r in the display will be steadily lit and the entered value will be st ored.
Note: To change the setting or to set another mode, press the clear ( ) key. The copier will return to step 2).
6) Press the light ( ) or dark ( ) key to return to the normal copy mode.
Set code
0 (Cancel)
1 (30 sec) 1 (60 sec) ∗1 (5 min) 1 (Setting) ∗1 (Setting)
∗2 (60 sec) ∗2 (90 sec) 2 (15 min)
3 (90 sec) 3 (30 min)
4 (120 sec) 4 (60 min)
5 (10 sec) 5 (120 min)
Function
name
Preheat
Set code
0 (30 sec)
Function
name
Auto shut
off timer
Function name Function code
Auto clear time 1
Preheat 2
Auto shut off timer 3
Stream feeding 4
Auto shut off 5
[Cancel] If a wrong code is entered, press the clear key and enter the
∗ SPF only
Set code
0 (2 min)
correct function code.
Function
name
Stream
feeding
Set code
∗0 (Cancel)
Function
name
Auto shut
off
✽
Set code
0 (Cancel)
4 – 1
Page 8

AR-151E
[5] MAINTENANCE
1. Maintenance table
✕: Check (C lean, adj ust, or rep lace when req uired.) : Clean ▲: Replace : Adjust ✩: Lubricate
Section Parts 25K 50K 75K 100K 125 Remark
Developer
Developing
Process peripheral Drum
DV blade
DV side seal (F/R)
2. Maintenance display system
Life 7.2K
a. Press and hold the density adjustment LIGHT key for more than 5 sec, and the machine will enter the
user program mode.
Remaining
Toner
Developer
Maintenance
∗1: Installation of a new toner cartridge allows to display the remaining quantity.
quantity check ∗1
Remaining
quantity
LED ON Flash
Machine Operation allowed Stop
Life 25K
LED ON at 25K of the developer count.
Machine
LED
Machine Not stop.
b. Press and hold the "%" key for more than 5 sec, and the remaining quantity will be displayed on the
copy quantity display in one of the following levels: (Remaining quantity display levels: 100%, 75%,
50%, 25%, 10%, LO)
c. Press the density adjustment LIGHT key to cancel.
NEAR EMPTY
About 10%
Selection is available between Not Stop and Stop by Service Simulation (SIM 26-37) Setup.
(If Stop is selected, the LED will flash and stop at 25K.)
∗ Default: Not Stop
∗ Clear: SIM 24-06
Selection is available among 18K, 13K, 9K, 6K, 3K, and free (no lighting) with SIM 21-1.
∗ Default: free
∗ Clear: SIM 20-1
▲▲▲▲▲
▲▲
▲▲
▲▲▲▲▲
EMPTY
5 – 1
Page 9

AR-151E
COPYRIGHT © 2001 BY SHARP CORPORATION
All rights reserved.
Printed in Japan.
No part of this publication may be reproduced,
stored in a retrieval system, or transmitted,
in any form or by any means,
electronic, mechanical, photocopying, recording, or otherwise,
without prior written permission of the publisher.
SHARP CORPORATION
Digital Document Systems Group
Quality & Reliability Control Center
Yamatokoriyama, Nara 639-1186, Japan
2001 January Printed in Japan N
 Loading...