

Page 1
SCUBAPRO
Repair Guide
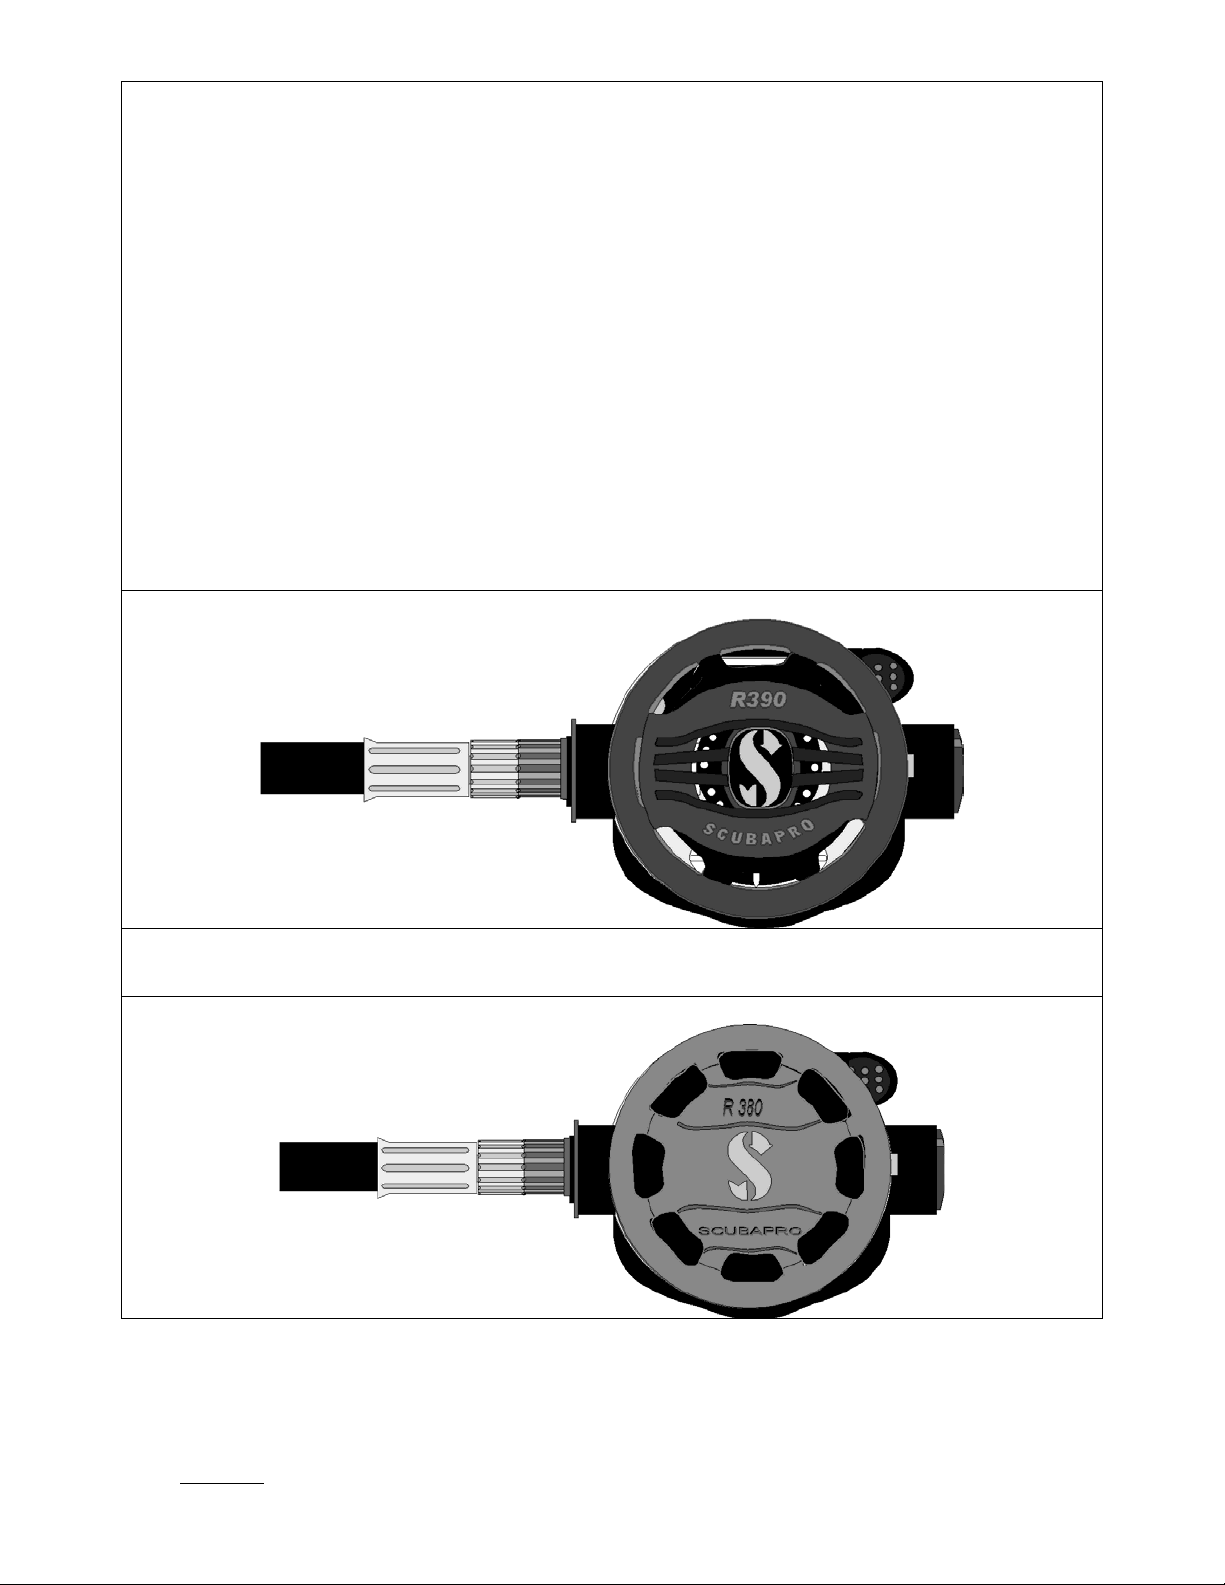
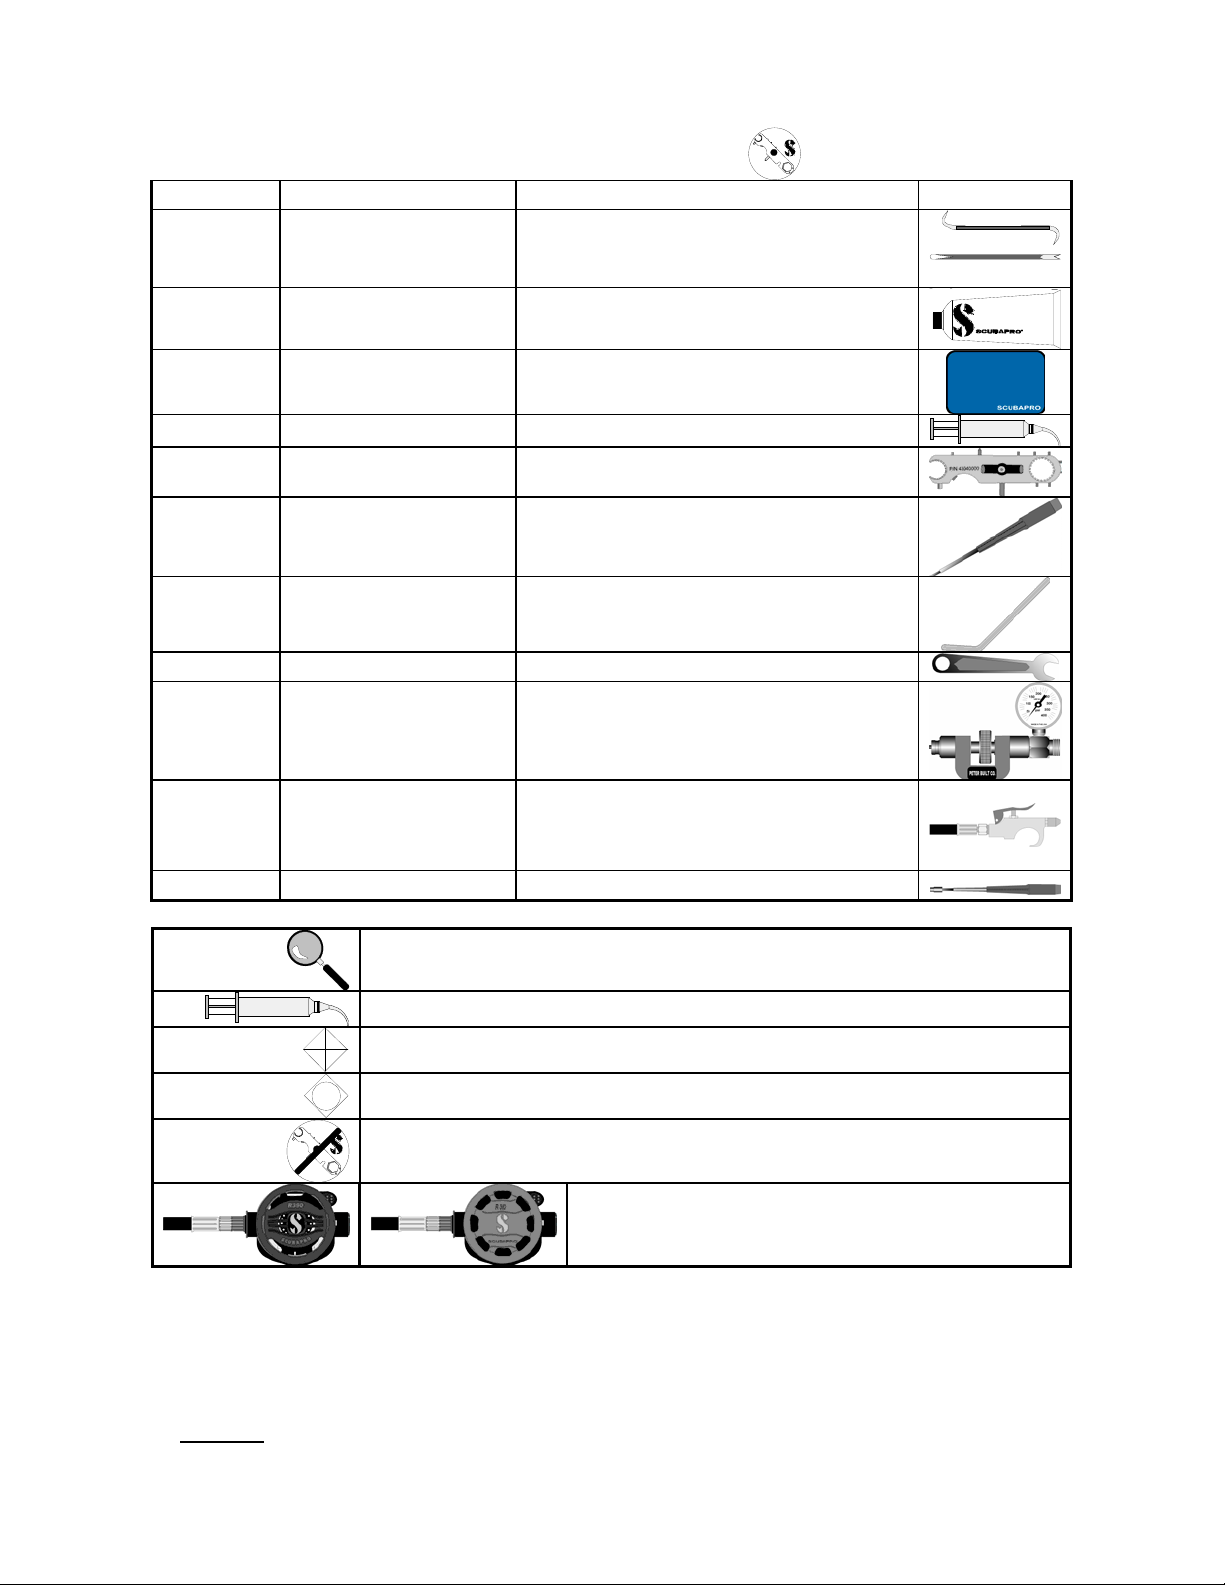
R390 - R380
Second Stages
USE THIS GUIDE AS A REFERENCE WHEN SERVICING THE R390 AND
R380 SECOND STAGES
2003 SCUBAPRO
Important note
technicians are required to attend an annual service training program to insure safe handling and servicing of SCUBAPRO products. All SCUBAPRO technicians
must be employed by an authorized SCUBAPRO facility.
: The following information is not designed to be a complete training guide for servicing the listed SCUBAPRO regulators. All SCUBAPRO
Page 2
SCUBAPRO R 390 - R 380 Second Stages
P
/
N
4
3
0
4
0
TOOLS NEEDED FOR REPAIR OF R390-R380
TOOLS
NEEDED
0
0
0
Quantity Part Number Description
1 set 10.102.100
(Peter Built)
Brass o’ring picks
1 tube 41.047.000 Christo-Lube
1 47.010.000 Counter Mat
Christo-Lube
OXYGEN COMPATIBLE LUBRICANT
P/N 41-047-000
1 41.496.101 Lubricant syringe
1 43.040.000 Universal Tool
1 11.153.500
Ball-end Allen Wrench
(Peter Built)
1 43.300.225 VIVA Flow Vane Removal Tool
1 13mm low torque wrench
1 20.500.200
Pneumatic Adjusting tool
(Peter Built)
1 18.300.500 Blow Gun/Air Nozzle
1 ¼” Nut Driver
ICON LEGEND
Inspect carefully, replace if needed
Monoject
Lubricate properly
Replace annually
Dynamic o’ring, replace annually and lubricate properly
N
4
3
0
4
0
0
0
0
No tools needed for this step
TOOLS
NEEDED
P
/
Indicates the regulators affected by this step
Monoject
2003 SCUBAPRO
Important note
technicians are required to attend an annual service training program to insure safe handling and servicing of SCUBAPRO products. All SCUBAPRO technicians
must be employed by an authorized SCUBAPRO facility.
: The following information is not designed to be a complete training guide for servicing the listed SCUBAPRO regulators. All SCUBAPRO
2
Page 3
SCUBAPRO R 390 - R 380 Second Stages
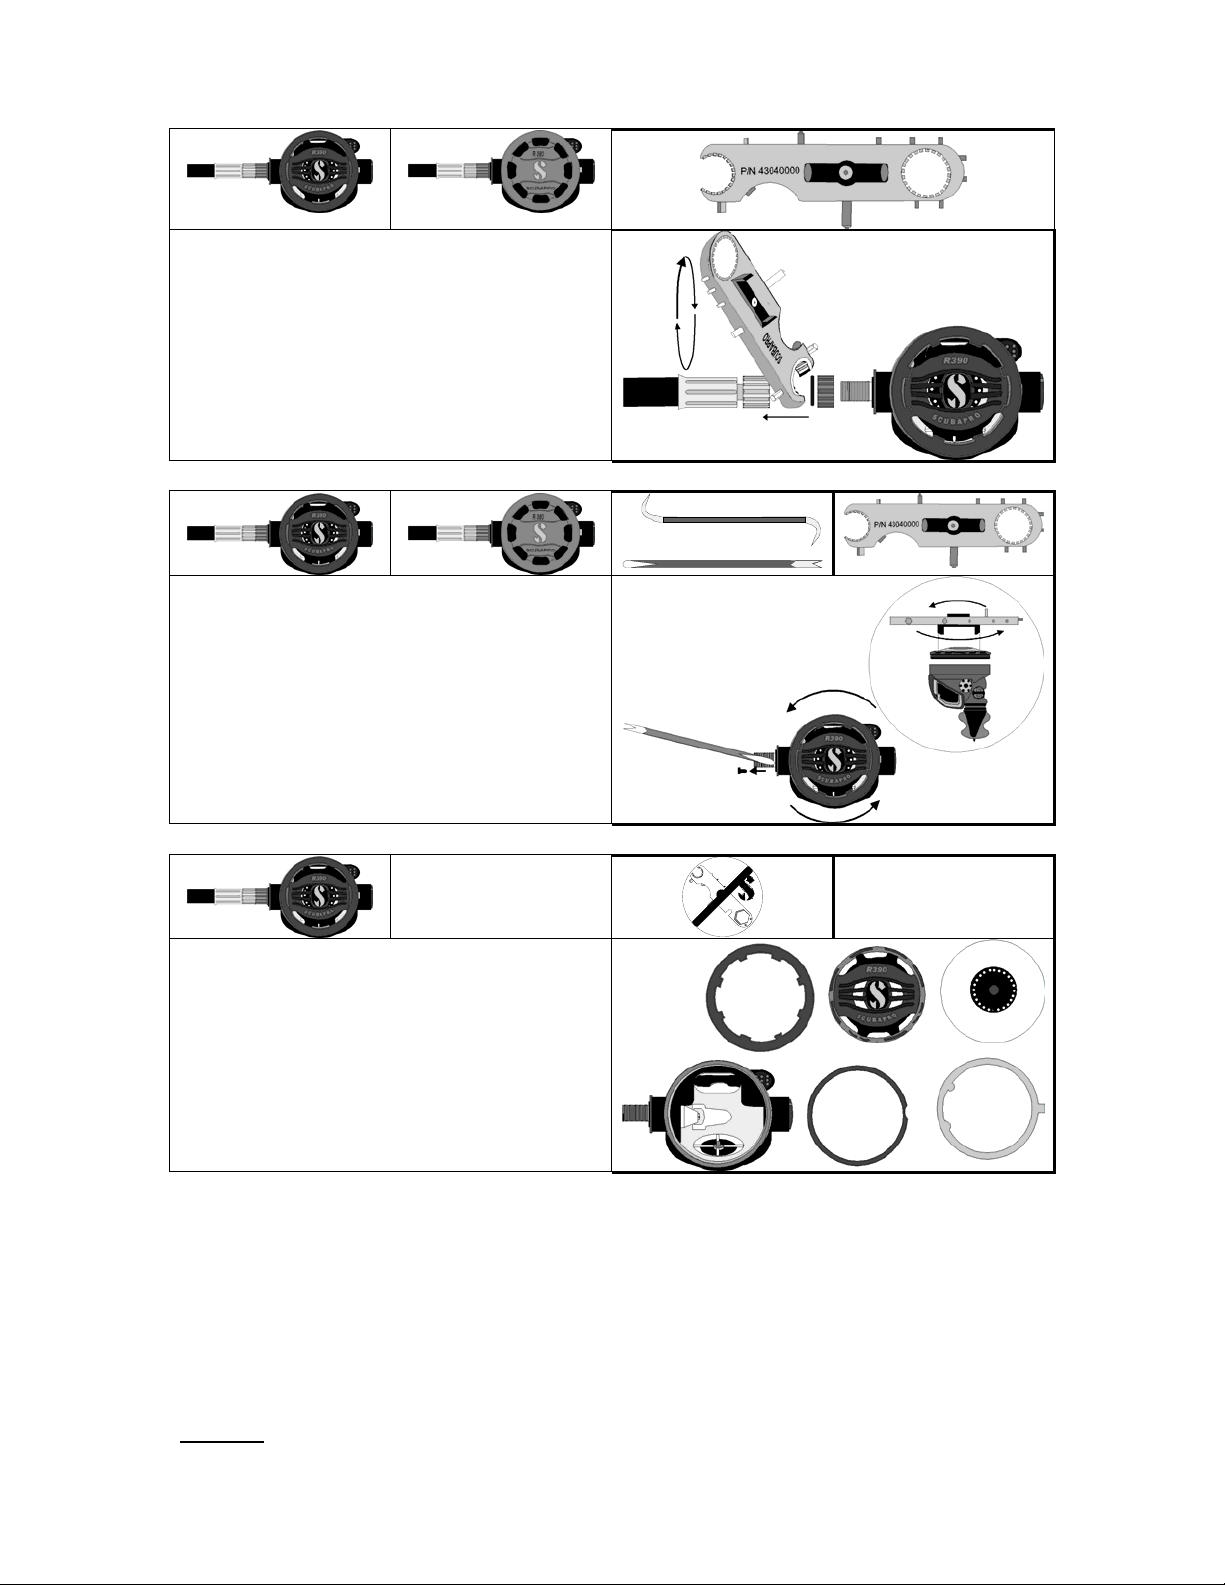
Remove hose and jam nut from the
second stage.
Remove the housing pin using the
brass pick or similar tool.
Use the universal tool as shown to
loosen the two-piece cover of the
R390.
P
/
N
4
3
0
4
0
TOOLS
NEEDED
0
0
0
No tools needed
this step
Remove the two-piece cover, friction
washers and diaphragm from the
second stage housing.
2003 SCUBAPRO
Important note
technicians are required to attend an annual service training program to insure safe handling and servicing of SCUBAPRO products. All SCUBAPRO technicians
must be employed by an authorized SCUBAPRO facility.
: The following information is not designed to be a complete training guide for servicing the listed SCUBAPRO regulators. All SCUBAPRO
3
Page 4
SCUBAPRO R 390 - R 380 Second Stages
P
/
N
4
3
0
4
0
0
0
0
TOOLS
NEEDED
No tools needed
this step
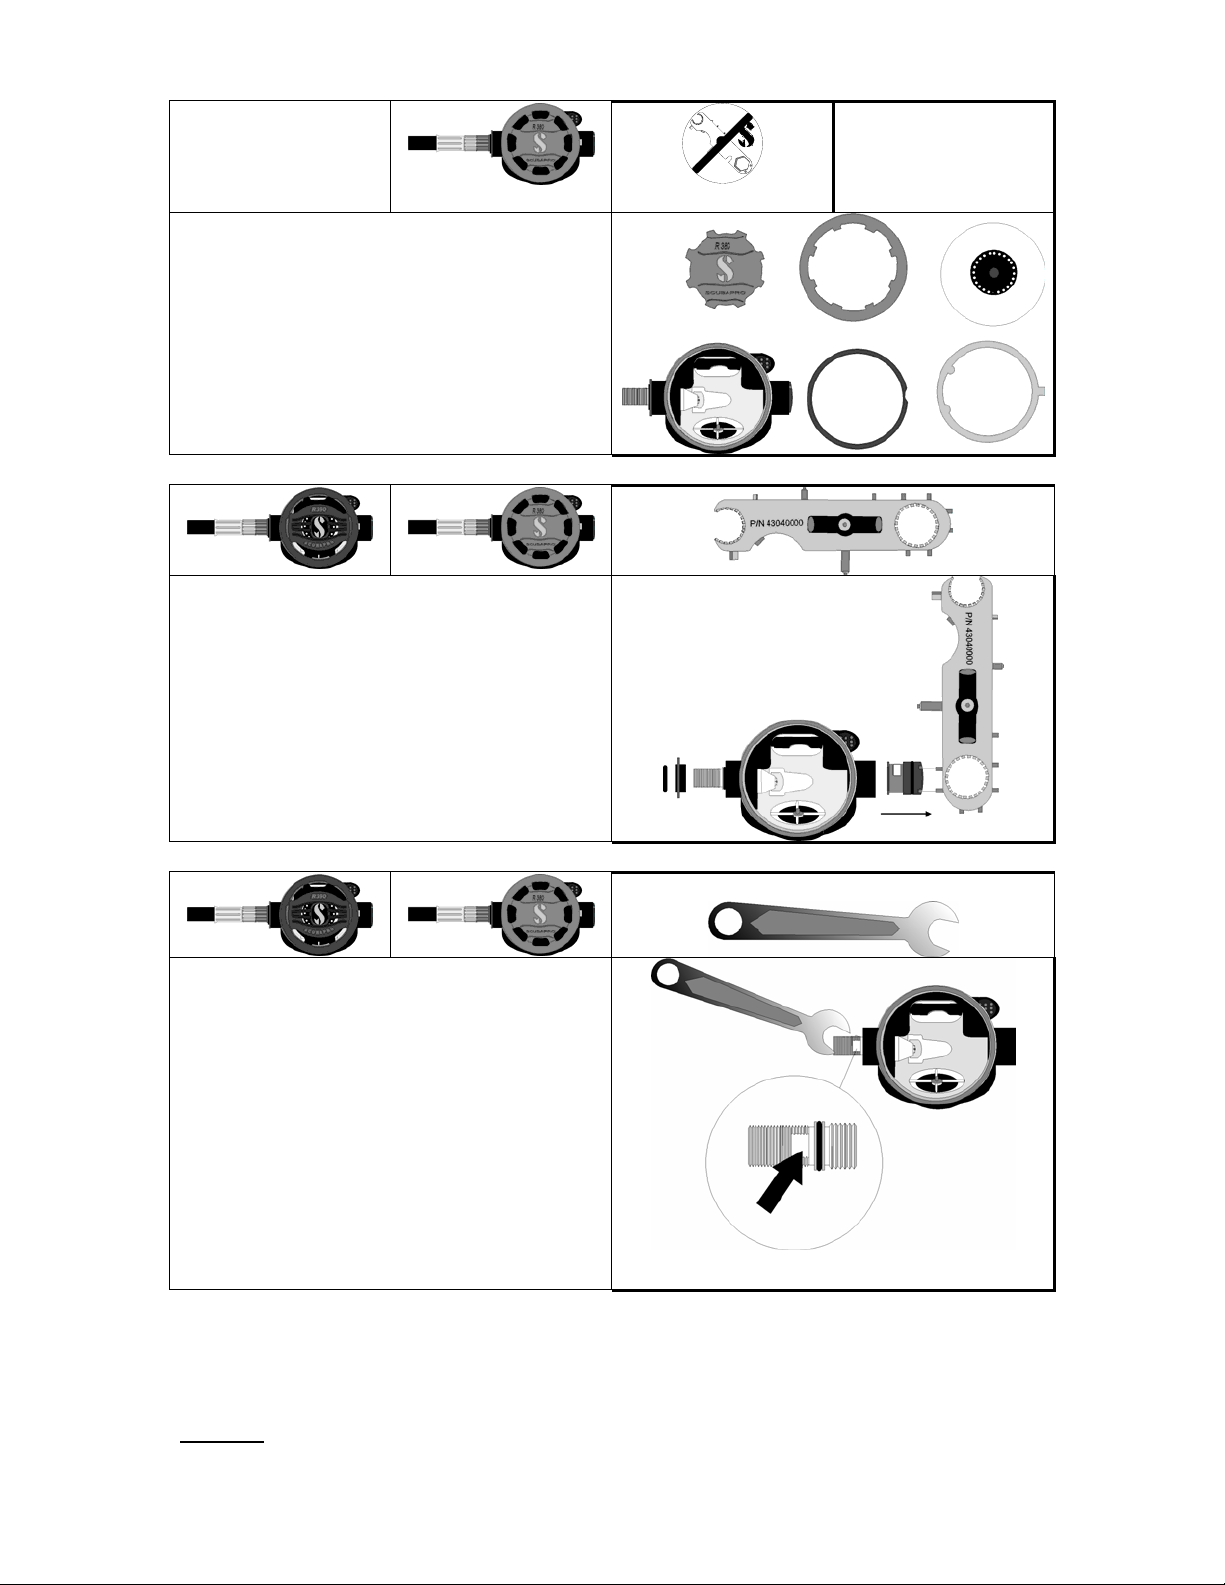
Remove the two-piece cover, friction
washers and diaphragm from the
second stage housing.
Remove the washer from the air inlet.
Using the universal tool remove the
housing plug by turning and then
pushing from the inside of the housing.
Use a 13mm or ½” low torque (thin)
wrench to loosen and remove the valve
body. The wrench should rest on the
“flat” sides of the valve body, which are
designed to permit gripping by a
wrench.
Caution: Do not score the threads on
the valve body when applying the
wrench. Scoring the threads will result
in damage and require replacement of
the valve body.
2003 SCUBAPRO
Important note
technicians are required to attend an annual service training program to insure safe handling and servicing of SCUBAPRO products. All SCUBAPRO technicians
must be employed by an authorized SCUBAPRO facility.
: The following information is not designed to be a complete training guide for servicing the listed SCUBAPRO regulators. All SCUBAPRO
4
Page 5

SCUBAPRO R 390 - R 380 Second Stages
No tools needed this
P
/
N
4
3
0
4
0
0
0
0
TOOLS
NEEDED
step
Push the valve housing to the inside of
the case to remove. Take care not to
lose the housing plug.
Note: There are two aspirator holes in
the housing. The housing plug should
be in the aspirator hole AWAY from the
mouthpiece if the regulator is set up as
a right hand second stage.
Remove the nyloc nut from the poppet
assembly using the ¼” Nut Driver.
Remove the poppet assembly from the
housing.
Use the universal tool to remove the
adjustable orifice from the valve body.
This Step Is Only Performed As Needed
When it is necessary to remove the
VIVA flow vane, use the flow vane
removal tool (p/n 43.300.225).
Note: This step is seldom needed,
unless the VIVA flow vane o’ring is
worn or damaged.
Top View
2003 SCUBAPRO
Important note
technicians are required to attend an annual service training program to insure safe handling and servicing of SCUBAPRO products. All SCUBAPRO technicians
must be employed by an authorized SCUBAPRO facility.
: The following information is not designed to be a complete training guide for servicing the listed SCUBAPRO regulators. All SCUBAPRO
5
Page 6

If the VIVA flow vane is removed, it may be
necessary to replace the entire VIVA
assembly, including the o’ring.
SCUBAPRO R 390 - R 380 Second Stages
No tools needed
P
/
N
4
3
0
4
0
0
0
0
TOOLS
NEEDED
this step
This Step Is Only Performed As Needed
Carefully inspect and lubricate the o’ring.
The venturi vane is reversible.
Maximum VIVA
:
Place the new knob and vane assembly
back into the housing with the crescentshaped notch facing forward toward the
back of the diaphragm for maximum VIVA.
Minimal VIVA:
Place the new knob and vane assembly
back into the housing with the crescentshaped notch facing forward toward the
mouthpiece opening for minimal VIVA (ie:
for rental equipment).
Push the vane inward until it is locked in
place.
This Step Is Only Performed As Needed
2003 SCUBAPRO
Important note
technicians are required to attend an annual service training program to insure safe handling and servicing of SCUBAPRO products. All SCUBAPRO technicians
must be employed by an authorized SCUBAPRO facility.
: The following information is not designed to be a complete training guide for servicing the listed SCUBAPRO regulators. All SCUBAPRO
6
Page 7

SCUBAPRO R 390 - R 380 Second Stages
If removal of the exhaust valve is
necessary, use the ball-end allen wrench
to push out the exhaust tee pin. Remove
the center section of the exhaust tee.
To remove the exhaust valve, grasp with
fingers and pull firmly out.
The exhaust valve will seldom need to be
replaced. Careful inspection is usually all
that is necessary. If the valve is removed
during service, it may be damaged during
the process, requiring
replacement.
If the exhaust valve is removed, carefully
inspect and replace if necessary.
Replace the exhaust tee center section
and use the ball-end allen wrench to
replace the exhaust tee pin.
This Step Is Only Performed As Needed
This Step Is Only Performed As Needed
Inspect all washers and the lever.
Replace the poppet seat and nyloc nut.
Reassemble the valve housing. The nyloc
nut should be adjusted as follows:
a. Maximum of one poppet carrier
thread showing through if used for
a primary regulator.
b. Maximum of two poppet carrier
threads showing through if used for
an octopus regulator
c. Maximum of three poppet carrier
threads showing through under all
circumstances.
2003 SCUBAPRO
Important note
technicians are required to attend an annual service training program to insure safe handling and servicing of SCUBAPRO products. All SCUBAPRO technicians
must be employed by an authorized SCUBAPRO facility.
: The following information is not designed to be a complete training guide for servicing the listed SCUBAPRO regulators. All SCUBAPRO
7
Page 8

Inspect and lubricate the two static
o’rings on the valve body and
adjustable orifice.
Insert the adjustable orifice into the
valve body and turn the adjustable
orifice inward one complete turn using
the universal tool.
Install the valve housing and valve
body into the case.
Hold the lever DOWN while assembling
these pieces. This will help prevent
engraving of the poppet seat during the
threading process.
SCUBAPRO R 390 - R 380 Second Stages
Monoject
No tools needed
P
/
N
4
3
0
4
0
0
0
0
TOOLS
NEEDED
this step
2003 SCUBAPRO
Important note
technicians are required to attend an annual service training program to insure safe handling and servicing of SCUBAPRO products. All SCUBAPRO technicians
must be employed by an authorized SCUBAPRO facility.
: The following information is not designed to be a complete training guide for servicing the listed SCUBAPRO regulators. All SCUBAPRO
8
Page 9

SCUBAPRO R 390 - R 380 Second Stages
Use a 13mm or ½” low torque (thin)
wrench to tighten the valve body. The
wrench should rest on the “flat” sides of
the valve body, which are designed to
permit gripping by a wrench. Hold the
lever arm down as you tighten the
valve body to prevent engraving of the
poppet seat.
Caution: Do not score the threads on
the valve body when applying the
wrench. Scoring the threads will result
in damage and require replacement of
the valve body.
Inspect and lubricate the valve body
o’ring. Reinstall the washer and o’ring
on the outside of the valve body.
Inspect and lubricate the plug o’ring.
Reinstall the plug in the regulator case
using the universal tool. Turn the plug
¼ turn until it locks in place.
Monoject
2003 SCUBAPRO
Important note
technicians are required to attend an annual service training program to insure safe handling and servicing of SCUBAPRO products. All SCUBAPRO technicians
must be employed by an authorized SCUBAPRO facility.
: The following information is not designed to be a complete training guide for servicing the listed SCUBAPRO regulators. All SCUBAPRO
9
Page 10

SCUBAPRO R 390 - R 380 Second Stages
Install the jam nut on the valve body
and tighten using the universal tool.
Inspect the diaphragm and install.
Install the anti-friction washer on top of
the diaphragm being careful to insert
the tab in the side of the case.
Install the washer on top of the antifriction washer.
No tools needed
P
/
N
4
TOOLS
NEEDED
3
0
4
0
0
0
0
this step
No tools needed
P
/
N
4
3
0
4
0
0
0
0
TOOLS
NEEDED
this step
Inspect the diaphragm and install.
Install the anti-friction washer on top of
the diaphragm being careful to insert
the tab in the side of the case.
Install the washer on top of the antifriction washer.
2003 SCUBAPRO
Important note
technicians are required to attend an annual service training program to insure safe handling and servicing of SCUBAPRO products. All SCUBAPRO technicians
must be employed by an authorized SCUBAPRO facility.
: The following information is not designed to be a complete training guide for servicing the listed SCUBAPRO regulators. All SCUBAPRO
10
Page 11

SCUBAPRO R 390 - R 380 Second Stages
Install the two-piece front cover. Use
the universal tool as shown to tighten.
Insert the case pin.
Mount the pneumatic adjusting tool into
the second stage body, and thread on
the second stage low-pressure hose.
Use the pneumatic adjusting tool to
make the initial air-on adjustments to
the second stage, and to stop all free
flowing. Once free flow stops, de-tune
the second stage orifice from the
twelve o’clock position to the one
o’clock position.
2003 SCUBAPRO
Important note
technicians are required to attend an annual service training program to insure safe handling and servicing of SCUBAPRO products. All SCUBAPRO technicians
must be employed by an authorized SCUBAPRO facility.
: The following information is not designed to be a complete training guide for servicing the listed SCUBAPRO regulators. All SCUBAPRO
11
Page 12

SCUBAPRO R 390 - R 380 Second Stages
Reinstall the low-pressure hose on the
second stage body.
Check the cracking effort of the
regulator.
R390 Inhalation effort range:
Primary Regulators: 1.2 to 1.8 inches
of water
Octopus/Alternate Air Source: 1.4 to
1.8 inches of water
R380 Inhalation effort range:
Primary Regulators: 1.2 to 1.8 inches
of water
Octopus/Alternate Air Source: 1.4 to
1.8 inches of water
2003 SCUBAPRO
Important note
technicians are required to attend an annual service training program to insure safe handling and servicing of SCUBAPRO products. All SCUBAPRO technicians
must be employed by an authorized SCUBAPRO facility.
: The following information is not designed to be a complete training guide for servicing the listed SCUBAPRO regulators. All SCUBAPRO
12
 Loading...