

Schwaiger iDockStation User Manual
iDockStation
User Guide

For more information, please visit
http://www.idockstation.de

1
Table of Contents
General Information 2
In the Box 2
Preface 3
Features 3
Precautions 3
Getting Started 4
Remote Control Setup 4
Hooking Up to TV 4
Optional Connections 5
First-Time Setup 6
First-Time Setup 7
Remote Control Buttons 12
Instructions for Installation Site 13
Safety and Installation Instructions 13
Instructions for Mains Connection 14
Instructions on Handling Batteries 15
CE-Identification 15
Disposal Instructions for Packaging 15
Instructions for Warranty 16
Intended use 16
Helpful Information 17
Terms of Use and Limited Warranty 17

2
General Information
In the Box
Size and weight
•Length: 140 mm
•Width: 100 mm
•Thickness: 30 mm
•Weight: 277 grams
In the Box
•iDock Station
•IR Remote Controller
•USB Cable
•Component Cable
System Requirements
•iPhone 4
•iPod Touch 4th Generation
•iPad and iPad 2
•Juzz Play Center (for streaming media from a Mac or PC)
•Wi-Fi (802.11 a, b, g or n) wireless network (wireless video
streaming requires 802.11 a, g or n).
Ports and Interfaces
•Mini-USB Port (for charging and syncing)
•12-Pin Connector (for connecting to TV)
•Built-in IR Receiver
•Reset Button (for switching between CVBS and YUV videoout
connection, and reset to factory settings)
Power Specifications
•iDock Station output power: 5V DC, 2100mA
•USB AC Adapter output: 5V DC, 1A
•IR Remote Control: 3V Li-ion button battery CR2025
•Coverage of Remote Control: within 6m, 30 degrees
Supported Media Formats
•Video supported by iOS Platform and other popular formats
in .rmvb, .avi, .flv, .mkv and .wmv.
•Audio in .mp3 and .m4a.
•Photos in .jpg and .png.

3
Preface
iDock Station allows any iPhone 4 / iPod Touch 4G / iPad / iPad 2 to be used as a Media Center when docked to the
station. You can enjoy your computer contents on the TV wirelessly with your home network. Operating the TV user interface
is design with simplicity in mind an setting up require little or no configuration needed.
Features
•Play videos, music and photos in your iPhone 4 / iPod Touch 4G / iPad / iPad 2 on the TV.
•Charge your iPhone 4 / iPod Touch 4G /iPad / iPad 2 while playing contents on the TV.
•Sync with your iTunes using the USB cable connected to the computer.
•Support almost any video format with no waiting time.
Precautions
•For cleaning the body case, wipe with dry cloth. If necessary, use a damp cloth with mild
detergent. Do not use chemical such as benzine, alcohol or thinner for cleaning.
•The USB adaptor will charge at 1A and 2.1A for iPhone and iPad, respectively, using only
one USB outlet. If both USB outlets are used, it will only charge at 1A
for any devices used.
4
Getting Started
Remote Control Setup
Replacing Remote Control Battery
1. Remove the battery by pressing the latch of the cover and pull it outwards.
2. Replace the battery by pushing the cover inwards until a “click” sound is heard.
NOTE:
•Confirm correct polarity of the batteries. Improper battery installation can damage
the unit.
•Remove the battery if not used for an extended period of time.
•Do not make a short circuit between (+) and (-) polarities of the battery.
Hooking Up to TV
iDock Station Real Panel
1. Mini USB : Charge & sync with USB cable connected to the computer or adaptor.
2. AV Out : Connect to the TV with the 12-pin connector.
3. Reset : For restoring to factory settings, and switch video-out connection between
composite and component.
iDock player rear panel
5
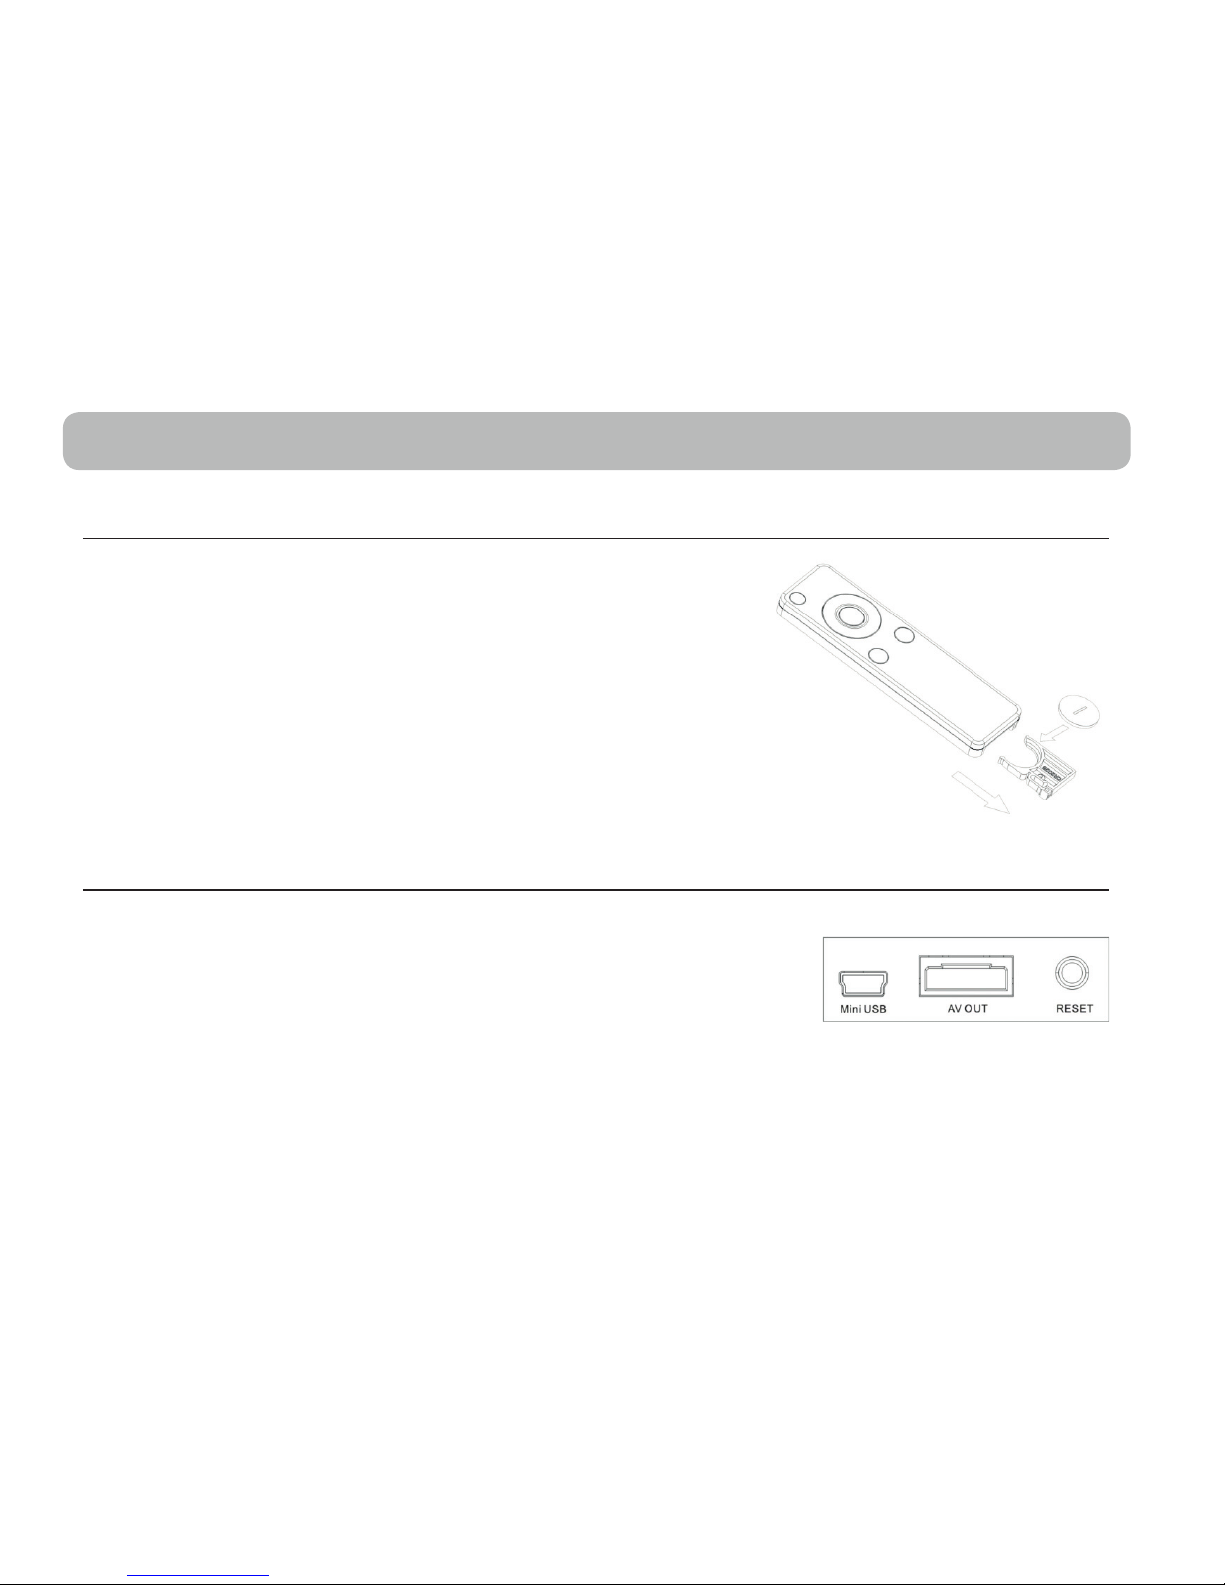
Connecting to the TV
1. Plug the 12-pin connector to the AV Out port of the dock.
2. Plug the red, green, and blue video connectors into the
component video input (YPbPr) ports on the TV.
3.Plug the white and black audio connectors into the left and
right audio input ports, respectively, on your TV.
Important:
Never force a connector into a port. If the connector and port
don’t join with reasonable ease, they probably don’t match.
Make sure the connector matches the port and is positioned
correctly in relation to the port.
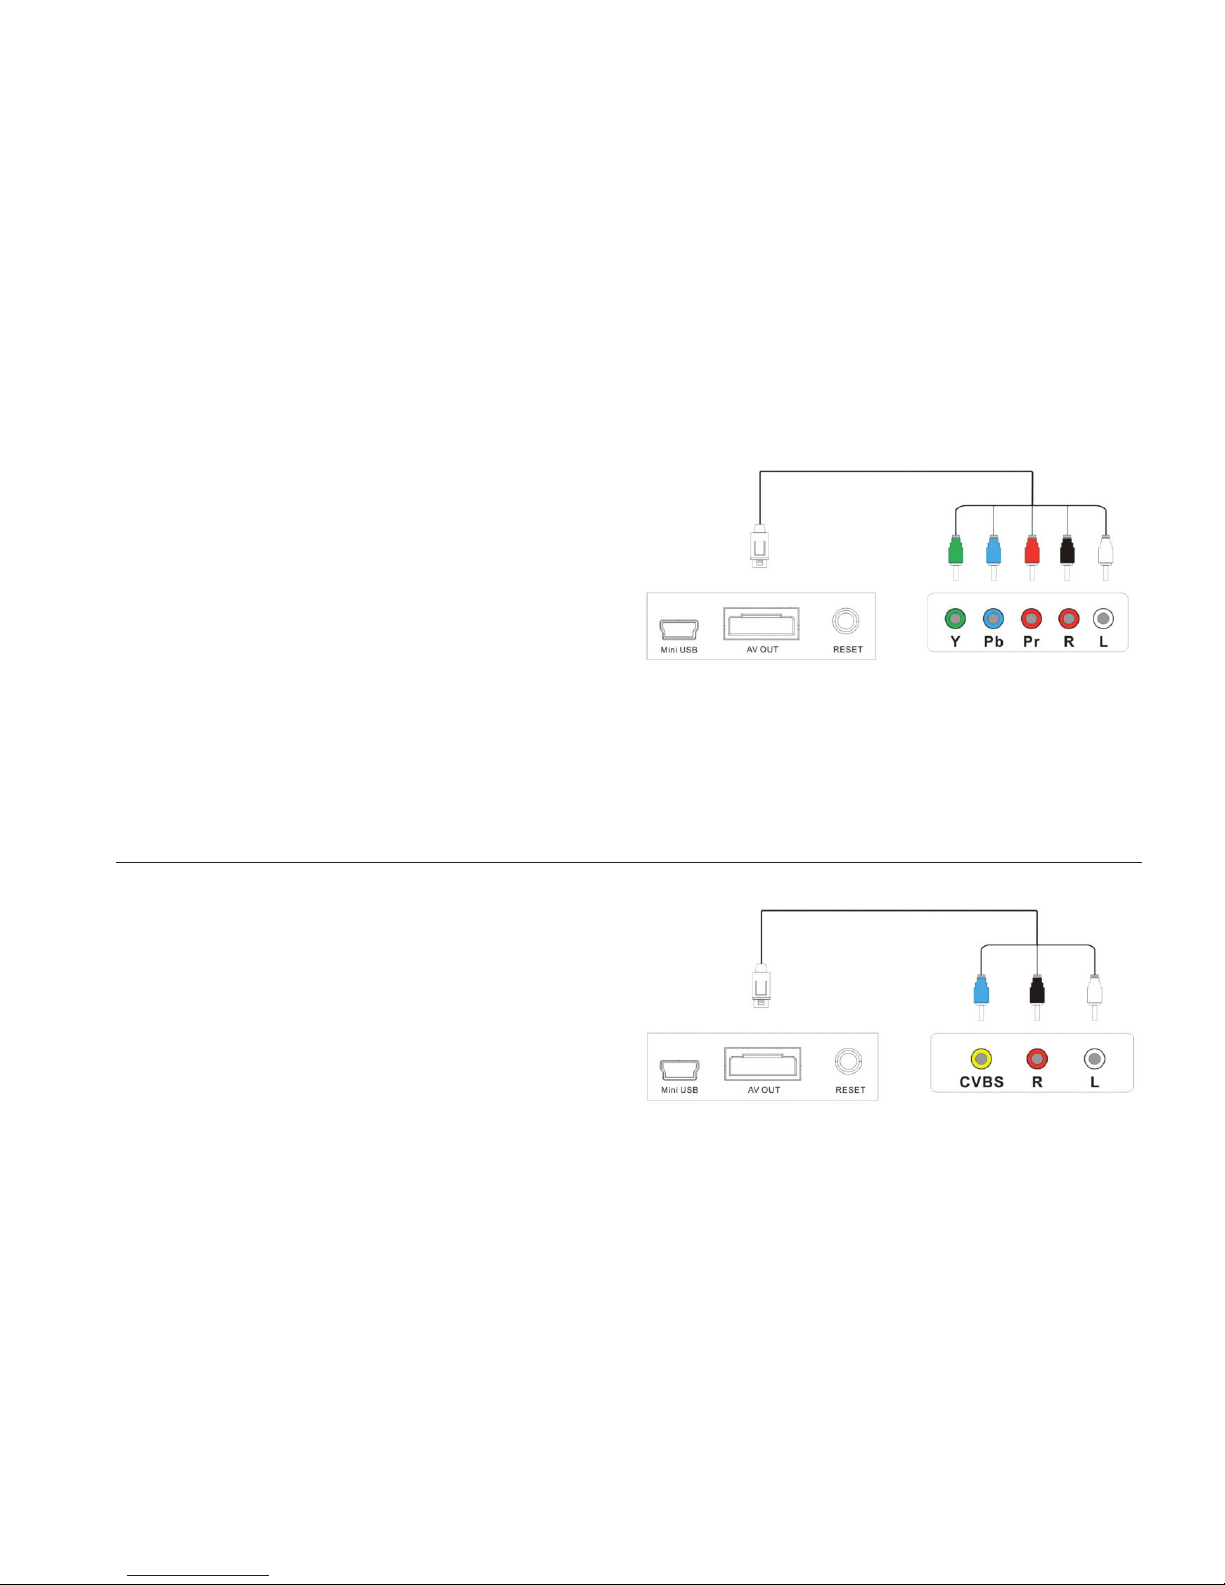
Optional Connections
Using Composite Video-out Connections
1. Plug the 12-pin connector to the AV Out port of the dock.
2. Plug the blue video connector into the composite video input
port on the TV.
3. Plug the white and black audio connectors into the left and
right audio input ports, respectively, on your TV.
TV input
TV input
 Loading...