

Sansui SE-99 Owners Manual
-
OPERATING INSTRUCTIONS
MODE D'EMPLOI
MANUAL
DE
INSTRUCCIONES
SE-99: Precautions for Use
• Do
not
connect
condenser
If
you
connect
may
occur. Also, automatic sound space compensation measurement and reverbera-
tion time measurement
• The TAPE PLAY
These are
When
you
shorting
Do
not
insert
TAPE PLAY
a microphone
microphonel
another
terminals
for
reducing noise
wish
to
pins.
these
terminals
other
to
the
microphone
will not be possible.
at
the
when
connect
shorting
a tape
pins
because
MIC
back
deck
into
this
than
the RE-
jack
to
this
of
nothing
to
the
may
99
on
the
jack
, noise
the
unit
is
connected
the
TAPE PLAY
TAPE
cut
off
REC
SE-99: Precautions d'utilisation
remote control microphone
front
panel
of
this
unit.
will
be
are
provided
or
other
all sound
emitted
with
to
the
terminals, first
terminals
from
and a
shorting
TAPE PLAY
remove
apart
the
speakers .
lor
EM-99
breakdown
pin plugs.
terminals.
these
from
the
• Ne pas relier de
lou
Ie microphone a
Si
I'on relie
que de
d'espace
• Les bornes TAPE PLAY qui se
broche
pas d'appareil
tout
Ne pas inserer ces fiches
autre
provoquer
court-circuitantes.
d'abord
que les bornes TAPE PLAY
microphone
condensateur
un
autre microphone a cette prise, cela engendrera des parasites
une panne. De
sonore
et
la mesure du
aces
bornes. Pour relier un magnetophone aux bornes TAPE PLA Y, retirer
ces fiches
autre que
EM-991 a la prise MIC
meme
temps
trouvent
Elles
permettent
court-circuitantes
court-circuitantes
car
ceci risquerait
SE-99: Precauciones para
•
No
conectar
10
el
micr6fono
Si se
conecta
una averia.
y
la
medici6n
• Los
terminales
jas
cortocircuitadoras
minales TAPE PLAY. Cuando se desee
PLA
Y,
No insertar
de
terminales
de
los
otro
de
otro
Ademas,
del
TAPE PLAY
quitar
altavoces
primero estas clavijas
estas
que
tipo
de
micf6fono
electreto EM-
tipo
de
micr6fono
la medici6n
tiempo
clavijas
no
quedara
de reverberaci6n no seran posibles.
situados
que reducen
cortocircuitadoras
sean los
cortado
que no sea
991
en la
en est a
automatica
en la
el
ruido
cortocircuitadoras
terminales
.
Ie
microphone
, la mesure de la
de reverberation ne seraient pas possibles.
au dos de
de reduire les parasites
.
dans les bornes TAPE
su
utilizaci6n
toma
MIC del panel delantero de este aparato.
toma,
de
parte
posterior
cuando
conectar
en los terminales TAPE
TAPE PLAY ya que de
commandable a distance
du
panneau
compensation
I'
appareil
de
couper
el
micr6fono
se
emitiran
compensaci6n
del aparato disponen de clavi-
no
hay
nada
una grabadora en los terminales TAPE
.
avant
de I' appareil.
et
automatique
sont
dotees
REC
Ie son des enceintes.
de
control
ruidos y pod ria
de espacio de sonido
conectado
10
contrario,
de
lorsqu'on
ou
toute
remoto
en los
REC
, u
fiches
otro
el sonido
ne relie
ocurrir
RE-99
on
ris-
borne
RE-99
ter-
tipo
a
Printed
in
Japan
(05M1) <46999900>
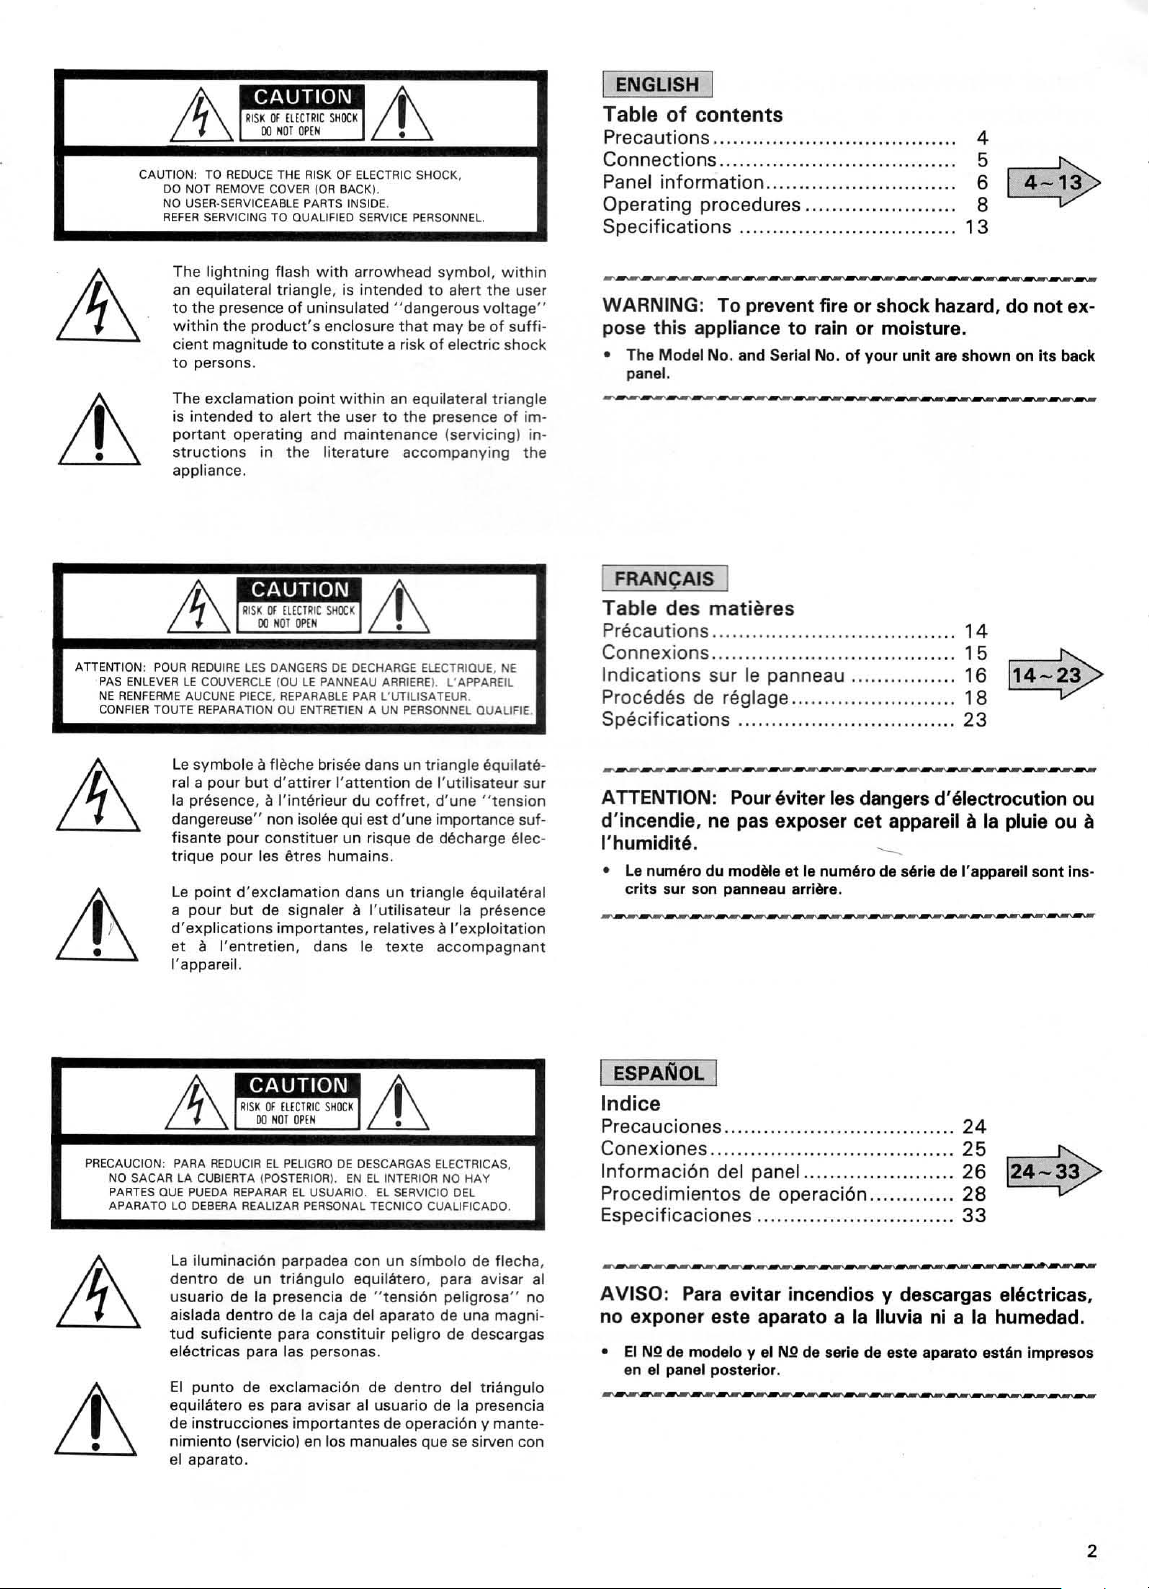
CAUTION:
TO
00
NO
REFER
REDUCE
NOT REMOVE COVER lOR BACK
USER
·SERVICEABlE PARTS INSIDE.
SERVICING TO CUALIFIEO SERVICE PERSONNEl.
THE RISK
OF
ELECTRIC SHOCK,
).
ENGLISH
Table
Precaution
of
contents
s.......
........
.......
...............
Connections...................................
Panel
information............................
Operating
Specifications
procedures......................
..........
.....................
. 5
. 6
. 8
..
4
~
~
13
The lightnin g flash
an equ il ateral triangle, is intended
to
the presence
wit
hin the product's enclosure
cient magnitude
to
persons.
The exclamation point w
is
int
ended
portant
structions
appliance.
ATTENTION: POUR
PAS ENLEVER
NE
RENFERME
CONFIER TOUTE REPARATION
REOUIRE
LE
COUVERCLE
AUCUNE
Le symbole a fleche brisee dans un triangle equilateral
a pour b
la presence, a
dangereuse" non
fisante pour consti
trique pour les etres
Le p
oint
a pour
d'ex
plications impo
et a I'entretien, dans Ie
I'a pparei!.
with
arrowhead symbol,
of
uninsulated "dangerous voltage "
to
con
stitute
ith
to
alert the user
opera
tin
g and maintenan
in
the
LES
DANGERS
(OU
PIECE
d'exclamation
but
LE
, REPARABLE PAR l ' lITILISATEUR .
OU
ENTRETIEN A UN PERSONNEL aUALIFIE .
ut d'attirer I'attention
rinterieur
isolee qui est d'une importance suf-
tu
de signal
in
literature accompanying the
DE
oECHARGE ELECTRICUE,
PANNEAU ARRIERE
du
er un risque de decharge elec-
humains.
dans
er
a I'utilisateur
rt
antes, relatives a
to
alert the user
that
may
a risk
of
electric shock
an
equilateral triangle
to
the presence
ce (ser
).
L'APPAREIL
de
coffret,
I'utilisateur sur
d'une
un
triangle equilateral
la
texte
I'exploitation
accompagnant
within
be
of
of
vic
ing ) in-
NE
" tension
presence
suffi
im-
-
WARNING: To prevent fire or shock hazard, do
pose this appliance
• The Model No. and Serial No.
panel.
Table
des
matieres
Precautions ........................
Connexions
................
Indications sur
ProcMes
de
reglage
Specifications
to
Ie
panneau
............
............
rain or moisture .
of
your
unit
are
.. ..
......... 14
.....................
...............
....
....
.................
. 16
.........
shown
15
18
23
on
~
~
not
its
ex·
back
ATTENTION: Pour eviter les dangers d' electrocution ou
cet
d'incendie, ne pas exposer
appareil a la pluie ou a
I'humidite.
•
Le
num6ro du mod6le et
erits sur son panneau
Ie
arriltre .
-----
num6ro de
drie
de I'appareil sont ins-
PRECAUCION: PARA REoUCIR
NO SACAR
PARTES CUE
APARATO LO OEBEAA REALIZAR PERSONAL
LA CUBIERTA (POSTERIOR
PUEDA REPARAR
La
iluminaci6n parpadea con
dentro de
usuario de
aislada dentro de la caja
tud sufi
el~c
tricas
EI
punto
equilatero
de instrucciones i
nimiento (servicio)
el aparato.
EL
PELI
EL
un
triangu
la
presencia de "tensi6n peJigrosa " no
ciente para
para l
as
de exclamaci6n de dentro del triangulo
es
para avisar
mport
en
GRO
DE
OESCARGAS
).
EN
EL
USUARIO. EL SERVIC
TECNICO
lo equilatera, para avisar
del aparato
constituir
personas.
al
usuario
antes de operaci6n y mante-
los manuales que
INTERIOR
un
simbolo
peligro
ELEC
TRI
NO
IO
DEL
CUALIFICADO.
de
una magni-
de
de
la
se
CAS,
HAY
de
flecha,
descargas
presencia
silVen con
I ESPAliioL I
Indice
Precauciones
Conexiones ....
Inf
ormaci6n del panel
Procedimientos de operaci6n
Especificaciones
al
AVISO:
no exponer este aparato a la lIuvia ni a la humedad.
•
EI
N2 de modelo y el
en
el
......................... , .........
..............................
.. .....................
.............
Para
evitar incendios y descargas electricas,
NQ
panel posterior.
de serle de este aparato estllln impresos
.............
......
........... 33
...
24
25
26
28
~
~
2

Panel
information
Indications sur
Informacion
del panel (Consultar la pagina
(Tum
to
page 6
Ie
panneau (Se reporter iI
for
details.1
la
26
page
para
16
pour de plus amples details.)
mas
detalles.)
11----.
:%:
UI
::;
<:I
Z
w
Indicators
T6moins
Indicadores
MEMORY
0 0 0 0 0
A-
I 2 3
0 0
FLAT SOUND MENU
f-
8-
COMPENSATE-TAPE-SOUND
~------T---r--r---
§
L+A
§ § §
SPACE I REV
§I§'§,§
SINGLE
EO
INPUT DISPLAY
I I I
I I
c o
Remote
Microphone
Micr6fono
4
5
@]
SET
r
I
ERB
RANGE ; RESET
I I
E F
TIME
control
microphone
comman
de
I--
d able it
control remota RE-99
G
RE-99
distance RE-
99
1
14--
15--
--'7
--'8
\.--19
* The
RE-99
remote
sold in some areas . In such cases,
phone
is
provided
• Dans certaines r6gions,
RE-99
"'
microphone
*
EI
ratos destinados a ciertos parses.
se
3
est
micr6fono de control remoto RE-99 no se
ha provisto
control
pas
fourni avec I'appareil . Dans ce cas,
ill
condensateur EM-
el
micr6fono de electrero EM-
instead.
Ie
microphone
the
microphone
99
En
is
not
EM-99
commendable
qui est fourni.
ha
tales casos,
provided
condenser
99.
with
ill
distance
c'sst
provisto con apa-
en
su lugar
units
micro-
Ie
Thank
Taking
you
the
for
purchasing this fine SANSUI
time
to
carefully before use
features and
help ensure
read
will
these
operating
acquaint
optimum
instructions
you
fully
with
performance .
product.
all its
• In order
differ
to
from
simplify
the
originals.
the explanation illustrations may sometimes
Precautions ______________________________________________________ _
Power
When disconnecting the
take hold
or disconnect the
an
Do
Any
tions
SUI's warranty
performance results from remodeling inside.
plug
power
of
the plug , and n
electric
Remember
when
time.
not
inspections or adjustments inside the
and
power
shock
.
to
disconnect the
you
do
not
intend
remove
electric shocks. Do
the
is
not
cord
ot
the wir
plug
with
power
to
use
case and
not
touch any
effective
e.
wet
the
if
from
the
power
outlet
the
, always
power
period
to
malfunc-
the
and pull free. Never
hands since you may receive
plug
from
unit
for a prolonged
bottom
a deterioration in
panel
unit
may lead
of
the inside parts. SAN·
Installation precautions
Do
not
install the unit in any
result in a deterioration in performance or
Locations exposed to direct sunlight or near objects radiating heat
such
as
heating appliances.
* Locations exposed to moisture or
Locations
Locations
susceptible
On
ot
her
Do
not
Wipe the panels and case from
any kind
blotching on the exterior and erase the markings and should
fore
be
Do
not
with
poor ventilation exposed
wh
ich are
to
top
product
wipe
of
avoided.
use insecticide sprays in the vicinity.
vibration.
of
a high power
which
with
thinner, alcohol or volatile liquid will mar the surface, cause
of
the
unstab
le and
output
amplifier, audio components or any
radiates heat.
thinners
time
following
humidity.
not
perfectly
to
time
locations since this may
malfunction:
to
dust
and dirt.
flat
or
whi
with a soft
clot
h. Using
connect
outlet
of
unit's
ch are
there·
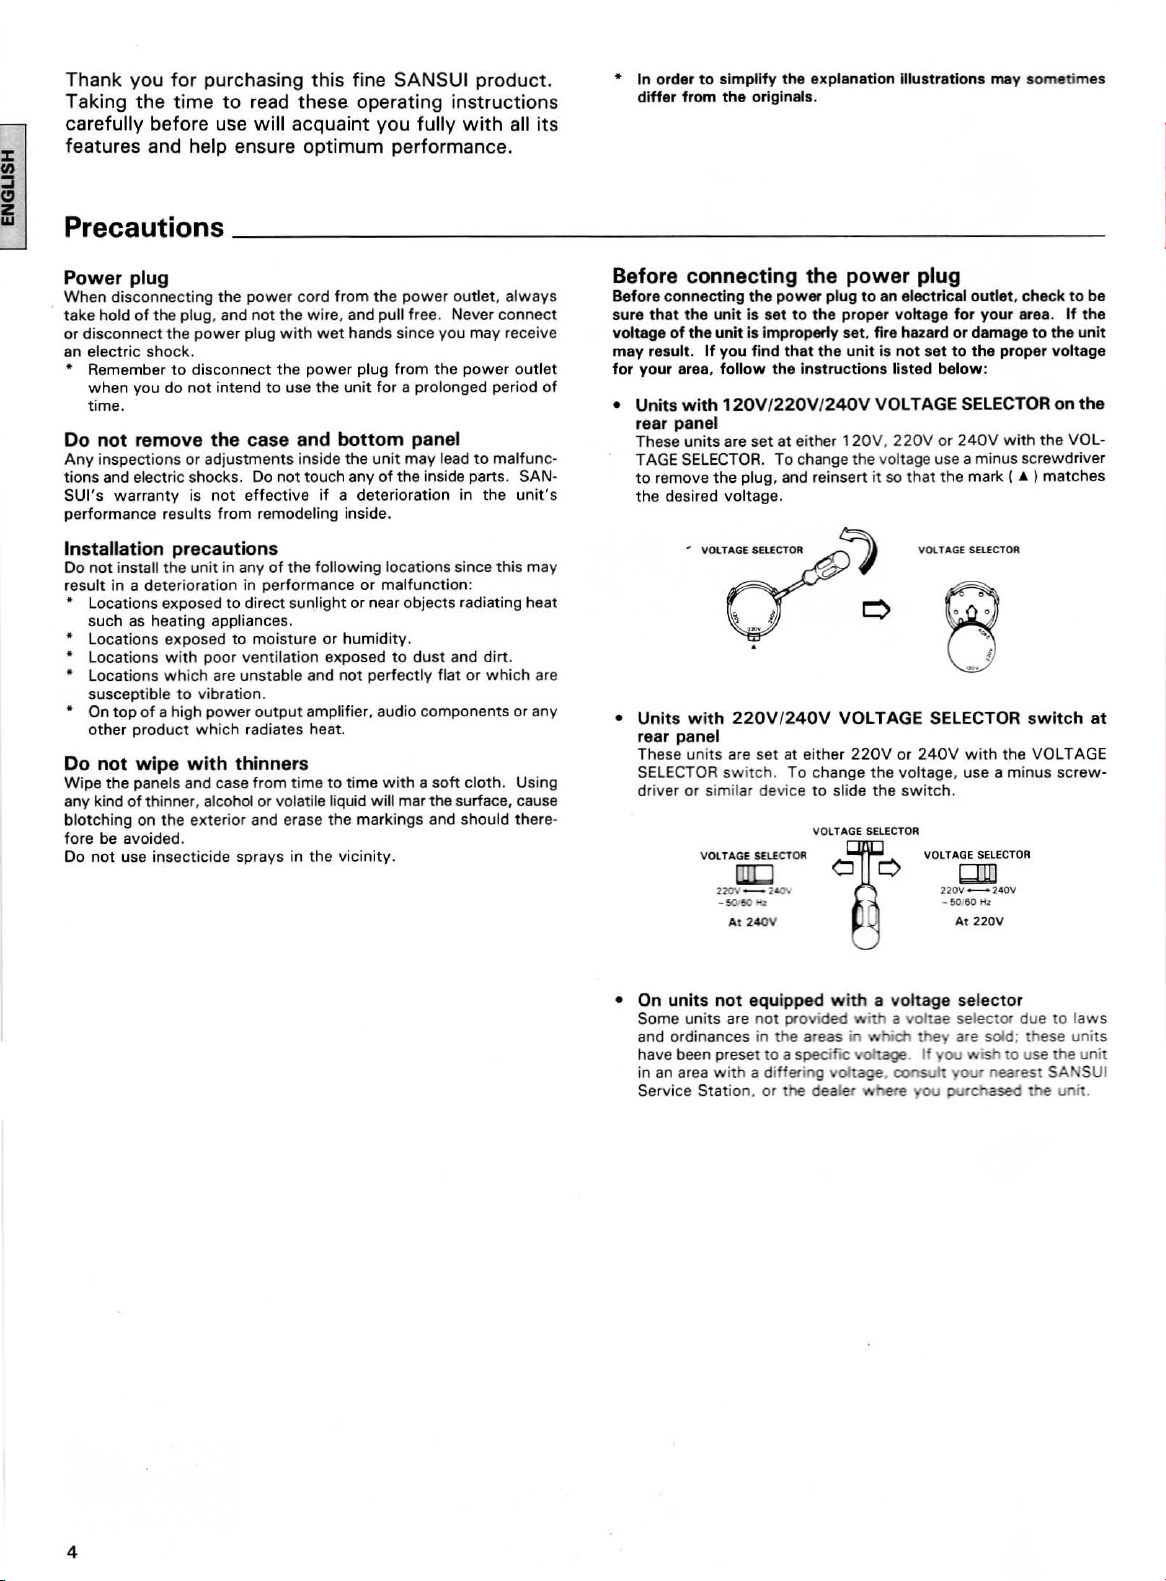
Before
Before connecting the
sure
vottage
may
for
• Units
connecting
that
the
of
the
result.
your are8,
with
the
unit
unit
If
power
is set
is improperly set, fire hazard
you
find
follow
that
the I
power
plug
to
the proper voftage
the
unit
nstructions
120V/220V/240V
plug
to
an
electrical outlet, check
for
your
area.
damage
the proper voltage
to
not
set
below:
or
to
is
listed
VOLTAGE SELECTOR on
rear panel
These
units
are
set
TAGE SELECTOR. To change the voltage use a minus screwdriver
to
remove
the desired voltage.
•
Units
the
with
at either
plug, and reinsert
220V /240V
120V, 220
V or
240V
with
it
so
that
the mark (
VOLTAGE SELECTOR
the VOL·
..
) matches
switch
rear panel
These uni
SELECTOR swi
driver or simil
ts
are set at either
tch
. To change
ar
device to slide the
VOLTAGE
SlUCTOfI
[J!I:J
22fIV _ 24&ti
-!I(),
'tIO Hr
At
240
V
220V
or
240V
with
the
voltage, use a minus
switch
VOLTAGE SELECTOR
VOLTAGE SELECTOR
b~O
220V_2.0
-fIO/6OH
.
gj[]
At
.
220V
the VOLTAGE
V
to
If
the
the
unit
the
screw·
be
at
•
On
units
not
Some units are
and ordinances in the areas
have been preset to a
in
an
area wi
Service Station .
equipped
not
th
a differing
or the dealer where
with a
provtded w' a voltae selector due
specific: voltage. If
vohag
voltage
in
which
e. consuh your nearest SA SUI
selector
ey
are sold; these
you
wish
you
purchased
to
use the
the
to laws
unit
unit
un
' .
s
4
 Loading...