

Samsung NX58K9850SS/AA, NX58K9850SG/AA, NX58K7850SS/AA, NX58K7850SG/AA User Manual
Electric / Gas range
Samsung Smart Home app
Instruction Manual
Smart_home_App_DG68-00736A-01_EN+MES+CFR.indb 1 3/16/2016 11:19:13 AM
Samsung Smart HomeSamsung Smart Home
Samsung Smart Home
This manual will help you take full advantage of the Smart features of your new
range. It will guide you thru the installation of the Samsung Smart Home App,
explain how to connect the app to your range, and cover the apps main features.
For more information, visit www.samsung.com.
Downloading and Installing the App
1. Download the Samsung Smart Home application from the Google Play Store
(Android devices) or from the Apple AppStore (iOS devices). To nd the app,
use the keyword “Samsung Smart Home.”
2. Install the app on your smart device.
NOTE
• The Samsung Smart Home app requires Android 4.0 (ICS) or later, and is
optimized for Android 4.4 or later on Samsung smartphones (Galaxy S & Note
series). Some functions of the app may not work properly on third-party
smartphones.
• For iOS models, the app requires iOS 7 or later.
• The Samsung Smart Home app is subject to change without notice for
improvements in usability and performance.
Getting started
Registering a Samsung account
To use the Samsung Smart Home app you must rst sign in to your Samsung
account. If you don’t have a Samsung account select “Register” in the app, and then
follow the on-screen instructions to create an account.
Connecting the app and your range
Before you can use the remote features of your Samsung range, you must pair it to
the Smart Home App. Follow the steps below to pair your range with the app.
1. Launch the Samsung Smart Home app. When Main screen appears, swipe your
nger across from left to right. The view will change to the Device screen. In
the Device screen, tap “+”, and then select Range from the list.
If Range does not appear in the menu, tap Select other device on the bottom,
and then select Range from the list.
2. On the next screen, select your Wi-Fi network (AP name/Network name) and
enter your password. Make sure the range and your mobile device connect to
the same Wi-Fi network.
3. On the range, tap and hold the Smart Control button for 3 seconds to
implement the Easy Connection function. The “AP” or Easy Connection icon
appears on the display.
4. The range will be registered automatically. This processes might take several
minutes. During the connection process, the range will sound a single chime.
The chime does not indicate the end of the connection process.
5. When registration is complete, the range icon appears on Main menu of the
app indicating that the range is connected. The Connected icon also appears
on the range display.
6. Select the icon corresponding to the registered Range.
NOTE
The initial registration process might take several minutes to complete.
NOTE
• If you have a registered Samsung account, log into your Samsung account. If
you have a Samsung smartphone, you can go to the Settings menu on your
smartphone, select Accounts, and then sign in to your Samsung account. This
will allow you to log in without additional authentication.
• For third-party smart phones, the app account must be the same as the Easy
Setup account.
2 English
Smart_home_App_DG68-00736A-01_EN+MES+CFR.indb 2 3/16/2016 11:19:13 AM
Controlling your range remotely
Press Smart Control on your oven. The Smart Control On icon appears in the
display. The range can now be controlled remotely using a connected remote
device. To control the range remotely, select the Range icon in the Samsung Smart
Home app. The Oven Control screen appears. You can perform the following
functions through the application:
Oven/Cooktop monitoring
• Check the status of the oven.
• Monitor the on/off status of each cooktop burner.
Oven remote control
• Before cooking starts, set oven settings (mode, time, temperature) remotely
from your mobile device.
• Start the oven remotely. (Electric ranges only.) **
• Turn off the oven remotely.
• Once cooking starts, set or change the cooking time or temperature remotely.**
Auto cook
Start a preset cooking mode. (Electric ranges only.)
For best results, follow the recipes on the Samsung Smart Home app.
My cooking
Save frequently used settings.
NOTE
* Electric oven : After you have congured the cooking settings remotely, you can
start the oven by selecting Start in the app or on the range’s control panel.
Gas oven : After you have congured the cooking settings remotely, you can only start
the oven by selecting Start on the range’s control panel.
** To use Remote Start, you must set the Smart Control function of the oven to ON.
For safety reasons, you cannot turn on the gas oven remotely.
*** Only available for models that support Temp probe.
NOTE
• The Smart Home app may not run properly in areas where there is wireless
interference.
• When the door is open, Smart Control is disabled.
• Smart Control is disabled when cooking is completed.
• The oven will continue to operate even if the Wi-Fi connection is lost.
• If you do not specify the cooking time, you will not be able to start the oven
remotely.
• Some remotely controlled functions are restricted for safety reasons.
• When you use the app to activate Sabbath mode remotely, you will only be
able to check the status of the oven. You will not be able to congure settings
remotely.
• On iOS devices, when you enter Eco mode or tap the Home button, the Wi-Fi
connection can be lost and you may have to reconnect.
Samsung Smart Home
Error code checking
Automatically recognize errors.
Temperature probe status
Monitor the current temperature and change the probe setting remotely.***
English 3
Smart_home_App_DG68-00736A-01_EN+MES+CFR.indb 3 3/16/2016 11:19:13 AM
Samsung Smart Home
Samsung Smart Home
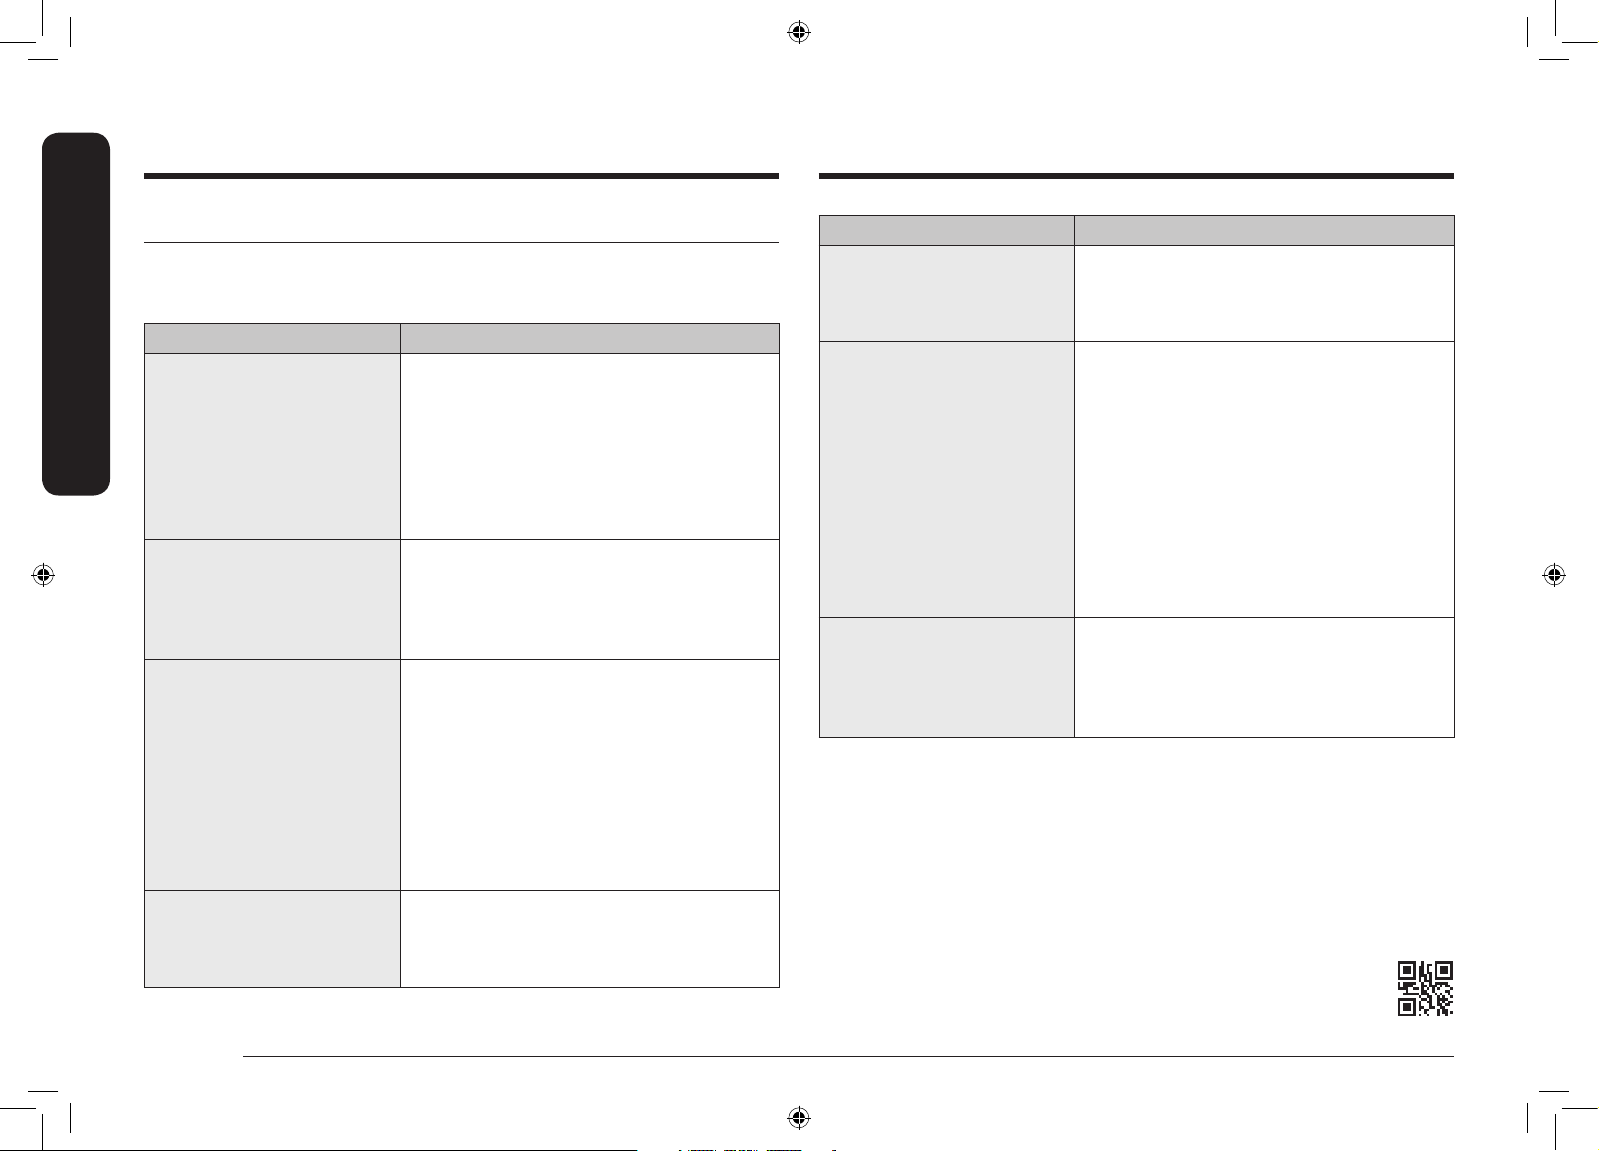
Troubleshooting
If you encounter a problem with the product, review the table below and try the
suggestions. If you’re still having trouble after trying the suggested solutions, call
Samsung at 1-800-SAMSUNG (1-800-726-7864).
Problem Action
The Samsung Smart Home app
is not found at the Google Play
Store or Apple App Store.
The Samsung Smart Home app
is installed but does not work.
The Samsung Smart Home
app is installed but does not
connect to the oven.
The Log in to my Samsung
account has failed.
• In the Play Store or App Store, enter
“Samsung Smart Home” in the search box
to search for the application. Be aware
that it might not be rst in the result list.
• The Samsung Smart Home app is only
compatible with Android devices running
Android OS 4.0 (ICS) or later and iOS
devices running iOS 7 or later.
• The Samsung Smart Home app supports
only compatible Samsung models.
• The previous Samsung Smart Oven app
is not compatible with Samsung Smart
Home-compliant devices.
• Press the Smart Control button on the
range’s display panel. Make sure the Easy
Connection icon appears indicating the
range is connected.
• Make sure your Wi-Fi router is ON
and connected to the Internet. (See
your router’s user manual for more
information.)
• Make sure your oven is within the range
of your W-iFi network.
• Use the Recover feature to reset your
account.
• Create a new account by selecting the Sign
up option.
Problem Action
An information message
appears while Easy Connection
is in process.
My smartphone connected
to my range without any
problems but remote control is
not working.
The wireless network
connection failed.
• This may happen because of the distance
from the AP (router) or because of
electrical or non-electrical interference.
Try again in a moment.
• Make sure the Easy Connection icon is lit
on the range’s display panel. Press the
Smart Control button on the range if it is
not.
• Try restarting the Samsung Smart Home
app or reconnect your phone to your Wi-Fi
network.
• Unplug your router, wait at least one
minute, and plug it back in. Make sure the
router boots up completely before trying
to connect to your range. This process
might take few minutes.
• This product does not support the 5GHz
wireless band. Please use a router that
supports the 2.4GHz wireless band or a
dual band router that supports the 2.4GHz
and 5GHz bands.
DG68-00736A-01
4 English
Smart_home_App_DG68-00736A-01_EN+MES+CFR.indb 4 3/16/2016 11:19:14 AM
 Loading...