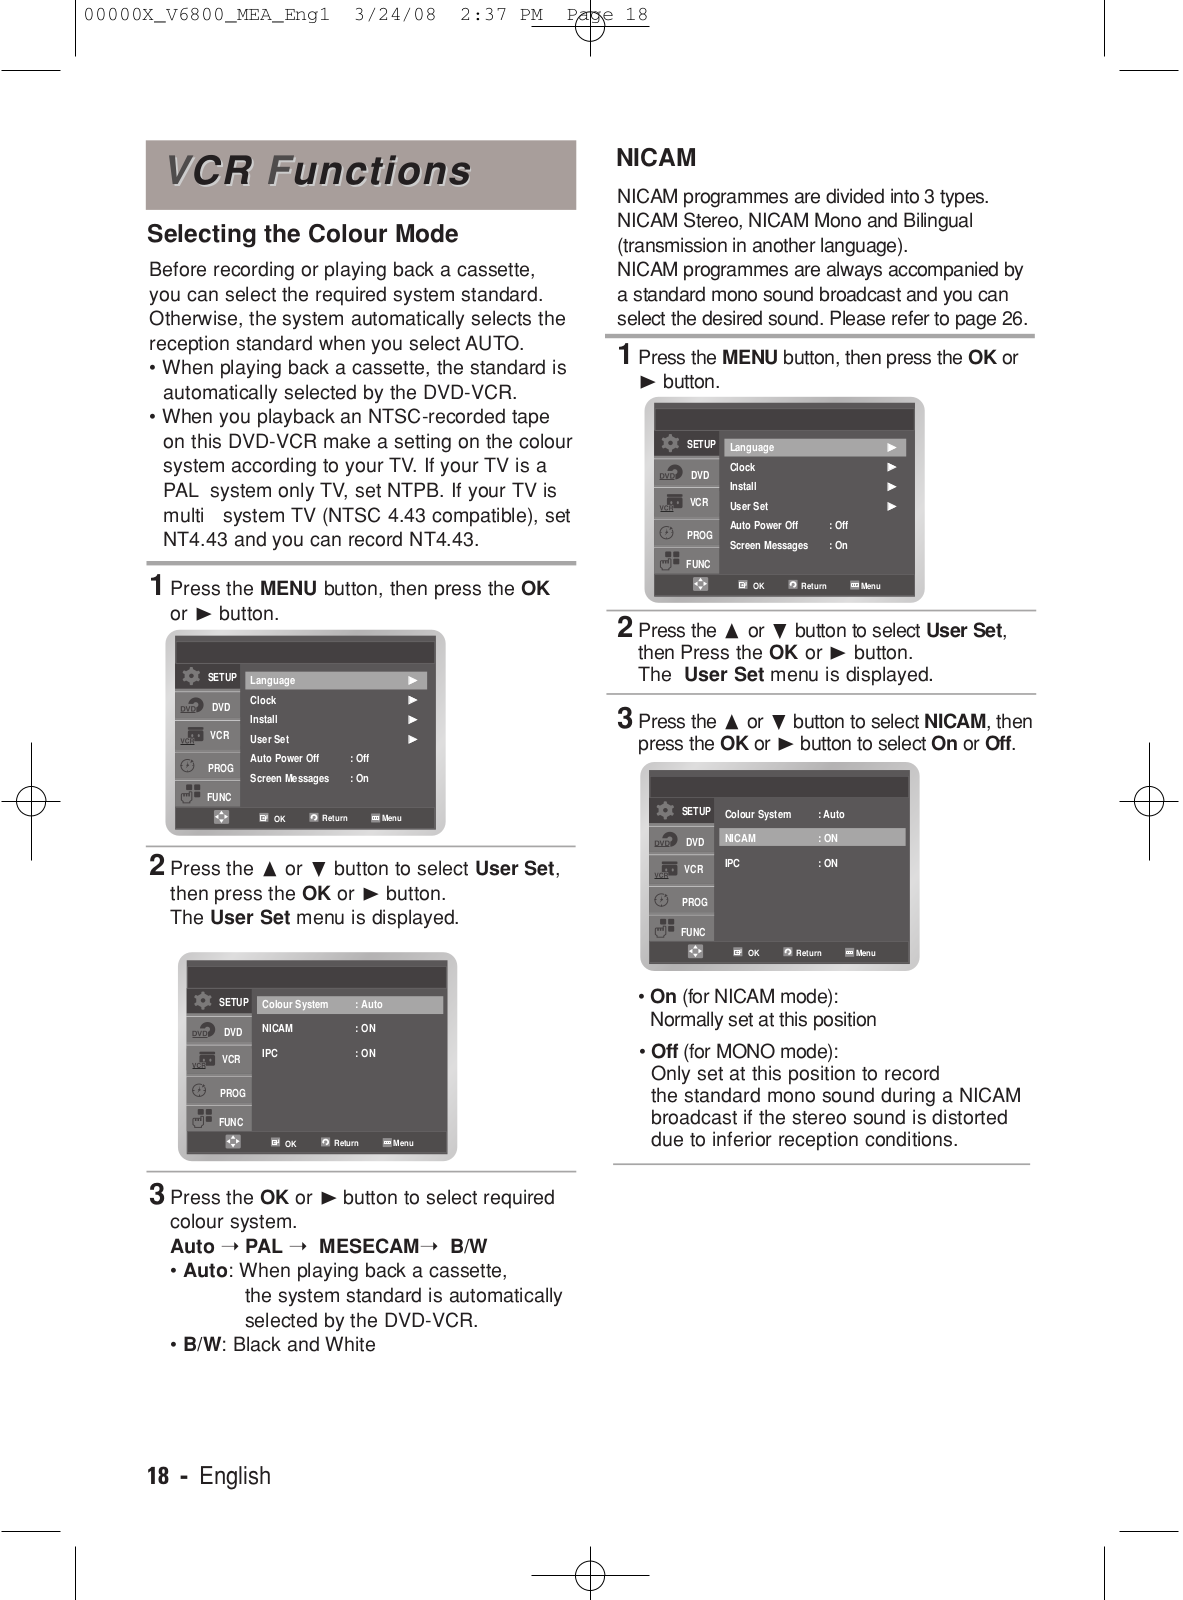
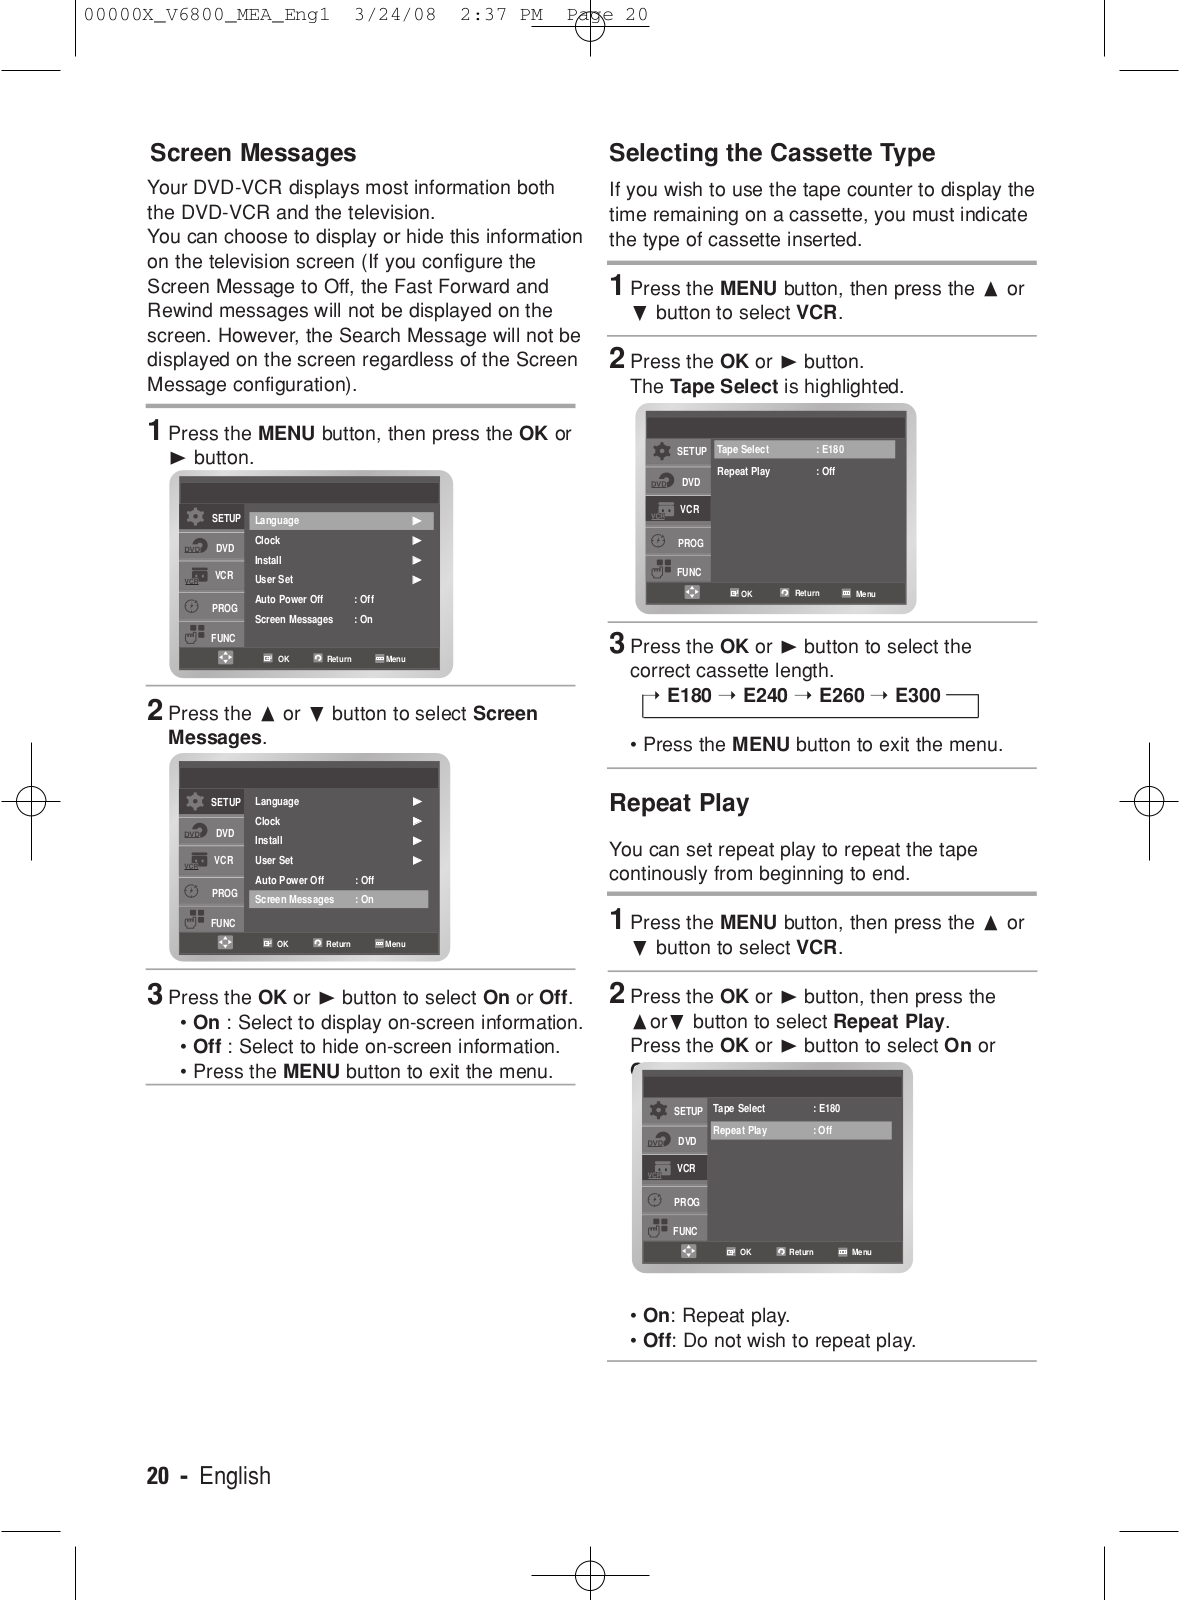
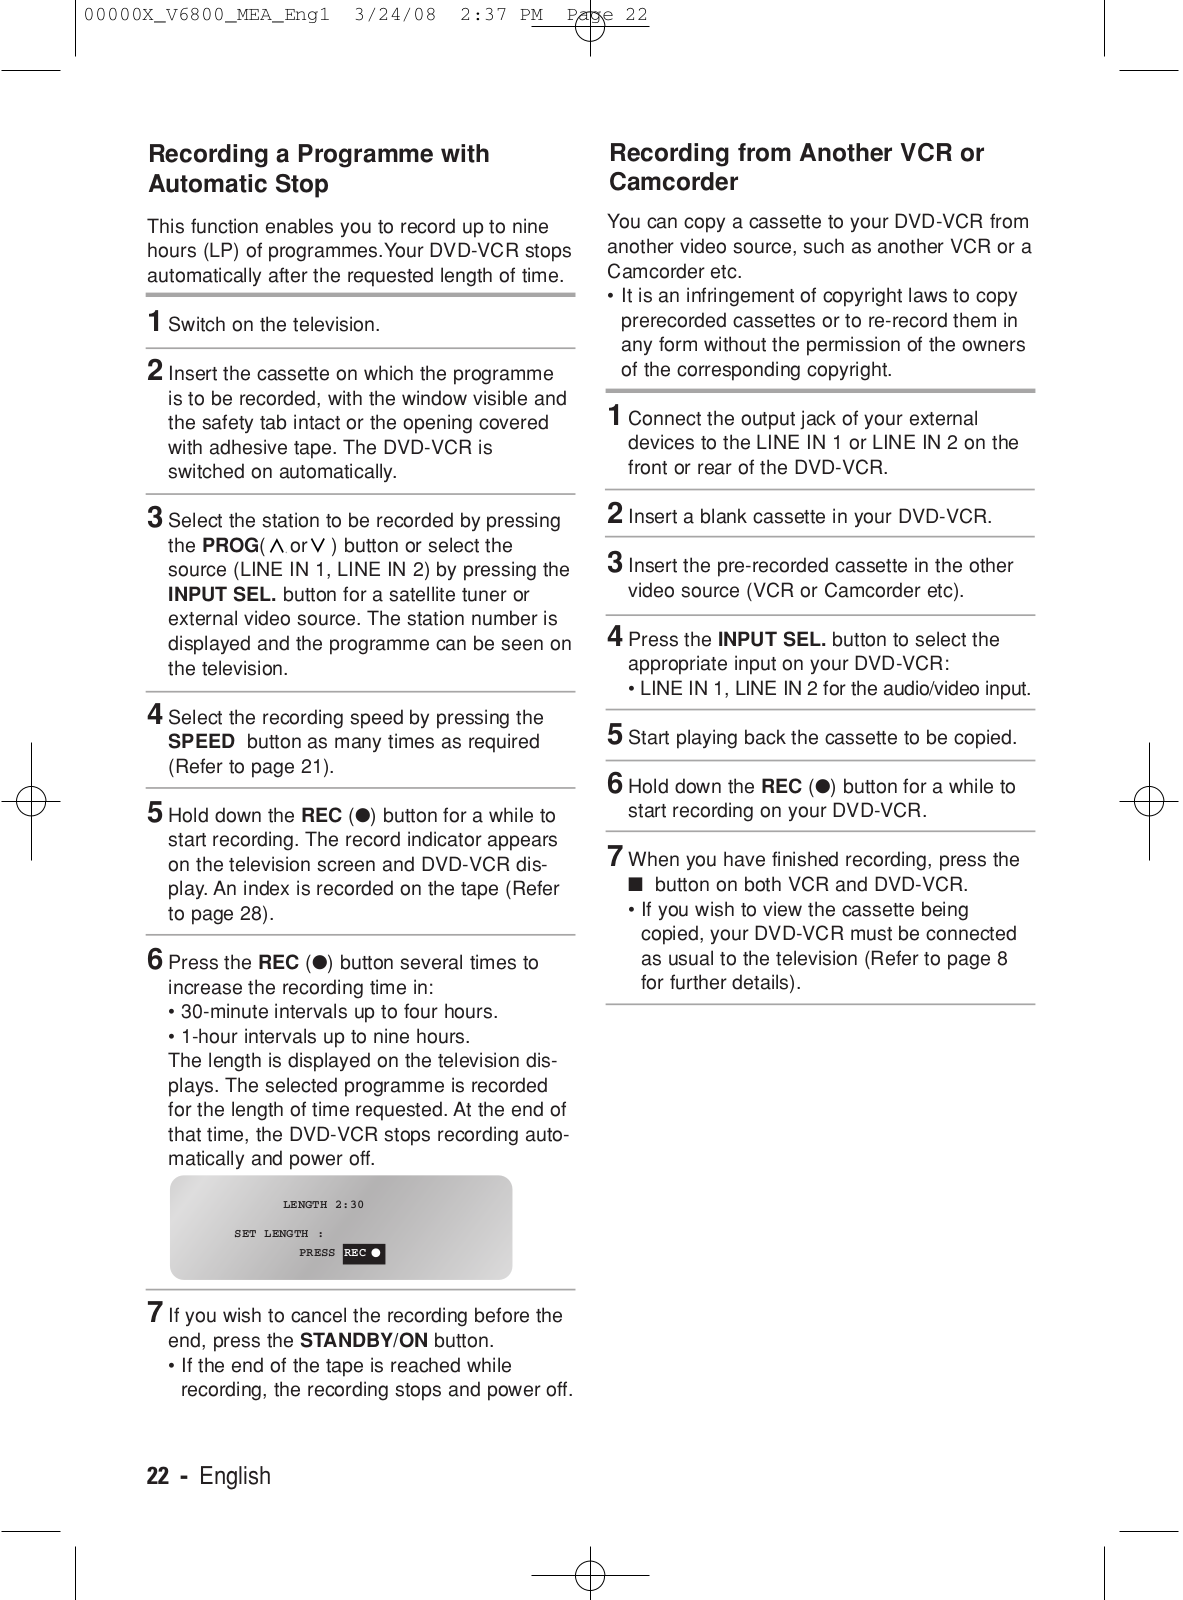
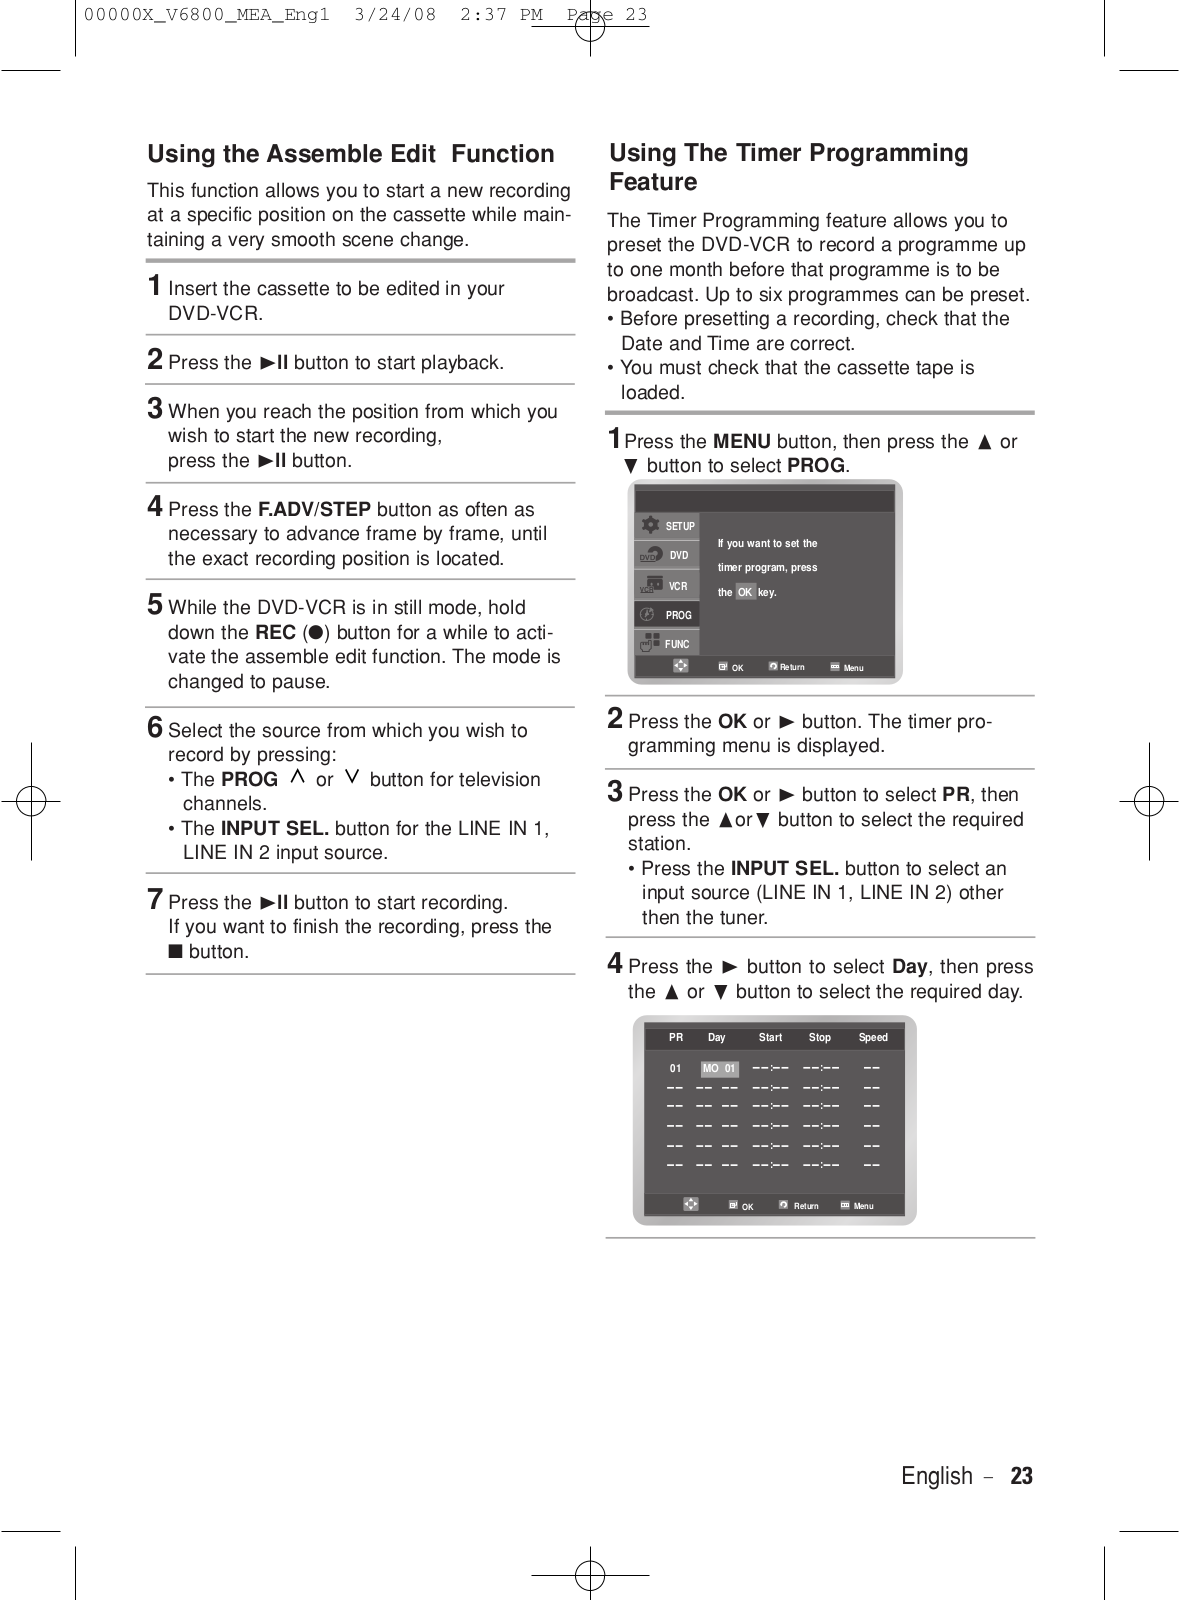
How it Works
Log In / Sign Up
Buy Points
How it Works
FAQ
Contact Us
Questions and Suggestions
Users
Samsung
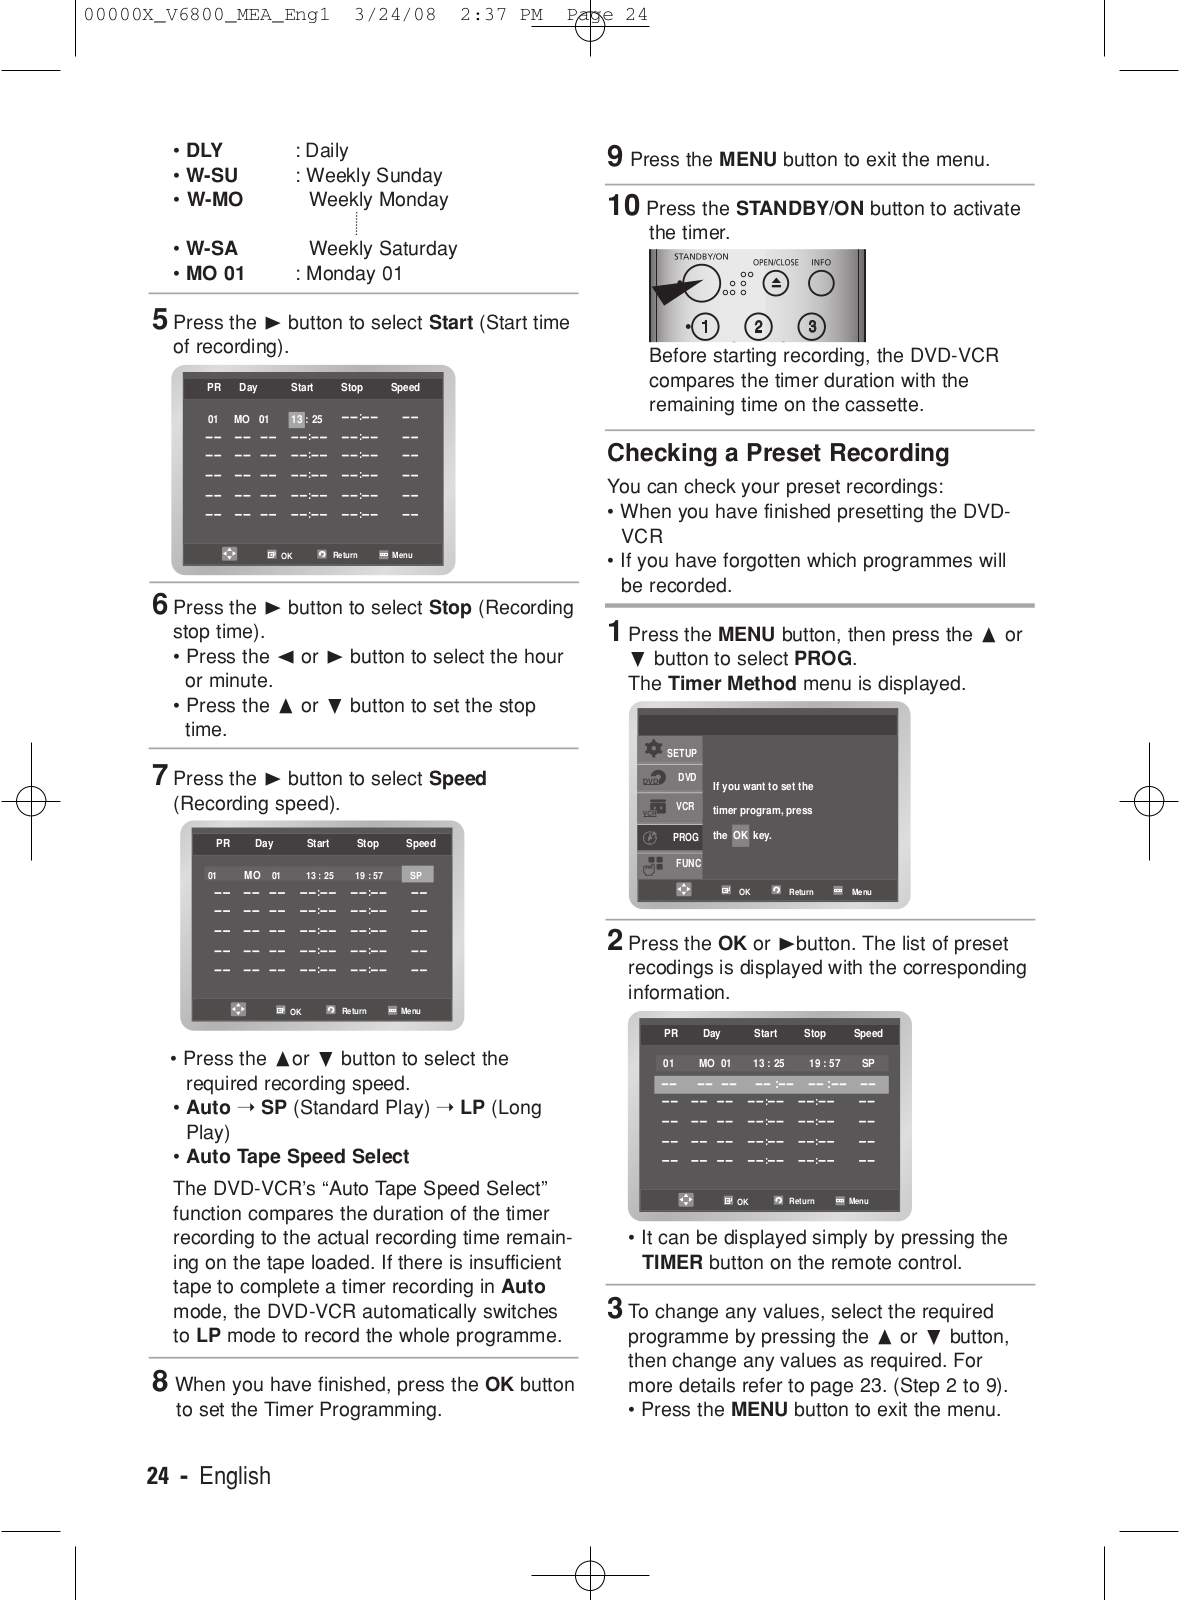
Loading...
D
DVD-V4800
4
DVD-V500
DVD-V5000
DVD-V5000A
2
DVD-V5000K
2
DVD-V52
2
DVD-V52K
6
DVD-V52KV
2
DVD-V52V
DVD-V530
2
DVD-V530A
DVD-V540
10
DVD-V5450
10
DVD-V5450DVD-V5500
DVD-V55
DVD-V5500
28
DVD-V5500A
DVD-V5500-AFS
2
DVD-V5500-XAA
DVD-V55K
5
DVD-V55KV
3
DVD-V5600
15
DVD-V5600XFA
DVD-V5600/XSA
DVD-V5650
5
DVD-V5650B
2
DVD-V580
DVD-V6000
DVD-V62K
2
DVD-V6400
11
DVD-V642K
7
DVD-V6450
DVD-V645K
7
DVD-V6500
34
DVD-V6500K
4
DVD-V6500V
2
DVD-V65K
4
DVD-V6600
14
DVD-V6600/AFR
DVD-V6600/AND
DVD-V6600K
DVD-V6600/SAM
DVD-V6600/TAW
DVD-V6600/UMG
DVD-V6600/XFA
DVD-V6600XSG
DVD-V6600/XSH
DVD-V6700
18
DVD-V6700S
2
DVD-V6700-XAA
DVD-V6800
13
DVD-V6800S
DVD-V70
5
DVD-V7000K
5
DVD-V7000V
2
DVD-V7050K
2
DVD-V7070
DVD-V7100K
2
DVD-V72K
3
DVD-V7500
2
DVD-V7500K
6
DVD-V7500V
DVD-V7550K
2
DVD-V7600K
4
DVD-V77MS
DVD-V77MSV
2
DVD-V80
6
DVD-V8000
4
DVD-V8000K
2
DVD-V8050K
DVD-V8080
DVD-V8080-AFS
DVD-V85
8
DVD-V8500
7
DVD-V8500K
DVD-V8500-XAA
DVD-V8550K
DVD-V85K
4
DVD-V85KV
2
DVD-V8600
DVD-V8650
DVD-V8650K
3
DVD-V8650-XAA
DVD-V9090
2
DVD-V9090-AFS
DVD-V90K
4
DVD-V940K
8
DVD-V9650
2
DVD-V9700
2
DVD-V9800
DVD-V9800M
DVD-V9800-XAA
DVD-VCP
DVD-VR300
15
DVD-VR300E
24
DVD-VR300-XAA
DVD-VR300-XAX
DVD-VR320
22
DVD-VR320-AXAA
DVD-VR320/EUR
Loading...
Loading...
Nothing found
DVD-V6800
User Manual
1 pgs
3.73 Kb
0
User Manual
52 pgs
2.24 Mb
0
User Manual
174 pgs
16.75 Mb
0
User Manual
160 pgs
6.25 Mb
0
User Manual [da]
216 pgs
8.51 Mb
0
User Manual [de]
263 pgs
10.67 Mb
0
User Manual [es]
110 pgs
4.45 Mb
0
User Manual [fr]
52 pgs
2.38 Mb
0
User Manual [nl]
103 pgs
4.23 Mb
0
User Manual [pl]
105 pgs
6.68 Mb
0
User Manual [pl]
161 pgs
6.37 Mb
0
User Manual [ru]
102 pgs
7.51 Mb
0
User Manual [sl]
205 pgs
8.52 Mb
0
Table of contents
Loading...
Samsung DVD-V6800 User Manual [pl]
...
Samsung User Manual [pl]
Download
Specifications and Main Features
Frequently Asked Questions
User Manual
Download
Loading...
+
75
hidden pages
Unhide
You need points to download manuals.
1 point = 1 manual.
You can buy points or you can get point for every manual you upload.
Buy points
Upload your manuals
 Loading...