

Page 1
Installation Instructions
IMPORTANT
Battery Replacement
Catalog Number
Topi c Pag e
Important User Information 2
Precautions 3
Replace Battery in PanelView Plus Terminals 3
Replace Battery in PanelView Component Terminals 5
Replace Battery in PanelView Plus 6 and PanelView Plus 6
Compact Terminals
400 and 600 Terminals 5
Replace Battery in PanelView Plus 6 Compact Terminals 7
1000 Terminals 7
Replace Battery in PanelView Plus 7 Standard Terminals 8
Additional Resources 9
2711P-RY2032
5
About This Publication
This document provides information on how to replace the lithium battery, catalog number
2711P-RY2032, in these devices:
• 2711P PanelView Plus, 700 to 1500 terminals, running FactoryTalk View Machine
Edition firmware revision 5.1 or earlier
• 2711C PanelView Component, C400, C600, and C1000 terminals
• 2711P PanelView™ Plus 6, 400 and 600 terminals
• 2711PC PanelView Plus 6, Compact 400, 600, and 1000 terminals
• 2711P PanelView Plus 7, Standard 400 to 1000 terminals
Use only replacement battery catalog number 2711P-RY2032, or an equivalent CR2032 lithium coin cell
battery, in these products.
Page 2
2 Battery Replacement
IMPORTANT
Important User Information
Read this document and the documents listed in the additional resources section about installation, configuration, and operation of
this equipment before you install, configure, operate, or maintain this product. Users are required to familiarize themselves with
installation and wiring instructions in addition to requirements of all applicable codes, laws, and standards.
Activities including installation, adjustments, putting into service, use, assembly, disassembly, and maintenance are required to be
carried out by suitably trained personnel in accordance with applicable code of practice.
If this equipment is used in a manner not specified by the manufacturer, the protection provided by the equipment may be impaired.
In no event will Rockwell Automation, Inc. be responsible or liable for indirect or consequential damages resulting from the use or
application of this equipment.
The examples and diagrams in this manual are included solely for illustrative purposes. Because of the many variables and
requi rements associ ated wit h any pa rticu lar ins tallat ion, Roc kwell Au tomati on, Inc. cannot assume respon sibili ty or li abilit y for actual
use based on the examples and diagrams.
No patent liability is assumed by Rockwell Automation, Inc. with respect to use of information, circuits, equipment, or software
described in this manual.
Reproduction of the contents of this manual, in whole or in part, without written permission of Rockwell Automation, Inc., is
prohibited.
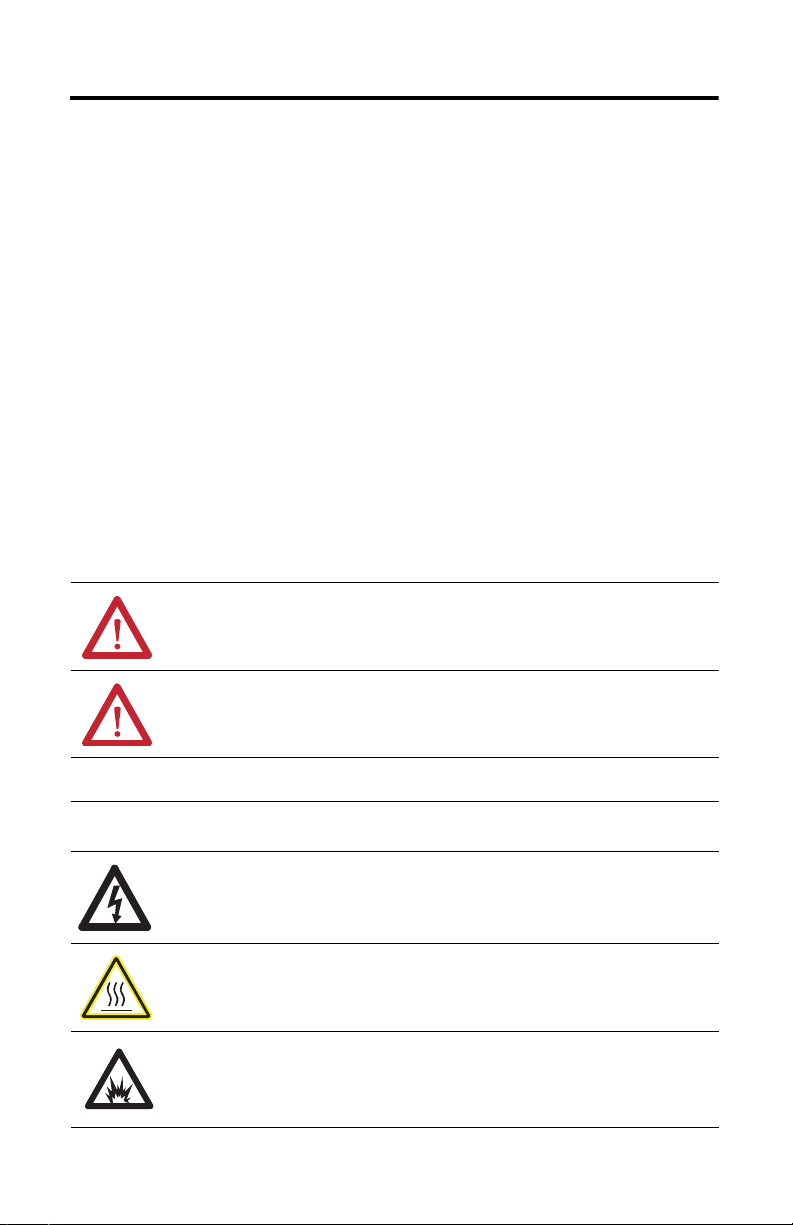
Throughout this manual, when necessary, we use notes to make you aware of safety considerations.
WARNIN G: Identifies information about practices or circumstances that can cause an explosion in a hazardous
environment, which may lead to personal injury or death, property damage, or economic loss.
ATTENTION: Identifies information about practices or circumstances that can lead to personal injury or death,
property damage, or economic loss. Attentions help you identify a hazard, avoid a hazard, and recognize the
consequence.
Identifies information that is critical for successful application and understanding of the product.
Labels may also be on or inside the equipment to provide specific precautions.
SHOCK HAZARD: Labels may be on or inside the equipment, for example, a drive or motor, to alert people that
dangerous voltage may be present.
BURN HAZARD: Labels may be on or inside the equipment, for example, a drive or motor, to alert people that
surfaces may reach dangerous temperatures.
ARC FLASH HAZARD: Labels may be on or inside the equipment, for exampl e, a motor control center, to alert
people to potential Arc Flash. Arc Flash will cause severe injury or death. Wear proper Personal Protective
Equipment (PPE). Follow ALL Regulatory requirements for safe work practices and for Personal Protective
Equipment (PPE).
Rockwell Automation Rockwell Automation Publication 2711P-IN009F-EN-P - July 2014
Page 3
Battery Replacement 3
Precautions
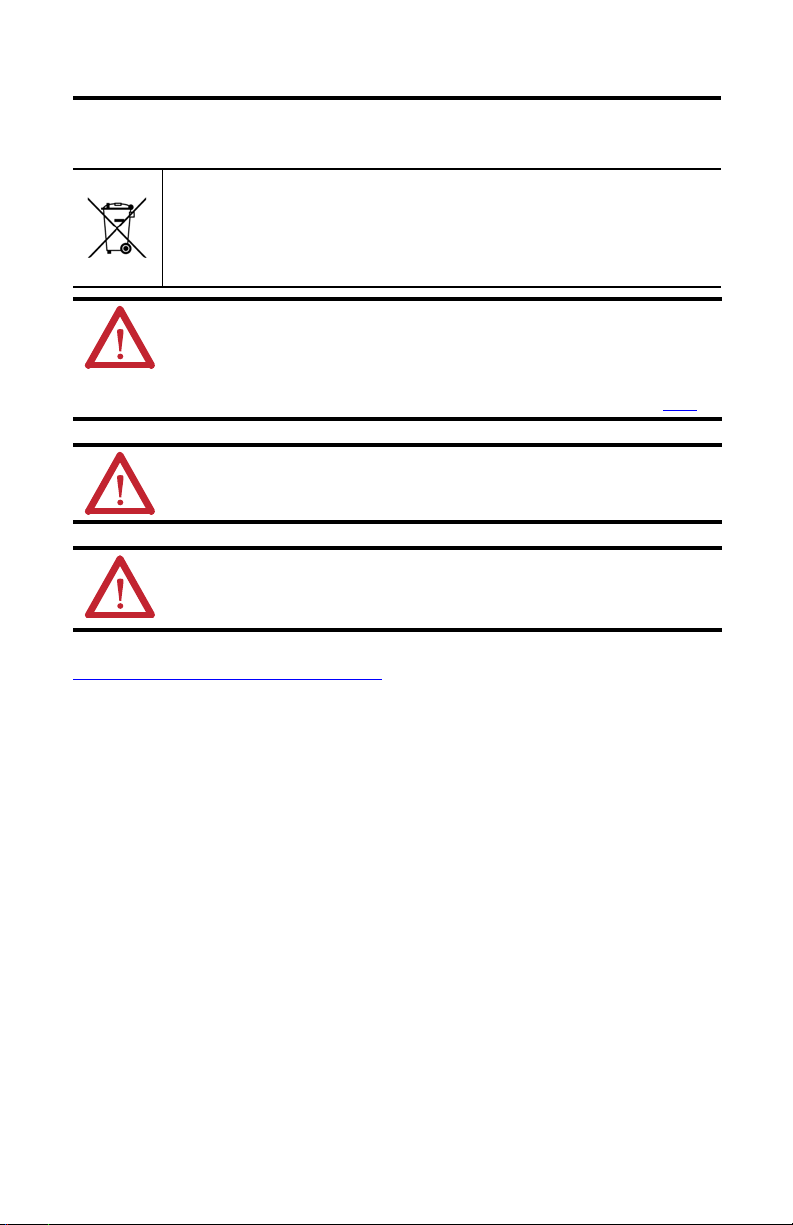
These products contain a sealed lithium battery which may need to be replaced during the life of the product.
At the end of its life, the battery contained in this product should be collected separately from any unsorted
municipal waste.
The collection and recycling of batteries helps protect the environment and contributes to the conservation of
natural resources as valuable materials are recovered.
WARNIN G: There is a danger of explosion if the lithium battery or real-time clock module in this product is
incorrectly placed. Replace the battery only with the indicated type. Do not replace the battery or real-time clock
module unless power has been removed or the area is known to be nonhazardous.
Do not dispose of the lithium battery or real-time clock module in a fire or incinerator. Dispose of the battery in
accordance with the local regulations. For safety information on the handling of lithium batteries. including
handling and disposing of leaking batteries, see Guidelines for Handling Lithium Batteries, publication AG-5.4
WARNIN G: The battery or real-time clock module in these products must only be changed in an area known to be
nonhazardous.
ATTENTION: Work in a static-free environment and wear a properly grounded electrostatic discharge (ESD)
wristband.
Be careful when touching any of the exposed electronic components to prevent damage from ESD.
Perchlorate material – special handling may apply. See
www.dtsc.ca.gov/hazardouswaste/perchlorate.
This perchlorate warning only applies to primary Lithium Manganese Dioxide (LiMnO
or batteries, and products containing these cells or batteries, sold or distributed in California,
USA.
2
) cells
.
Replace Battery in PanelView Plus Terminals
Follow these steps to replace the battery in the logic module of any PanelView Plus terminal with
a 700 to 1500 display.
1. Disconnect power from the terminal.
2. Disconnect all power and communication cables.
Rockwell Automation Rockwell Automation Publication 2711P-IN009F-EN-P - July 2014
Page 4

4 Battery Replacement
IMPORTANT
Logic Module
Communication Module
Screw
Captive Screw
Display Module
Captive Screw
Logic Module
3. Detach the communication module, if attached, from the logic module by removing the
four screws.
4. Loosen the captive screws that secure the logic module to the display module and
carefully lift the logic module away from the back of the display.
5. Locate the battery on the
circuit board.
6. Remove the batter y by lifting
up the side of the battery.
7. Insert the new battery with
the positive polarity (+)
facing up.
The battery may be removed for up to 15 seconds without losing the clock and calendar data.
8. Reattach the logic module by aligning the logic module connector with the connector
on the display module.
9. Push down on the logic module until it is firmly seated.
Rockwell Automation Rockwell Automation Publication 2711P-IN009F-EN-P - July 2014
Page 5

Battery Replacement 5
Battery
Cover
Battery
C600 /C1000
C400
10. Tighten the captive screws that secure the logic module to the display module and torque
to 0.58…0.79 N•m (5…7 lb•in).
11. Reattach the communication module, if necessary, and tighten the screws to a torque of
0.58…0.79 N•m (5…7 lb•in).
Replace Battery in PanelView Component Terminals
The PanelView Component C400, C600, and C1000 terminals, catalog numbers 2711C-T4T,
2711C-T6x, and 2711C-T10C, contain a lithium battery on the back of the terminal. No
special tools are required to remove the battery cover and replace the battery.
Follow these steps to replace the battery in the PanelView Component terminals.
1. Disconnect power from the terminal.
2. Remove or unlatch the battery cover on the back of the terminal.
3. Remove the battery.
4. Insert the new battery with the positive polarity (+) facing up.
Replace Battery in PanelView Plus 6 and PanelView Plus 6 Compact Terminals
400 and 600 Terminals
You can replace the battery with the terminal mounted in the panel. No special tools are required
to remove the battery.
Follow these steps to replace the battery in a 400 or 600 terminal.
1. Disconnect power from the terminal.
Rockwell Automation Rockwell Automation Publication 2711P-IN009F-EN-P - July 2014
Page 6

6 Battery Replacement
CR2032
2. Unlatch the battery cover by pulling it straight out.
3. Lift up on the cover.
4. Remove the battery.
5. Insert the new battery with the positive (+) polarity facing up and press gently until the
battery snaps into place.
6. Close the battery cover and push the end in until you hear a click.
Rockwell Automation Rockwell Automation Publication 2711P-IN009F-EN-P - July 2014
Page 7

Battery Replacement 7
Communication Module
Display Module
Captive S crew
Screw
Logic Module
Replace Battery in PanelView Plus 6 Compact Terminals
1000 Terminals
Follow these steps to replace the battery in a 1000 terminal.
1. Disconnect power from the terminal.
2. Place the terminal, display side down, on a flat stable surface.
3. Detach the communication module, if attached, from the logic module by removing the
four screws.
4. Loosen the four captive screws that attach the logic module to the display.
5. Carefully lift the logic module away from the terminal and turn over to expose the circuit
board.
6. Locate the battery on the circuit board.
7. Remove the battery by lifting up the side of the battery.
8. The battery can be removed up to 15 seconds without losing clock and calendar data.
9. Insert the new battery.
10. Reattach the logic module by aligning the two connectors on the bottom of the logic
module with the connectors on the back of the display module.
Rockwell Automation Rockwell Automation Publication 2711P-IN009F-EN-P - July 2014
Page 8

8 Battery Replacement
11. Push down on the logic module until it is firmly seated.
12. Tighten the four captive screws that secure the logic module to a torque of 0.58 N•m
(5…7 lb•in).
13. Reattach the communication module, if necessary, and tighten the four screws to a
torque of 0.58 N•m (5…7 lb•in).
Replace Battery in PanelView Plus 7 Standard Terminals
Follow these steps to replace the battery in PanelView Plus 7 Standard 400 to 1000 terminals.
1. Disconnect power from the terminal.
2. Remove the battery cover by rotating it from the C(lose) to O(pen) position.
3. To disengage the battery, on the metal latch, press the vertical center tab away from the
battery.
The battery is released.
Rockwell Automation Rockwell Automation Publication 2711P-IN009F-EN-P - July 2014
Page 9

Battery Replacement 9
IMPORTANT
4. Insert the new battery at an angle under the metal latch, with the positive polarity (+)
facing up.
5. Gently press down on the opposite side of the battery until it locks into place.
Make sure that the battery is fully inserted under the plastic tabs. If this is not done, damage can occur, and this
voids the warranty.
6. Replace the battery cover by aligning its tabs with the battery opening and rotate the
cover from the O(pen) to C(lose) position.
Additional Resources
These documents contain additional information concerning related products from Rockwell
Automation.
Resource Description
PanelView Plus 7 Standard Terminals User Manual,
publication 2711P-UM007
PanelView Plus 6 Terminals User Manual,
publication 2711P-UM006
PanelView Plus Terminals User Manual, publication
2711P-UM001
PanelView Plus Compact Terminals User Manual,
publication 2711PC-UM001
PanelView Component Terminals User Manual,
publication 2711C-UM001
Guidelines for Handling Lithium Batteries,
publication AG-5.4
Provides information on how to install, operate, configure, and
troubleshoot PanelView Plus 7 Standard terminals.
Provides information on how to install, operate, configure, and
troubleshoot PanelView Plus 6 terminals (700, 1000, 1250, 1500) running
FactoryTalk View Machine Edition firmware revision 6.0 or later.
Provides information on how to install, operate, configure, and
troubleshoot PanelView Plus 700, 1000, 1250, and 1500 terminals running
FactoryTalk View Machine Edition firmware revision 5.1 or earlier.
Provides information on how to install, operate, configure, and
troubleshoot PanelView Plus Compact terminals.
Provides information on how to install, operate, configure, and
troubleshoot PanelView Component terminals.
Provides safety information on the handling of lithium batteries, including
handling and disposing of leaking batteries
You can view or download publications at http://www.rockwellautomation.com/literature/
order paper copies of technical documentation, contact your local Allen-Bradley® distributor or
Rockwell Automation sales representative.
Rockwell Automation Rockwell Automation Publication 2711P-IN009F-EN-P - July 2014
. To
Page 10

10 Battery Replacement
Notes:
Rockwell Automation Rockwell Automation Publication 2711P-IN009F-EN-P - July 2014
Page 11

Notes:
Battery Replacement 11
Rockwell Automation Rockwell Automation Publication 2711P-IN009F-EN-P - July 2014
Page 12

Rockwell Automation Support
Rockwell Automation provides tec hnical information on the Web to assist you in using its products.
At http://www.rockwellautomation.com/support
service packs. You can also visit our Support Center at https://rockwellautomation.custhelp.com/
and forums, technical information, FAQs, and to sign up for product notification updates.
In addition, we offer multiple support programs for installation, configuration, and troubleshooting. For more information, contact
your local distributor or Rockwell Automation representative, or visit http://www.rockwellautomation.com/services/online-phone
Installation Assistance
If you experience a problem within the first 24 hours of installation, please review the information that's contained in this manual.
You can also contact a special Customer Support number for initial help in getting your product up and running.
United States or Canada 1.440.646.3434
Outside United States or
Canada
Use the Wor ldwi de Loc ator
http://www.rockwellautomation.com/rockwellautomation/support/overview.page
local Rockwell Automation representative.
New Product Satisfaction Return
Rockwell Automation tests all of its products to help ensure that they are fully operational when shipped from the manufacturing
facility. However, if your product is not functioning and needs to be returned, follow these procedures.
you can find technical and application notes, sample code, and links to software
for software updates, support chats
at
, or contact your
.
United States
Outside United States Please contact your local Rockwell Automation representative for the return procedure.
Contact your distributor. You must provide a Customer Support case number (call the phone number
above to obtain one) to your distributor to complete the return process.
Documentation Feedback
Your comments will help us serve your documentation needs better. If you have any suggestions on how to improve this document,
complete this form, publication RA-DU002
Rockwell Automation maintains current product environmental information on its website at
http://www.rockwellautomation.com/rockwellautomation/about-us/sustainability-ethics/product-environmental-compliance.page
Allen-Bradley, PanelView, InView, FactoryTalk, Rockwell Software, and Rockwell Automation are trademarks of Rockwell Automation, Inc.
Trademarks not belonging to Rockwell Automation are property of thei r respective companies.
Rockwell Otomasyon Ticaret A.Ş., Kar Plaza İş Merkezi E Blok Kat:6 34752 İçerenköy, İstanbul, Tel: +90 (216) 5698400
Rockwell Automation Publication 2711P-IN009F-EN-P - July 2014 PN-149900
Supersedes Publication 2711P-IN009E-EN-P - January 2011 Copyright © 2014 Rockwell Automation, Inc. All rights reserved. Printed in the U.S.A.
, available at http://www.rockwellautomation.com/literature/.
.
 Loading...