

Page 1

IMAGE SCANNER
IS100e
Operating Instructions
Ricoh Printer Marketing Group
Page 2

IMAGE SCANNER IS100e
Operating Instructions
Copyright 2003 by Ricoh Corporation. All Rights Reserved.
No part of this publication may be reproduced, transmitted, transcribed, stored in a retrieval system, or
translated into any language or computer language, in any form or by any means, electronic, mechanical,
optical, chemical, manual or otherwise, without the prior written permission of Ricoh Corporation.
GlobalScan is a registered trademark of Ricoh Corporation.
Windows, Microsoft Exchange and Internet Explorer are registered trademarks of Microsoft Corporation.
All other trademarks are the property of their respective owners.
The material in this document is for information only and is subject to change without notice. While
reasonable efforts have been made in the preparation of this document to assure its accuracy, Ricoh
Corporation, its contractors and partners, assume no liability resulting from errors or omissions in this
document or from the use of the information contained herein.
Ricoh Corporation reserves the right to make changes in the product design without reservation and
without notification to its users.
Ricoh Printer Marketing Group
2
Page 3

Contents
IMAGE SCANNER IS100e
Operating Instructions
IInnttrroodduuccttiioonn ................................................................................................................................ 4
HHooww ttoo CCoonnffiigguurree................................................................................................................
HHooww ttoo SSccaann--ttoo--EEmmaaiill....................................................................................................
HHooww ttoo SSccaann--ttoo--FFoollddeerr...............................................................................................
IISS110000ee SSppeecciiffiiccaattiioonnss...................................................................................................
5
9
. 16
. 20
Ricoh Printer Marketing Group
3
Page 4
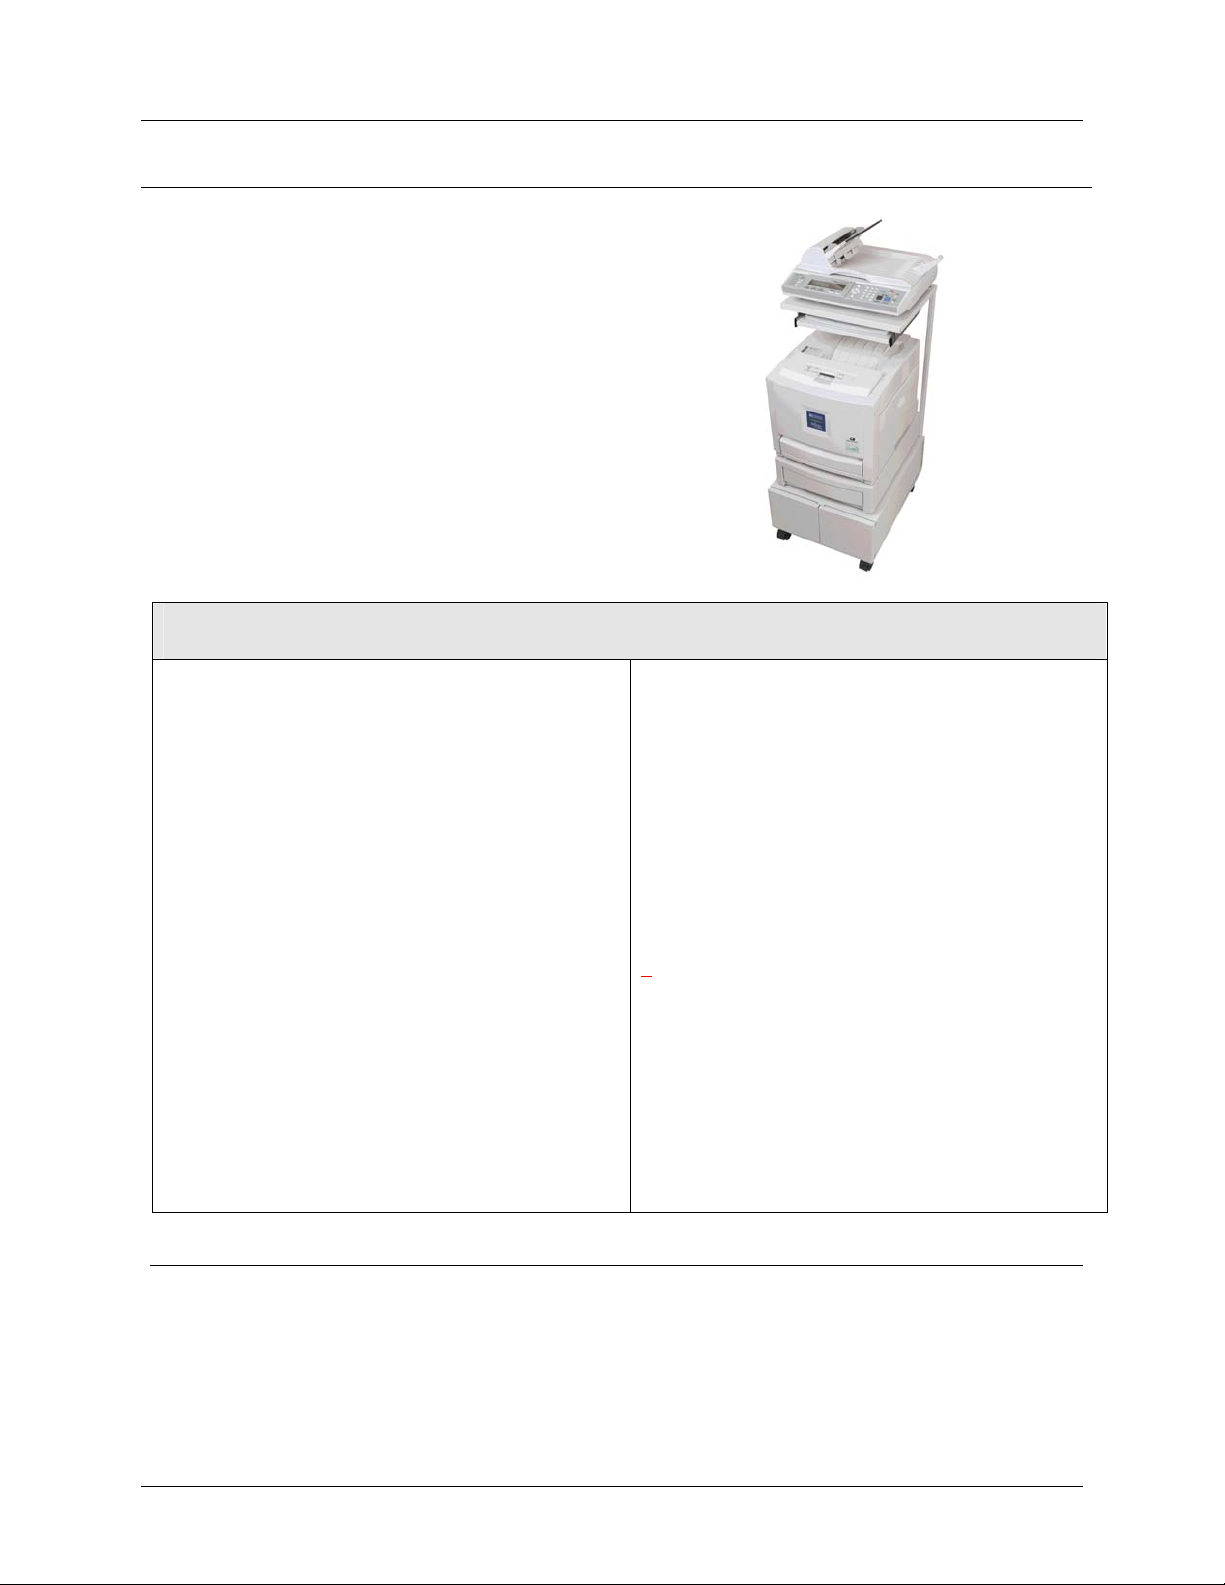
IMAGE SCANNER IS100e
Operating Instructions
M
TTM
n
AAbboouutt GGlloobbaallSSccaan
GlobalScan enables select network printers, with
connected IMAGE SCANNER IS100e, to quickly
scan documents to e-mail or to a folder. This
powerful, yet easy-to-use, paper document capture
and distribution system integrates seamlessly with
your existing mail infrastructure to significantly boost
small workgroup productivity by combining scanning
functionality within an accessible copier platform.
Most importantly, dramatic cost efficiencies are
gained by speeding throughput of common business
transactions that may otherwise require slower and
more costly methods of communication.
Scan to e-mail via QWERTY
keyboard
Scan to a folder (local or network)
B&W and color scanning capabilities
Flatbed for scanning bound originals
(4.5” x 5.5” to 8.5” x 14”)
25-page ADF capacity
Enter multiple e-mail addresses
Send scanned document as e-mail
using Lotus Notes, Microsoft
Exchange, RedHat, Mac Mail Server
Wide variety of supported image
viewers
Browse and select an e-mail
address from company’s Global
Address Book (via LDAP)
Search Global Address Book by
keyword
For detailed IS100e specifications, please refer to the last page of this guide.
IMAGE SCANNER IS100e
Feature Highlights
Address book capabilities: 2000
maximum; 50 groups (99 addresses
per group)
Manually enter (ad hoc) e-mail
address(es); send document as SMTP
e-mail
Up to 100 multifunctional devices
supported per GlobalScan Server
Scan documents from either the
document feeder or flatbed
Save Black & White documents in
PDF, TIFF or PCX format; color
documents are saved in PDF, JPEG
or TIFF format
HTTP/HTTPS POST method enables
communication between printer and
GlobalScan Server
NT, Novell and LDAP authentication
IS100e shown
with FAC-26 rack,
G081 printer and
optional paper
feed unit
Ricoh Printer Marketing Group
4
Page 5
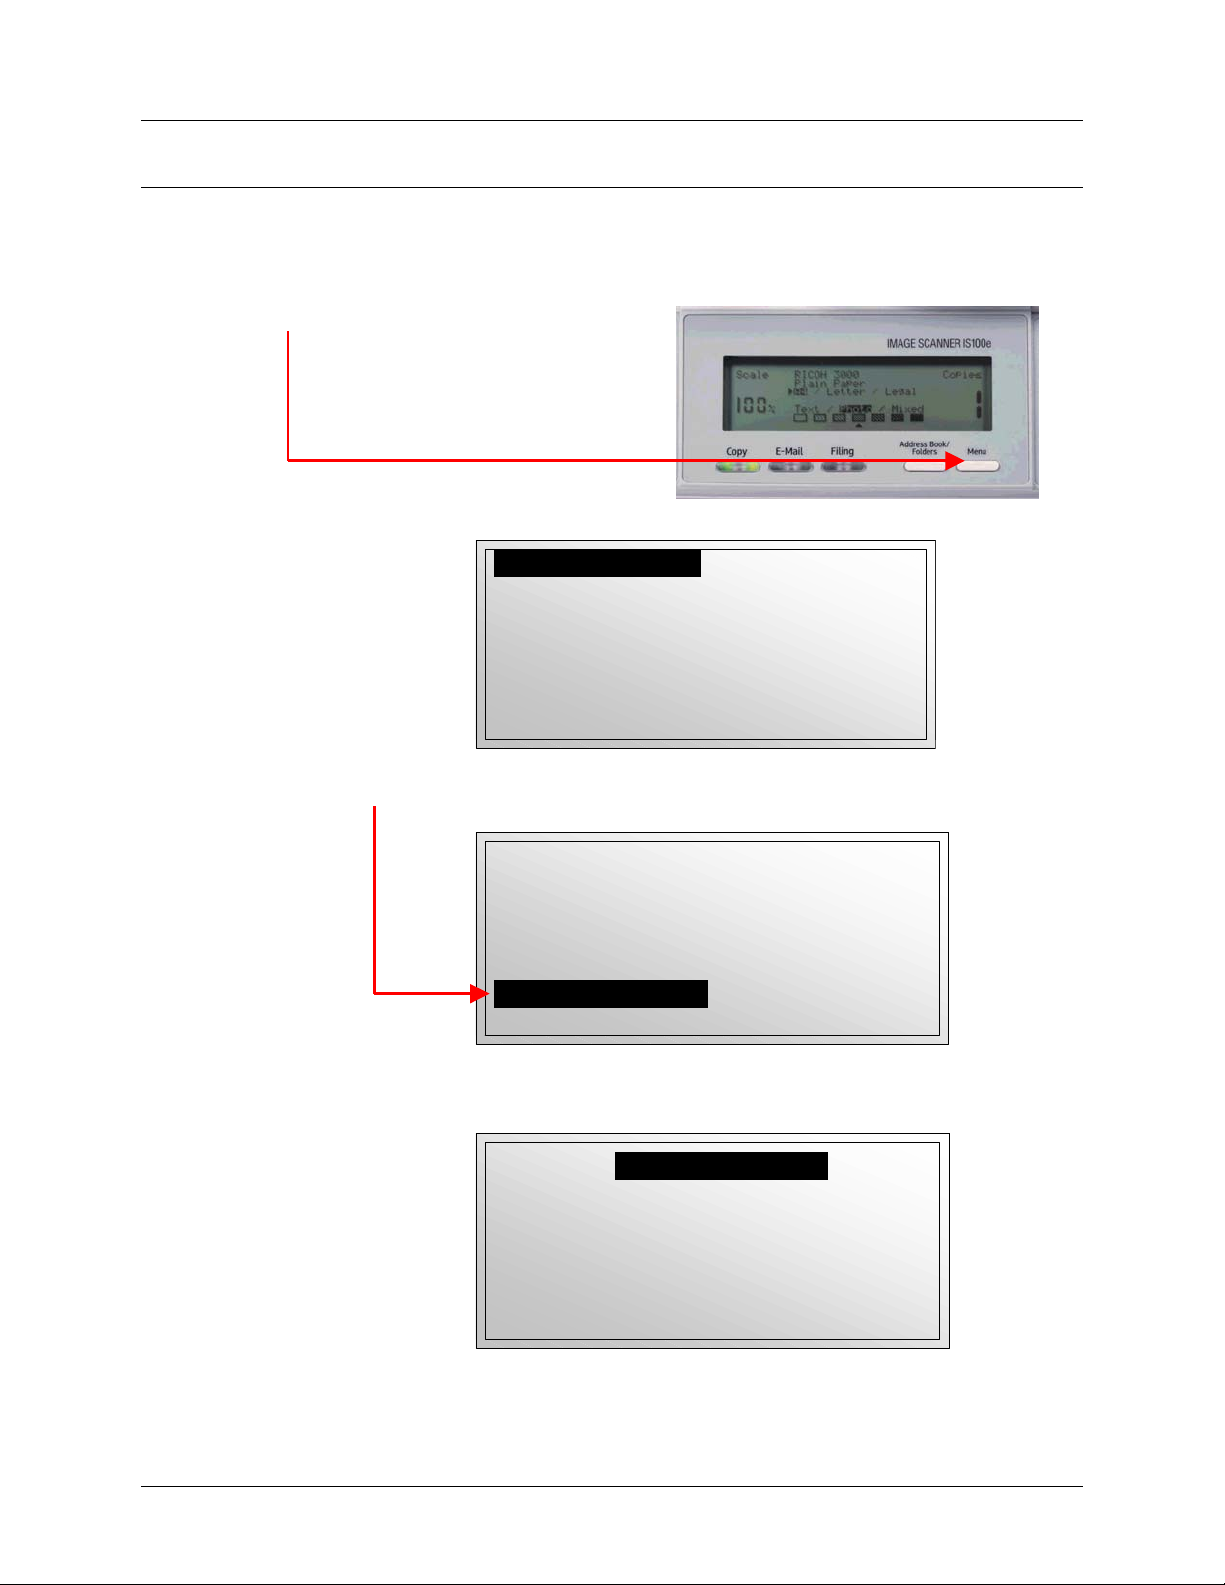
IMAGE SCANNER IS100e
Operating Instructions
HHooww ttoo CCoonnffiigguurree
To configure the IMAGE SCANNER IS100e to work with GlobalScan, proceed as
follow…
1. Press Menu key on IS100e control panel.
Display reads…
1. General
2. Network Configuration
3. Copy
4. E-Mail
5. Filing
6. Function Buttons
7. Administrator
8. Information
2. Press ↓ key until Administrator is highlighted.
Display reads…
1. General
2. Network Configuration
3. Copy
4. E-Mail
5. Filing
6. Function Buttons
7. Administrator
8. Information
3. Press Enter key.
Display reads…
Login:
Password:
Ricoh Printer Marketing Group
5
Page 6
4. ...Type Login.
5. Press Enter.
Display reads, for example…
Login:
Password:
rjones
6. Type Password.
Display reads, for example…
Login:
Password:
rjones
****
7. Press Enter key.
Display reads, for example…
1. Admin Login Name
2. Admin. E-mail Address :
3. Admin. Password : **********
4. Logon Email Server : POP3
5. Logon Filing Server : No
6. Add “To” Addr. after Sending : No
7. Add New Folder after Filing : No
8. Show Folder’s Location : No
8. Press ↓ key until Logon GlobalScan is highlighted.
Display reads…
5. Logon Filing Server : No
6. Add “To” Addr. after Sending : No
7. Add New Folder after Filing : No
8. Show Folder’s Location : No
9. Email Def. from :
10. Logon GlobalScan
11. Save Current Settings as Default
12. Exit
IMAGE SCANNER IS100e
Operating Instructions
:
Ricoh Printer Marketing Group
6
Page 7
IMAGE SCANNER IS100e
Operating Instructions
9. Press Enter key.
Display reads, for example…
10. Press → key.
1. Enable GlobalScan
2. GlobalScan Server : 173.17.1.197
3. Domain Name : gs.ricohcorp.com
4. Location :
5. Description :
6. Save and Exit
7. Exit
: No
Display reads…
1. Enable GlobalScan
2. GlobalScan Server : 173.17.1.197
3. Domain Name : gs.ricohcorp.com
4. Location :
5. Description :
6. Save and Exit
7. Exit
: No
11. Toggle Enable GlobalScan (Yes / No) using Y- or +Z keys on IS100e control panel.
12. Press Enter key, then ↓ and → keys.
14. Enter/edit GlobalScan Server IP Address, if necessary.
15. Press Enter key, then ↓ and → keys.
16. Type Domain Name.
17. If desired, type Location and Description, in same manner.
18. Highlight Save and Exit .
Display reads, for example…
Note: To exit the Configuration Menu
without saving changes, highlight Exit.
19. Press Enter key.
1. Enable GlobalScan
2. GlobalScan Server : 173.17.1.197
3. Domain Name : gs.ricohcorp.com
4. Location :
5. Description :
6. Save and Exit
7. Exit
: Yes
Ricoh Printer Marketing Group
7
Page 8

IMAGE SCANNER IS100e
Operating Instructions
Display reads…
5. Logon Filing Server : No
6. Add “To” Addr. after Sending : No
7. Add New Folder after Filing : No
8. Show Folder’s Location : No
9. Email Def. from :
10. Logon GlobalScan
11. Save Current Settings as Default
12. Exit
20. Press ↓ key until 12. Exit is highlighted.
21. Press Enter key.
22. Press OK key on IS100e control panel.
Configuration is complete! Choose either Scan-to-Email or Scan-to-Folder functions.
Instructions to follow…
Ricoh Printer Marketing Group
8
Page 9

IMAGE SCANNER IS100e
Operating Instructions
SSccaann--ttoo--EEmmaaiill
To send a document to one or more e-mail addresses, follow the steps outlined below.
Note:
Unless otherwise noted, all data entry is via the IS100e’s attached keyboard.
To correct data entered into a given field, press the Backspace key. Characters are
deleted right to left. To delete just one character, position the cursor (using the ←
and → keys) to the right of the character and press the Backspace key.
When scanning from the platen glass, one page can be transmitted at a time.
1. Press E-Mail key on IS100e control panel.
Display reads…
Please Login
User Name:
Password:
Domain:
NEXT < # >
Login Screen
2. Press ↓, then → key.
Display reads…
User Name:
Password:
Domain:
Please Login
_
NEXT < # >
3. Type User Name.
4. Press Enter key.
5. Press ↓, then → key.
Ricoh Printer Marketing Group
9
Page 10

.Display reads, for example…
User Name:
Password:
Domain:
6. Type Password.
7. Press Enter key.
8. Press ↓, then → key.
Display reads, for example…
User Name:
Password:
Domain:
9. Type Domain.
Display reads, for example…
User Name:
Password:
Domain:
10. Press Enter key.
11. Press # key on IS100e’s control panel.
Display reads…
Press Next < # > to Scan to Email
Please Login
dsmith
_
NEXT < # >
Please Login
dsmith
****
_
NEXT < # >
Please Login
dsmith
****
gs.ricohcorp.com
NEXT < # >
< * > PREV NEXT < # >
IMAGE SCANNER IS100e
Operating Instructions
Ricoh Printer Marketing Group
10
Page 11

IMAGE SCANNER IS100e
Operating Instructions
Note: If display reads: “Login Failed. Please try again,” confirm that you have
the correct User Name, Password and Domain. Repeat steps 2 through 11.
12. Press # key on IS100e control panel.
Display reads…
From:
Subj:
To:
CC:
BCC:
Memo:
_
Size: LT > Press “E-Mail” to change
13. Press Address Book /
Folders key on IS100e
control panel.
Display reads:
Search Format:
NEXT < # >
14. Press → key.
15. Type character(s) to search by, for example, rick.
Display reads, for example…
Search Format:
rick
NEXT < # >
16. Press Enter key.
Ricoh Printer Marketing Group
11
Page 12

17. Press # key on IS100e control panel.
Display reads, for example…
1gstestRicoh@gl.. 1gstest…,””
2gstestRicoh@gl.. 1gstest…,””
3gstestRicoh@gl.. 1gstest…,””
4gstestRicoh@gl.. 1gstest…,””
AgstestRicoh@gl.. Agstest..,””
RickThomas@glo.. Rick Thom..,””
Show next page : No
NEXT < # >
18. Press ↑ or ↓ key to highlight the desired e-mail address.
Display reads, for example…
1gstestRicoh@gl.. 1gstest…,””
2gstestRicoh@gl.. 1gstest…,””
3gstestRicoh@gl.. 1gstest…,””
4gstestRicoh@gl.. 1gstest…,””
AgstestRicoh@gl.. Agstest..,””
RickThomas@glo.. Rick Thom..,””
Show next page : No
NEXT < # >
Selecting Another Page within Address Book…
If the search screen contains more than 6 addresses, advance to next
page as follow…
a. Press ↓ key to highlight Show Next Page.
b. Press → key to highlight No.
c. Press ↓ or ↑ key to select desired page…1, 2, 3, etc. (page number is
displayed).
1gstestRicoh@gl.. 1gstest…,””
2gstestRicoh@gl.. 1gstest…,””
3gstestRicoh@gl.. 1gstest…,””
4gstestRicoh@gl.. 1gstest…,””
AgstestRicoh@gl.. Agstest..,””
RickThomas@glo.. Rick Thom..,””
Show next page :
Page4
NEXT < # >
d. Press Enter key.
e. Press # key on IS100e control panel.
Display shows new e-mail addresses. Repeat above steps to choose
another page of the Address Book. Highlight desired address and
continued …
IMAGE SCANNER IS100e
Operating Instructions
Ricoh Printer Marketing Group
12
Page 13

IMAGE SCANNER IS100e
Operating Instructions
19. Press Enter key. Note: Just one e-mail address can be selected at a time.
20. Press # key on IS100e control panel.
Display reads, for example…
21. Type Subject.
From:
Rick Thomas@ricohcorp.com
Subj:
_
To:
CC:
BCC:
Memo:
Size: LT > Press “E-Mail” to change
22. Press Enter key.
Display reads, for example…
From:
Rick Thomas
Subj:
Meeting Schedule
To:
_
CC:
BCC:
Memo:
Size: LT > Press “E-Mail” to change
23. In the “To” field, type the recipient e-mail address.
Note: To add more than one address (maximum: 20), press Enter key and
type next address. Repeat for additional addresses. Or use Address Book
Lookup function by following steps 13 through 20 above.
24. Press ↓ key.
Display reads, for example…
From:
Subj:
To:
CC:
BCC:
Memo:
Size: LT > Press “E-Mail” to change
Rick Thomas
Meeting Schedule
Amy Smith
_
25. Type CC (carbon copy) address(s), if desired.
Note: To add additional addresses, press Enter key, type address and
repeat.
Ricoh Printer Marketing Group
13
Page 14

IMAGE SCANNER IS100e
Operating Instructions
26. Press ↓ key.
Rick Thomas
Display reads, for example…
From:
Meeting Schedule
Subj:
Amy Smith
To:
John Miller
CC:
Julia Howard
_
BCC:
Memo:
Size: LT > Press “E-Mail” to change
27. Type BCC (blind carbon copy) address(s), if desired.
28. Press ↓ key.
29. Type MEMO line, if desired.
Note: To type multiple lines, press the Enter to advance cursor (maximum
lines:18, maximum characters per line: 34).
Display reads, for example…
From:
Subj:
To:
CC:
BCC:
Memo:
Size: LT > Press “E-Mail” to change
Rick Thomas
Meeting Date
Amy Smith
John Miller
Julia Howard
Attached is our meeting schedule.
Please contact me if any conflicts exist.
30. Place document face up
on IS100e’s ADF or face down on platen glass.
Note: The IS100e scans letter-, legal-, half-letter, and A4-size paper. The
default paper size is LT (letter-size). To select another paper size…
a. Press “Email” key on IS100e control panel. Display reads:
Doc. Size: <LT>
LG HLT A4
b. Press → key to select desired paper size, for example LG (legal-size).
Doc. Size: LT <LG> HLT A4
c. Press Enter.
Ricoh Printer Marketing Group
14
Page 15

IMAGE SCANNER IS100e
Operating Instructions
31. Press Black&White or Full Color START button on IS100e control panel to
initiate scanning/transmission.
Display reads, for example…
Send GlobalScan Email _2003_01_01_00_37_41_0000232
To GlobalScan Server
Page 1……..\
< < < Connecting to 172.18.1.197 >>>
Note: If display reads: “Failed to send File via HTTP. Error Code: xxxxx. Press any
key to continue,” try again. If that attempt should fail, please contact your GlobalScan
administrator.
Ricoh Printer Marketing Group
15
Page 16

IMAGE SCANNER IS100e
Operating Instructions
SSccaann--ttoo--FFoollddeerr
To send a document to a specific folder on the network, please follow the steps
outlined below….
1. Press Filing key on IS100e control panel.
Display reads…
User Name:
Password:
Domain:
Please Login
NEXT < # >
2. Press ↓, then → key.
Display reads…
User Name:
Password:
Domain:
Please Login
_
NEXT < # >
3. Type User Name.
4. Press ↓, then → key.
Display reads, for example…
User Name:
Password:
Domain:
Please Login
dsmith
_
NEXT < # >
5. Type Password.
Login Screen
Ricoh Printer Marketing Group
16
Page 17

6. Press ↓, then → key.
Display reads, for example…
User Name:
Password:
Domain:
Please Login
dsmith
****
_
7. Type Domain.
Display reads, for example…
User Name:
Password:
Domain:
Please Login
dsmith
****
gs.ricohcorp.com
8. Press # key on IS100e control panel or keyboard.
Display reads…
Press Next < # > to Scan to Folder
< * > PREV NEXT < # >
9. Press # key on IS100e control panel or keyboard.
NEXT < # >
NEXT < # >
IMAGE SCANNER IS100e
Operating Instructions
Ricoh Printer Marketing Group
17
Page 18

IMAGE SCANNER IS100e
Operating Instructions
Display reads…
There are more than one folders.
Please use arrow key to select a folder.
Folders : test
< * > PREV NEXT < # >
How to Selecting Another Folder…
In the above example, the folder named “test” is displayed. To select another
folder, proceed as follows…
a. Press Enter to highlight current folder, e.g., test.
b. Press ↓ or ↑ to scroll through folder.
c. When desired folder is displayed, press Enter key.
d. Press # key and continue.
10. Press # key on IS100e control panel.
Display reads…
Press Mono / Color to Send !
Size: LT > Press “Filing” to change
Ricoh Printer Marketing Group
18
Page 19

IMAGE SCANNER IS100e
Operating Instructions
11. Place document face up
Note: The IS100e scans letter-, legal-, half-letter, and A4-size paper. The
default paper size is LT (letter-size). To select another paper size…
a. Press “Filing” key on IS100e control panel. Display reads:
b. Press → key to select desired paper size, for example LG (legal-size).
c. Press Enter.
12. Press Black&White or Full Color START button on IS100e control panel to
initiate scanning/transmission.
Display reads…
Display then reads….
Doc. Size: <LT>
Doc. Size: LT <LG> HLT A4
on IS100e’s ADF or face down on platen glass.
LG HLT A4
Sending GS_Filing_2003_01_01_00_08_08_0023
to GlobalScan Server
Page 1 ……. 75%
Sending File > > >
Scan to Folder Successful !
Ricoh Printer Marketing Group
19
Page 20

IMAGE SCANNER IS100e
Operating Instructions
SSppeecciiffiiccaattiioonnss
Type
Memory
Resolution
Copy Mode:
Scanning Mode:
Bit Depth
Scanning Speed
Copy Mode:
Scanning Mode:
First Copy Out Time
Multiple Copies
Original Sizes
ADF Capacity
ADF Document Weight
Density Control
Copy Features
Preset Scaling
Zoom
Warm-up Time
Printer Connectivity
Power Consumption
Dimensions
Weight
Network Connectivity
Interface
Protocols
Configuration Requirements
Network Management
Supported Browsers
E-mail Specifications
Scan Speed
Communication Protocols
Supported File Formats
Data Compression
Supported Viewers
Supported Mail Servers
Supported E-mail Applications
Supported LDAP Servers
Configuration
Scanner Mainframe (EDP 402026)
FAC-26 Scanner Rack (EDP 402030)
CCD Flatbed scanner with ADF
2MB Flash ROM, 8MB DRAM
300 dpi, 600 dpi
150 dpi, 300 dpi
24 bits/pixel
9 ipm Black & White, 1.5 ipm Full Color
9 ipm Black & White, 7 ipm Full Color
Dependent on target printer
Up to 99
8 ½” x 14” (216 x 356mm) through ADF
8 ½” x 11” (A4) on scanning platen
25 sheets
14 to 28 lb. bond (53 to 105 g/m
7 levels
Brightness control, intensity control, background removal
155%, 129%, 121%, 100%, 93%, 78%, 65%
25% - 400% in 1% increments
45 seconds
IEEE 1284 ECP/SPP
Sleep mode 10.7 W, Stand-by 14.8 W, Scanning (off glass)
22.0 W, Scanning (ADF) 25.3 W
17.7” x 15.2” x 11.0” (444 x 382 x 275mm)
13.75 lb. (6.25kg)
Ethernet 10/100BaseTX
TCP/IP, DNS, DHCP
IP address, IP subnet mask, IP gateway, SMTP server IP
SNMP
IE 4.1 or later; Netscape Navigator 4.0 to 4.78
9ppm Black & White, 7ppm Full Color
SMTP, SMTP-AUTH, MIME, POP3, POP before SMTP
Black & White: PDF, TIFF, PCX
Color: PDF, JPEG, TIFF
JPEG, G3 MH/MR, Run Length Encoding (RLE)
Windows Paint, Adobe Acrobat 4.0 or later, Adobe Photoshop
4.0 or later, Ulead PhotoImpact 6.0, ACDSee Classic v2.43,
Windows Imaging
Lotus Mail Server 5.0, MS Exchange Server 2000, RedHat 7.0
SendMail, Mac Mail Server in OS 9.04
MS Outlook 2000, MS Outlook Express 5.0/6, Netscape
Messenger 4.7/4.73, Mac Built-in Mail application, Eudora
4.3.2j, Lotus Notes R5
Windows 2000 Active Directory, Windows NT 4.0 + MS
Exchange 5.5, Lotus Notes R5
Keyboard, ADF, Printer Cable, Power Cord, Power Adapter
2
)
Ricoh Printer Marketing Group
20
Page 21

8/03 Rev. 1
IMAGE SCANNER IS100e
Operating Instructions
Ricoh Corporation, Five Dedrick Place, West Caldwell, NJ 07006
Phone (973) 882-2000 y www.ricoh-usa.com
Ricoh Printer Marketing Group
21
 Loading...