

Ricoh G565, SR770 Installation Manual
Caution
•
SR770
(Code: G565)
For Machine Code:
G060 / G080/ G082/ G106
INSTALLATION GUIDE
Before installing options, the machine should be turned off and unplugged for at
least thirty minutes. Components inside the machine become very hot, and could
result in a burn if touched.
•
When lifting the machine, use the grips on both sides. The machine could break
or cause injury if dropped.
•
It is dangerous to handle the plug with wet hands. Doing this may result in receiving
an electric shock.
•
Before moving the machine, unplug the power cord from the outlet. If the cord is
unplugged abruptly, it could become damaged. Damaged plugs or cords can
cause an electrical or fire hazard.
•
When moving the 2 tray finisher, hold the center of both sides, and lift slowly.
Lifting carelessly or dropping it may cause injury.
Important
❒
Check the printer nameplate to confirm the model code.
❒
Install the paper feed unit before installing the 2 tray finisher.
❒
Install the memory unit options before attaching the 2 tray finisher.
❒
You cannot install the 2 tray finisher unless both the paper feed unit and duplex unit with options are installed.
❒
The 2 tray finisher requires the optional printer hard disk or optional memory unit of total 128 MB.
❒
You cannot install the 4-bin mailbox and 2 tray finisher at the same time.
Note
❒
The 2 tray finisher weighs approximately 53kg (116.9 lbs).
○○○○○○○○○○○○○○○○○○○○○○○○○○○○○○○○○○○○○○○○○○○○○○○○○○○○○○○○○○○○
○○○○○○○○○○○
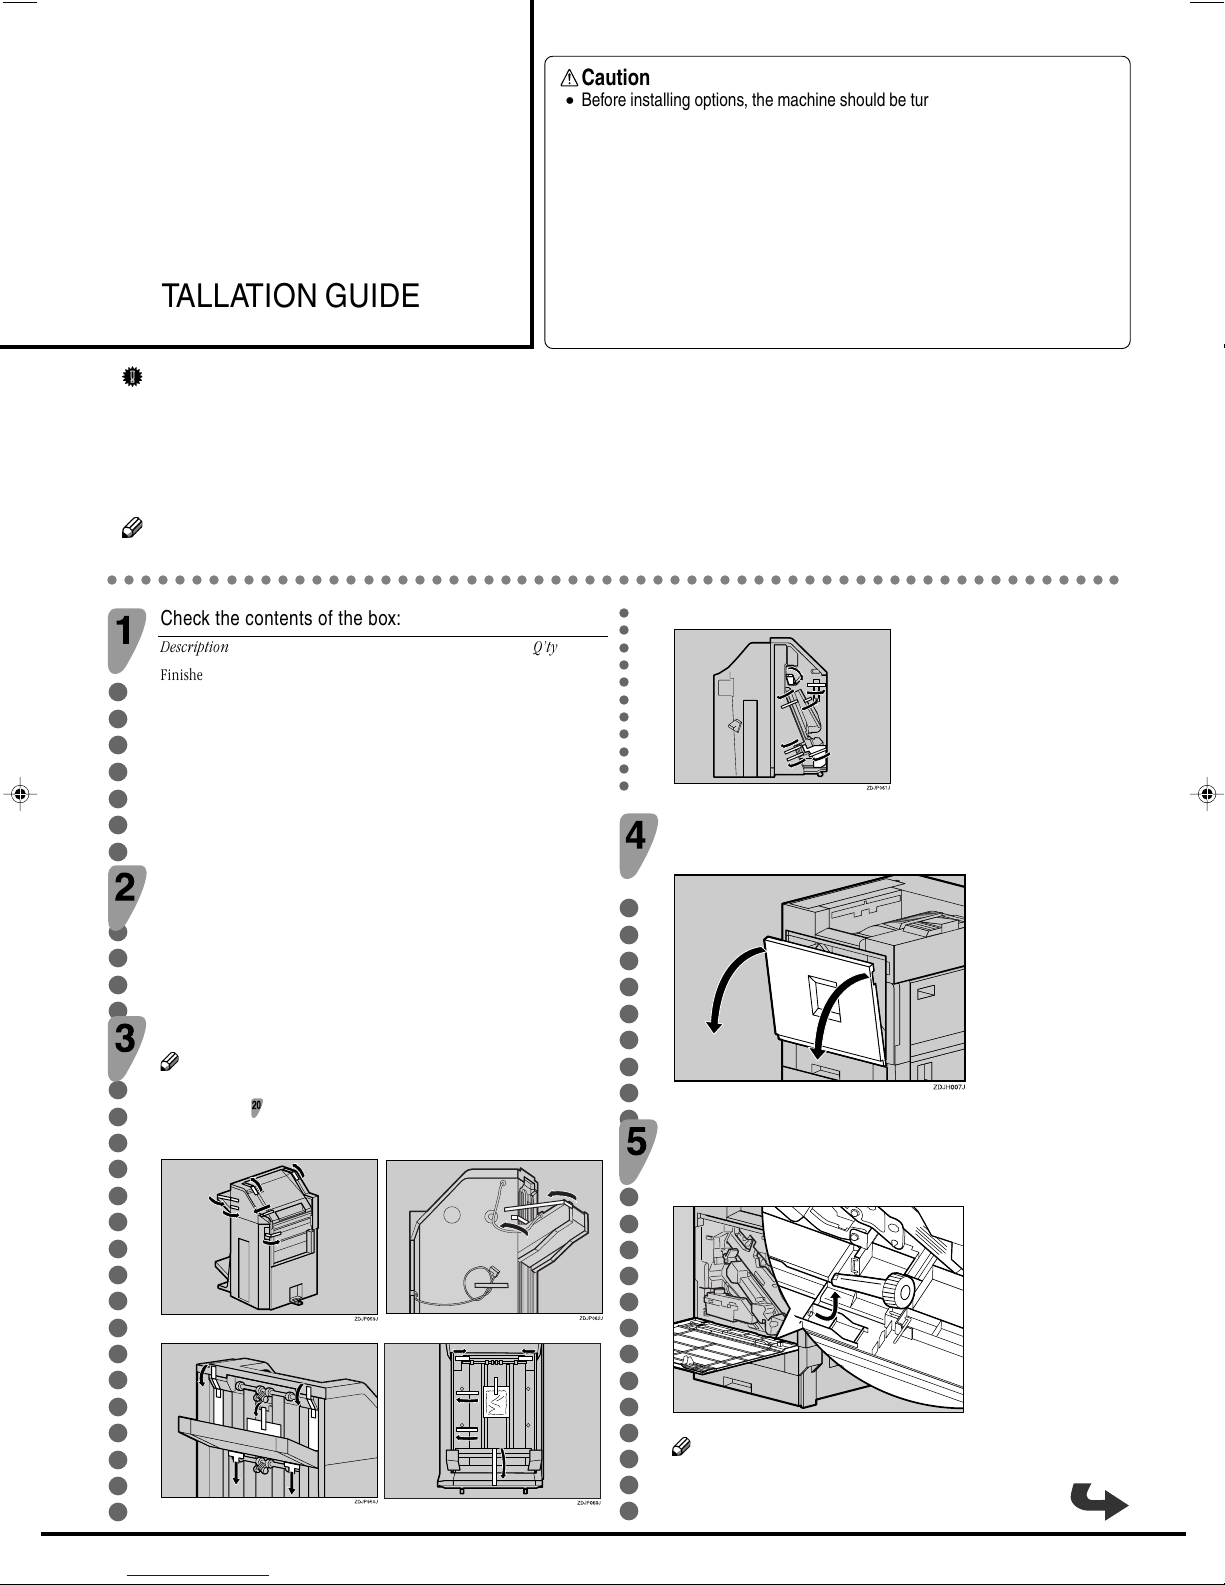
Check the contents of the box:
Description Q’ty
Finisher 1
○○○○○○○○○○○○○○○○○○○○○○○○○○○○○○○○
Short Screws 2
Long Screws 6
Connecting Bracket 1
Mounting Bracket 1
Rail 1
2 Tray Finisher Trays 2
Installation Guide(This sheet) 1
Be sure to check the following points:
•
The power is turned off.
Interior
Slowly open the front cover by pulling on the two areas on
the left and right.
○○○○○○○○○○○○○○○○○○○○○○○○
•
The power cord is unplugged from the wall outlet.
•
The interface cable is unplugged from the printer.
Remove the adhesive tape and packing materials.
Note
❒ Do not remove the adhesive tape holding the cable yet. Remove
it in step
Front and Side
Back
.
Remove the green screwdriver, and then close the front
cover.
Use this screwdriver for all attachment and detachment of screws.
ZHXH171J
Note
❒ After using the screwdriver, return it to its original position on
the inside of the front cover.
G565-8600C

Stand the external tray of the printer.
쐃
Stand it vertically.
Hook the hole of the mounting bracket on the screw
temporarily fastened in step
.
○○○○○○○○○○○○○○○○○○○○○○○○○○○○○○○○○○○○○○○○○○○○○○○○○○○○
ZHXH330J
쐇
Fold it over the top of the printer.
○○○○○○○○○○○○○○○○○○○○○○○○○○○○○○○○○○○○○○○○○○○○○○○○○○○○
Holding the mounting bracket using both hands, move it
in the direction of up (
ZHXH340J
Insert the rail with a wheel in the mounting bracket.
With the left corner of the mounting bracket in the
position pointed by the arrow on the printer, fasten the left
side of the mounting bracket using a long screw and the
provided screwdriver. Also tighten the screw on the right
side temporarily fastened in step
햲
) to the right (햳).
.
Temporarily fasten one long screw in the position, as
shown. Turn the screw three to four times by hand.
Insert the rail, assembled in step
,
into the base area
under the printer.
Temporarily fasten the two long screws in the positions
shown. Turn the screws three to four times by hand.
 Loading...